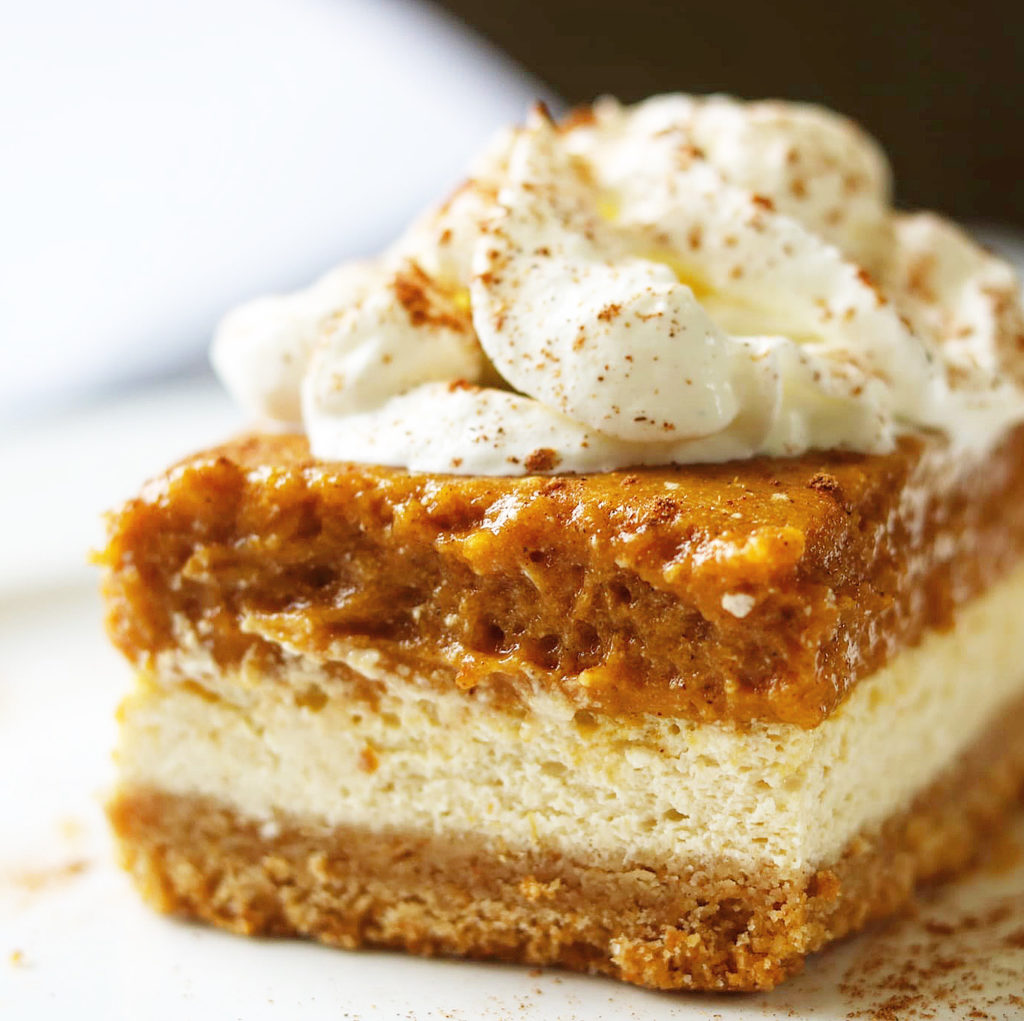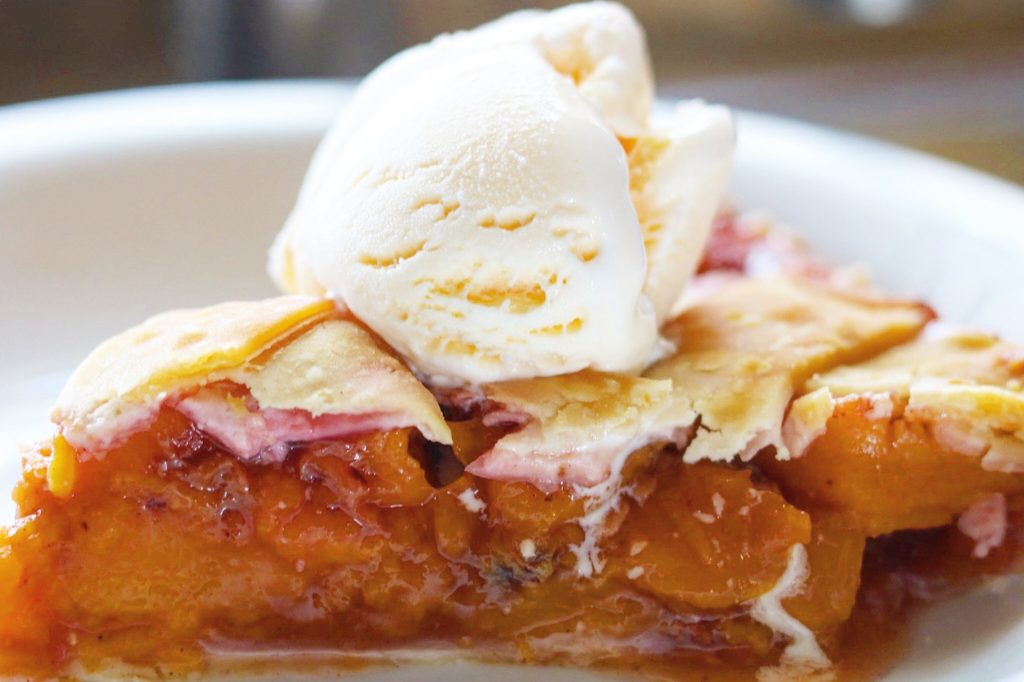
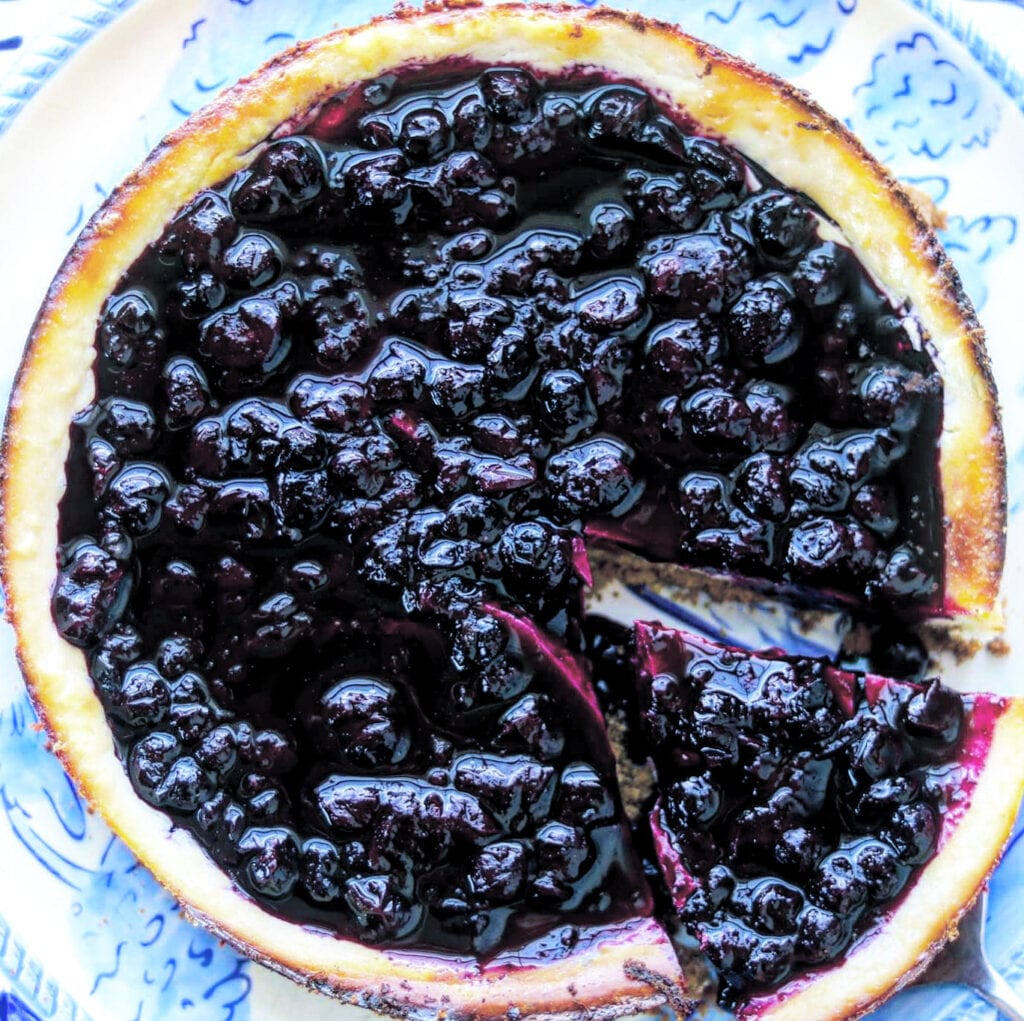
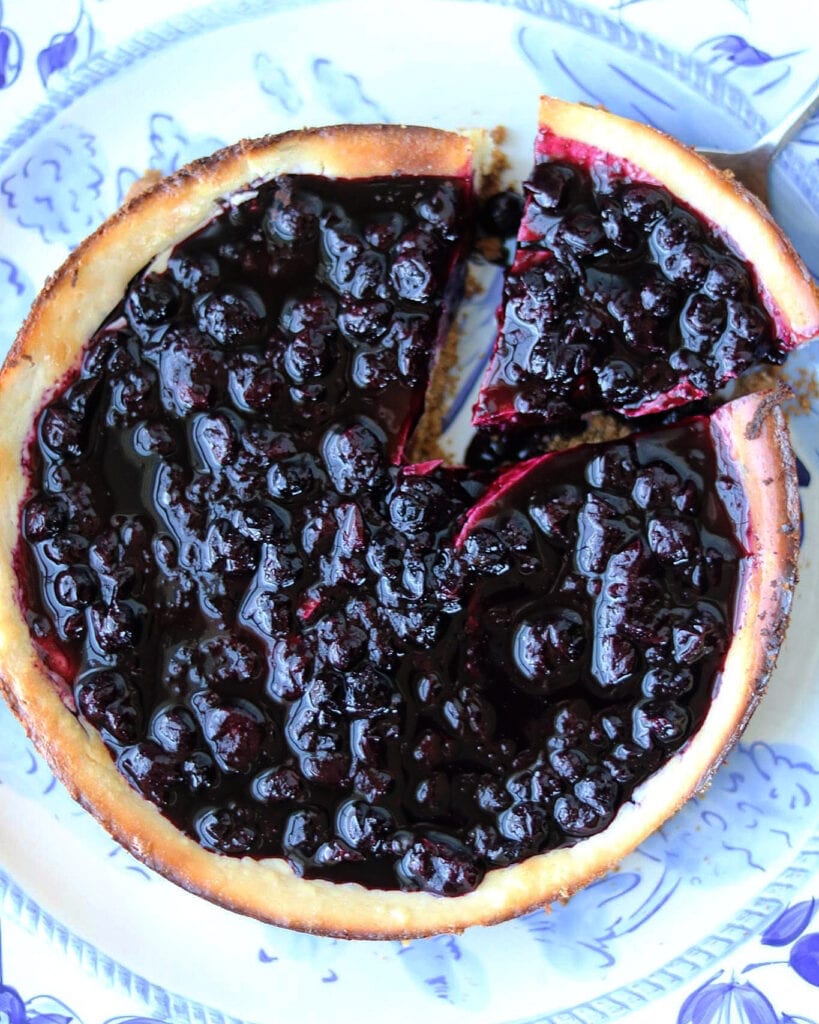
Just look at this Blueberry Cheesecake! A creamy cheesecake filling in a graham cracker crust, piled with bursting blueberries!
This was actually on the cover of Food and Wine magazine for August and I knew I had to make it! Summer berries are the best!
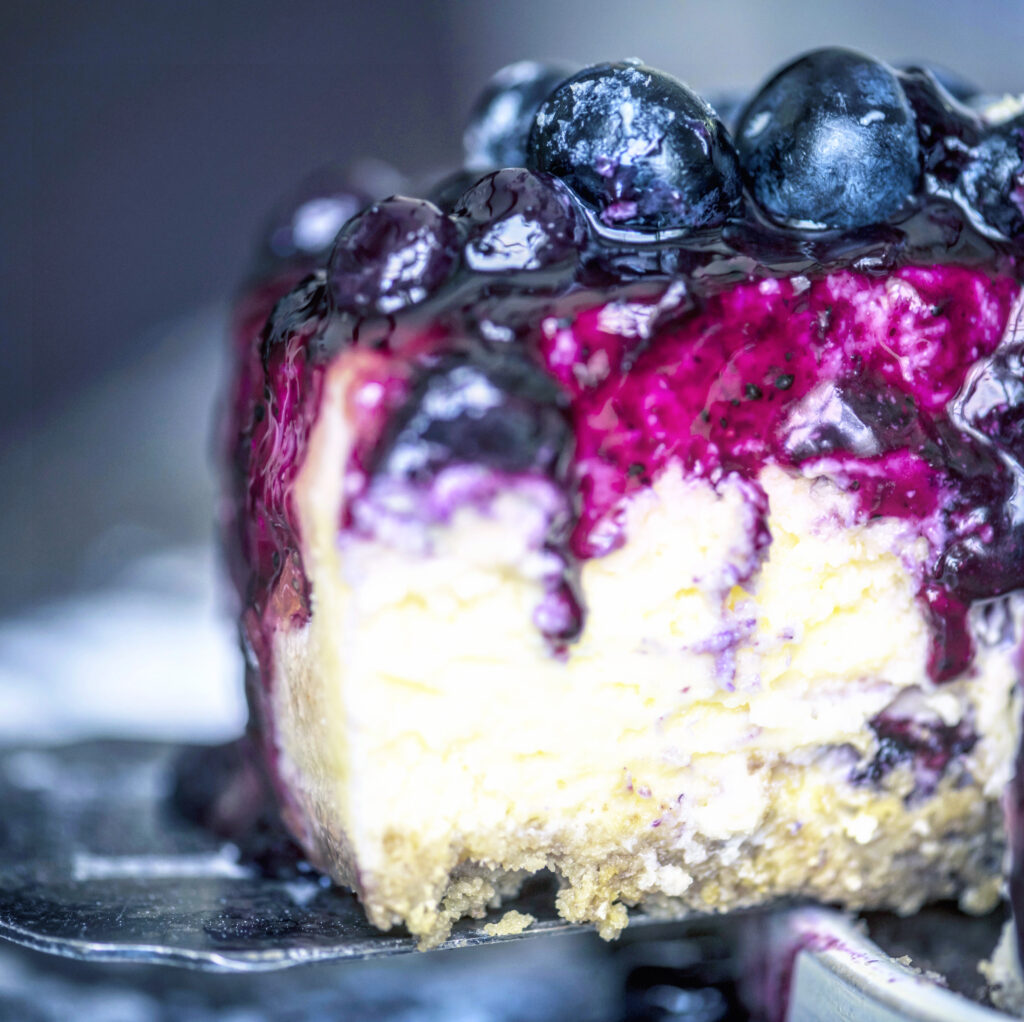
decadent blueberry cheesecake.

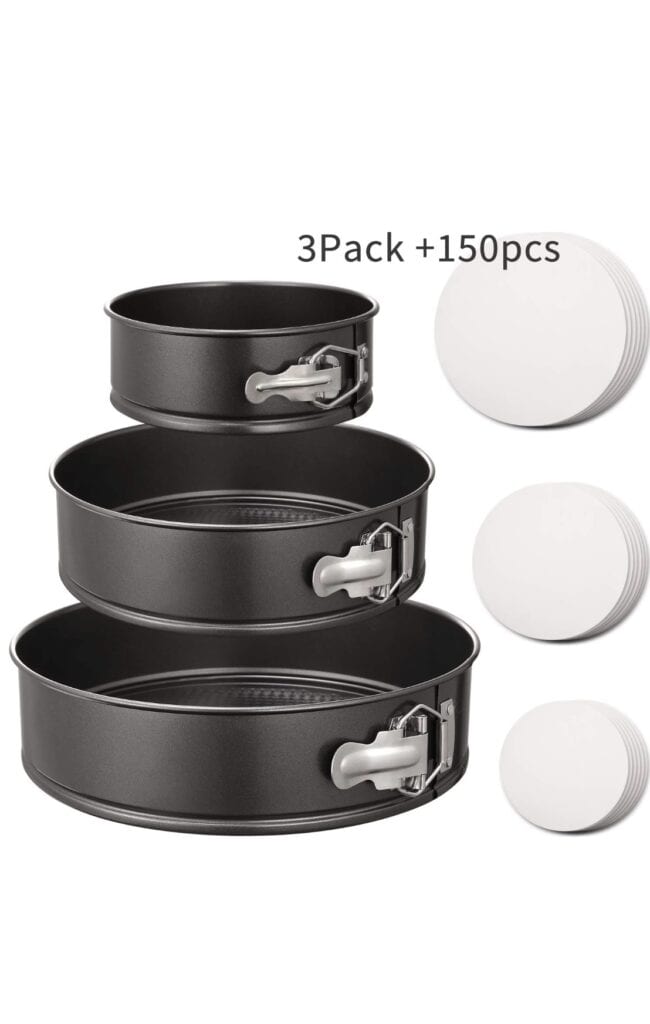
These spring form pans are a must for a cheesecake. You can make this in a 9 inch or a 10 inch. https://amzn.to/3fOG0w0 is a link of a set of 3. I use the small one a lot since there’s just 2 of us.
Before I give you this recipe, here’s another recipe using summer fruits! It’s delicious! https://the2spoons.com/the-best-spicy-summer-fruit-salad/

Here’s the recipe!! Enjoy!
Ingredients
Method
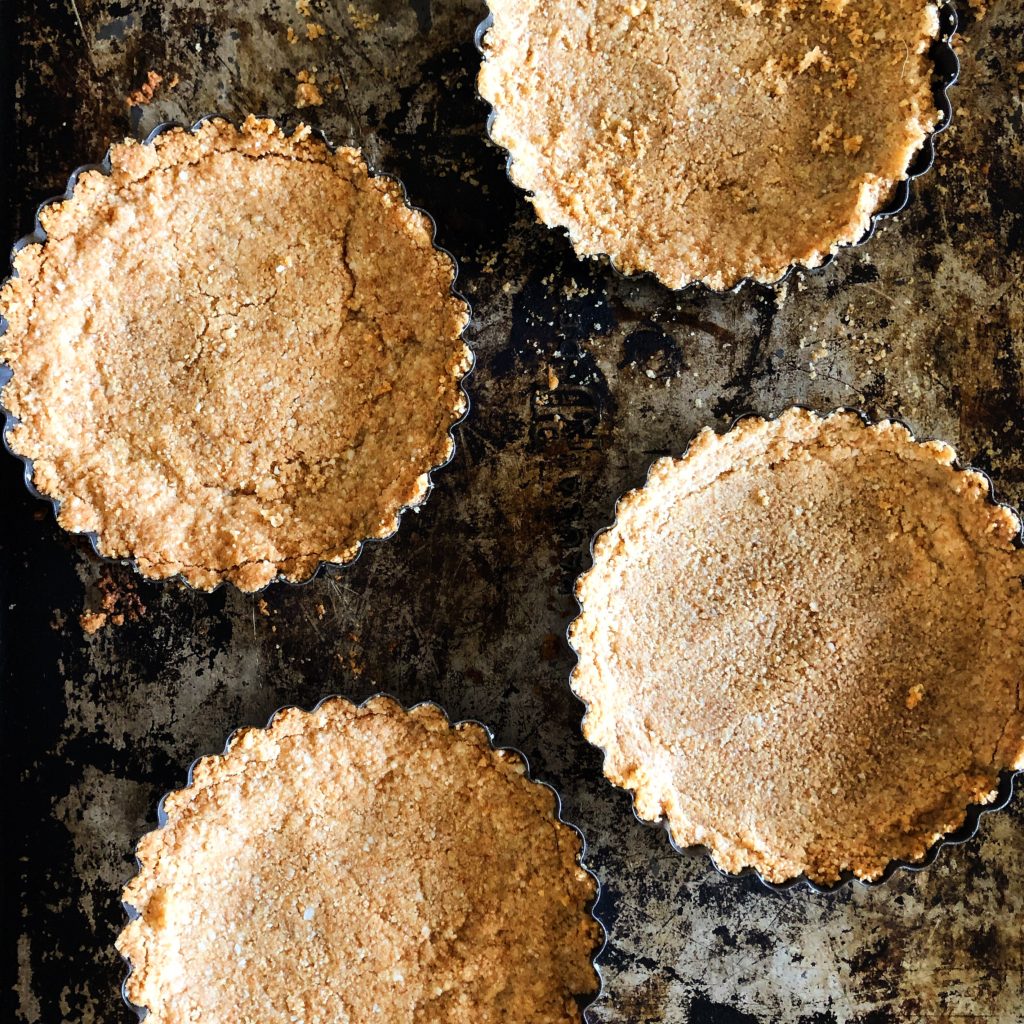
- Preheat oven to 375°F. Stir together crushed graham crackers, butter, and 1/2 cup brown sugar in a bowl. Press mixture into bottom of a 10-inch springform pan; wrap bottom of pan in aluminum foil, or place on a rimmed baking sheet. Bake in preheated oven until golden brown, about 8 minutes. Let cool 10 minutes. (Leave oven temperature at 375°F.)
- Meanwhile, beat cream cheese, egg yolks, 3/4 cup granulated sugar, and 1 teaspoon vanilla in a medium bowl with an electric mixer on medium-high speed until smooth, about 2 minutes, stopping to scrape down sides of bowl as needed. Using clean beaters, beat egg whites in a separate medium bowl with an electric mixer on high speed until stiff peaks form, about 2 minutes. Fold egg whites into cream cheese mixture in 3 additions. Pour mixture into prepared crust, and smooth top.
- Bake cheesecake at 375°F until filling is puffed and top begins to dry out, 22 to 25 minutes. Let cool on a wire rack 1 hour.
- Whisk together sour cream, remaining 2 teaspoons brown sugar, and remaining 1/2 teaspoon vanilla in a bowl. Gently spoon onto cheesecake; smooth using an offset spatula.
- Bake cheesecake at 375°F until center is set (center will wobble slightly), 18 to 22 minutes. Let cool on a wire rack 1 hour. Place in refrigerator until chilled, at least 6 hours or up to 8 hours or overnight.
- Meanwhile, stir together blueberries and remaining 3 tablespoons granulated sugar in a small saucepan; cook over medium-high, stirring often, until blueberries start to release juices and sugar dissolves, about 4 minutes. Remove from heat; let cool.
- Run a knife around edges of cheesecake in pan. Remove springform ring from cheesecake, and transfer to a serving platter. Spoon blueberry sauce over cheesecake just before serving.