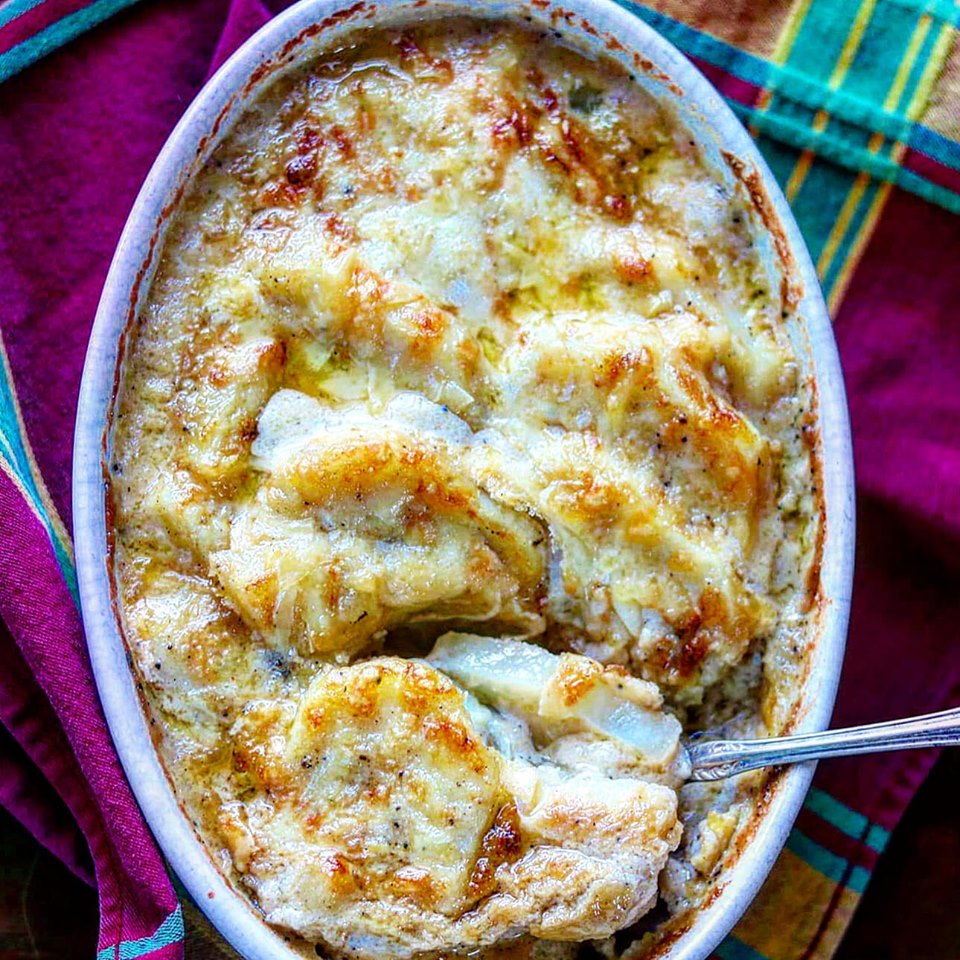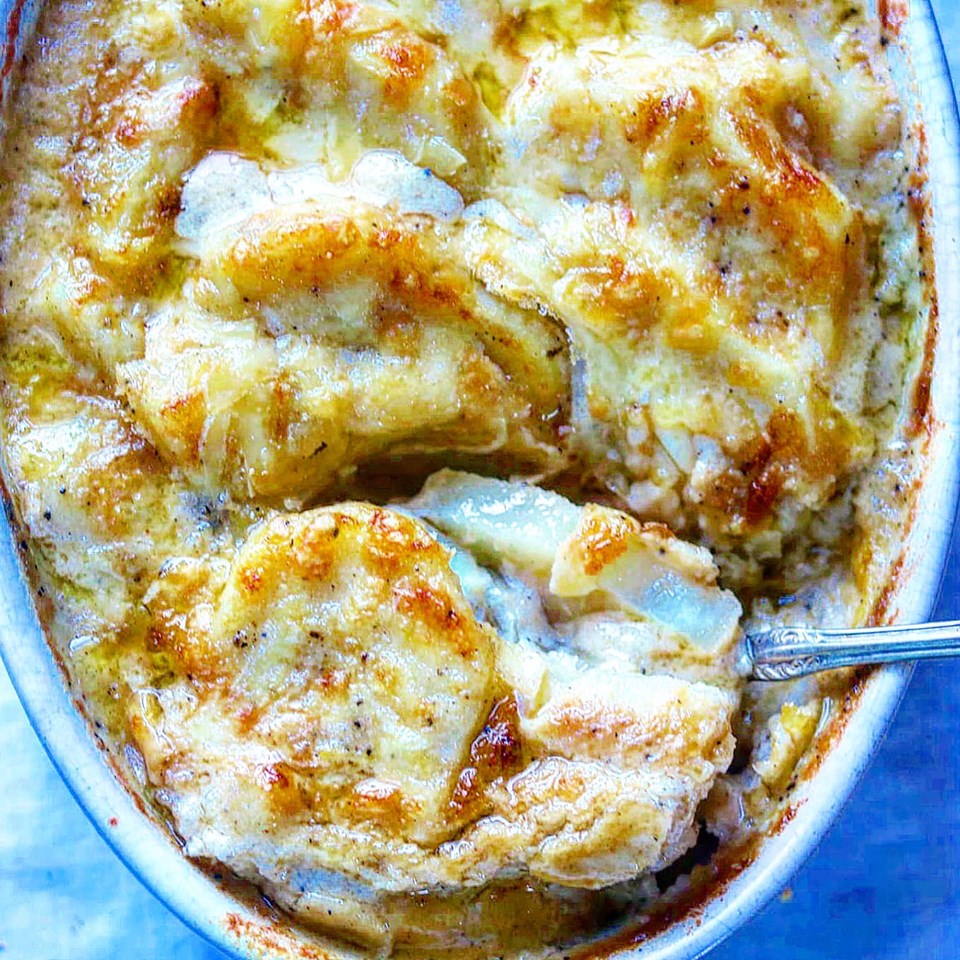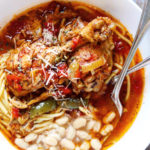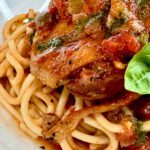
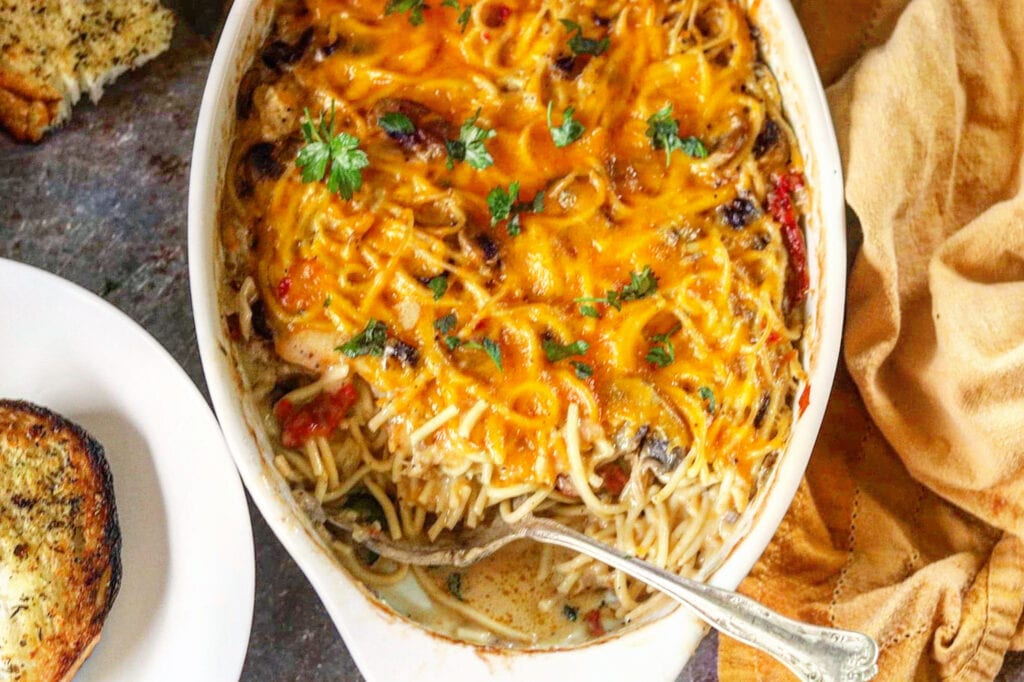
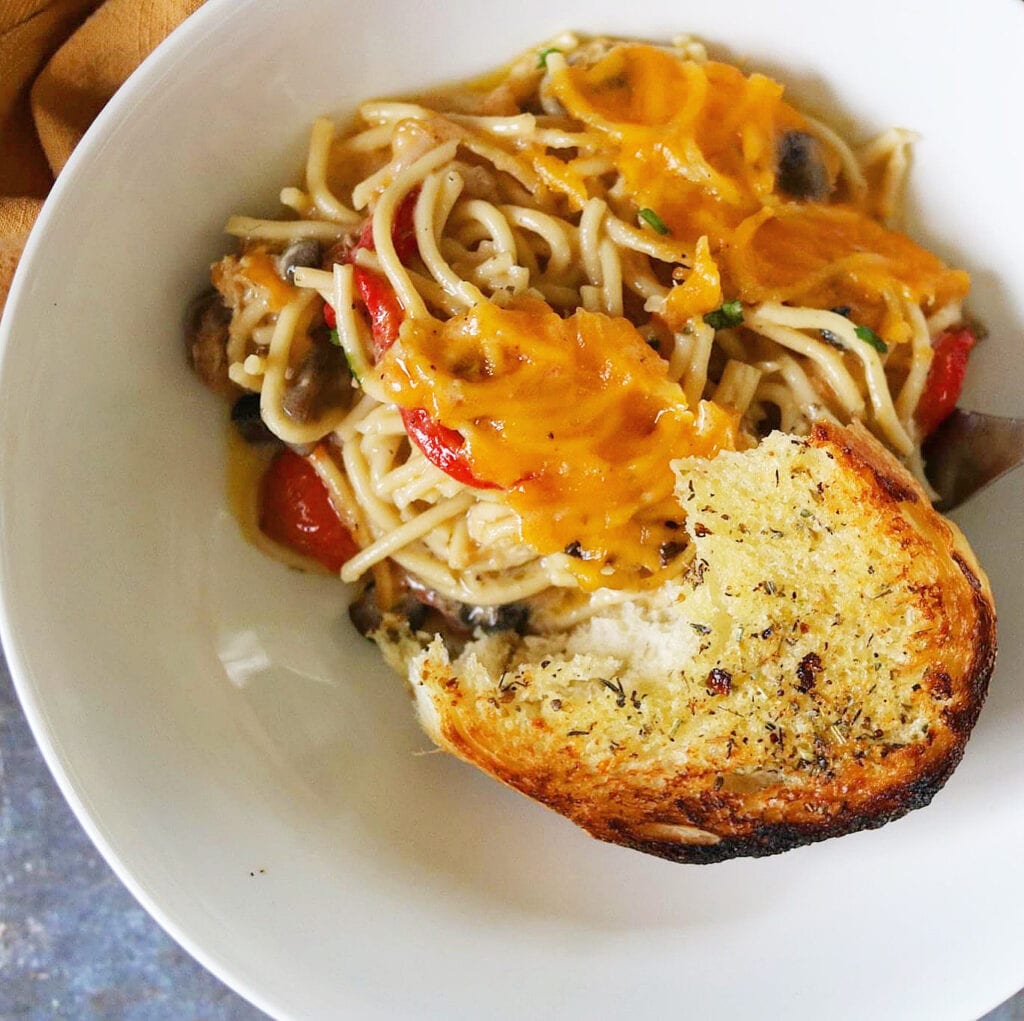
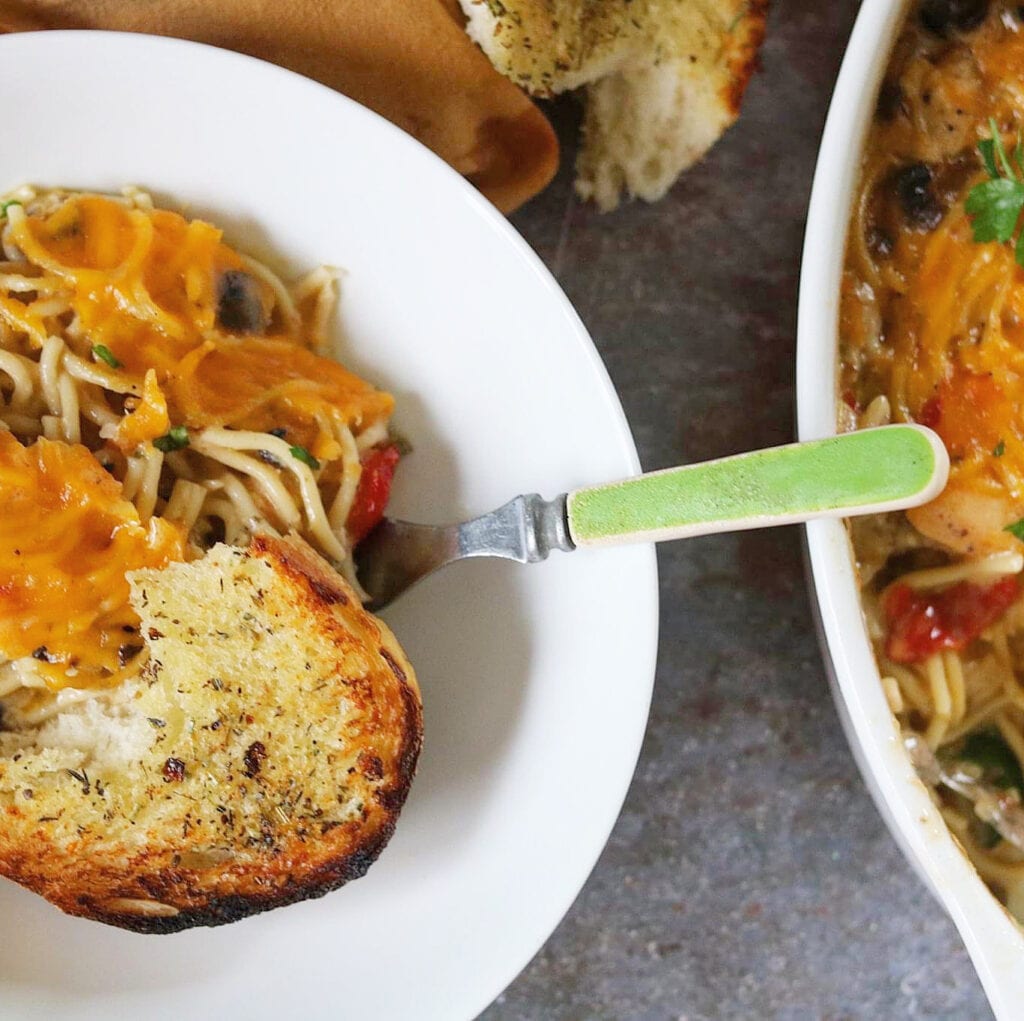
This easy cheesy chicken spaghetti is so tasty! This casserole serves six to 8, and if there are any leftovers, it tastes even better the following day. The creamy sauce combined with tender chicken and pasta creates a comforting meal. Topped with melted cheese, it adds a delightful richness that everyone will love. Preparing it is a breeze, making it perfect for busy weeknights. Pair it with a simple side salad for a complete dinner that satisfies. Your family will be requesting this dish again and again!
Another fantastic way to serve this easy cheesy chicken spaghetti is to bake it in individual portions. This not only makes for an elegant presentation but also allows each person to have their own serving, which can be particularly useful for parties or gatherings. Simply divide the mixture into ramekins, top with cheese, and bake until golden and bubbly.
To elevate the flavors of this easy cheesy chicken spaghetti, consider adding a variety of vegetables such as zucchini, spinach, or even carrots. These not only add nutrition but also enhance the visual appeal of the dish. Sauté the vegetables alongside the onions and peppers until they are slightly tender before adding them to the pasta mixture. This will ensure that they integrate well into the creamy sauce.
This recipe is not just limited to chicken; you can easily substitute cooked turkey or even shrimp for a different twist. Experimenting with proteins can provide a fresh taste each time you prepare this dish. For instance, if you choose shrimp, be sure to sauté them until they are pink and opaque before combining them with the sauce.
Cooking from our pantry

As we strive to make the most of our pantry supplies, create meals that last, and prepare dishes that please the whole family, this recipe fulfills all those needs while being budget-friendly. If you’re serving a large group, feel free to double or triple the ingredients; it works perfectly for any crowd. This recipe is an excellent choice for feeding many people.
For those who prefer a spicier kick, try adding diced jalapeños or a splash of hot sauce to the creamy mixture. This addition creates a balance of flavors that can cater to both mild and spicy preferences, making the dish enjoyable for everyone at the table.
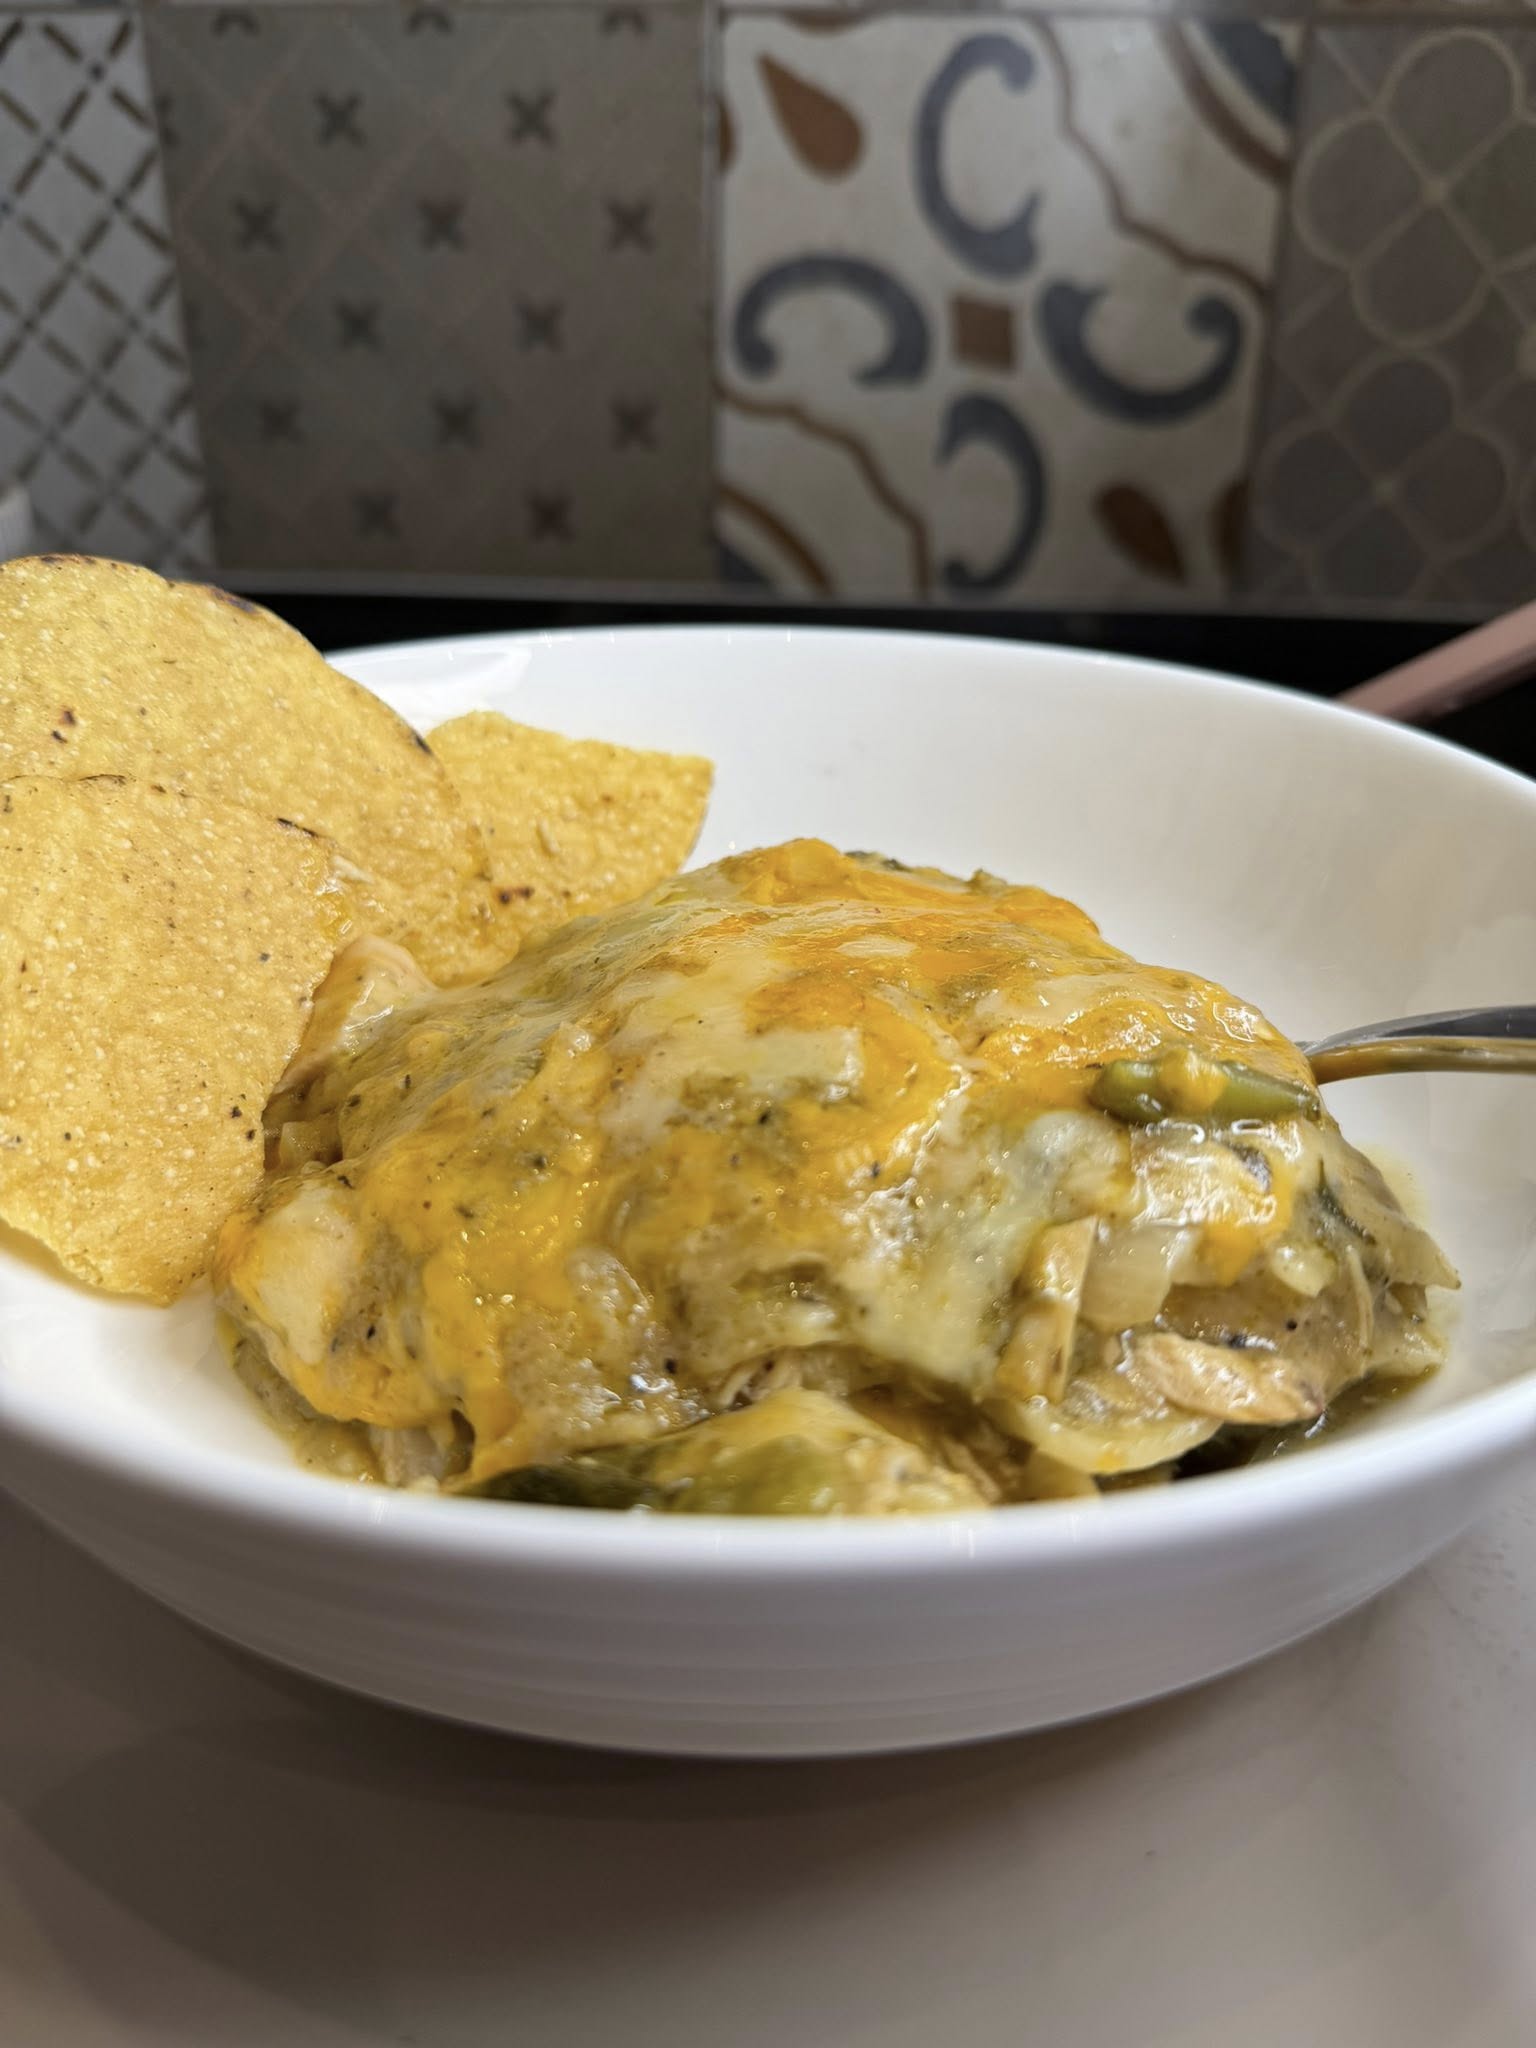
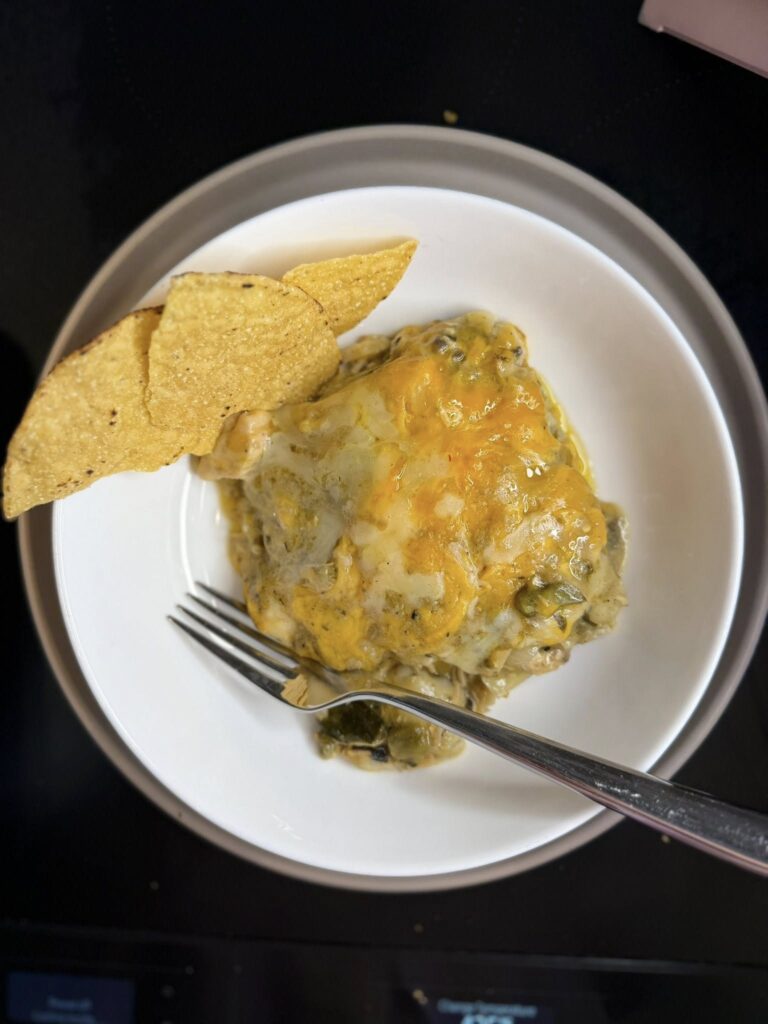
Every item in this recipe can actually be from your pantry expect for the fresh ingredients like onions and peppers, and of course the cheese. I used fresh mushrooms and chicken that I had leftover, but you could use jarred mushrooms and canned chicken! I did top it with a mixture of cheddar cheese and Italian bread crumbs but you could leave the bread crumbs out all together.
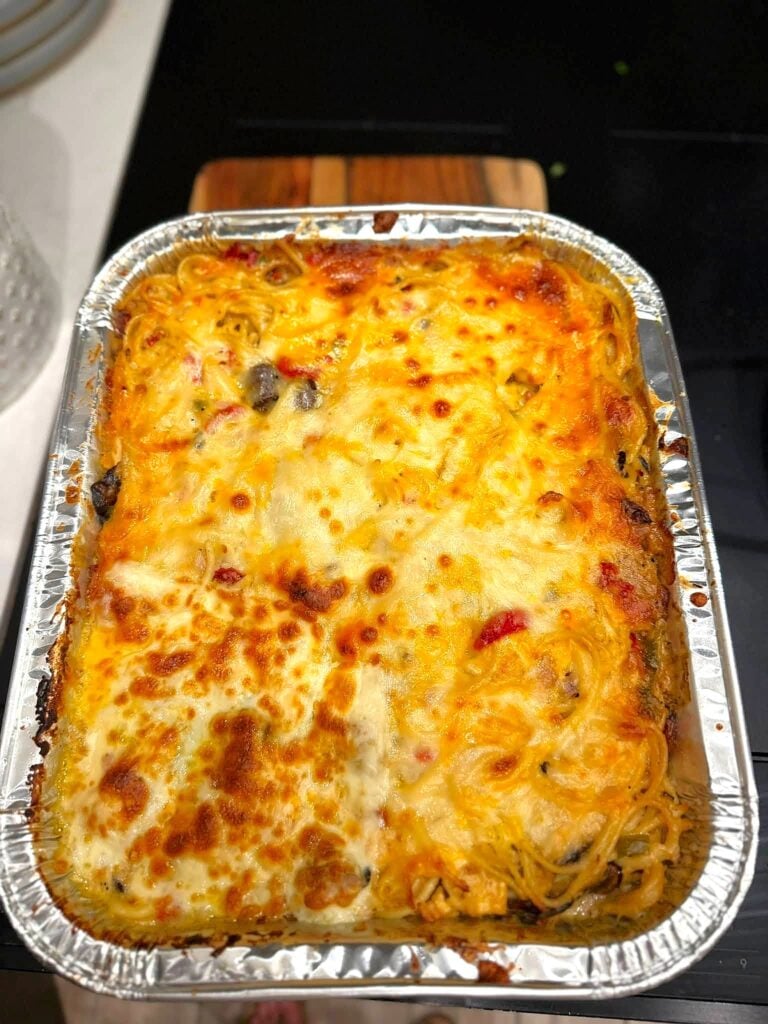
My boys loved this growing up. When my youngest son moved from home and shared a place with friends, I’d make a huge recipe of this and send it home with him! This makes a great dish to serve a crowd, and it is a perfect make ahead dish that you can freeze before baking!
easy cheesy chicken spaghetti.
What you will need for this recipe.
- Chicken
- spaghetti
- mushrooms
- olive oil
- butter
- onions
- red, yellow and green bell peppers
- heavy cream
- chicken stock
- flour
- pimento
- seasonings
- pasta water
As you can see most of the ingredients are common ingredients most of us always have on hand however, dI can’t find the condensed soups in Cabo San Lucas where I live so I made this recipe with a roux, heavy cream and chicken stock. i also used fresh mushrooms that I sauteed. I would always have cream of mushroom soup on hand living in texas, so I would buy them in 6’s like you get a Sams club or online at amazon for a 4 pack. Here’s a link for the amazon 4-pack: https://amzn.to/2Wi5dbg.

How to store and reheat chicken spaghetti.
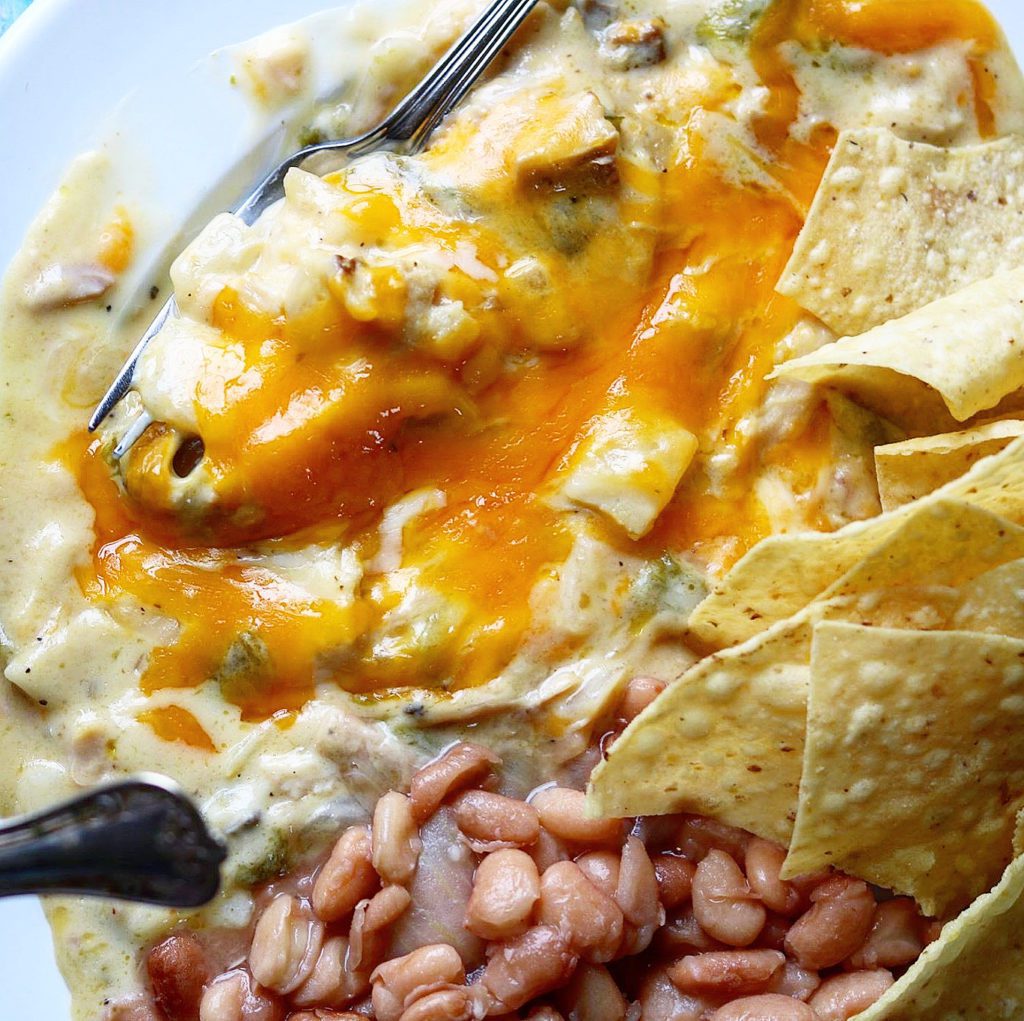
Keeping the “cooking from the pantry” theme going, you can open a can of green beans to serve with this and that would be a great addition. Here’s my simple recipe for canned green beans: Cooking from the Pantry: Taste like Fresh, Easy Green Beans with Pork

My Mom would have probably thrown in a green salad and bread because she always served complete meals that covered the food wheel and she would include dessert!
Here’s the easy recipe! Hope you enjoy!
Chicken Spaghetti
Ingredients
- 12 oz spaghetti
- 3-4 cups cooked chspaghettiicken
- 2 cups grated cheddar cheese (I use a combination of mild and sharp)
- 2-3 oz Velveeta cheese, cubed ( Optional, but I really like it in the dish) or American
- 6-8 large mushrooms, sliced
- 1/2 onion, diced
- 1/2 red bell pepper, diced
- 1/2 green pepper, diced
- 1/2 cup yellow
- 2-3 tbsp butter
- 1 tsp extra virgin olive oil
- 1 4 oz jar pimentos, drained (you could substitute a can of rotel, but its not available in Cabo)
- 1/4 cup flour for roux
- 1 cup heavy cream (more if needed)
- 2 cups chicken broth
- Lawry's seasoned salt
- garlic powder
- onion powder
- cajun seasoning (optional)
- 1/8-1/4 tsp cayenne pepper
- salt and pepper to taste
- 1 cup additional grated cheddar cheese for the top
Instructions
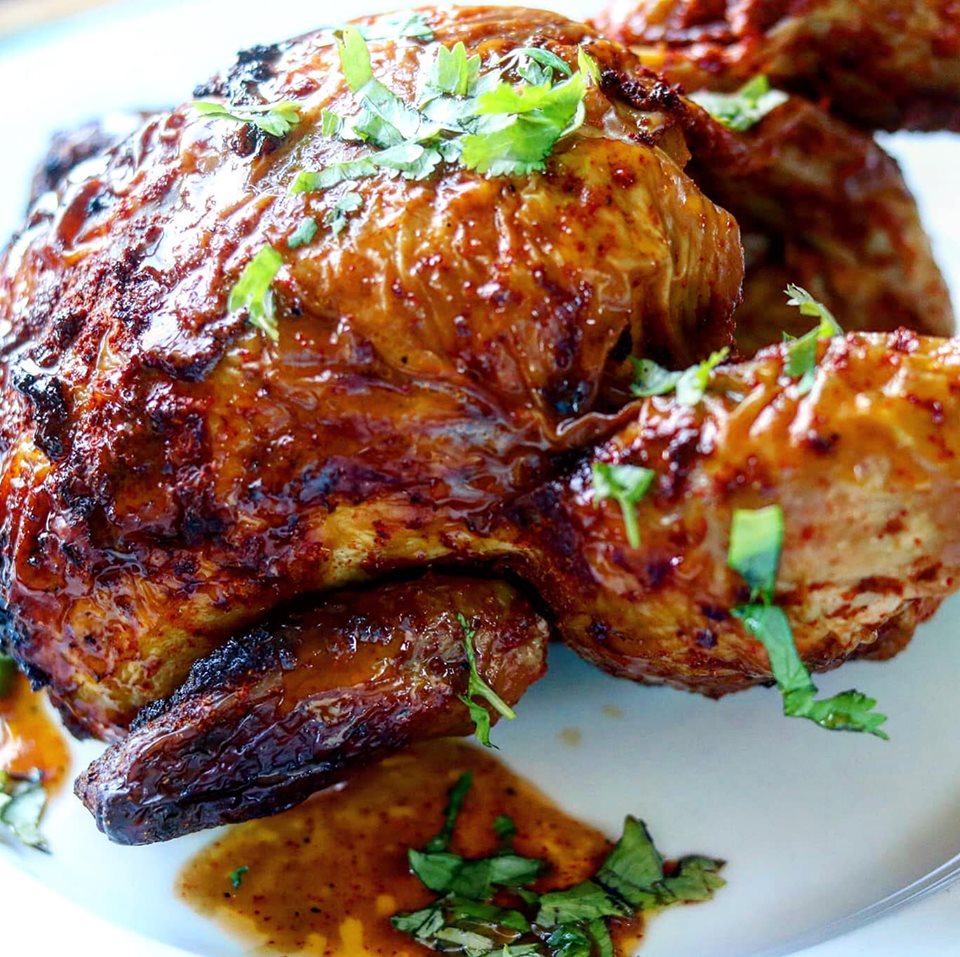
- Preheat oven to 375 degrees. Dice the chicken from a chicken you have cooked or a rotisserie chicken. I cooked mine in the instant pot. I placed the chicken in the pot, adding water up about 3/4 to the top of the chicken. I added 2 bay leaves, a stalk of celery, 2 carrots, 1/2 onion and a little salt. I set the Instant Pot for 30 minutes and allowed it to release on it's on. I then remove the chicken and strain the broth, discarding the vegetables. When cool, you can dice or tear the chicken into pieces. You will probably have more chicken than you need left, so use it for another recipe. If you have a rotisserie chicken it will work, you'll just need some chicken broth in your pantry.
- Cook your spaghetti according to packaged instructions.
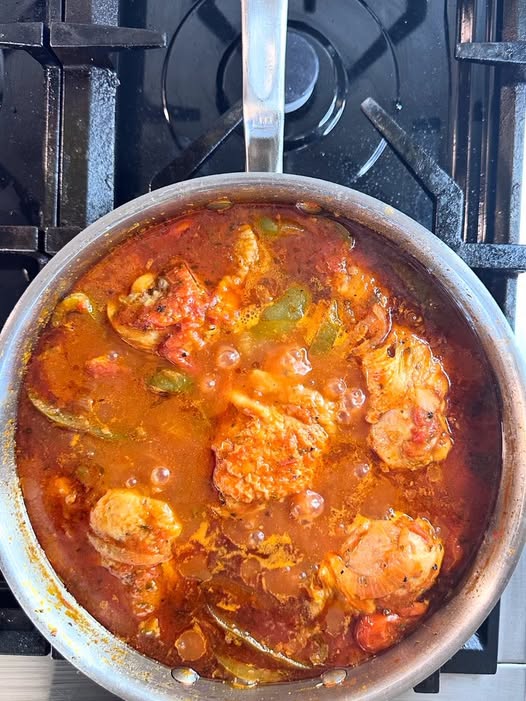
- While your pasta is cooking heat the butter and oil in a large pot. Add the mushrooms and cook until the water has evaporated from the mushrooms and they are starting to brown. Don't salt your mushrooms until they begin to brown because the salt will just release the water. When they start to brown add the salt and pepper. Remove from the pan and set aside.
- Add your onions and peppers and cook until the onions are translucent. When tender add the mushrooms back in. Add all of your seasonings, stir for a minute or so. Add a tablespoon of butter or oil, then add the flour. Cook the flour and vegetable mixture for a minute or so.
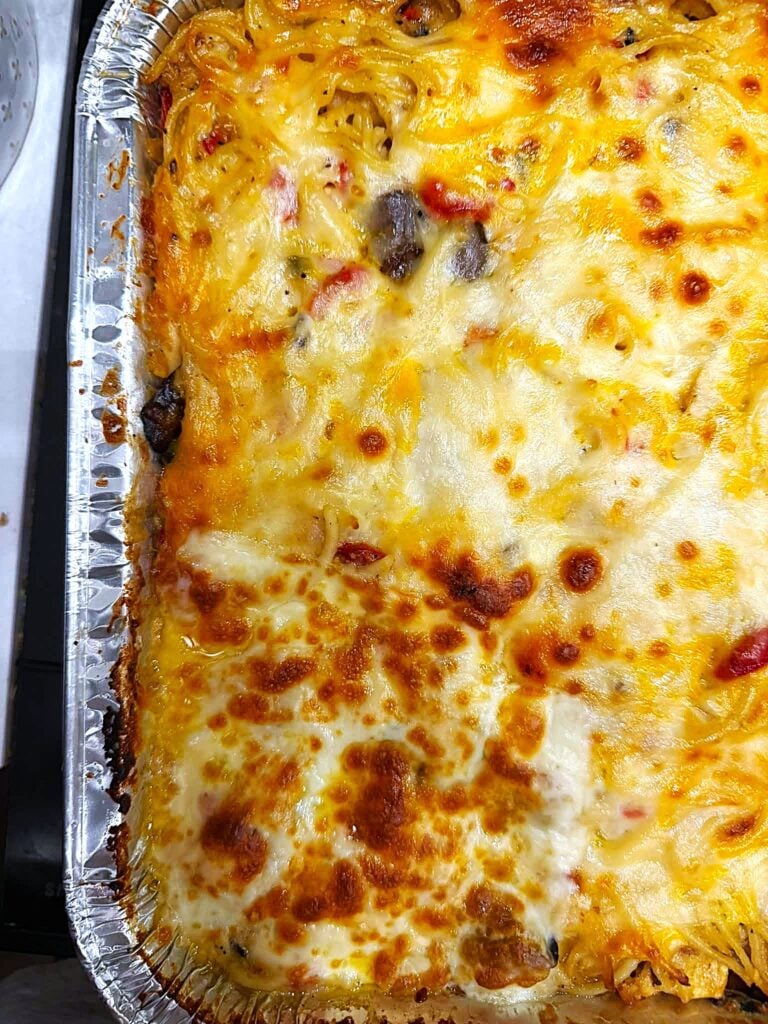
- While stirring add your heavy cream and chicken stock and stir to make your sauce. Add the drained pimento. Add the velveeta or american cheese along with 1/2 of the cheddar cheese, and cook on low to medium until the cheese melts. Add your chicken and combine.
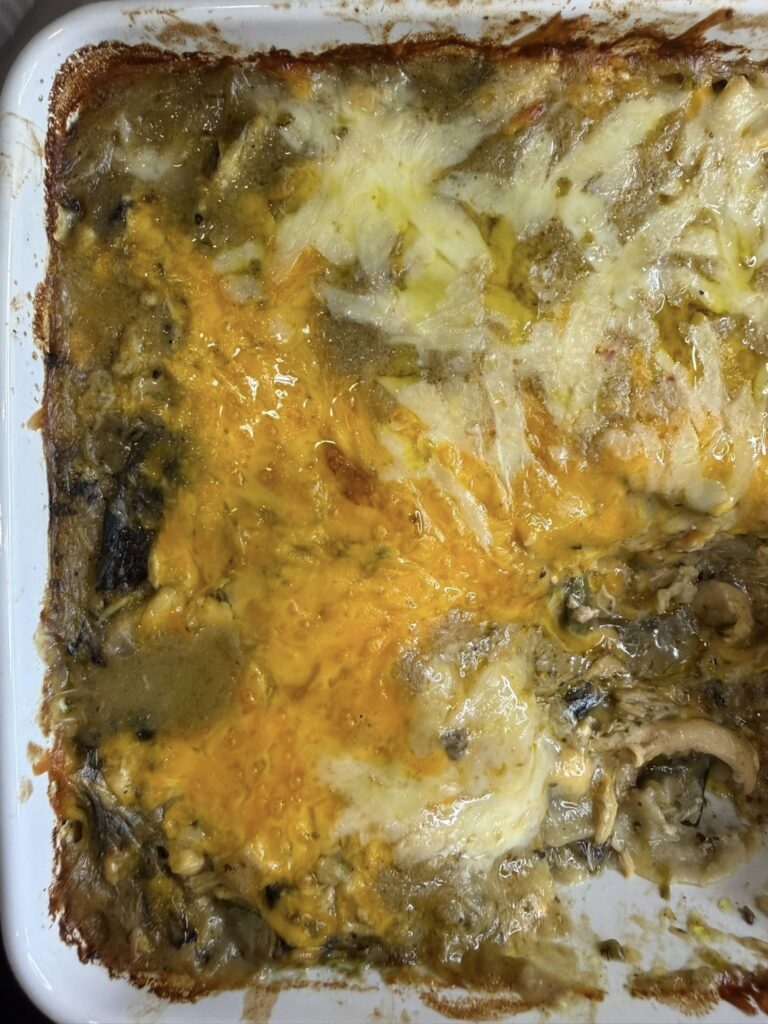
- If your pan is large enough to add the pasta do so, otherwise, add the spaghetti to a baking dish large enough for you to toss all the ingredients.
- Cover and cook for 30 minutes until bubbly, then remove the foil and add your cheese. Cook an additional 15 minutes or until your cheese has melted and the casserole is bubbly. Enjoy!
Additionally, if you want to incorporate some whole grains, using whole wheat spaghetti instead of regular spaghetti can enhance the nutritional value of the meal. Whole grains provide more fiber and can help keep everyone feeling fuller for longer.
This easy cheesy chicken spaghetti can also be customized to suit different dietary needs. For a gluten-free option, use gluten-free pasta, and ensure that the chicken stock is gluten-free as well. This dish is versatile enough to adapt to various dietary restrictions while still being delicious.
If you have any leftovers of this easy cheesy chicken spaghetti, it stores wonderfully in the refrigerator for up to three days. Make sure to place it in an airtight container to maintain its freshness. When you’re ready to enjoy the leftovers, simply reheat in the oven at 350°F for about 20 minutes or until heated through. You can also reheat it in the microwave, but be sure to cover it to prevent drying out.
For an even deeper flavor, consider letting the chicken spaghetti sit in the fridge overnight before serving. This allows the flavors to meld and develop, making the dish even tastier when reheated. Many people find that casseroles like this one taste even better the next day.
Lastly, don’t forget the power of garnishing! A sprinkle of fresh parsley or basil right before serving can add a burst of color and freshness to the dish. Not only does it enhance the appearance, but it also contributes a bright flavor that complements the richness of the easy cheesy chicken spaghetti.