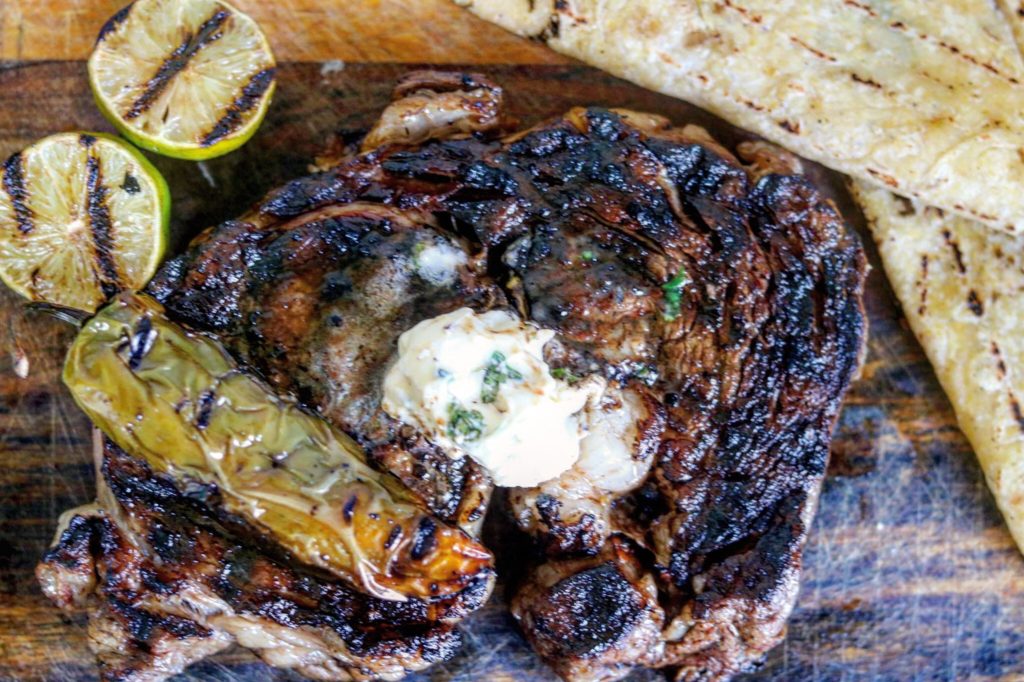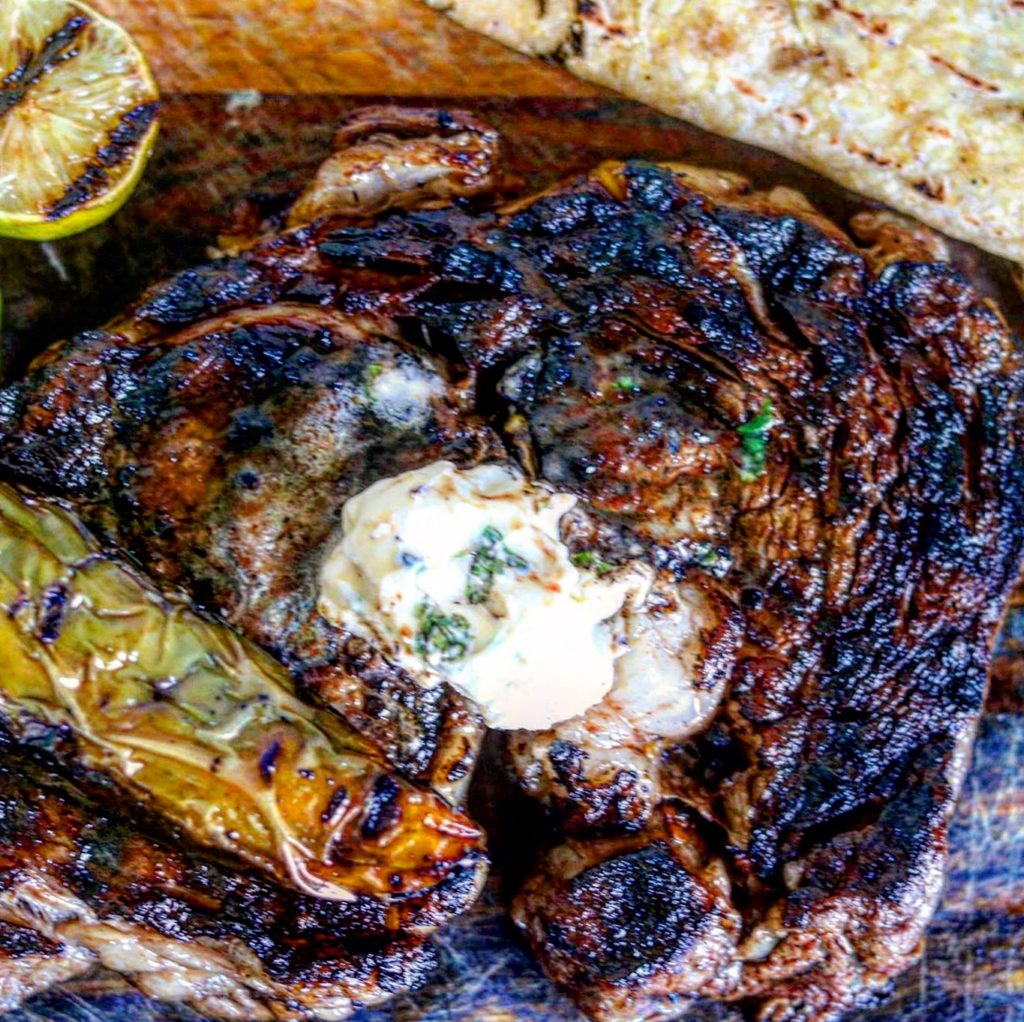
This Chipotle Glazed Ribeye Steak is just what my cowboy wanted! He loves steak on the grill and he loves Mexican food so the chipotle glaze ties it together into one package! Add some grilled jalapeños and some cilantro/lime butter! Perfection!
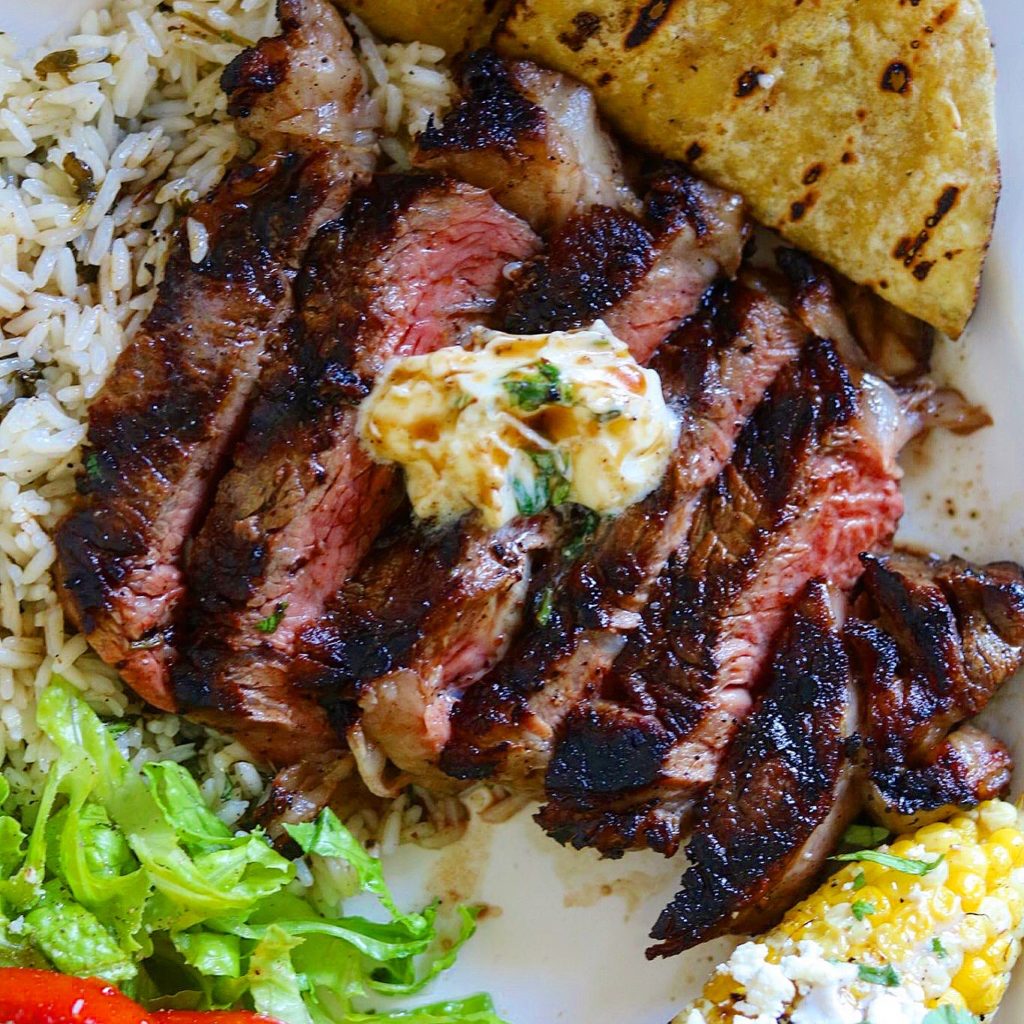
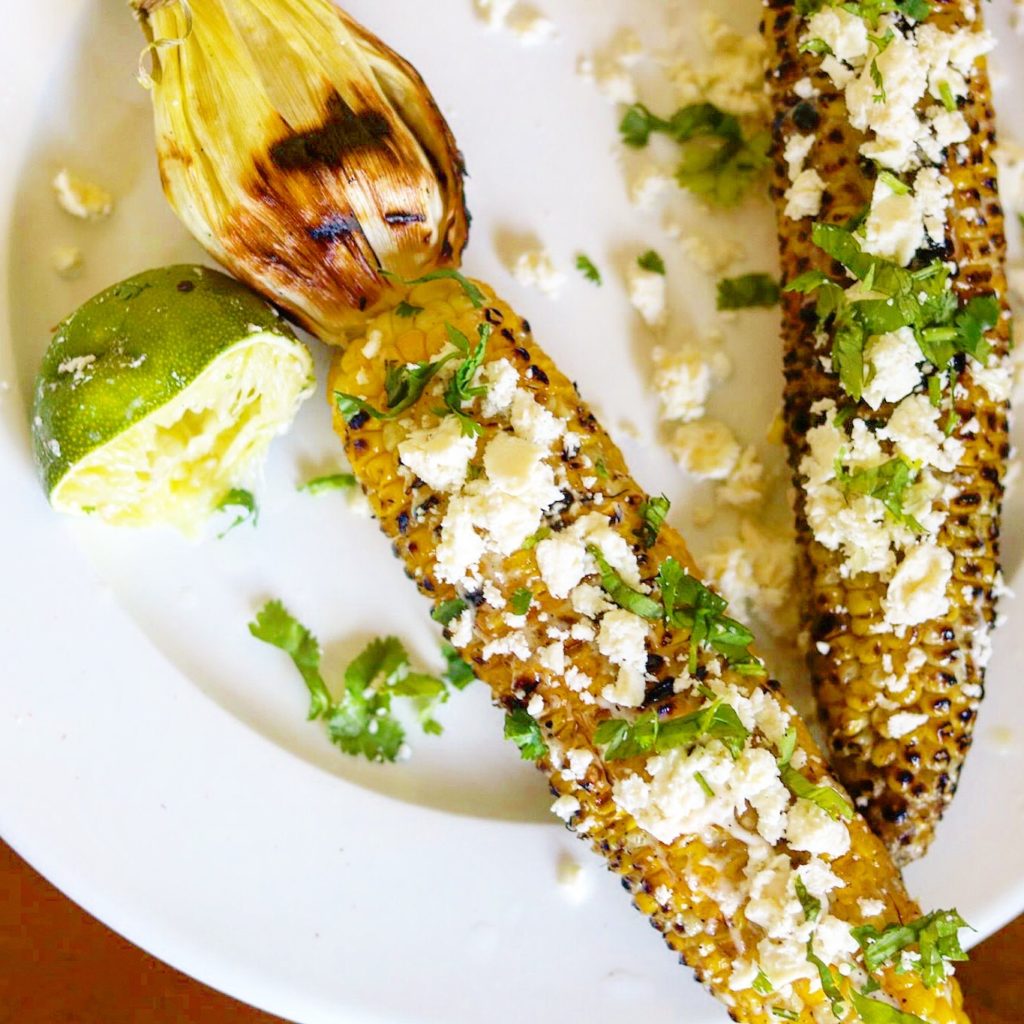
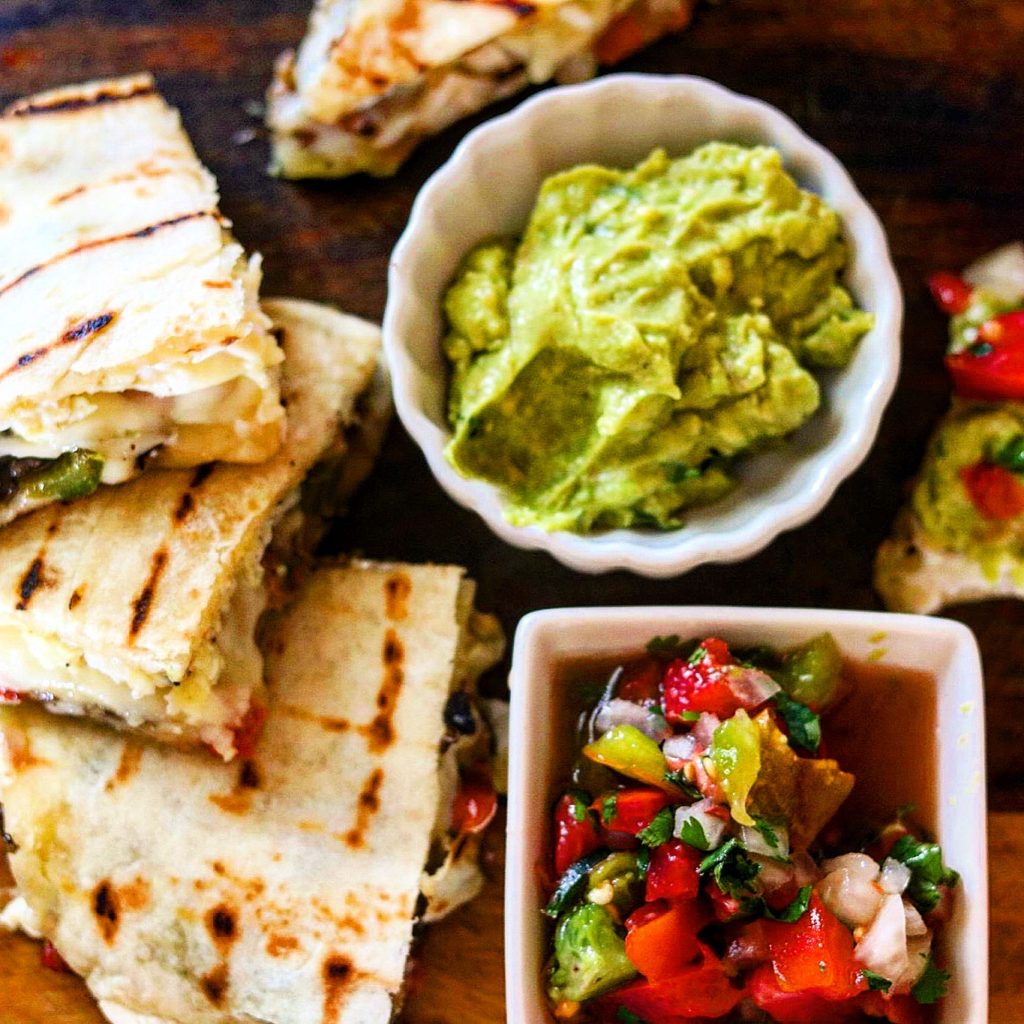
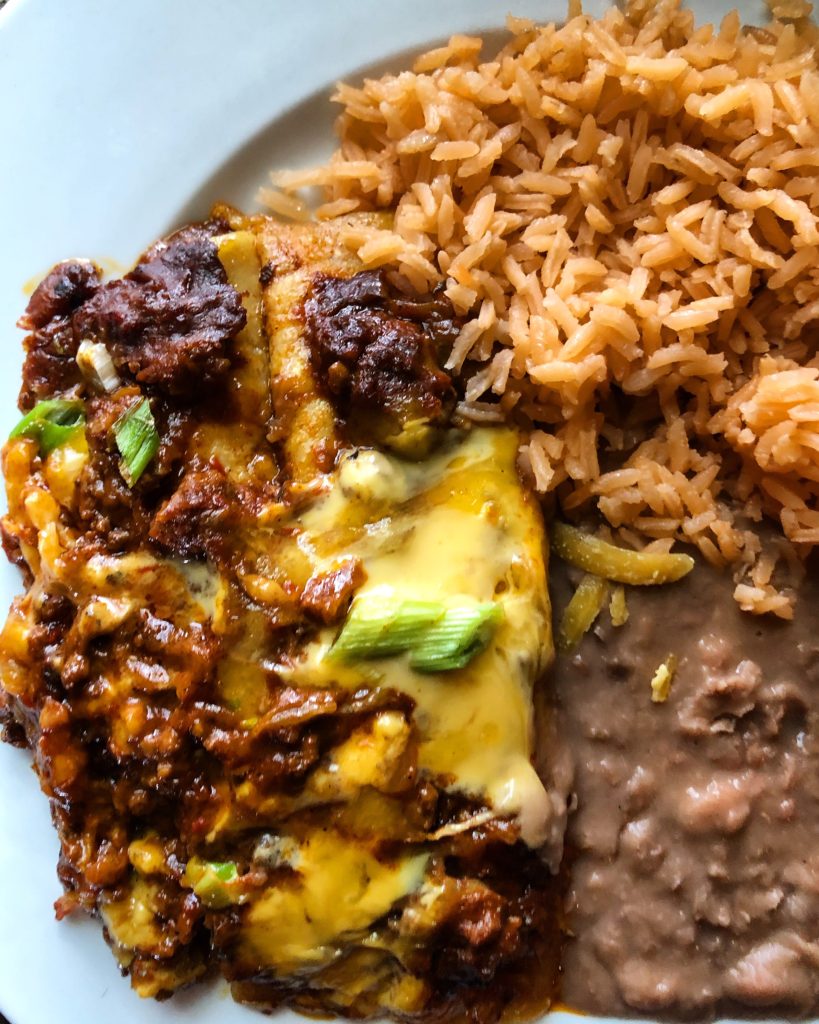
I served the steak my Mexican Street Corn which in itself is delicious! Here’s the link for the corn: https://the2spoons.com/delicious-elote-aka-mexican-street-corn/ and a cilantro lime rice. Add some corn tortillas, lettuce and tomatoes, your choice of salsas and it’s a build your own tacos meal if you want!
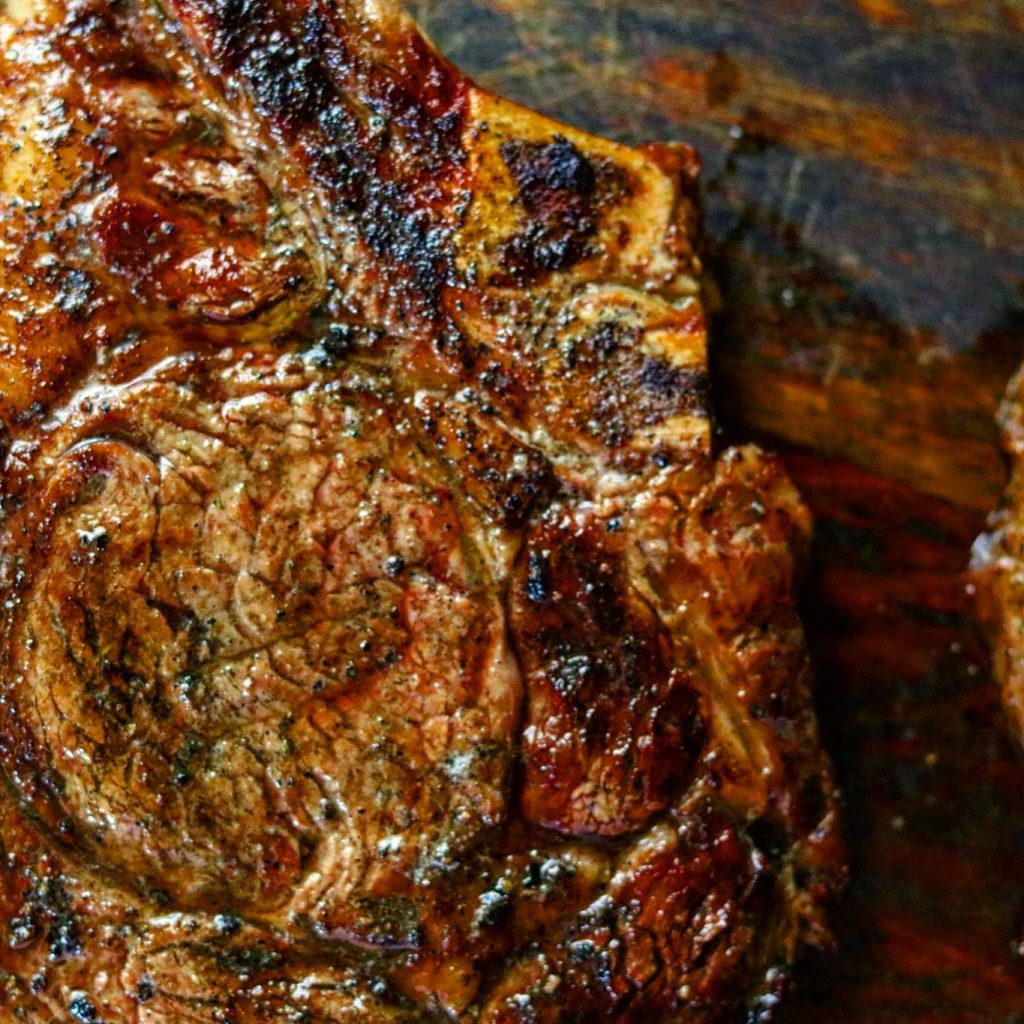
Simple, Tender Grilled Chipotle Glazed Ribeye Steak
We prefer our steaks medium rare. Here’s a chart that will help you make the decision of the correct temperature for your steak. http://www.mychicagosteak.com/steak-university/201…. Just because I’ve cooked steak for so long I don’t use a thermometer but it is always a good idea to do that! Another tip is to let your steaks come to room temperature before grilling, and after grilling, let your steaks rest for a few minutes to let the juices remain in the steak, not on the cutting board if you slice too soon.
I topped with a final pat of cilantro lime compound butter. I just softened un-Salted butter just a little, not too soft because you want to be able to form it and wrap in plastic wrap. Then I added a little salt, lime juice and chopped cilantro. Then I formed into a cylinder shape, wrapped and placed in the refrigerator to firm back up!
Here’s the simple recipe!
Ingredients
Method
- Remove the steaks from the refrigerator and place on a sheet pan or other dish.
- Mince the chipotle peppers and combine with the juices. Rub on both sides of the steak. Rub each side with extra virgin olive oil and add a sprinkle of salt and pepper to each side. Let see about 30 minutes to come to room temperature.
- Meanwhile, heat your preferred grill. When your fire is ready, and the steaks and cook about 3 minutes on each side for medium rare.
- Remove to a platter, top with the butter and allow to rest for a few minutes.