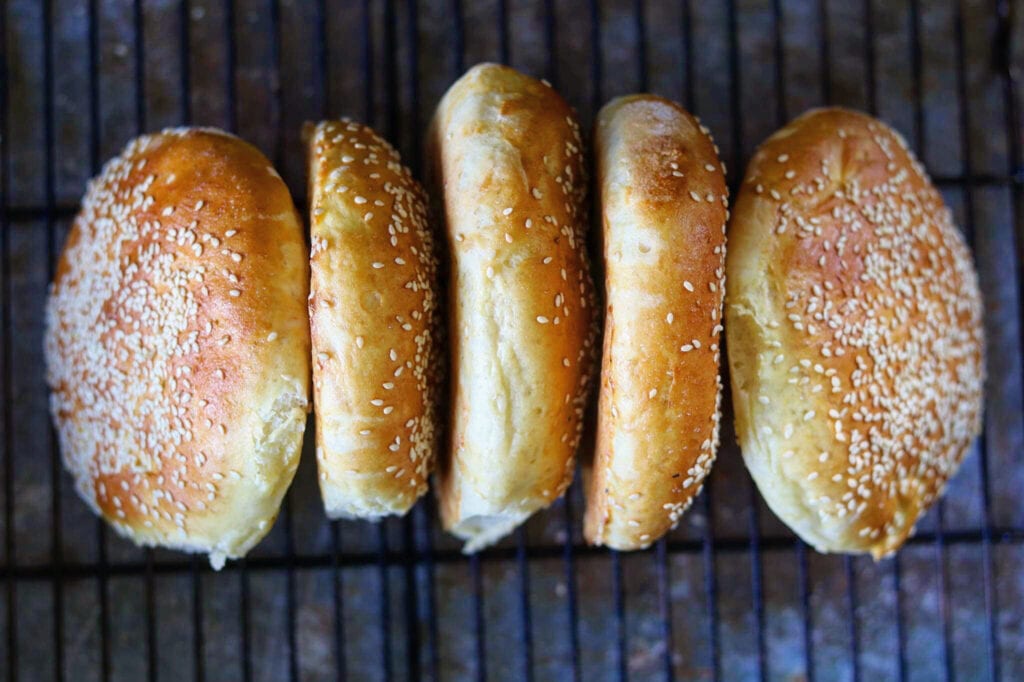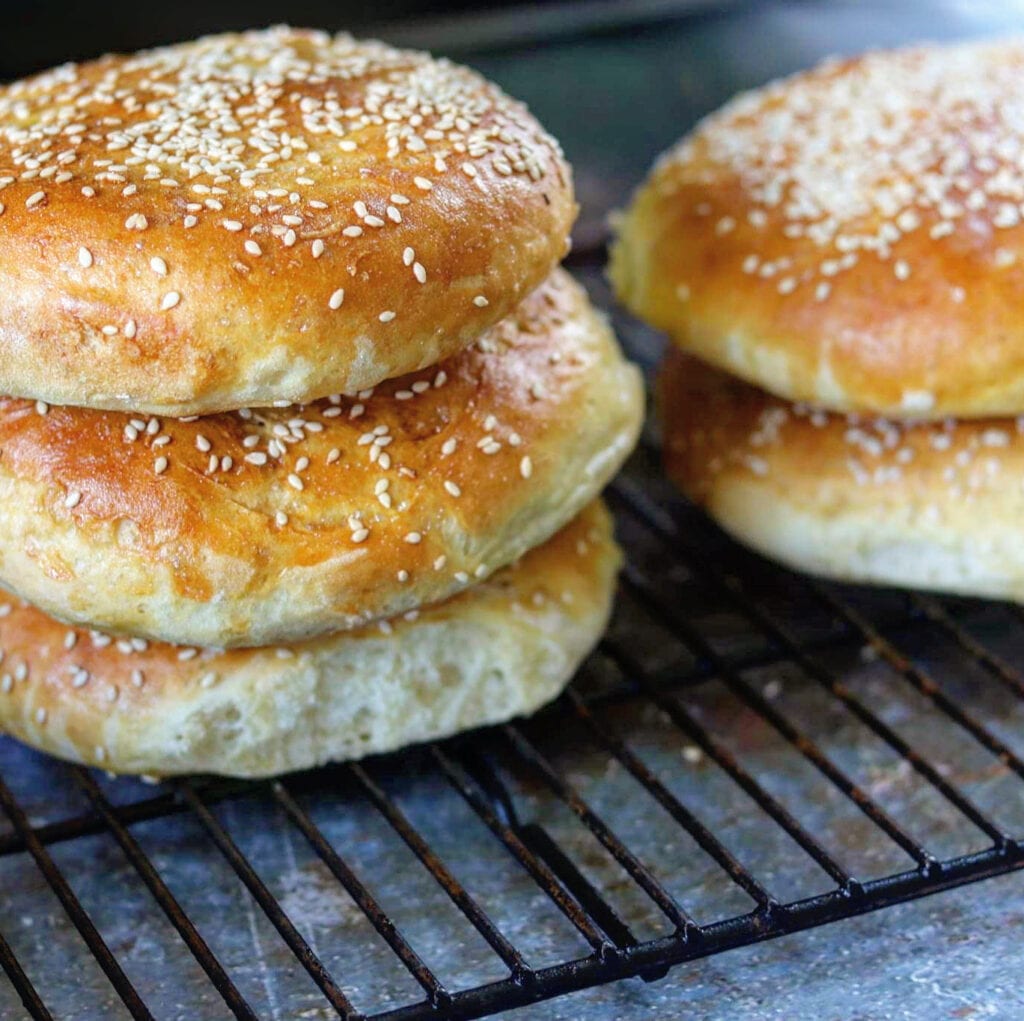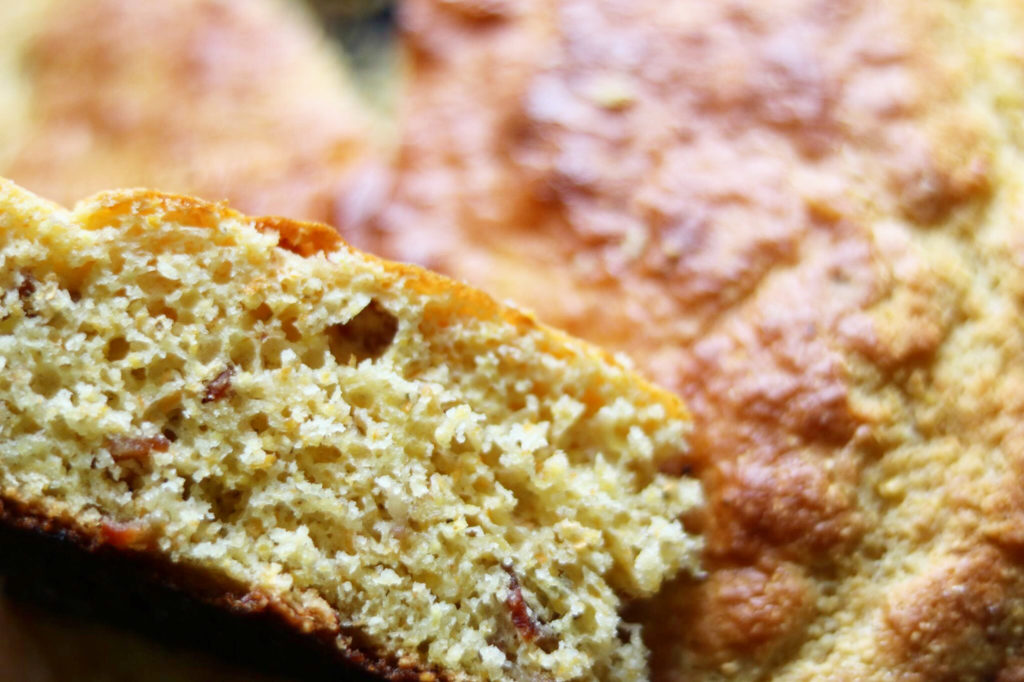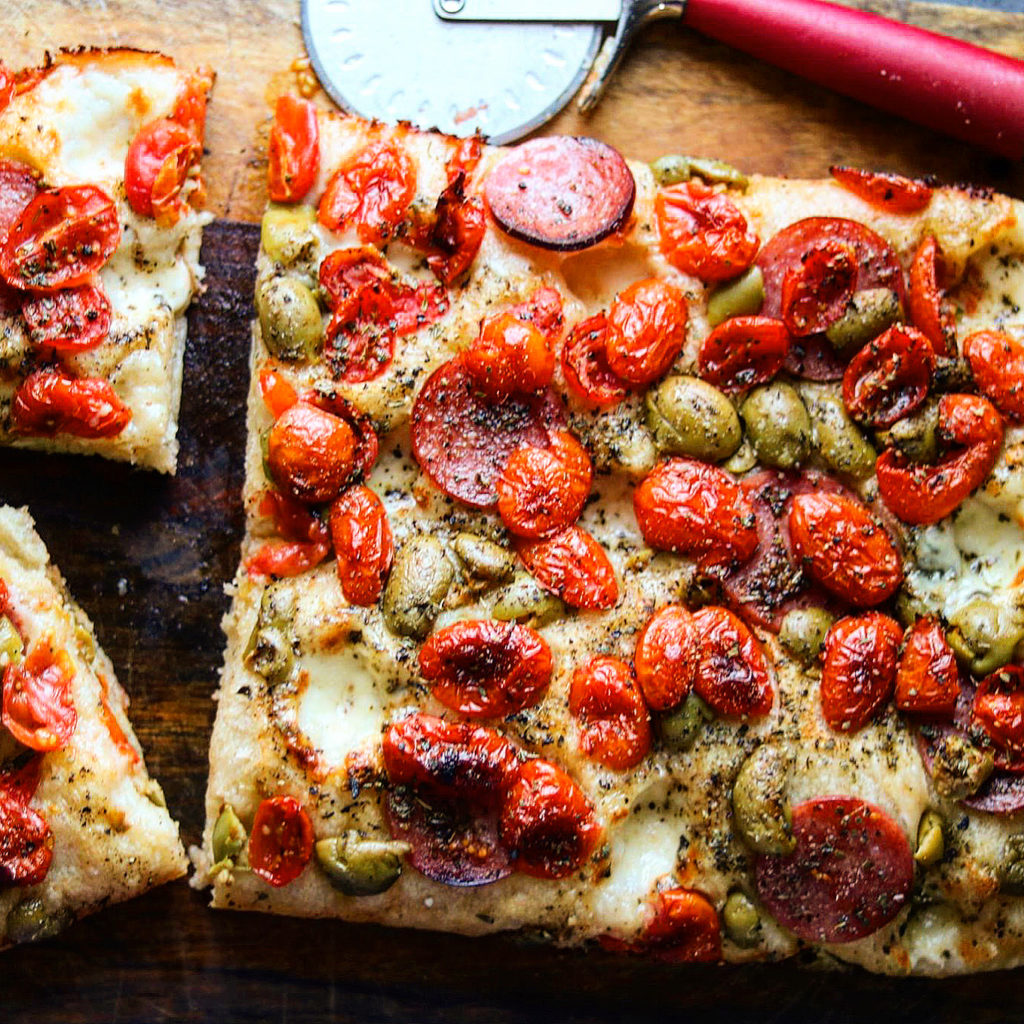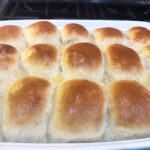

When I made these dinner rolls last night, I had one, but I could have easily eaten six! They were steaming hot out of the oven, I slathered butter on my dinner roll, and relished every single bite. I dreamed about these dinner rolls! First thing I thought about when I woke up! That is how delicious these dinner rolls are! So what did I do? I made breakfast sandwiches on these dinner rolls!

I split the dinner
roll and toasted under the broiler just a little, added American cheese to the top and bottom, back under the broiler to melt, out of the oven I added a piece of cooked breakfast sausage, and two not quite hard fried eggs! Oh, my, goodness! Oh, I forgot, I topped it all off with Louisiana Hot Sauce!
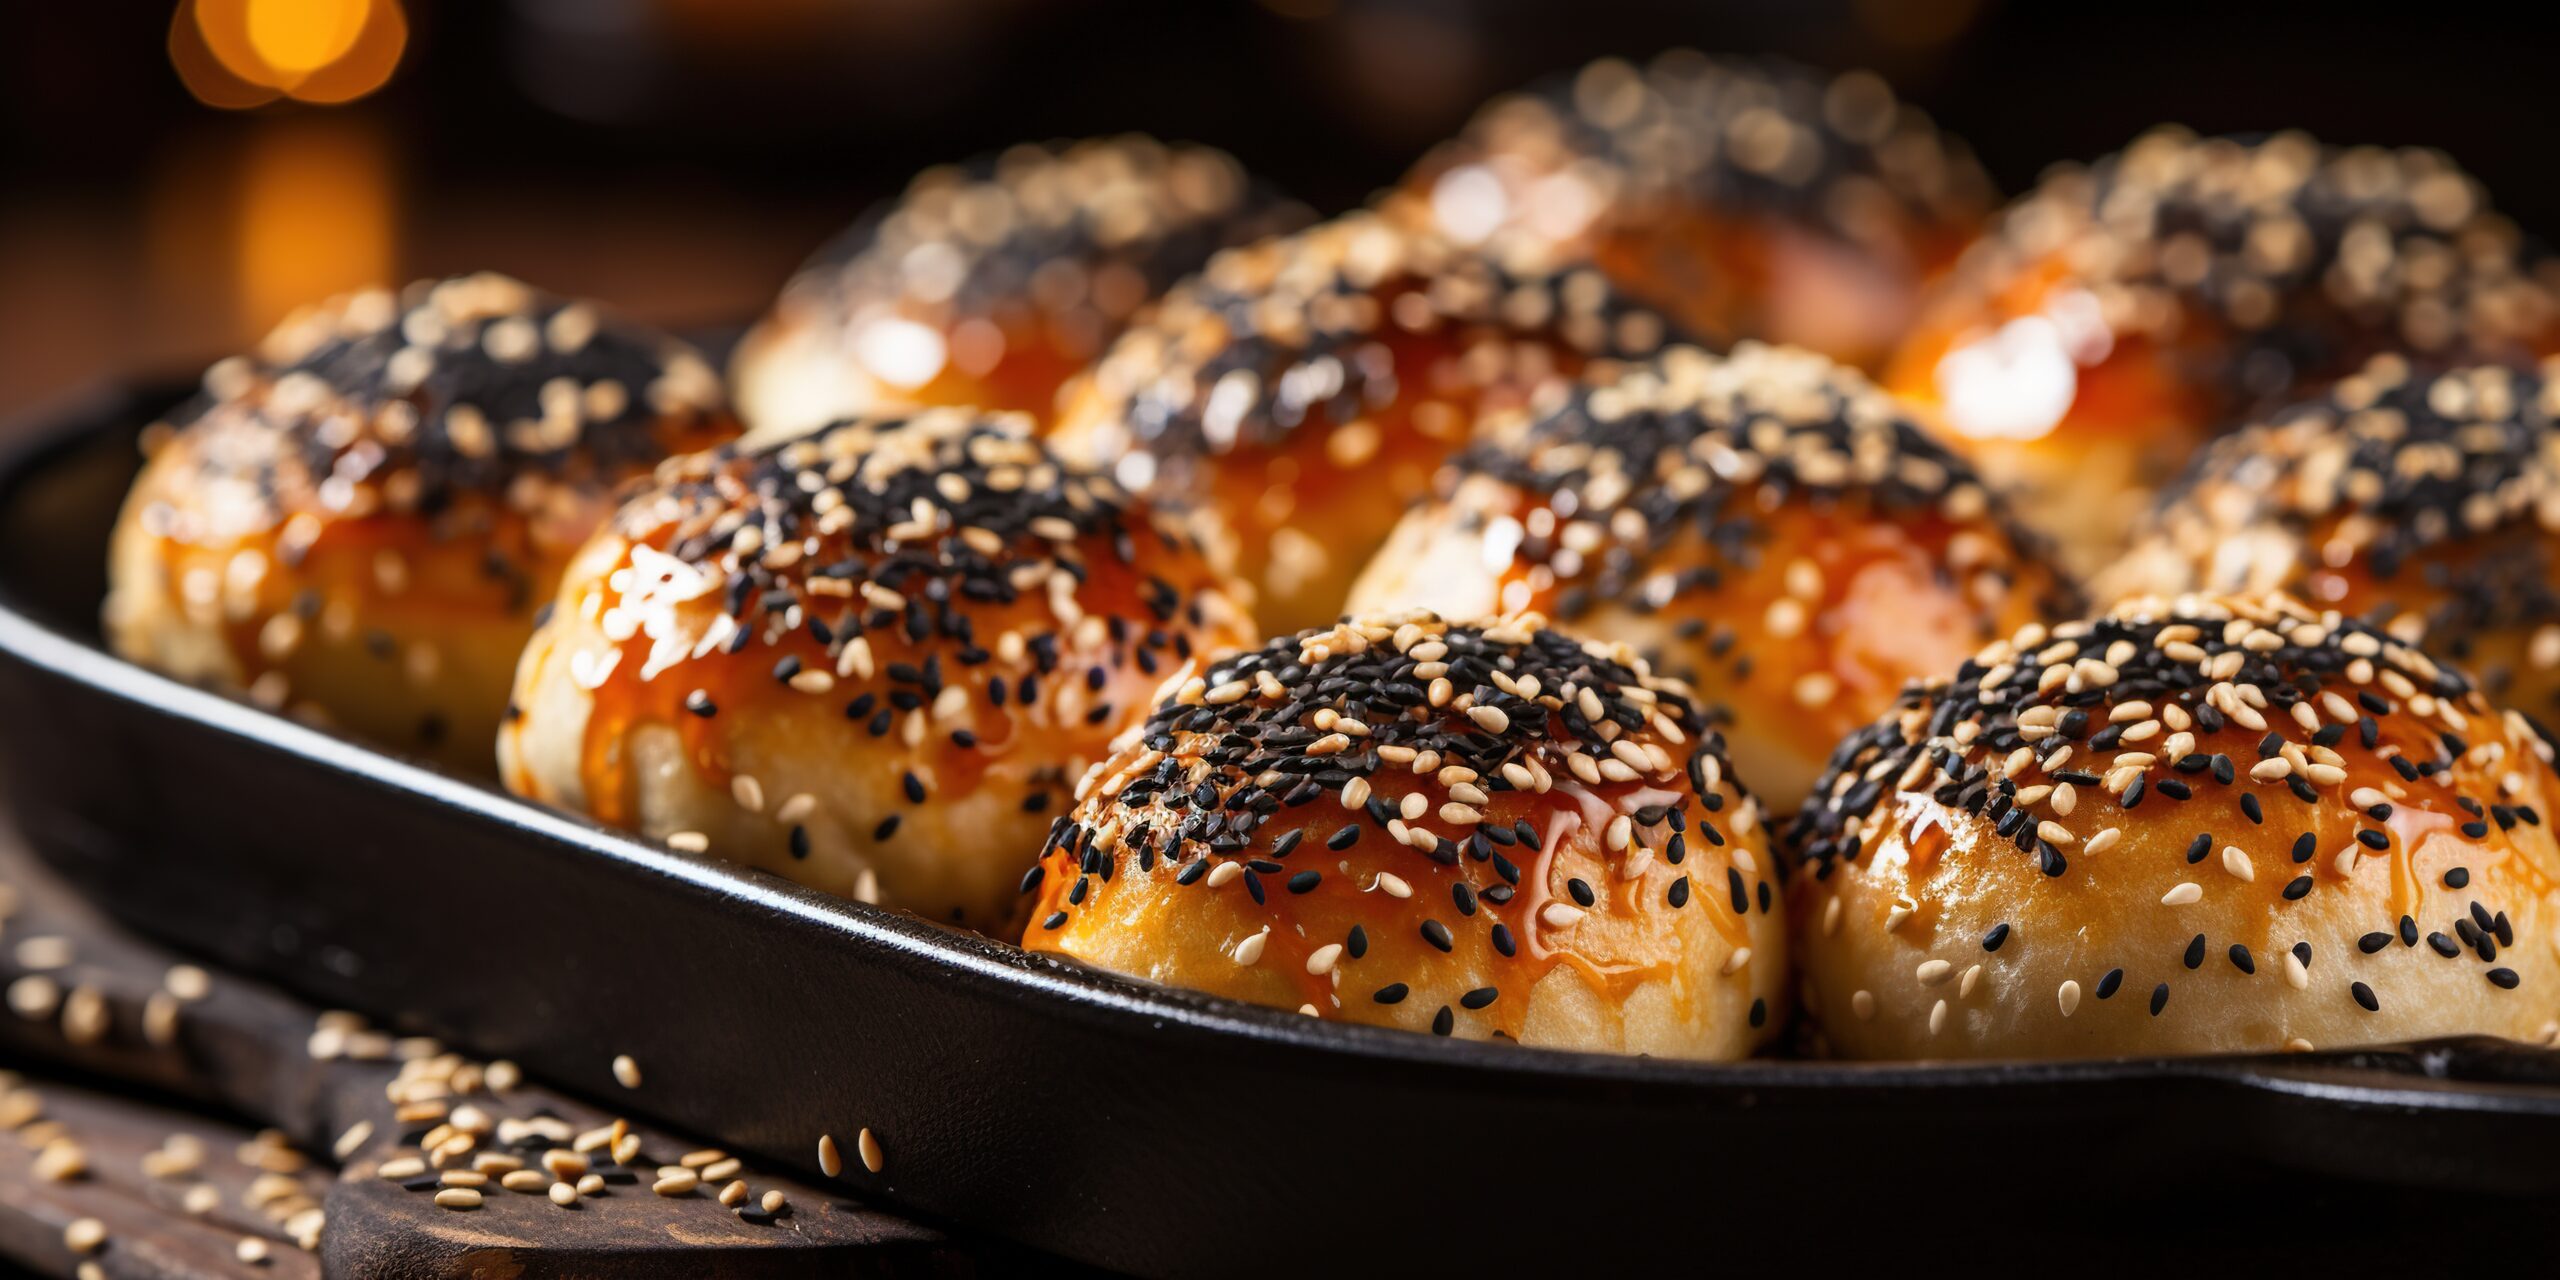
My Best Dinner Rolls Yet!
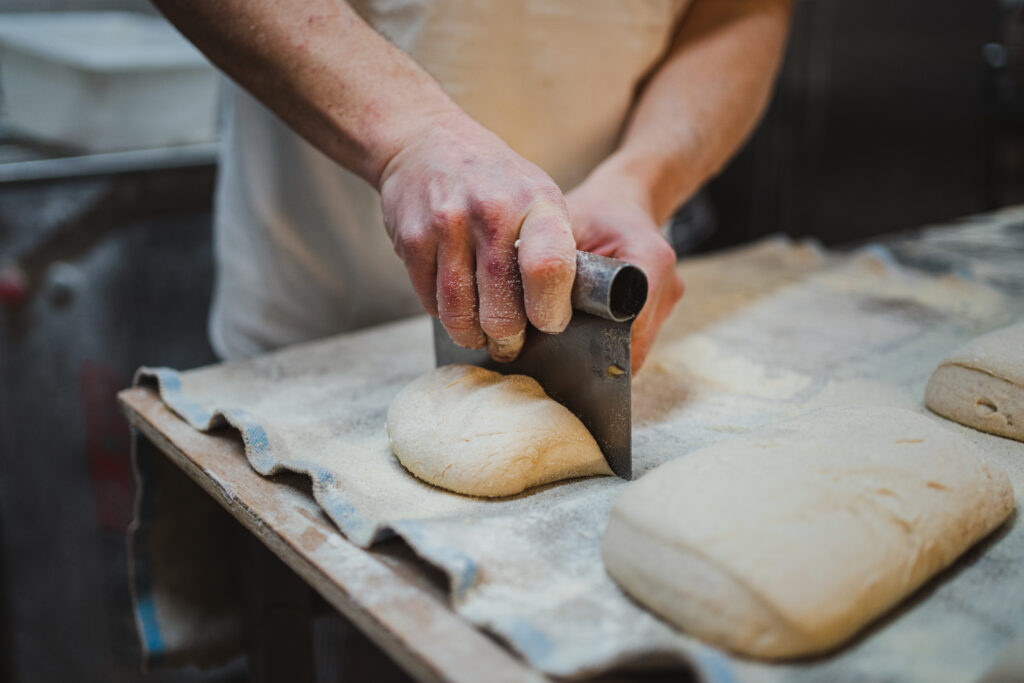
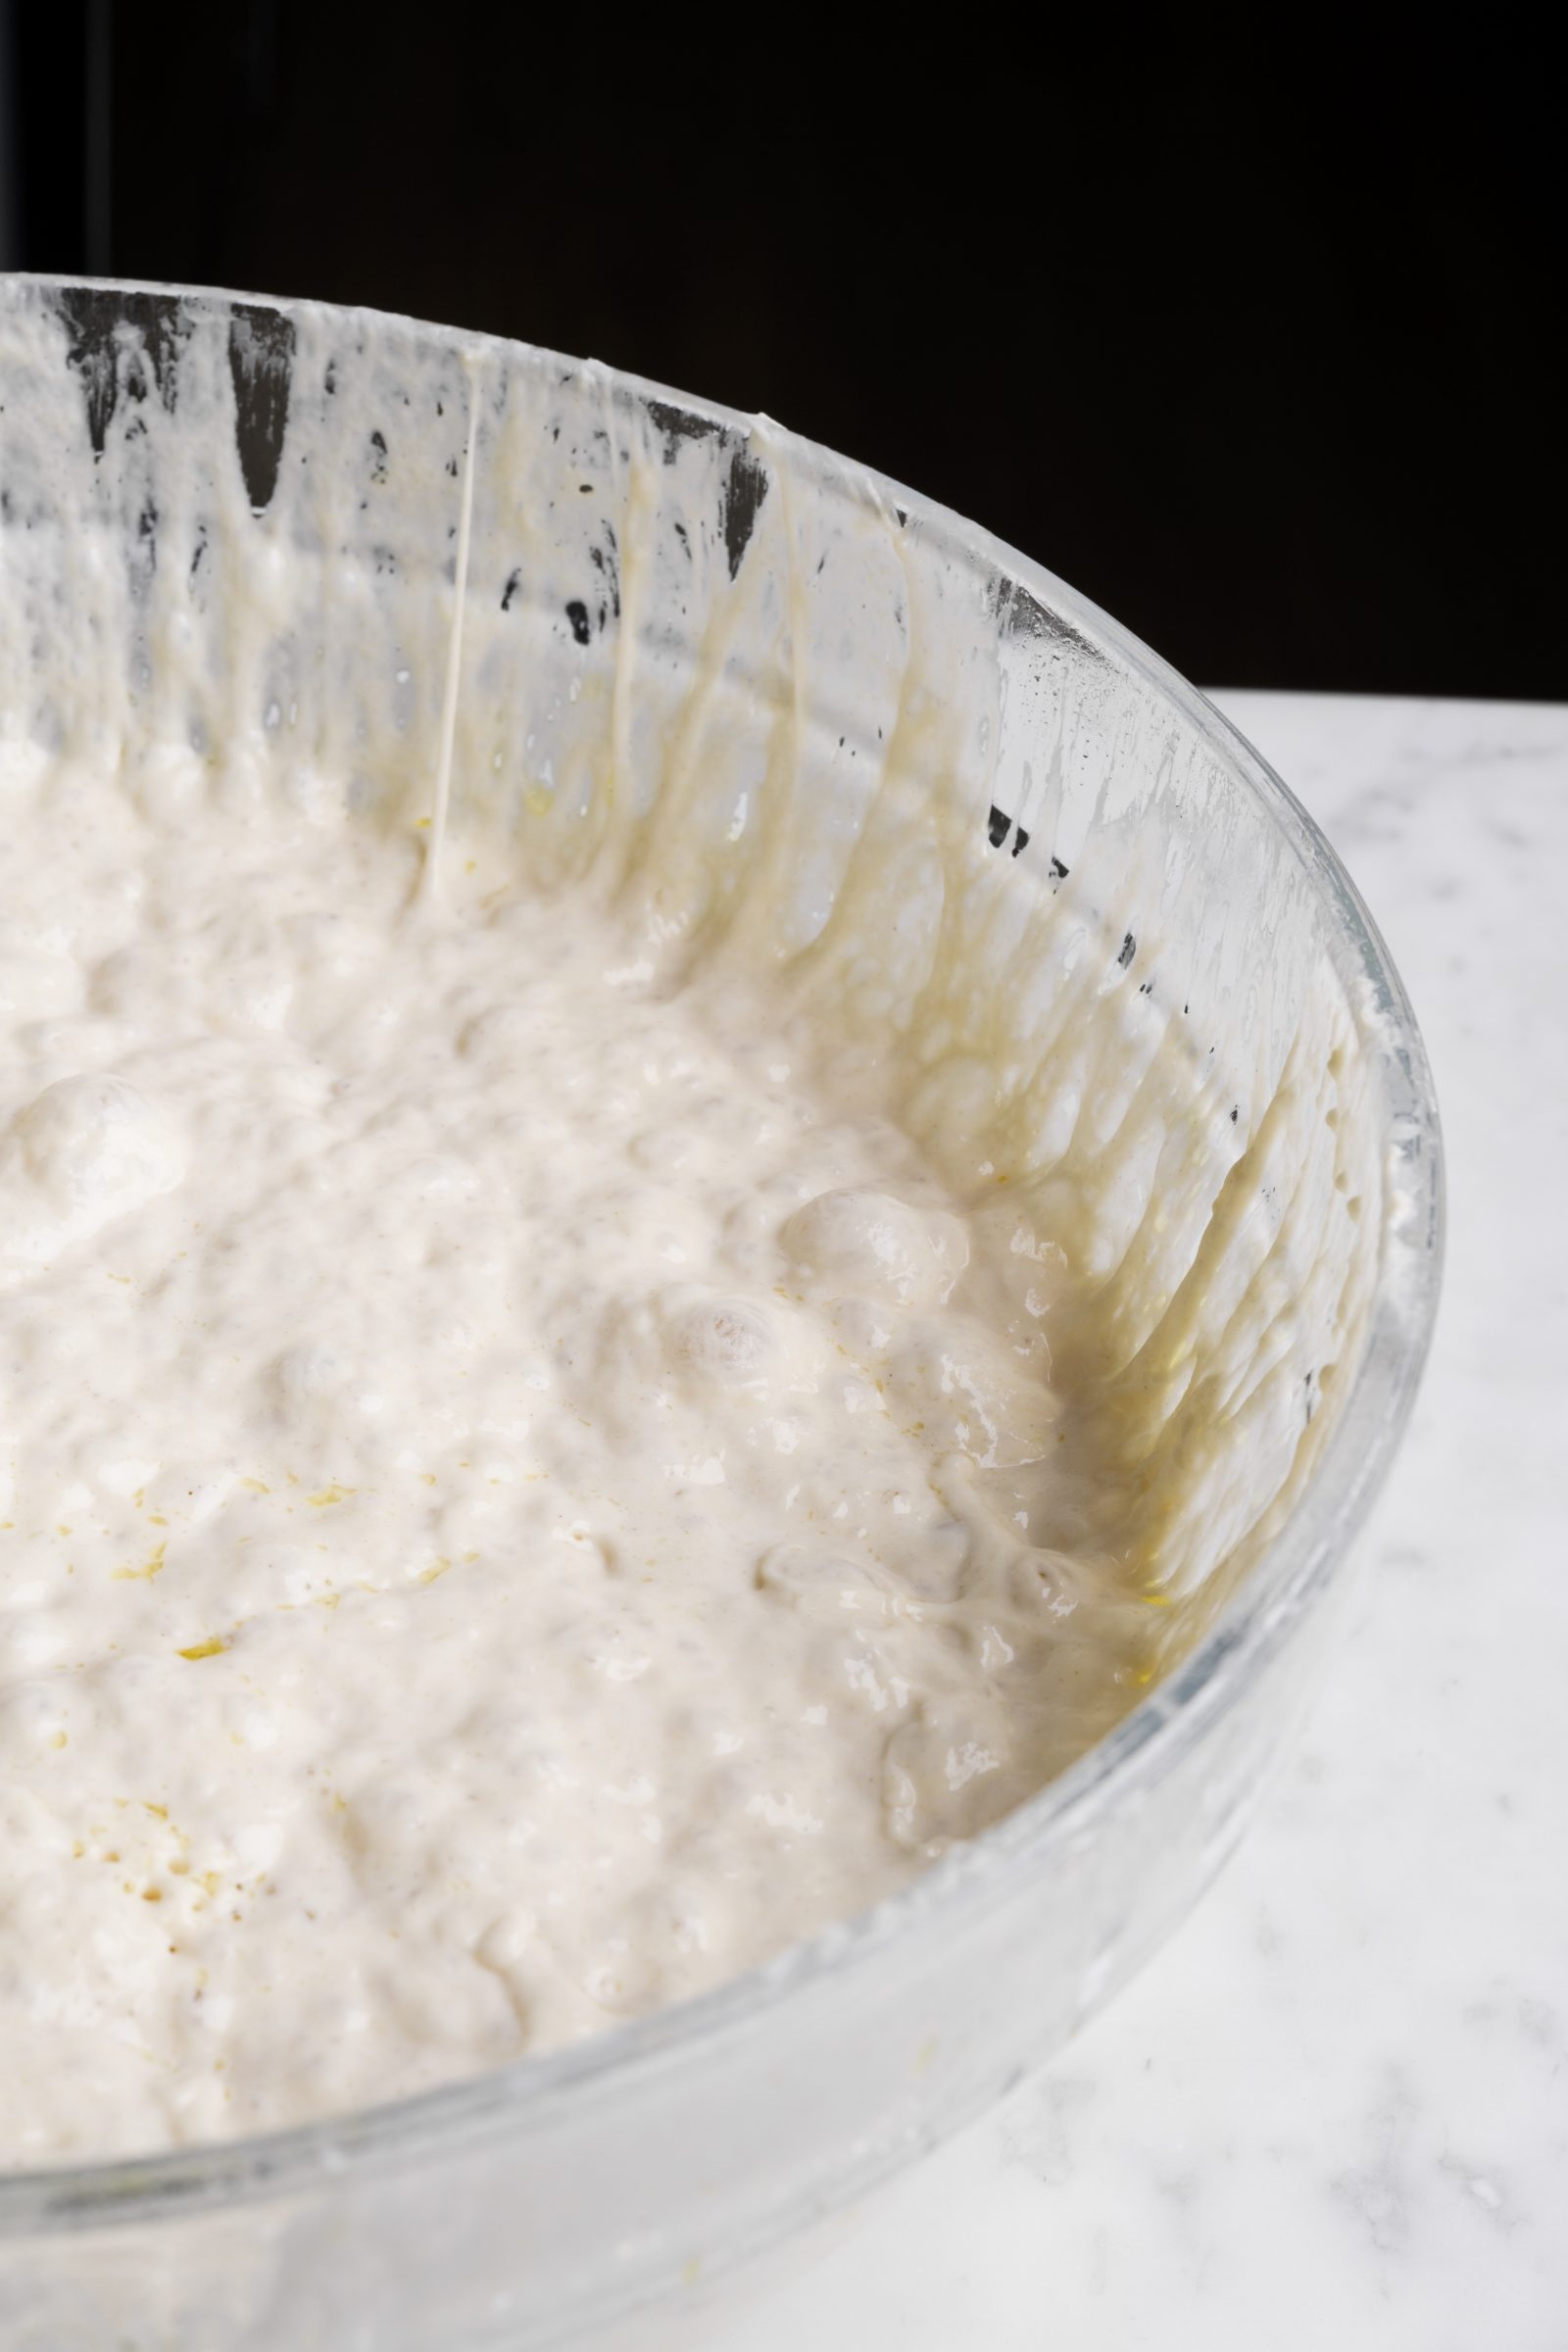
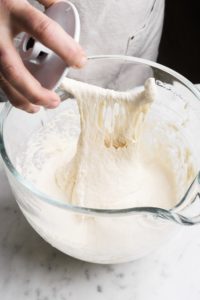
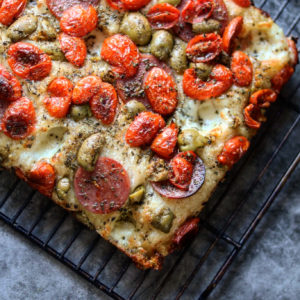
I started making homemade bread many years ago, but I finally figured out that it is the consistency of your dough that makes your bread, or really any dough, whether it’s these dinner rolls, a loaf of bread, pizza dough, focaccia, tender and delicious. A tough dough will not rise into a light, airy dough, it will always be tough!

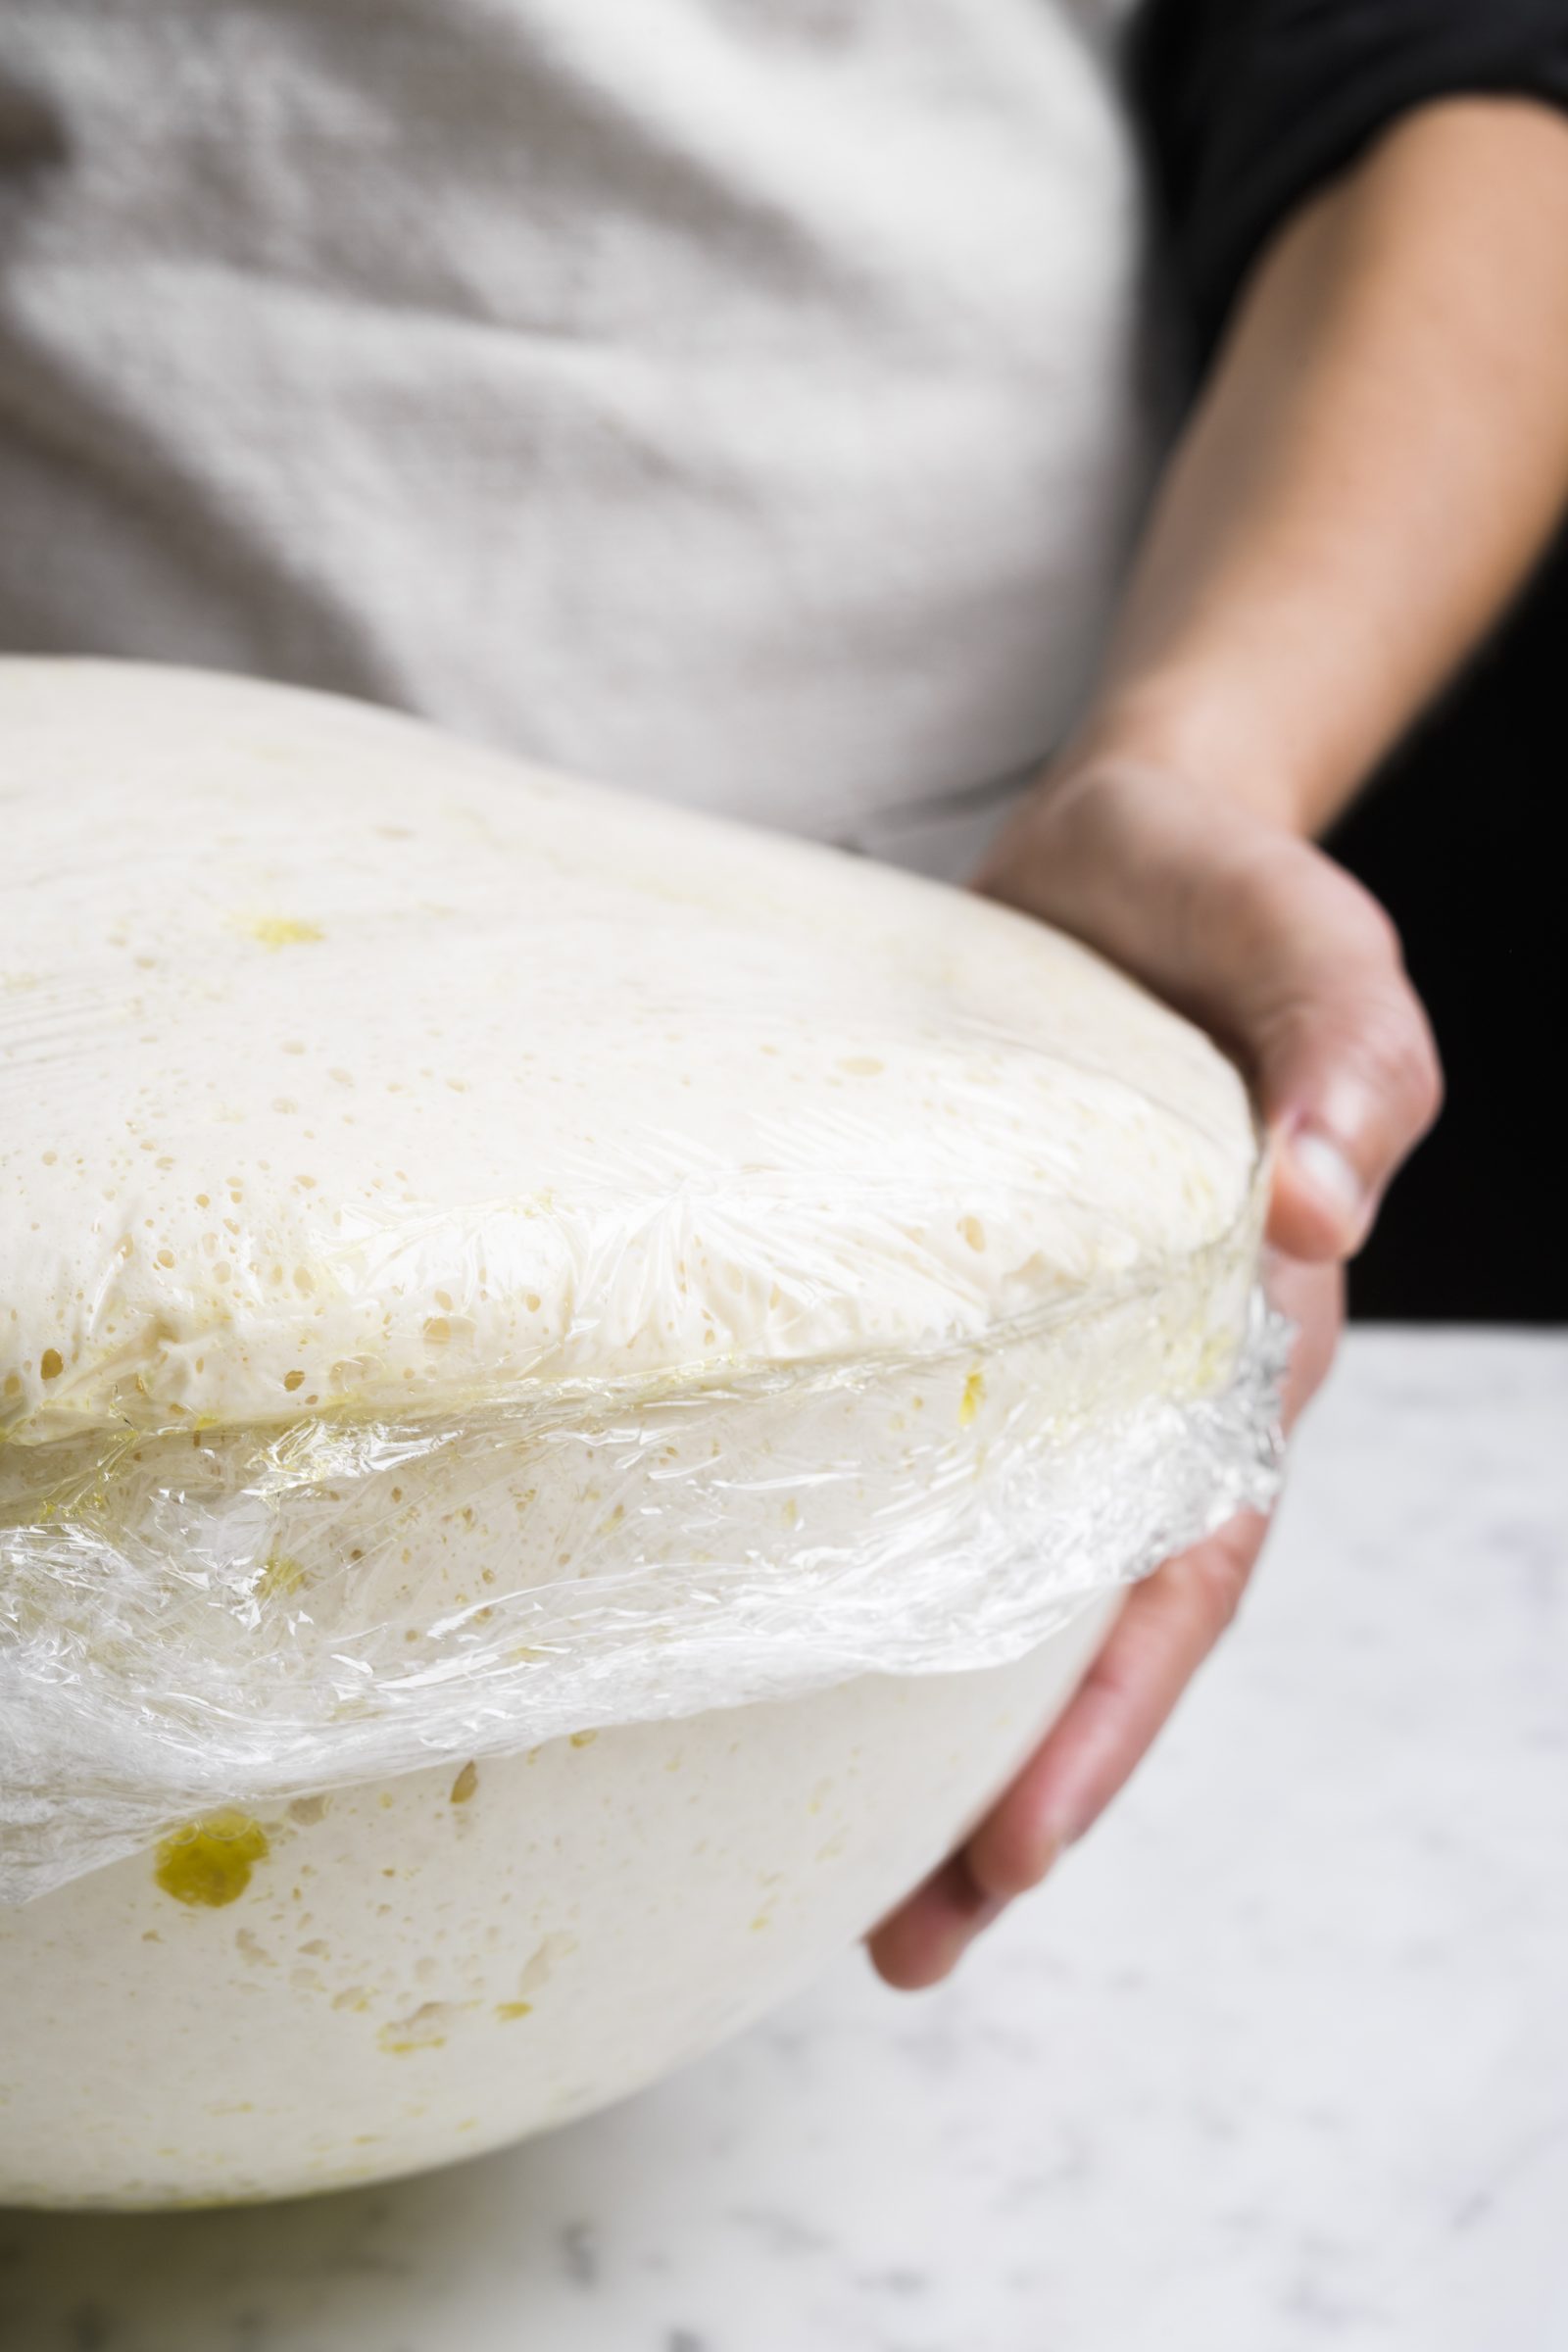
The dough for these are very soft, almost sticky. Don’t keep adding flour to the mixer. While your forming on your floured work surface add a little flour to make the dough manageable.
This is my adaptation of the Amish Dinner Rolls from King Arthur Flour. Here is their recipe, which has good notes also. I do add more yeast, I start my yeast before adding other ingredients and I don’t add all the ingredients at once, I add all the other ingredients then add the flour gradually. https://www.kingarthurflour.com/recipes/amish-dinner-rolls-recipe
What do you need to make these dinner rolls?
- eggs
- sugar
- salt
- butter
- potatoes
- yeast
- water
- AP flour

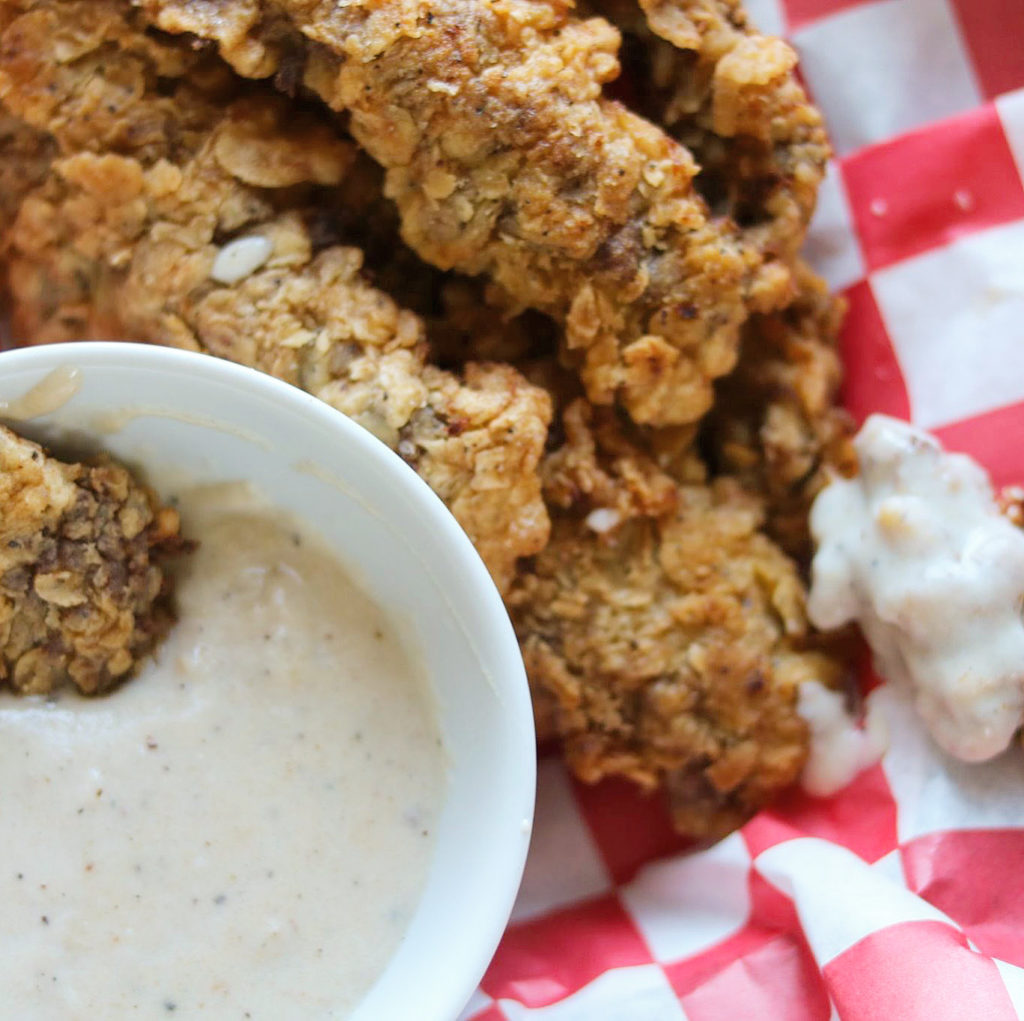
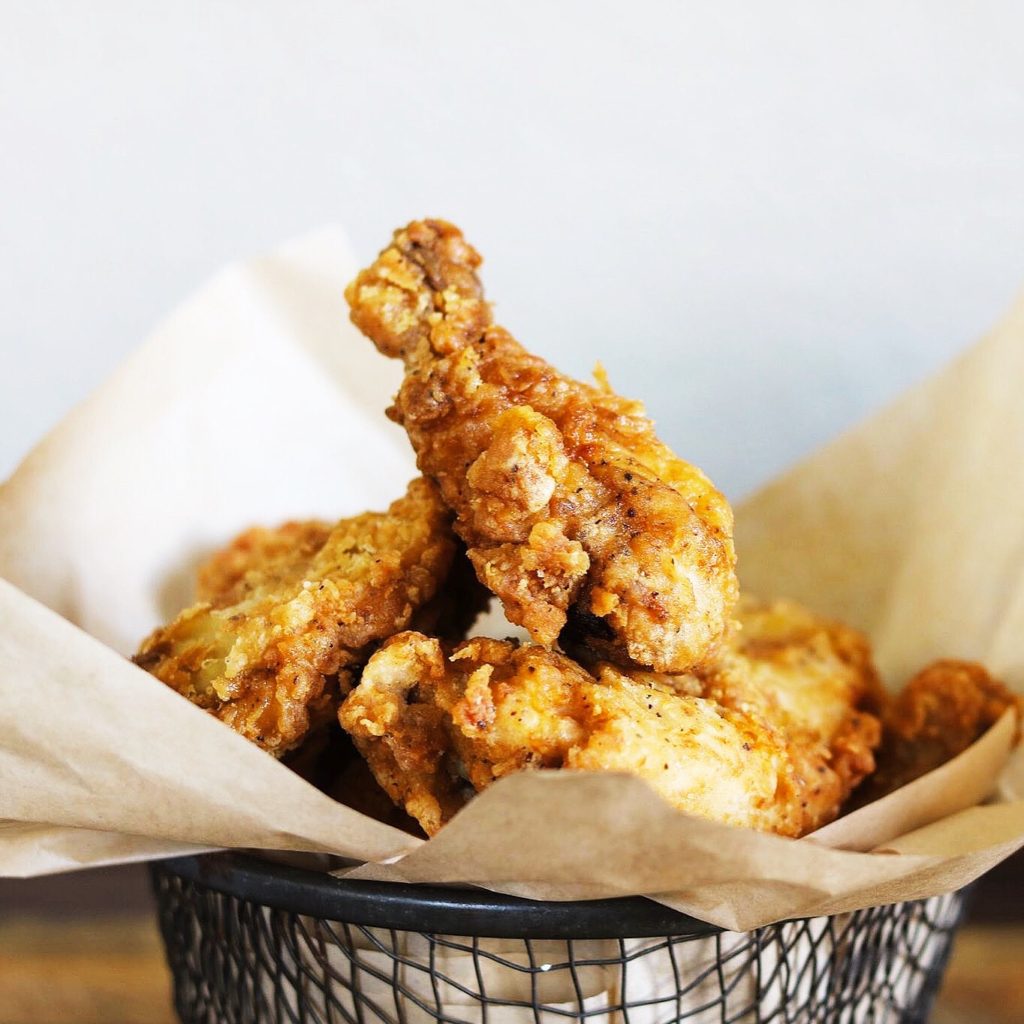
These rolls would be perfect with these recipe’s to my heart, My Grandmother’s Fried Chicken., and of course on your Thanksgiving table.
Here’s the recipe! I promise you will not regret making these rolls!
My Best Dinner Rolls Yet!
Ingredients
Method
- Before you start making the dough, boil your diced potatoes until very tender, then mash saving the water they were cooked in. Let your water come to lukewarm.
- In a stand mixer with a dough hook, add the yeast, the sugar and the 3/4 cup lukewarm water from boiling the potatoes. When your yeast becomes frothy it is ready to add the other ingredients. If it doesn’t, dump and start over, as the yeast has to activate.
- Add the eggs, the salt, the softened butter, the mashed potatoes and start combining with your dough hook on low.
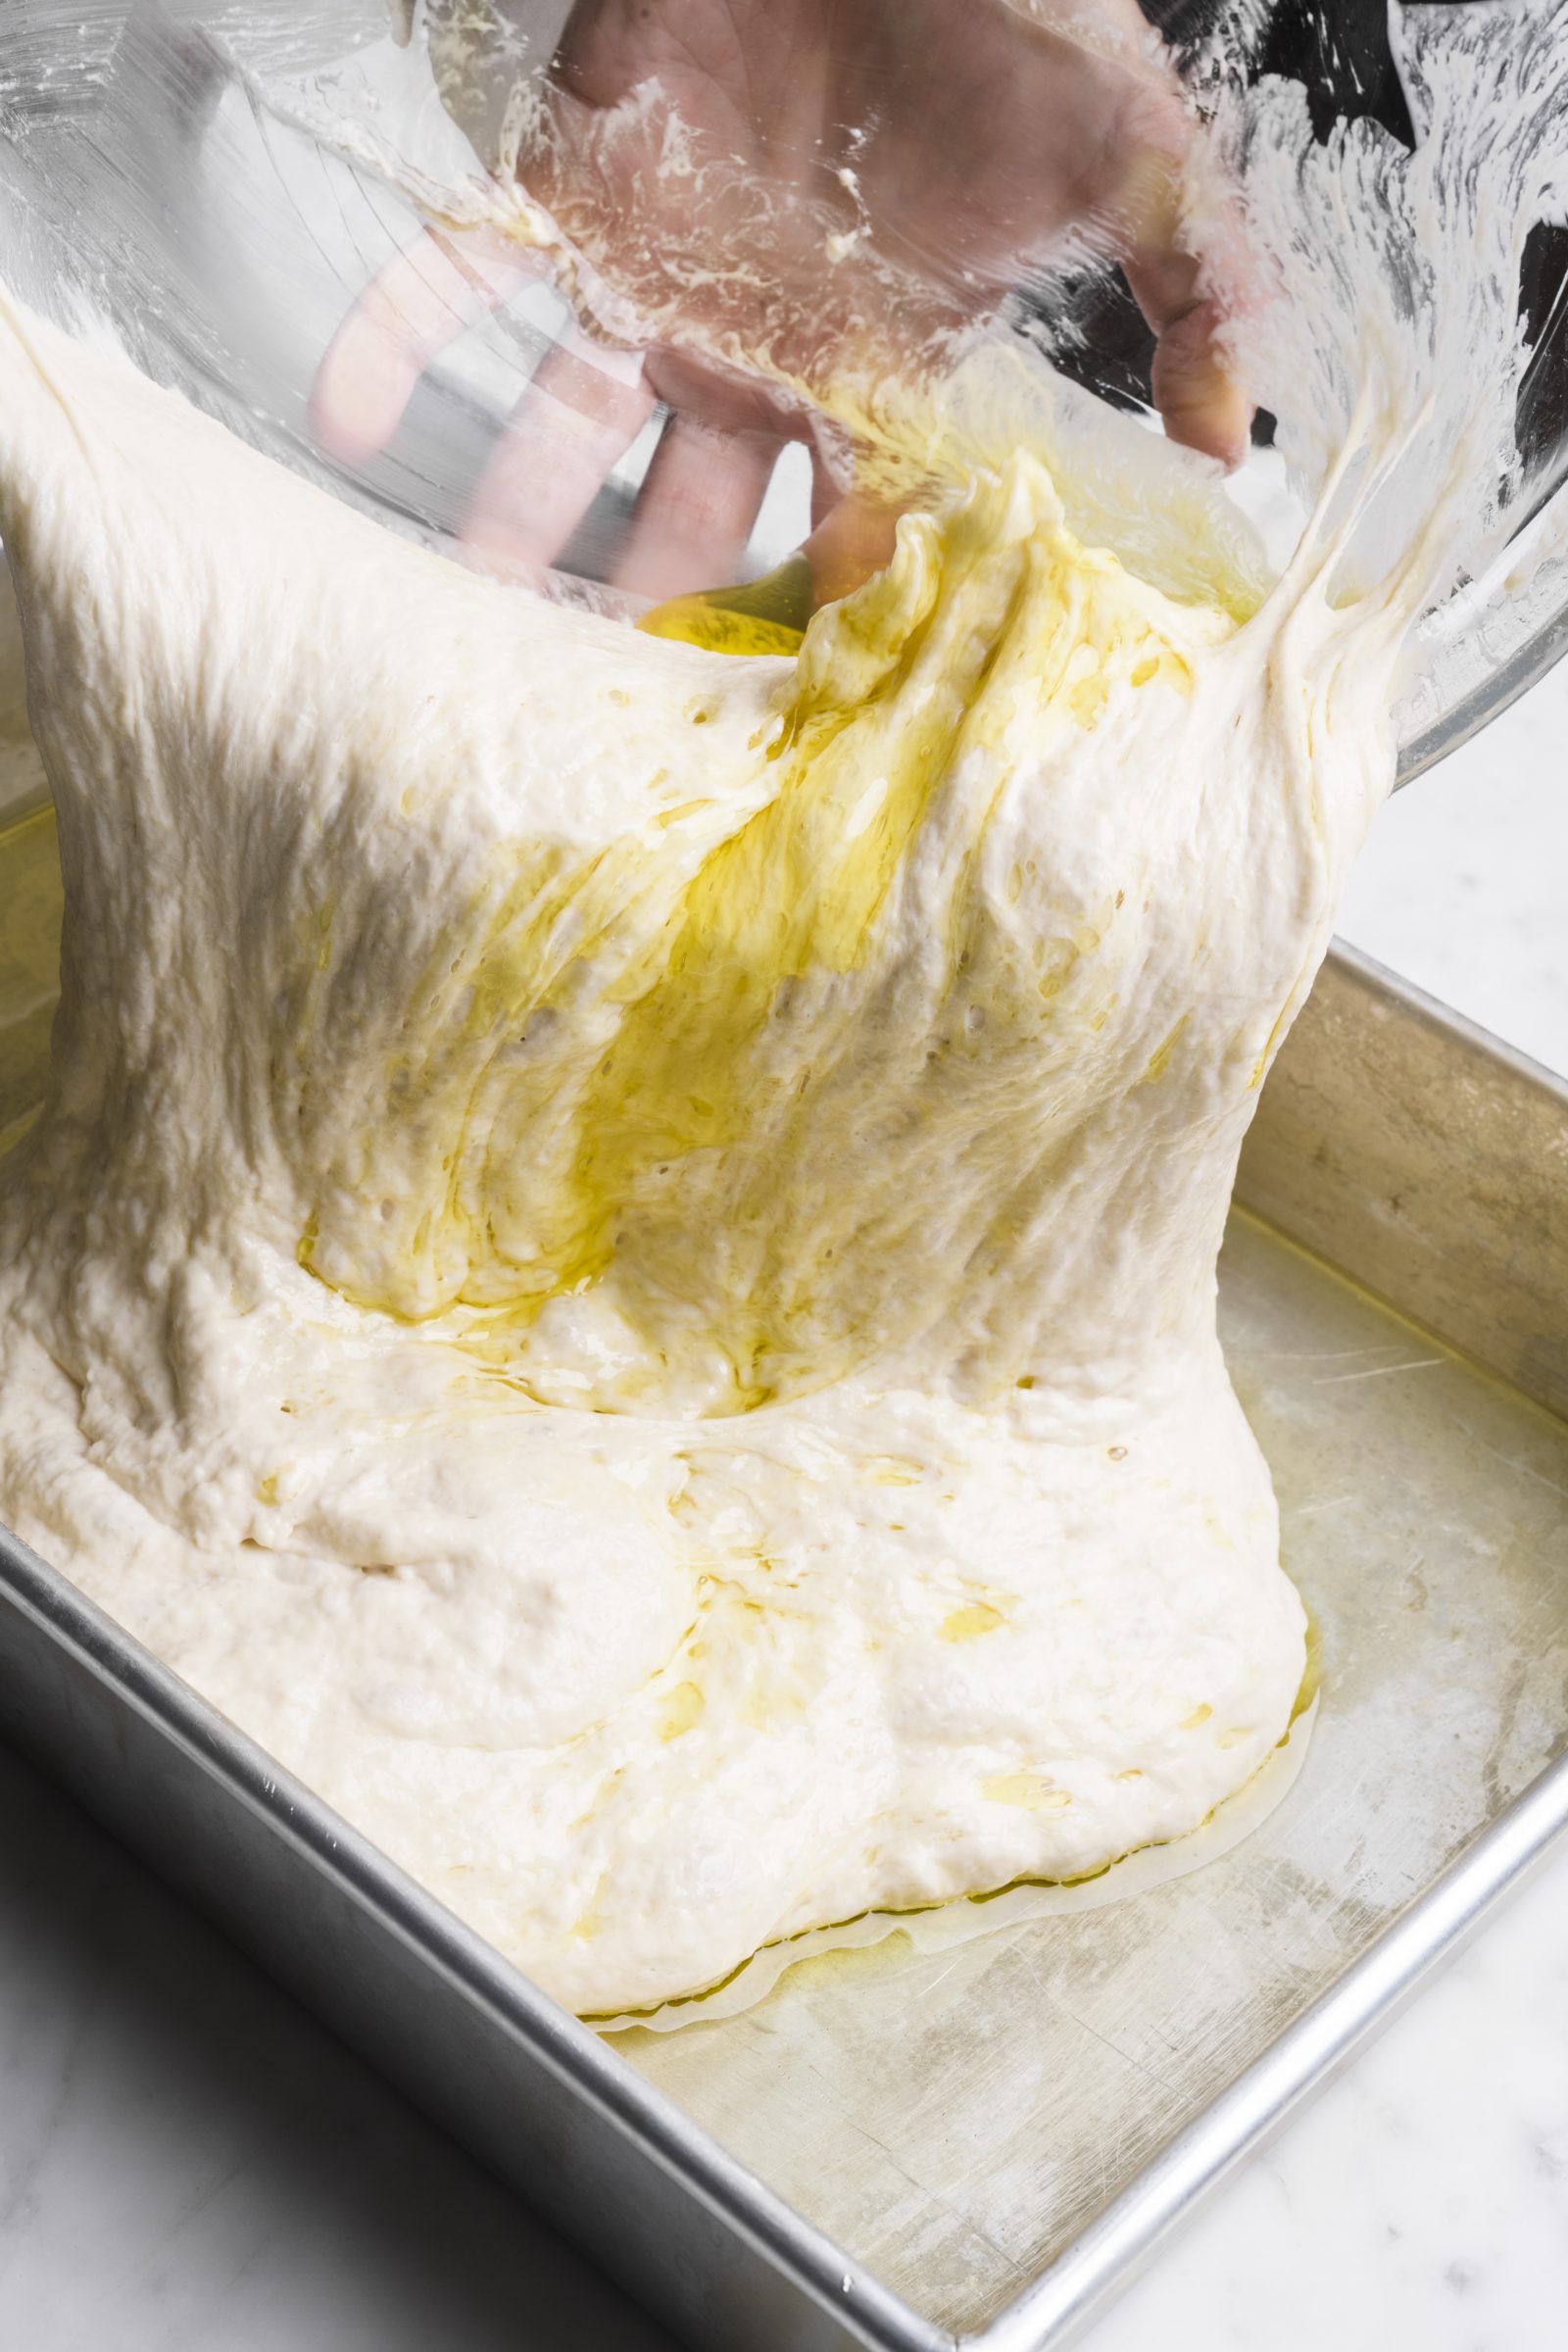
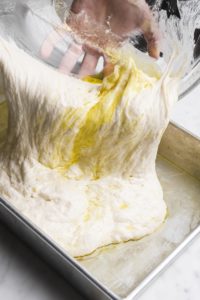
- I never add all of the flour at once because it may not take the entire amount to reach the desired consistency. I start adding about 3 cups flour with the machine running. You want the dough to start leaving the sides to form a ball. This is a really soft dough and it will be really sticky. Continue adding flour until you have a manageable dough that comes together , but still a little pudding in the bottom. All the dough wil not leave the bottom and that’s fine. Then knead for about 7 minutes adding just a little flour at a time when needed or if needed.
- I usually put a little oil on my hands to help me remove this dough from the bowl and place it in a lightly greased bowl.
- Cover the bowl with plastic wrap and allow the dough to double in size.
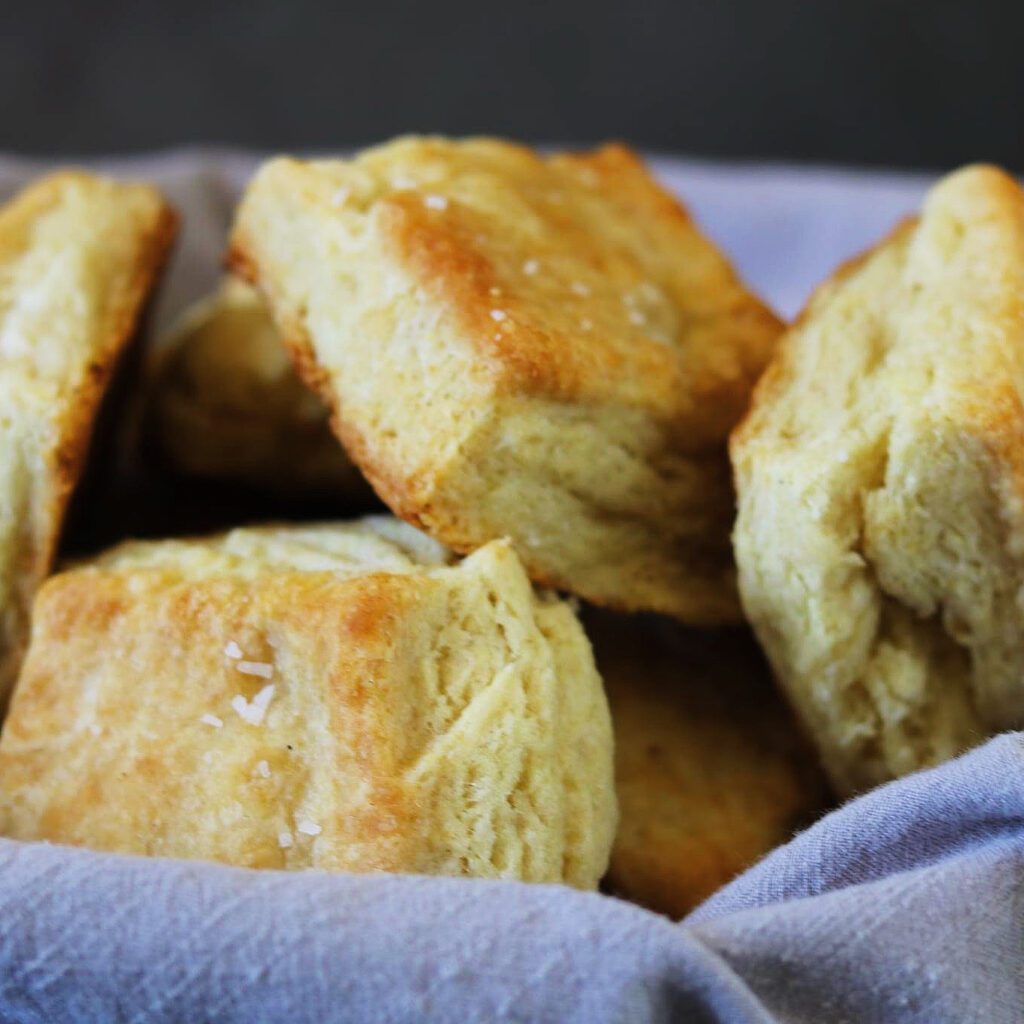
- Gently deflate the dough, pour it onto a floured work surface and divide into 16 large balls or 24 small balls. I start with dividing my dough in half, then each half into half, then each piece into half, then half again ending up with 16 uniform pieces. I like the large rolls, but you can make the smaller.
- Smooth the rolls as much as you can, twisting and tucking the bottom. Place in a 9×13 lightly greased pan. I put about 3 a roll, about 1 inch apart. You want them to be tight because after they rise, they’ll be touching and you’ll have a pull apart roll. I use glass 9/13 casserole dishes because it prevents the bottoms from burning. Also, lightly oil with canola or cooking spray….butter will also make the bottoms burn.
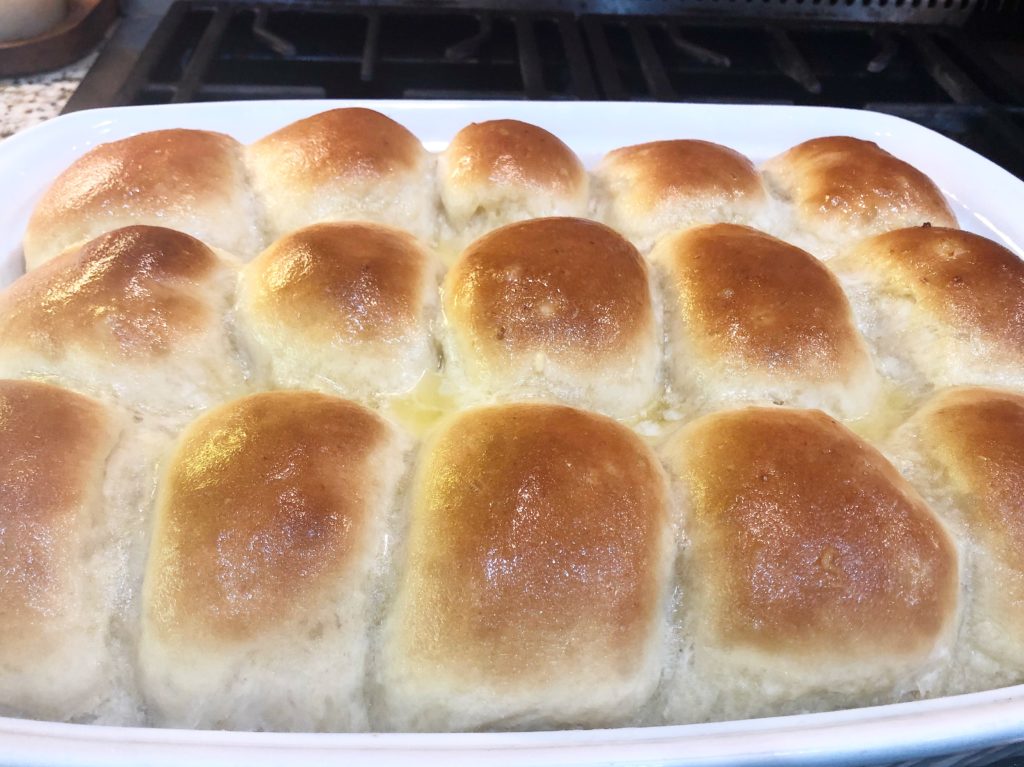
- Cover the pan with a light dish towel and let them double in size until they are quite puffy.
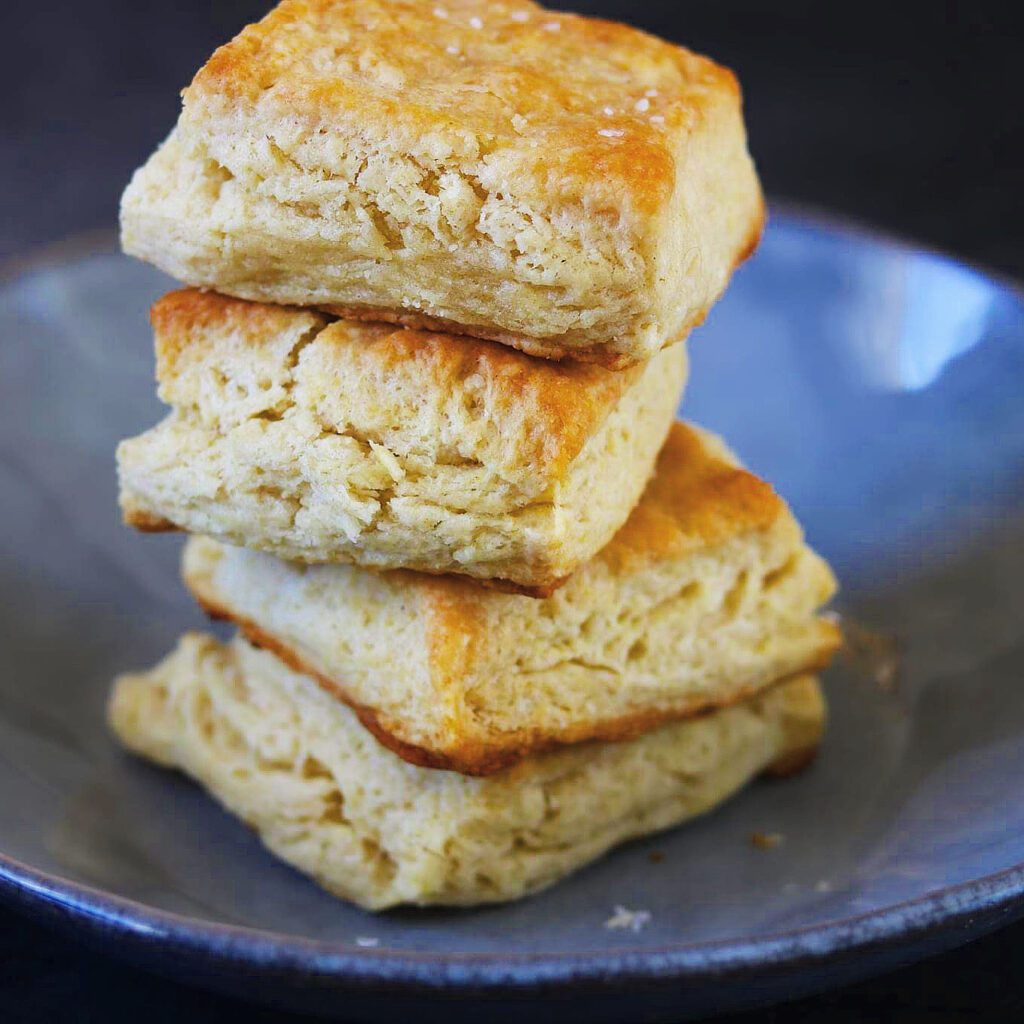
- When the rising is almost complete, preheat the oven to 350 degrees F. Bake the rolls for for 20 to 25 minutes until golden brown and feel set. Brush with melted butter.
- Serve warm or at room temperature. Store in zip lock bags for several days at room temperature or freeze for longer storage.