
• Skip to primary navigation
  • Skip to main content
  • Skip to primary sidebar

A cook named Rebecca

  • Home
  • Favorite Cookbooks
  • Recipes
  • Travel
You are here: Home / Home

amazing birria – a mexican stew.

August 19, 2020 by Becky Spoon

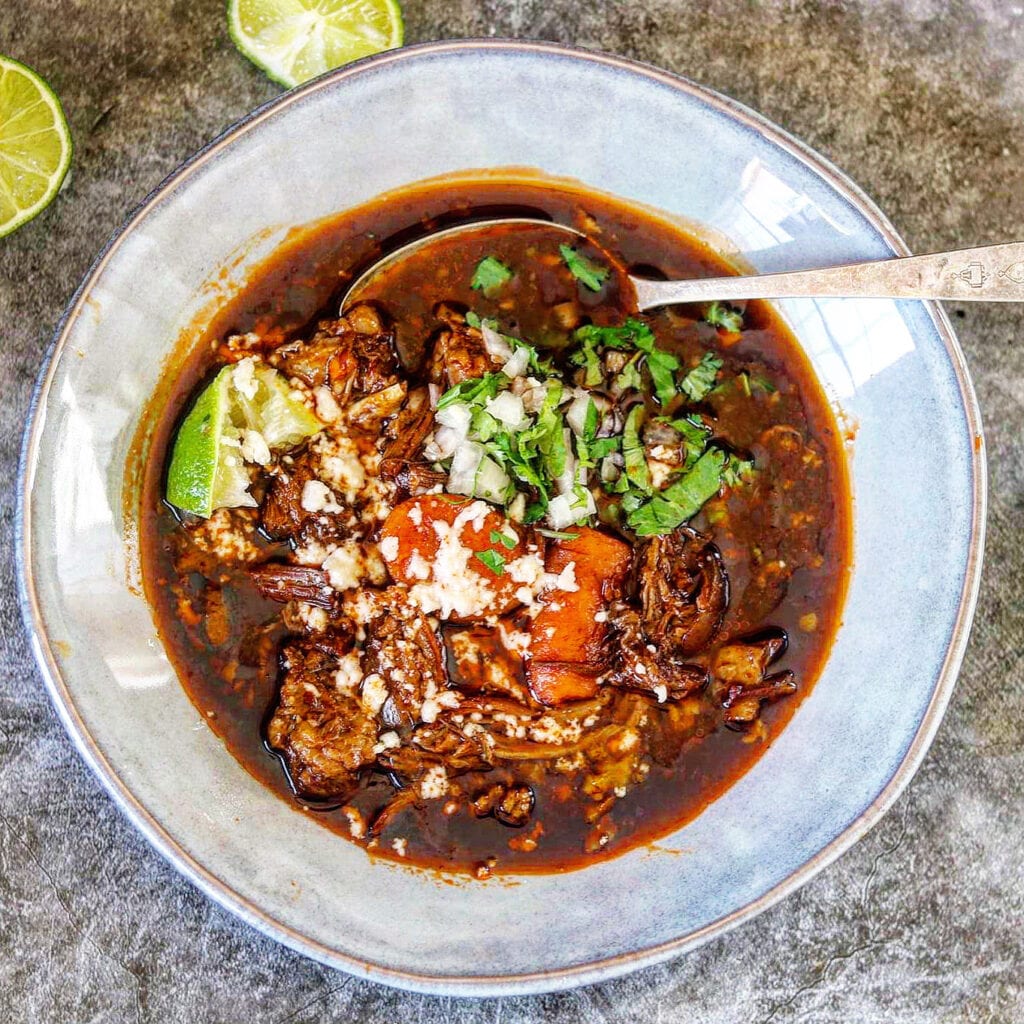
Birria -a Mexican Stew

This Birria – a Mexican Stew is so good! I’ve been trying to post this recipe all week while in Cabo but the internet has been so slow I haven’t been able to. Ugh! Every time I travel I think I’ll be able to post as I’m there with local foods and experiences, but the internet is often a problem.
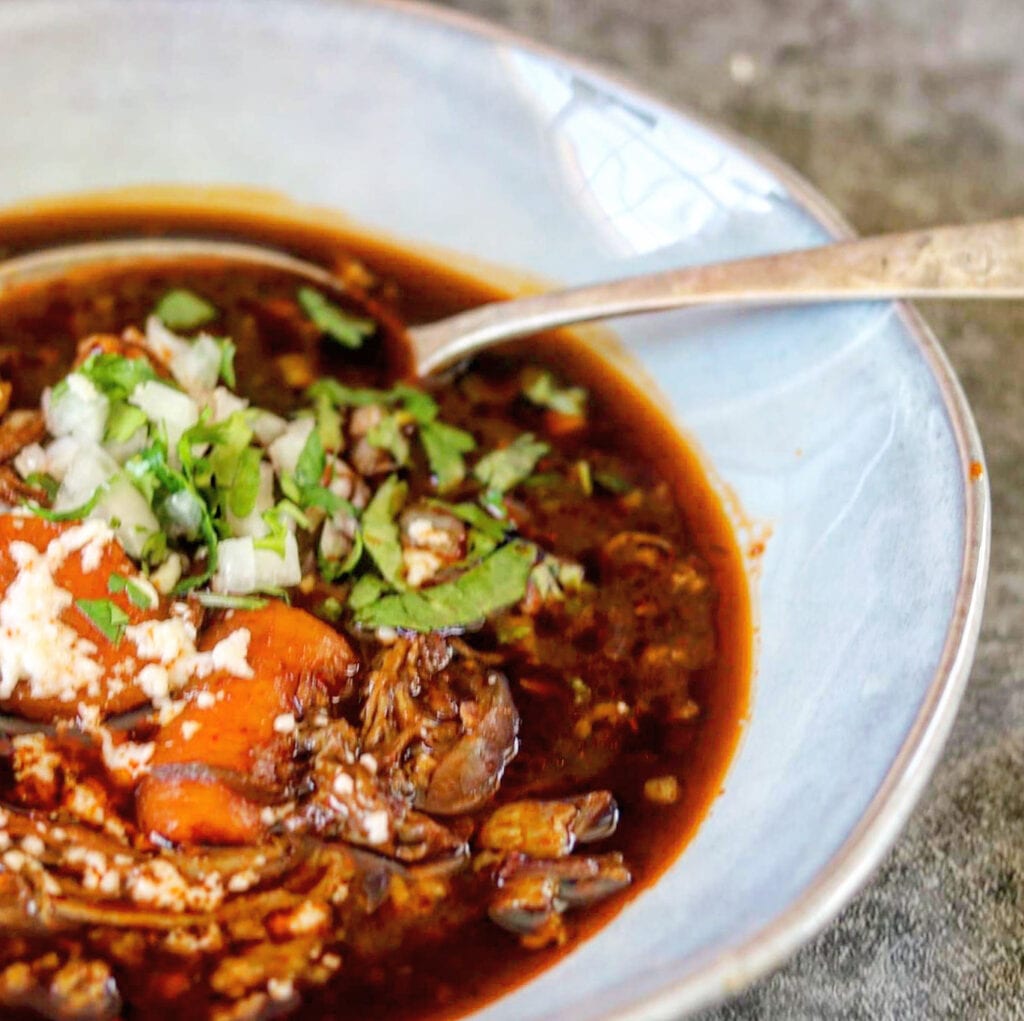
Birria -a Mexican Stew

I’ve made this twice, once at home and once in Cabo which we made last week. This is a beef stew that you cook with dried guajillo chile and others if you like, that you remove after about an hour of cooking and they are soft, and then purée and add back in to the stew and allow to cook until fork tender. Absolutely delicious!

amazing birria – a mexican stew.

I used chuck and beef bones to make the stew. This is so similar to an American beef stew. Typically potatoes aren’t added, but you could. I also add carrots that I don’t think are typical, but I like to add them for added flavor. The stew is started with adding the beef and beef bones to simmering water along with the chiles, garlic, onions and some carrots to add flavor. Then I bring it to a boil, skimming off the impurities caused from the beef bones to insure a clear consommé. I then cook for about an hour, remove the chile and puree, add it back in and allow to continue cooking.

To serve, you spoon the meat and consommé into a bowl and top with fresh onions, cilantro and shredded cabbage! Serve with some limes and tortillas and you have a delicious Mexican stew! Everyone loved it.
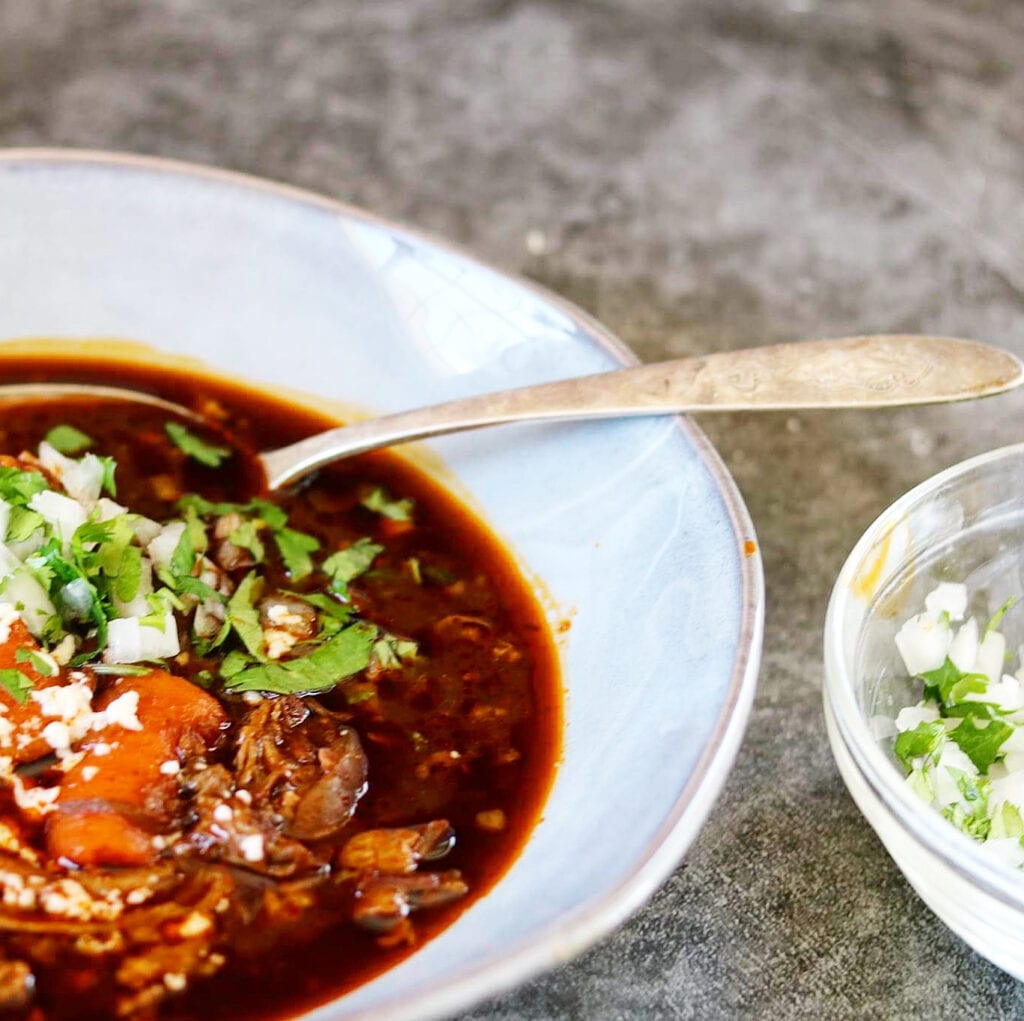
Birria -a Mexican Stew

I served this in a beautiful plain white bowl. They’re a little oversized, but I like that. Here’s a link for the bowls I used: https://amzn.to/3avR53a

amazing birria – a mexican stew.

I make extra when I make this recipe because the best, in my opinion is the leftovers in tacos! I make a chile oil that I dip tortillas in after I have dipped them in the leftover consommé, then place them on a hot griddle and load them with leftover beef, the onions, cilantro, cabbage and a good melting cheese like mozzarella or Monterrey Jack, then fry them on the griddle until they have crisped a little and the cheese is melted and oozing! Yum! so delicious.

Birria Tacos with Consome

When they are done, serve them with a cup or bowl of the consommé and more of the chile oil, fresh limes.
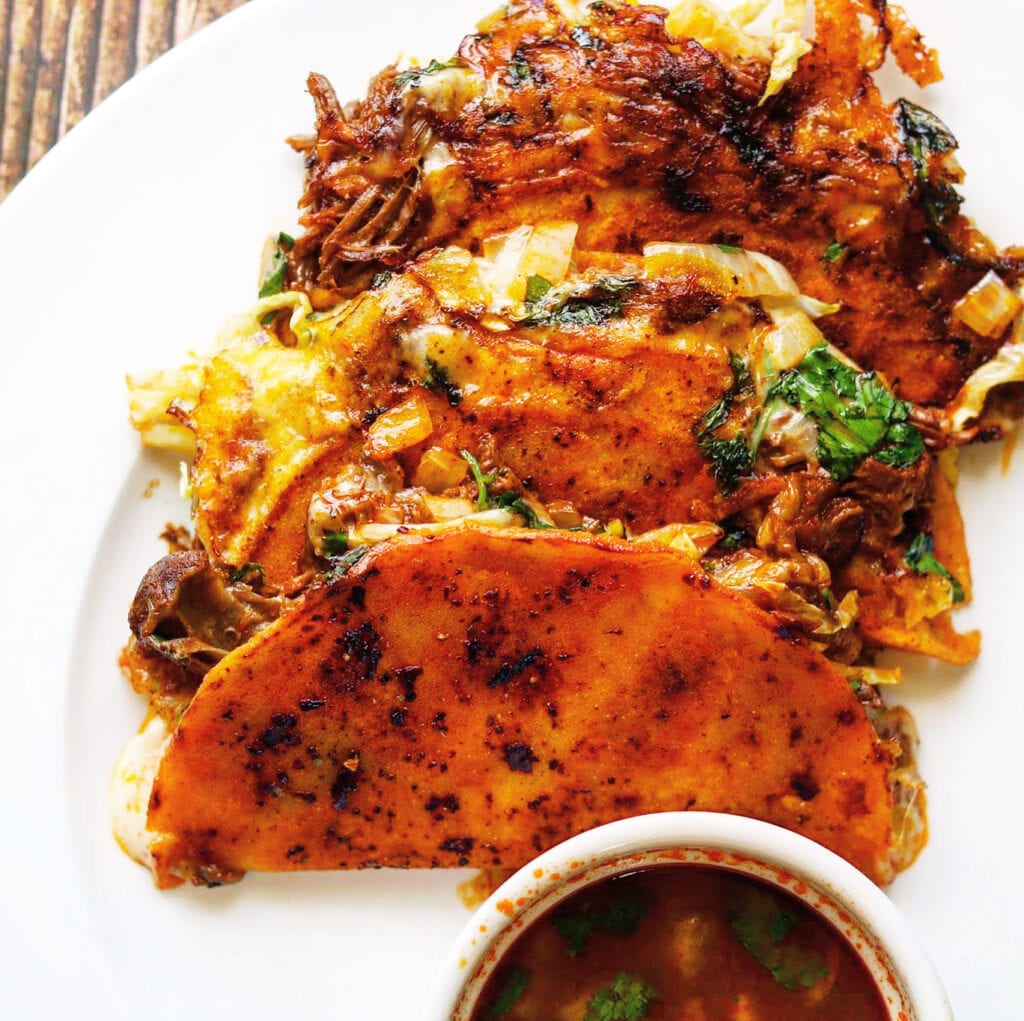
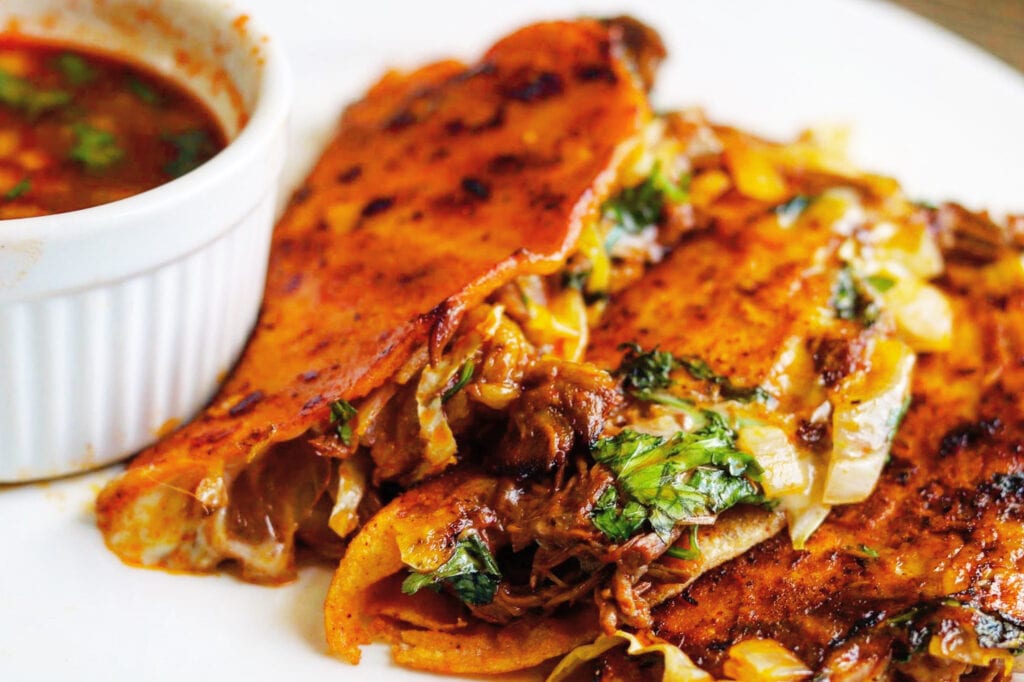
Birria Tacos with Consome

Here’s the recipe for the tacos!!

Ok, here you go, the recipe for the Birria. It’s not complicated and I promise you will love it!

Birria Tacos with Consome

Birria Tacos with Consomme

Print Recipe
Coursedinner, Lunch, Main Course
CuisineMexican
Keywordbeef, birria, birria de res, consomme, dried chile, guallio chile, instant pot beef stew, mexican stew
Servings8 servings

Ingredients

  • water (See note in instruction)
  • 2 lbs beef bones (optional)
  • 5 lbs chuck roast or brisket (I prefer brisket)
  • 1 large onion
  • 1 whole garlic, halved through the middle
  • 4 bay leaves
  • 2-3 epazote or bay leaves
  • 5 carrots, halved or quartered
  • 5 5 guajillo chiles or New Mexico chile,
  • 5 pasilla chiles
  • 2 ancho chiles
  • 3 tbsp chicken bullion or cubes
  • 1 tbsp salt
  • dried chile powder if needed

Birria Chili Oil

  • 4 Guajillo chiles plus 1 extra for infusing the oil
  • 2 bay leaves
  • 1/2 tbsp Mexican Oregano
  • 1/2 tbsp chicken bullion
  • 1/2 tsp black pepper
  • 1/4 tsp ground cloves or 2 whole cloves
  • 1/2 tsp granulated garlic powder
  • 1/4 tsp sugar
  • 1 cup canola or vegetable oil
  • For a spicier add 1/2 tsp cayenne pepper

Toppings

  • 1/2 chopped white onion
  • 1/2 bunch chopped cilantro
  • 1/4 head finely shredded green cabbage
  • lemon or lime to taste

For the Tacos

  • Corn tortillas
  • Good melting cheese like Mozzarella, Munster or Oaxaca
  • leftover toppings, onions, cabbage and cilantro
  • leftover consommé
  • leftover beef
  • chile oil

Instructions

  • Bring the water to almost a boil. If you're using a large pot start with about 16 cups of water. If not add maybe 8 to 10 cups, add your ingredients, then add more water to cover the ingredients. You want the roast and bones covered. Add the beef bones and the chuck roast to the water. Then add your onion and your dried chiles. Add the whole garlic, bay leaves and carrots. Add the salt and the chicken bullion.
  • Make sure you have enough water to cover the meat. Start the meat to a boil and when the impurities start to come out from the beef bones, remove with a skimmer. Allow the beef and other ingredients to continue to simmer for about an hour.
  • Meanwhile, prepare your chile oil. Remove the seeds and stems from the 4 Guajillo Chile. Place the chiles, bay leaves, chicken bullion, pepper, cloves, garlic powder, and the sugar (reserving the oregano for later) into a blender or coffee grinder and make a powder. Crumble the other chile and set aside.
  • Heat the chile oil to frying point, then remove from heat. Add the crumbled chile and cook, stirring until the crumbled chile is crisp. Remove the chile and reserve.
  • In a bowl, add the spice blend, the oregano and add the hot oil, mixing quickly.
  • Go back to the simmering meat and check your seasoning, If you need a little more flavor add a little more chicken bullion, a little at a time until the desired saltiness is reached. Now, remove the chiles in the simmering meat pot and and add to a blender . Blend the chile with a little broth until it's smooth. Add a little broth to our blender so you can get all the puree out. Now add the chile that you fried into a blender with a little broth and puree, then add it to your beef stew mixture. Continue to cook for 2 to 3 hours until the meat it falling apart and tender.
  • At this point I like to remove the meat, carrots and the bones to a bowl. you don't have to, but at this time I like to strain the broth because you added a whole garlic with the skins on. When you strain, press the garlic trough the strainer as much as possible with a spoon.
  • Add the broth back to the pot and your meat that you took off the bones and the roast itself that you have cut into pieces. Some do not strain at this point, so you don't have to. Also, if you want to add fresh carrots and cook until they are tender.
  • To serve, add some of the meat to a bowl along with the consommé. Add your toppings and a little of the chile oil drizzled on. Serve with some lime juice! Delicious!

For the tacos

  • Heat your grill or gridle to medium high. Dip each corn tortilla into the consommé, then the chile oil and place them on the griddle or grill. Top with some cheese first, then the meat, then the onions, cilantro and cabbage, more cheese, fold over and cook on both sides flipping until a little crisp and cheese is melted.
    Serve with a cup of the consommé for dipping and additional chile oil.

Filed Under: Soups/Stews/Gumbo//Chili Tagged With: beef stew, birria de res, mexican food

easy lemon strawberry dutch baby with whipped cream.

August 1, 2020 by Becky Spoon

lemon strawberry dutch babyJump to Recipe
lemon strawberry dutch baby

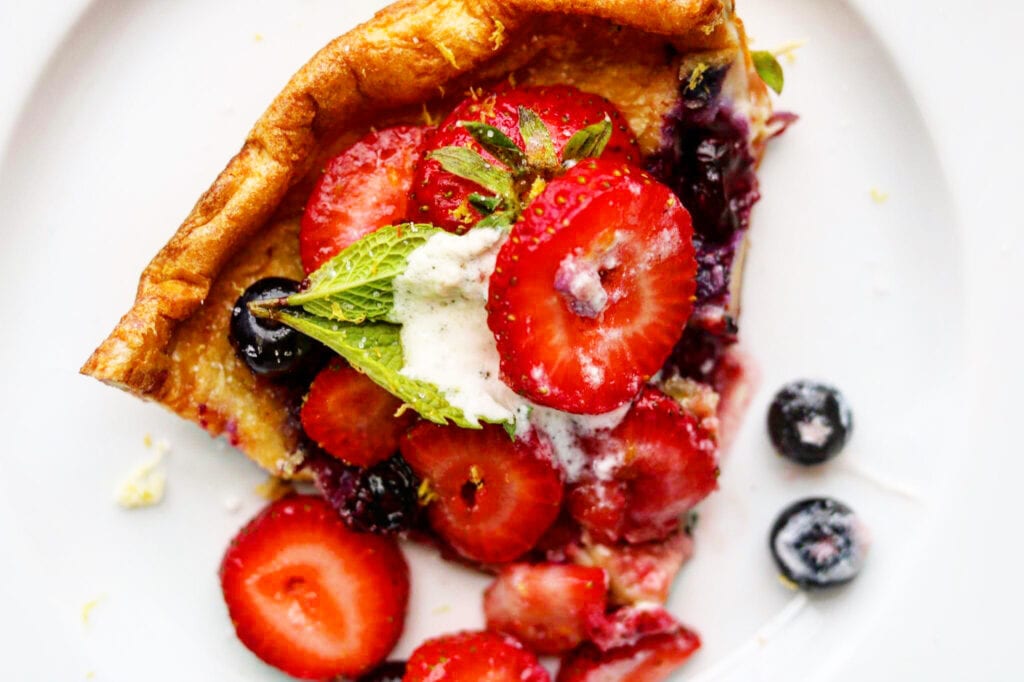
I love this lemon strawberry dutch baby! It is so easy and the perfect dish when you don’t want to make a bunch of pancakes. Perfect for breakfast, brunch and why not dinner? This is not hard to make but so delicious and looks great!

lemon strawberry dutch baby

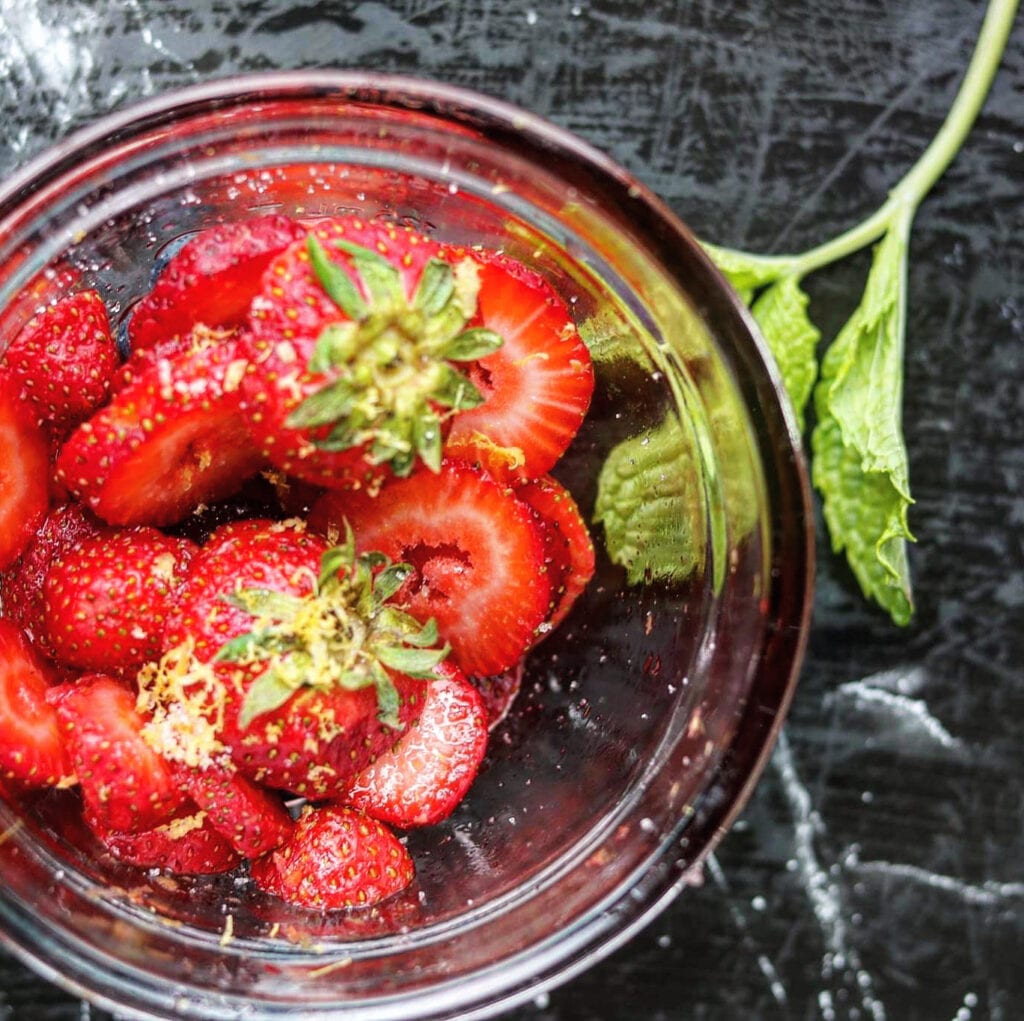
Who doesn’t love dishes that are loaded with fresh berries in the summer? The berries are tossed with sugar and the zest of a lemon and added to the final dish after it has cooked in the oven.

lemon strawberries
lemon strawberries

easy lemon strawberry dutch baby with whipped cream

I made these in a small iron skillet I’ve had for years. I think the iron skillet is perfect to make these in because you heat the butter on your stovetop, pour the batter in then place it in the oven. The iron skillet holds the heat beautifully that helps the pancake puff up. Here’s the 10 inch skillet I use: https://amzn.to/2D5nRMc.

easy lemon strawberry dutch baby with whipped cream

lemon strawberry dutch baby

Here’s a similar recipe on the blog, my Blueberry Banana Lemon Ricotta Pancakes! They are delicious too. Here’s the link: https://the2spoons.com/blueberry-banana-lemon-ricotta-pancakes/

blueberry-banana lemon ricotta pancakes

Here’s the new recipe for this delicious Dutch baby.

lemon strawberry dutch baby

Print Recipe
CourseBreakfast, brunch
CuisineAmerican
Keywordblueberries, dutch baby, strawberry
Servings4 servings

Ingredients

For the Berries

  • 2 cups fresh strawberries
  • 1 cup blueberries (optional)
  • 1/3 cup sugar
  • zest of one lemon

For the Dutch Baby

  • 3 large eggs, room temperature
  • 1/3 cup whole milk, room temperature
  • 3/4 cup All purpose flour
  • 1 tsp vanilla extract
  • 1/4 tsp salt
  • 1 tsp ground cinnamon
  • 4 tbsp unsalted butter, divided
  • 1 cup whipped cream
  • 1 tsp vanilla
  • 2 tbsp powdered sugar
  • Pancake syrup, optional

Instructions

  • Preheat oven to 425 degrees. In a bowl, combine the sugar and lemon zest. Toss the sliced strawberries and blueberries with 2-3 tablespoons of the lemon sugar and set aside.
  • Whisk eggs, milk, flour, vanilla, salt, and 1/2 teaspoon cinnamon in a medium bowl until smooth.
  • Melt 2 tablespoons butter in a 10 inch skillet, preferably cast iron, over medium heat allowing it to brown a little. Pour the batter into the skillet. Arrange 4-5 strawberries and some of the blueberries over the batter, then sprinkle with 1 – 2 teaspoons of the lemon sugar.
  • Place the skillet in the center of the oven and bake for 15 minutes or until the pancake is fully puffed and browned on top. Do not open the oven while cooking and cook for 12-15 minutes.
  • Serve with the remaining berries, the lemon sugar and the whipped cream. Serve with syrup if you like.

Filed Under: Breakfast/Brunch Tagged With: blueberries, dutch baby, strawberries

you will love this heavenly summer peaches and cream pretzel pie.

July 30, 2020 by Becky Spoon

Peaches and Cream Pretzel PieJump to Recipe
Peaches and Cream Pretzel Pie

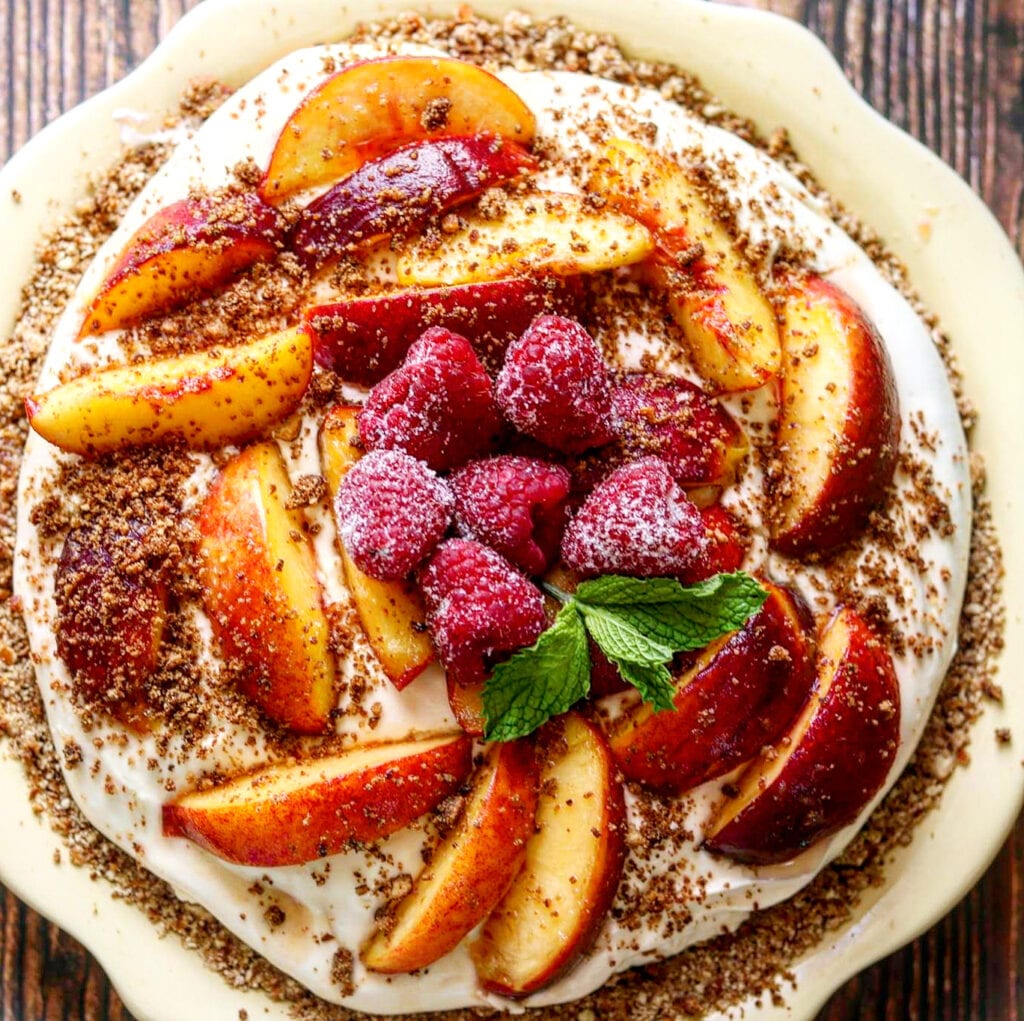
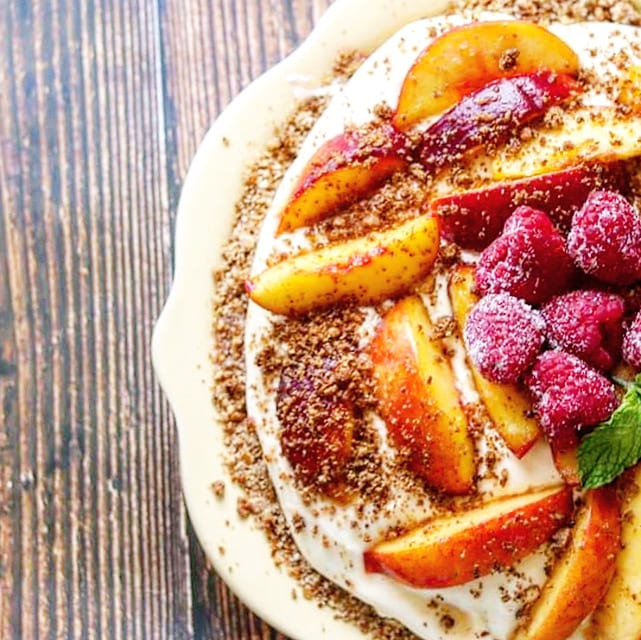
This Peaches and Cream Pretzel Pie screams summer with those delicious Texas Peaches! Texas peaches are in season from May until the first week of August. These were freestone which I much prefer over the clingstone peaches. So much easier and I just think you get more peach. You probably want to make this the day before you plan on serving it because it does require several hours to firm up.

I got this recipe from Teigen’s blog, Half Baked Harvest and made a couple of changes. Her recipe called for crème fraiche or cream cheese, and I use sour cream instead that was perfect. Certainly wanted to give her the credit for this pie, as I’m not sure I would have thought of a pretzel crust. It is delicious though.

Peaches and Cream Pretzel Pie

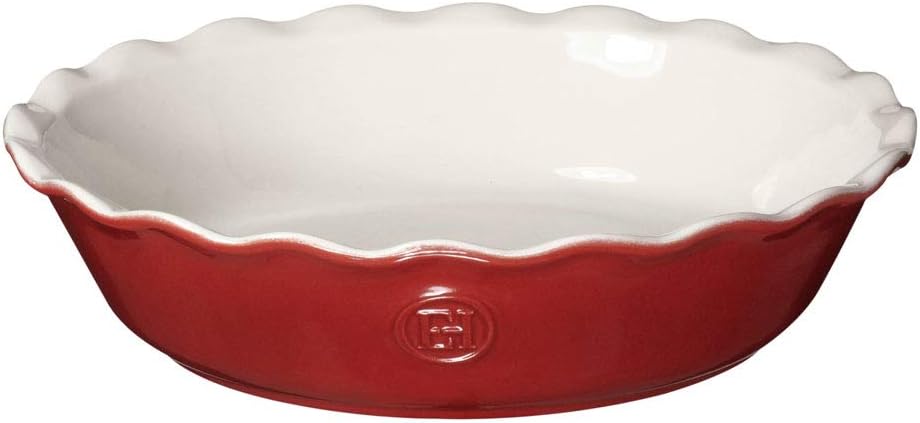
Just look how delicious this pie looks. It basically is peaches and cream in a pretzel pie crust. I used a deep dish pie pan like thishttps://amzn.to/309rjOz

heavenly summer peaches and cream pretzel pie.

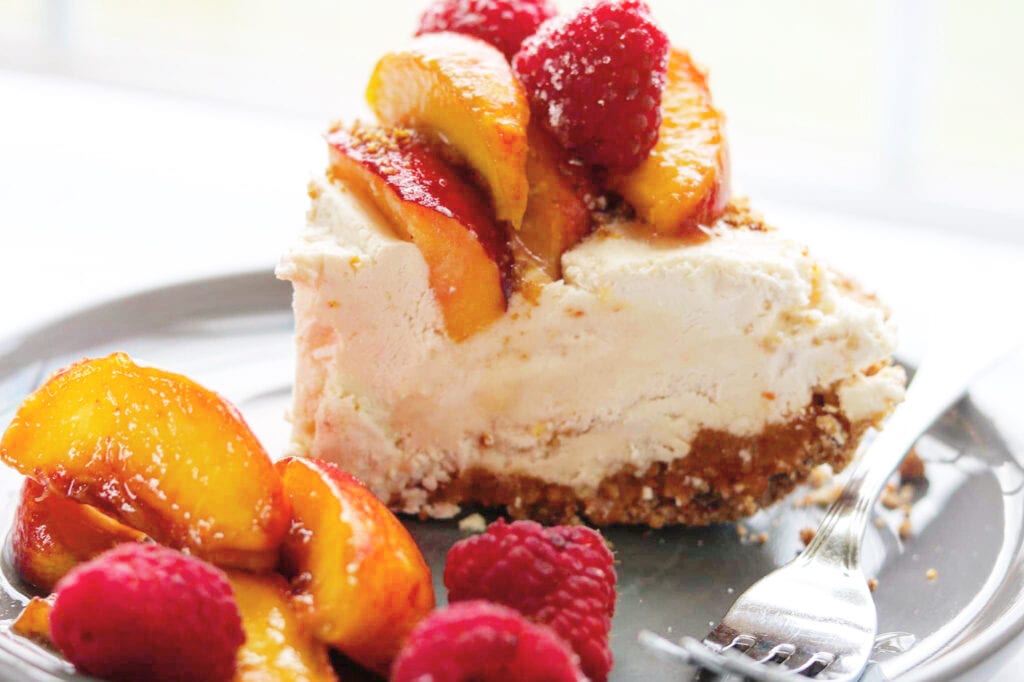
Peaches and Cream Pretzel Pie

You refrigerate this pie for a while before slicing and I actually placed it in the freezer to get a cleaner cut.

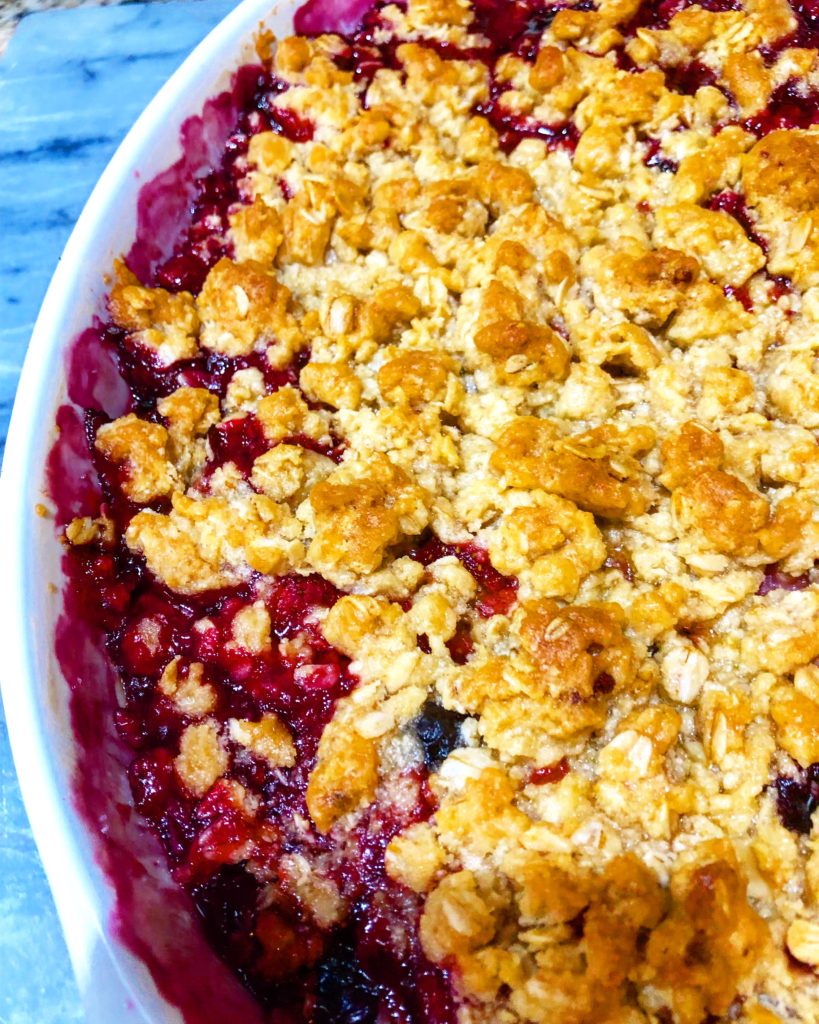
Here is another fruit dessert I have on the blog. I love a crisp and this one is delicious. delicious fresh berry crisp.

Fresh Berry Crisp
Fresh Berry Crisp

Here’s the recipe for this delicious Peaches and Cream Pretzel Pie.

Peaches and Cream Pretzel Crust

Print Recipe
CourseDessert
CuisineAmerican
Keyworddessert, peaches, peaches and cream, peaches and cream pie, peaches and cream pretzel pie, pretzel crust, texas peaches, whipped cream with peaches
Servings8 Servings

Ingredients

Pretzel Crust

  • 1 1/2 cups finely ground salted pretzels
  • 1 stick butter, melted
  • 2 tbsp honey or brown sugar
  • 1/2 tsp cinnamon

For the Peaches and Cream Filling

  • 2 cups heavy cream
  • 2 tsp vanilla
  • 8 ounces sour cream
  • 4-6 tbsp powdered sugar
  • 2 tbsp raspberry or peach jam or preserves
  • 1/3 cup honey
  • 3 ripe, but firm peaches, sliced
  • 1/2 cup fresh raspberries

Instructions

  • To make the Crust: Preheat the oven to 350 degrees F.
  • In a medium bowl, combine the pretzel crumbs, butter, the 2 tbsp honey and cinnamon, and mix until combined.
  • Remove 2 tablespoons of the pretzel mixture and spread on a small baking sheet. Press the remaining dough into and 8-9 inch pie plate. Transfer both to the oven and bake until toasted, about 8 minutes. Let cool completely before filling. Break the extra toasted pretzel crumbs and set aside.
  • To make the cream. In a large bowl, using an electric mixer, beat the cream, sugar and vanilla on high speed until stiff peaks form. Fold in the sour cream. Chill until ready to assemble.
  • To Assemble, spread the raspberry or peach jam over the bottom of the cooled crust. Add the cream mixture. Refrigerate for at least 6 hours or overnight.
  • To make the beaches, bring the honey to a low boil in a medium saucepan, and simmer one minute and remove for the heat and stir in the peaches, tossing to combine. Let sit about 10 minutes.
  • To serve spoon a few peach slices over the cream, reserving the remaining peaches and honey for serving individually. Add a handful of raspberries and sprinkle on the reserved pretzel crumbs. Slice and serve immediately, topped with additional peaches and honey sauce.
  • To make a frozen pie, which I did because it makes a cleaner slice. Complete the recipe through the 4th step and chill the pie while you make the peaches, then top the pie with the peaches and freeze until firm, 3-4 hours or overnight. To serve remove the pie 10 minutes before slicing. Slice and serve as directed above.

Filed Under: Dessert Tagged With: heavy whipping cream, peaches, peaches and cream, peaches and cream pretzel crust, pretzel crust, texas peaches

easy sausage and pepperoni pizza – frozen cheese pizza upgrade

July 26, 2020 by Becky Spoon

Sausage and Pepperoni PizzaJump to Recipe
Sausage & Pepperoni Pizza

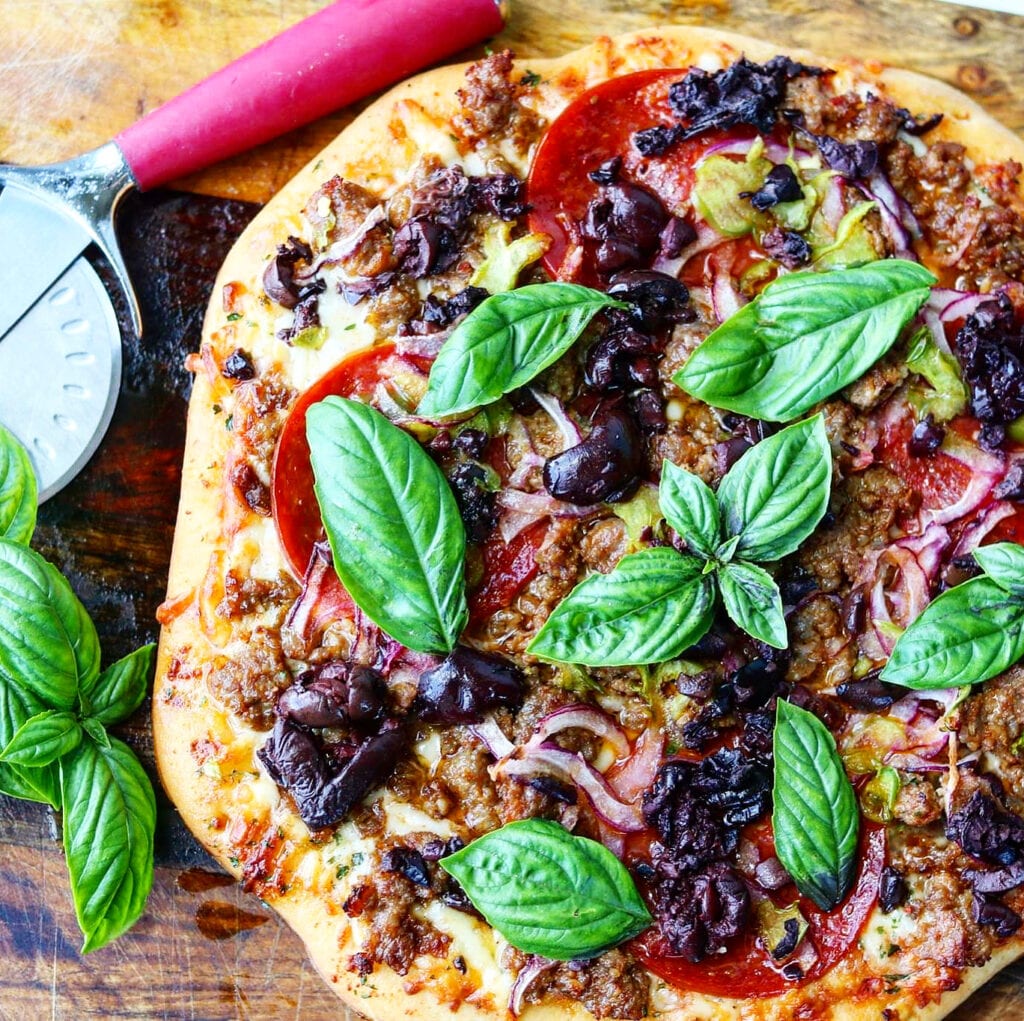
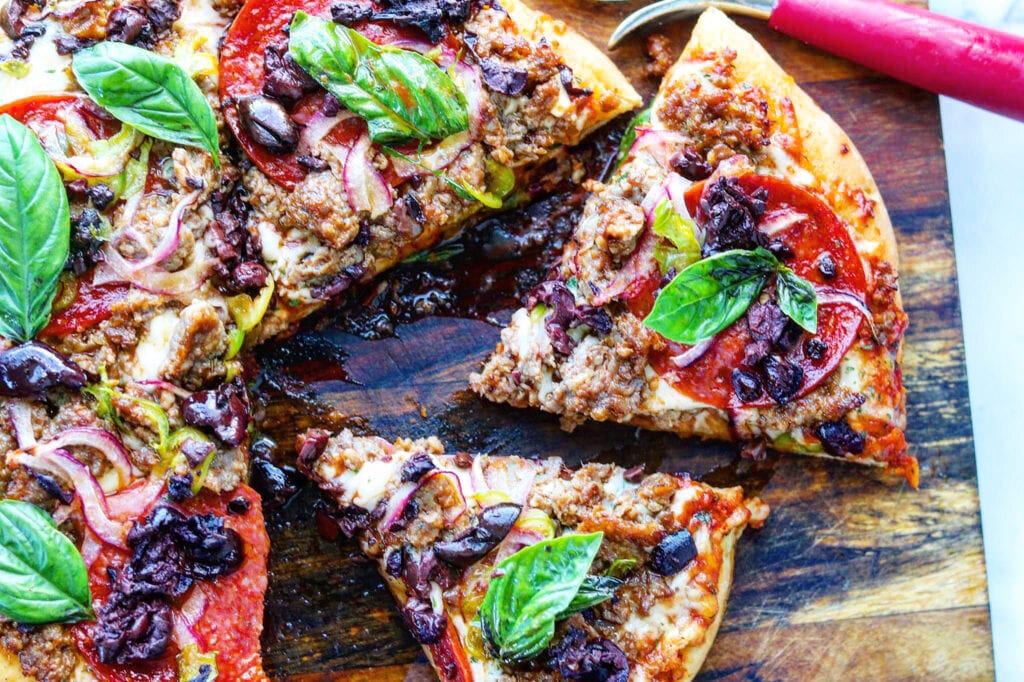
This Sausage and Pepperoni Pizza started out just a frozen cheese pizza. Allen wanted pizza yesterday and this was his suggestion. I was at my local HEB and he said just pick up a frozen pizza with just cheese and we can add our own toppings. Well, that was a great idea! Everything doesn’t have to be completely from scratch and these grocery store prepared items that we upgrade are life savers sometimes. It sure was for me because I was running behind a little.

Sausage & Pepperoni Pizza

easy sausage and pepperoni pizza – a frozen cheese pizza upgrade

The frozen pizza I bought was a Digiorno 4 Cheese Hand Tossed Pizza. https://www.heb.com/product-detail/digiorno-pizzeria-quattro-formaggi-four-cheese-pizza/1650110.

DiGiorno PIZZERIA! Quatro Formaggi/Four Cheese Hand-Tossed Style Frozen Pizza

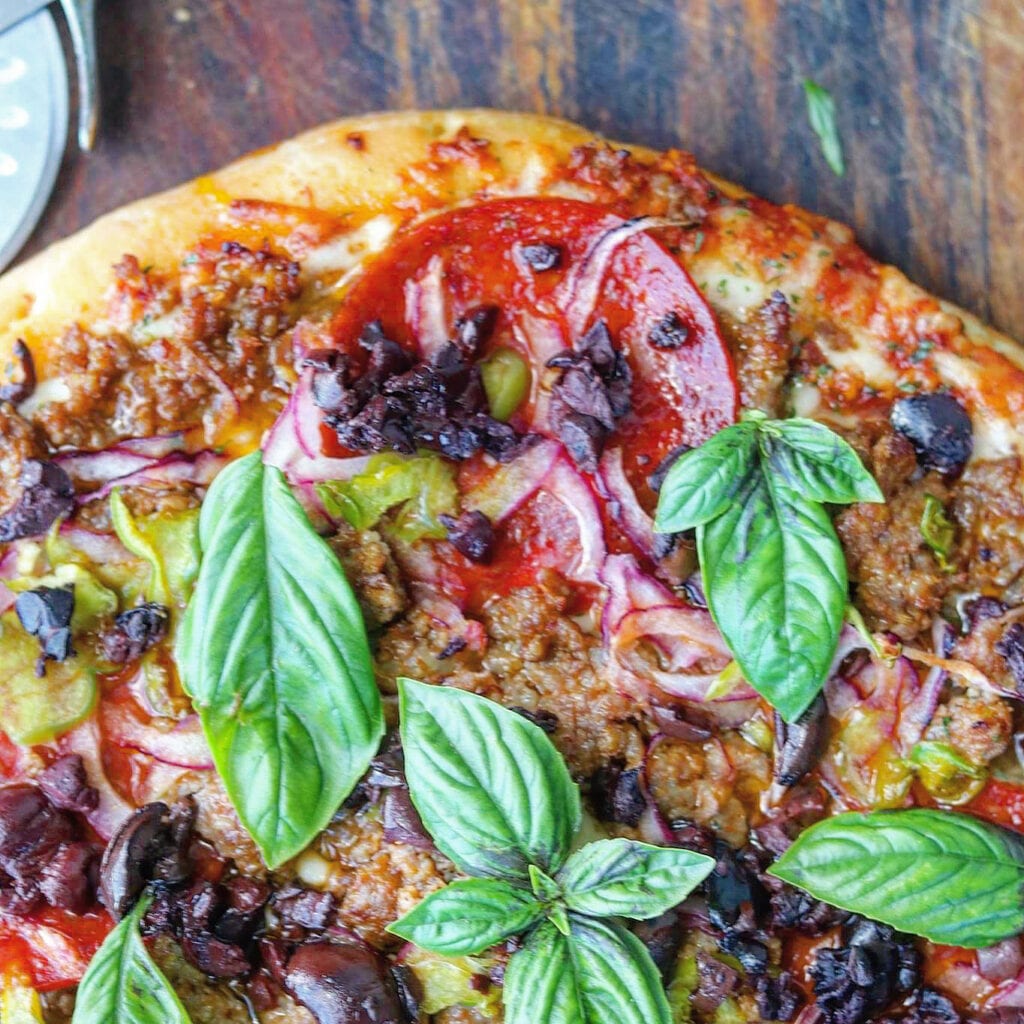
So how did I upgrade this pizza? I added hot Italian sausage, a quality pepperoni that I purchased from the deli section of the supermarket, thinly sliced red onions and green peppers, kalamata olives and drizzeled with a little extra virgin olive oil be serving. I also added fresh basil.

Sausage & Pepperoni Pizza

Here are some other toppings that are delicious on a pizza:

  • asparagus
  • mushrooms
  • pancetta
  • prosciutto
  • Canadian bacon
  • green olives
  • roasted red peppers
  • chorizo
  • deli sliced chicken

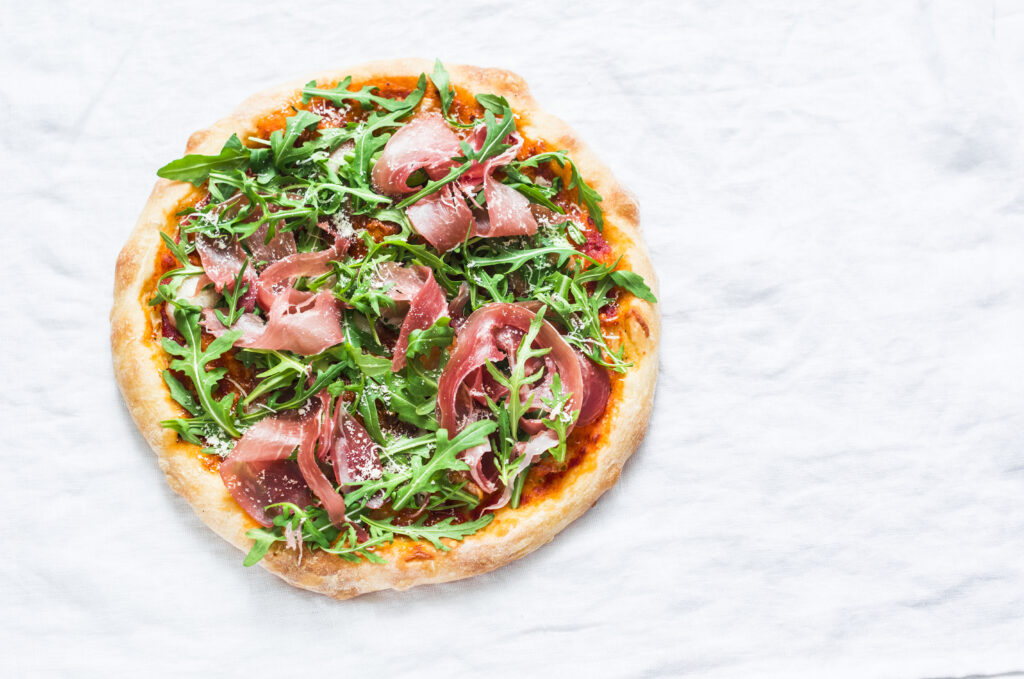
Topping ideas are endless. Another thing I sometimes do is toss some arugula with lemon and extra virgin olive oil and place it on the pizza after it has cooked like this prosciutto and arugula pizza.

Prosciutto arugula pizza

I’ve made homemade pizza at home for years and pizza dough is really easy to make. I have used this easy dough recipe for years. https://www.foodnetwork.com/recipes/bobby-flay/pizza-dough-recipe-1921714. If you decide to make your own dough and follow the rest of the recipe, just add your favorite pizza sauce or some crushed Italian tomatoes, then your favorite cheese, like fresh mozzarella or provolone.

easy sausage and pepperoni pizza – frozen cheese pizza upgrade

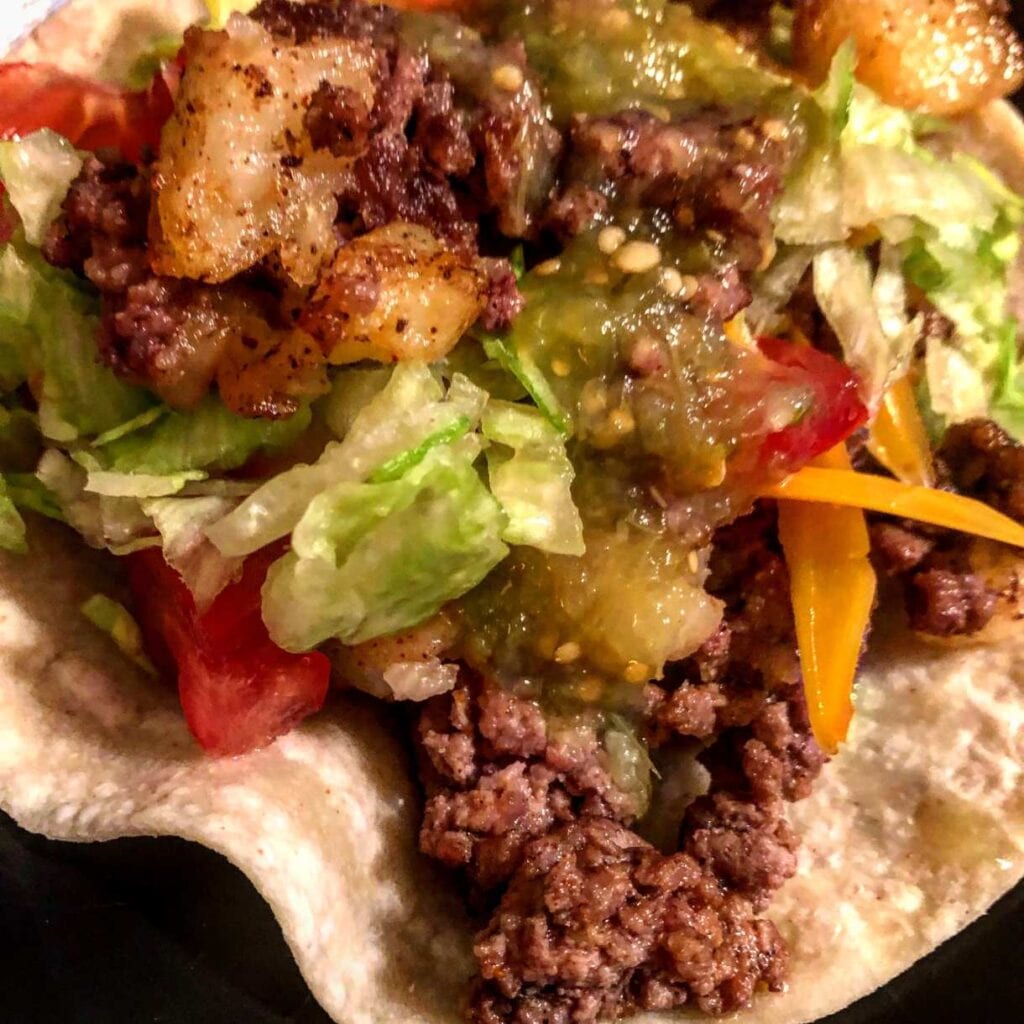
Sometimes we just need those cheat recipes or those really easy recipes like picking up a rotisserie chicken. Like these easy TexMex tacos https://the2spoons.com/easy-texas-tex-mex-soft-corn-tortilla-beef-tacos/.

Here’s the recipe for this delicious pizza.

Sausage and Pepperoni Pizza

Print Recipe
Coursedinner, Lunch, Main Course
CuisineItalian
KeywordItalian sausage, pepperoni, pizza, sausage and pepperoni pizza
Servings2 Servings

Ingredients

  • 1 Medium store bought cheese pizza
  • 2-3 Links italian sausage
  • 4-5 Large slices pepperoni
  • 1/2 Green pepper, thinly lived (I used a mandolin)
  • 1/4 Red onion, shaved like using a mandolin
  • 1/2 cup chopped black olives or combination of black and green
  • Fresh basil for serving
  • Parmesan cheese for serving
  • Red pepper flakes for serving
  • Extra virgin olive oil to drizzle

Instructions

  • Remove the pizza from the box and heat your oven according to you’re package instructions. I cooked this at 350 with the pizza directly on the oven rack.
  • Cook your italian sausage and slice your pepper and onions.
  • Chop or slice the olives.
  • Place the pizza on a work surface and distribute the cooked sausage. Now add the pepperoni. Add your sliced peppers and onions, then sprinkle your olives over the pizza. Bake until golden brown and cheese is melted.
  • Remove the pizza from the oven and drizzle with extra olive olive oil and top with lots of fresh basil, chopped or whole.
  • Serve immediately with red pepper flakes, parmesan cheese if desired. Enjoy!
  • Don't forget to keep some simple cheese pizzas in the freezer to build your own spectacular pizza at home.

Filed Under: Pizza Tagged With: Pizza, sausage and pepperoni pizza

easy mexican spiced pork tenderloin tacos.

July 21, 2020 by Becky Spoon

Mexican Spiced Pork TenderloinJump to Recipe
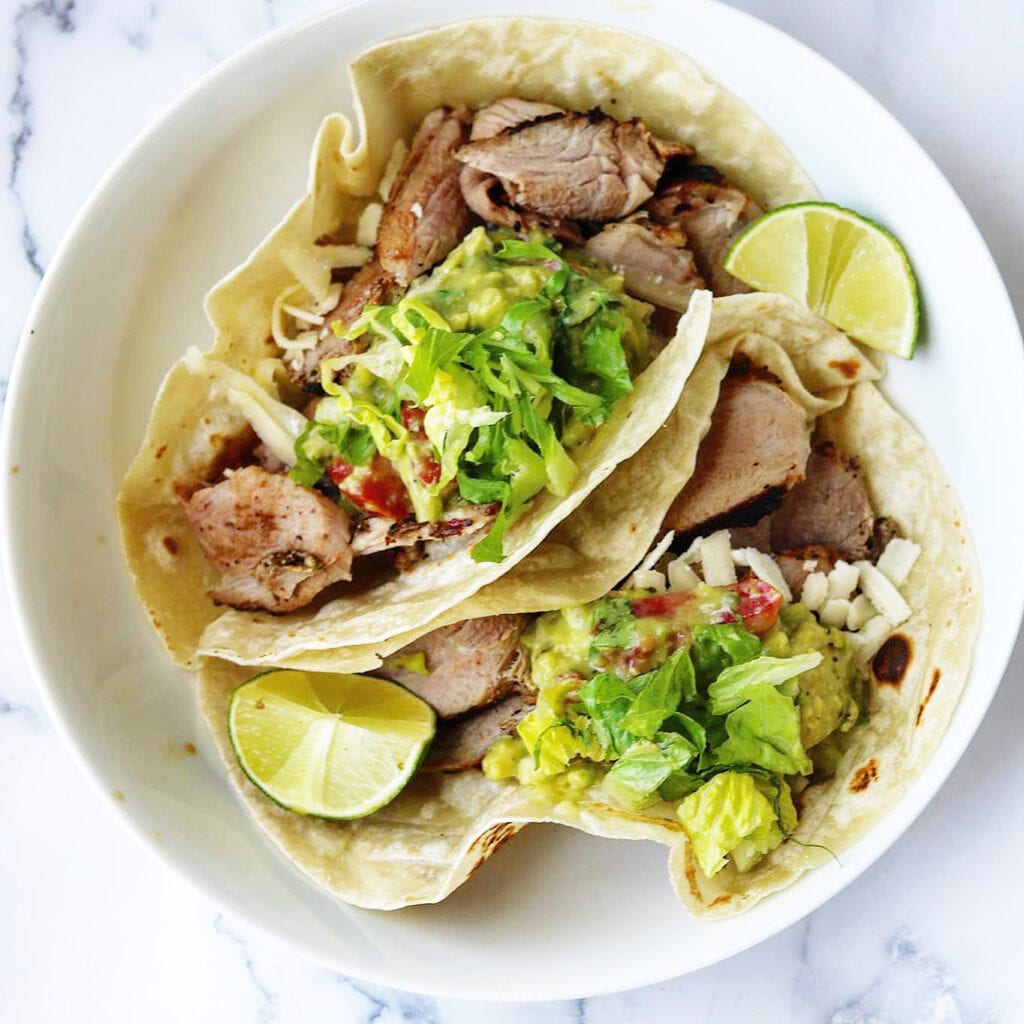
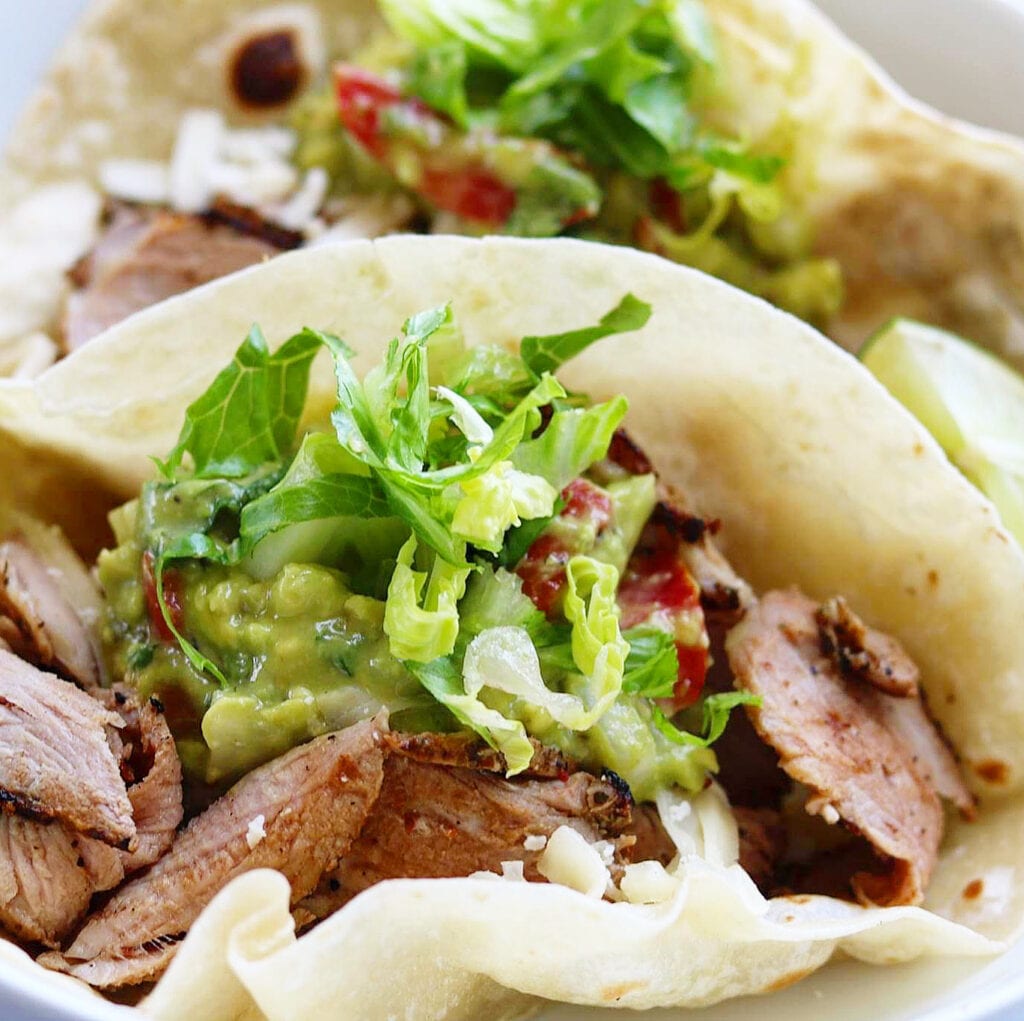
Mexican Spiced Pork Tenderloin Tacos

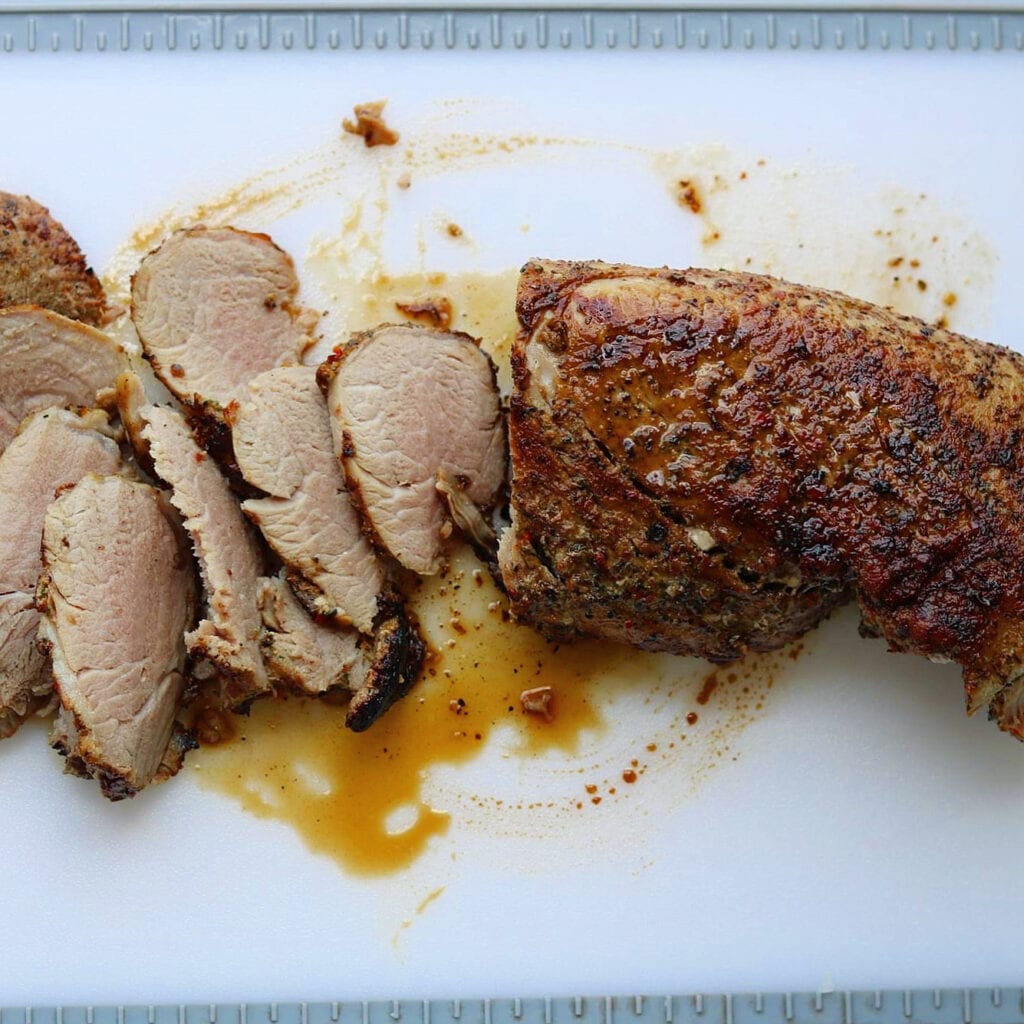
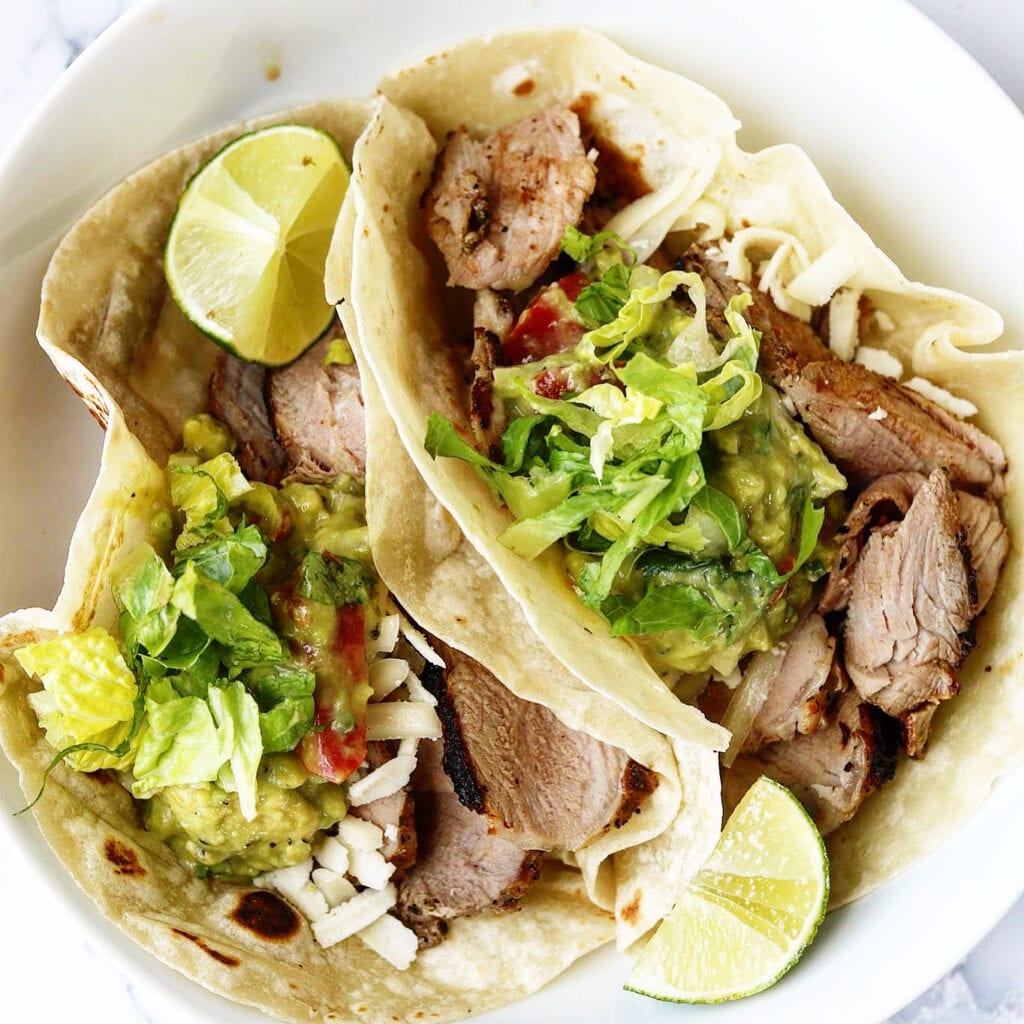
Just look at these mexican spiced pork tenderloin tacos! I had this pork tenderloin in my freezer and felt I needed to make it and because Allen loves tacos of any kind I decided to add some mexican spices and make tacos with it. So glad I did because he loved the tacos. Just look how juicy this tenderloin looks!

Mexican Spiced Pork Tenderloin

Pork tenderloin is so tender if you don’t over cook it. First you sear the meat on all sides, then place in the oven until the internal temperature reaches 145 degrees for medium rare, the recommended temperature for pork tenderloin.

Mexican Spiced Pork Tenderloin Tacos

easy mexican spiced pork tenderloin tacos.

I marinated the tenderloin brushed with olive oil and a mixture of spices that will be left on while cooking. It’s basically ready to cook when you brush with the oil and rub with the spices, but I wanted it to sit for at least an hour before cooking. That just adds to the flavor. You want to cook the meat at room temperature, so I just allowed it to marinate on my counter with the oil and spices to come to room temperature.

If you want a quick spice blend, I love Tajin and it’s perfect for pork. It’s got a little heat and has a lot of lime…so it would work perfectly.

Here’s a link for the Tajin. https://amzn.to/30usoQe

I used flour tortillas and i love to buy the flour tortillas that have not been cooked yet. They aren’t always easy to find, but if you do be sure and get some. https://amzn.to/2OHGt7p

I also served Herdez Guacamole Salsa with these. So good. Here’s a link for the Herdez salsa. https://amzn.to/2Ctekyu

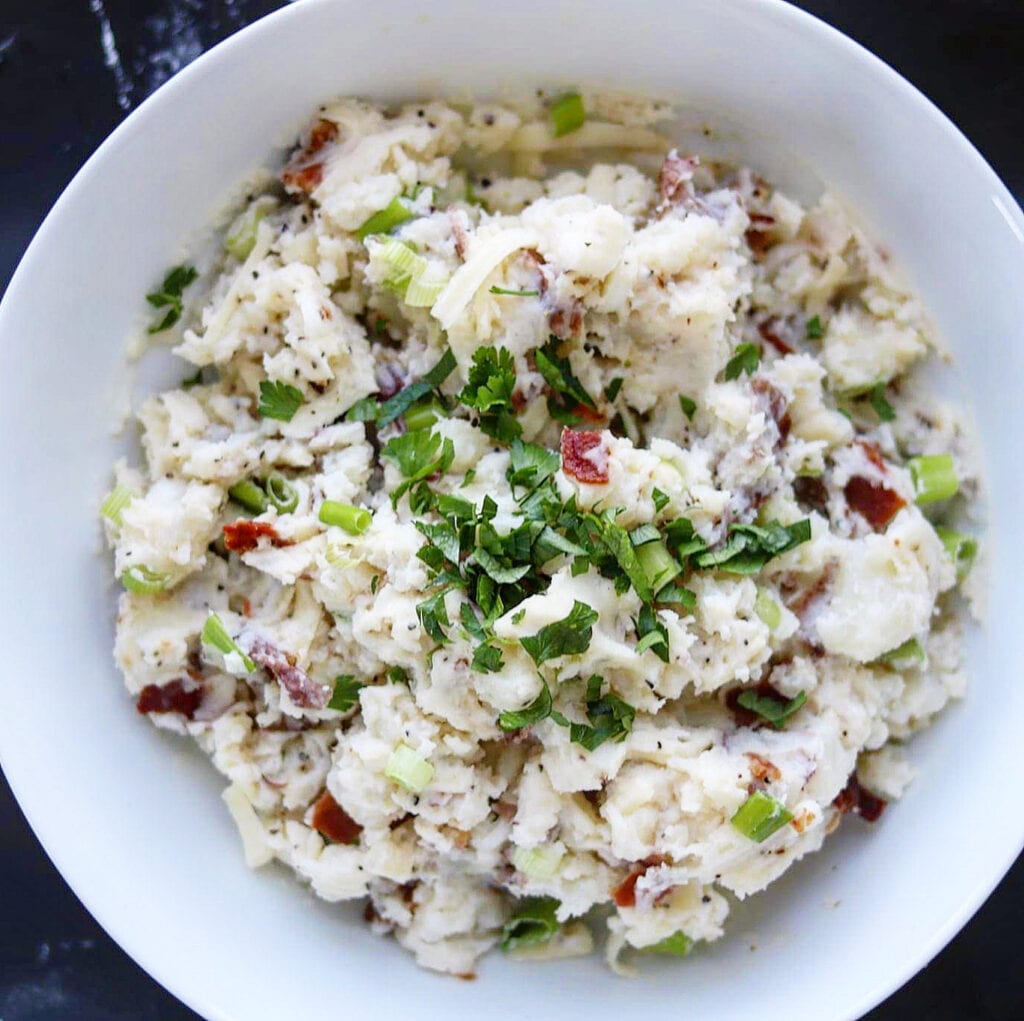
If you don’t want tacos with this pork tenderloin, it would be perfect with my smashed potatoes and a side dish like a salad or a green vegetable. Here’s the recipe for my smashed potatoes: https://the2spoons.com/delicious-smashed-potatoes/

Smashed Potatoes
Smashed Potatoes

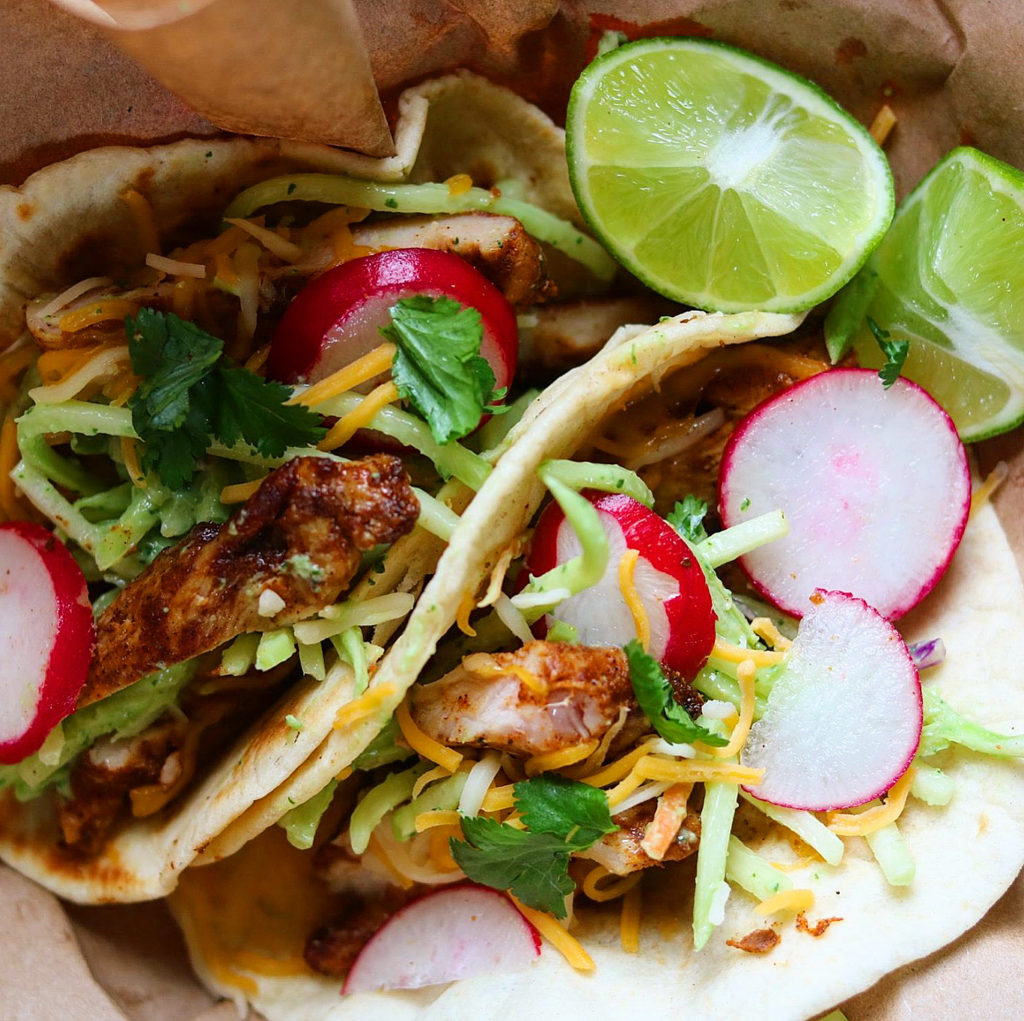
Want another taco recipe? Try these Spicy Chicken Tacos! https://the2spoons.com/spicy-chicken-tacos-with-broccoli-slaw/

Spicy Chicken Tacos
Spicy Chicken Tacos

Here’s the so easy recipe for the pork tenderloin!

Mexican Spiced Pork Tenderloin Tacos

easy mexican spiced pork tenderloin tacos

Print Recipe
Coursedinner, Lunch, Main Course
CuisineMexican
Keywordfor tacos, mexican, mexican spiced, mexican spiced pork tenderloin, pork tenderloin
Servings4 servings

Ingredients

  • 1 pork tenderloin
  • olive oil
  • salt and pepper
  • 1/4 tsp each garlic powder, paprika, red chile powder, cumin, mexican oregano.

For the Tacos

  • 8 flour tortillas
  • shredded lettuce
  • diced tomatoes
  • grated cheese of your choice, I used Monterrey Jack
  • Salsa of your choice.

Instructions

  • Preheat the oven to 375.
  • Combine all the spices, excluding the salt and pepper, crushing the Mexican oregano.
  • Pat the pork dry and rub with olive oil. Lightly salt and pepper on all sides. Add the spice blend to all sides.

  • Allow to sit at room temperature for about an hour. Heat a cast iron or similar skillet to medium high heat.
  • Add a little oil to the skillet and add the pork. Brown on all sides, turning as it browns.
  • When all sides are browned, place the skillet into the oven and cook until the internal temperature reaches 145 degrees. This may take 15 minutes to 20 minutes, but I start checking at 10 minutes especially if your tenderloin is not very thick.
  • Remove the pork from the pan onto a cutting board or plate, tent with foil and allow to rest for at least 15 minutes.
  • Slice and serve in tacos like I did or with your favorite side dishes. .

For the Tacos

  • Slice the tenderloin into thin slices after you have allowed it to rest. Heat your tortillas. Add the pork, lettuce, tomatoes and cheese to the tortillas. Serve with your favorite salsa. I used Herdez Guacamole Salsa!

Filed Under: Pork Tagged With: mexican spiced pork tenderloin, pork tenderloin, tacos

decadent blueberry cheesecake.

July 20, 2020 by Becky Spoon

Jump to Recipe
Blueberry Cheesecake

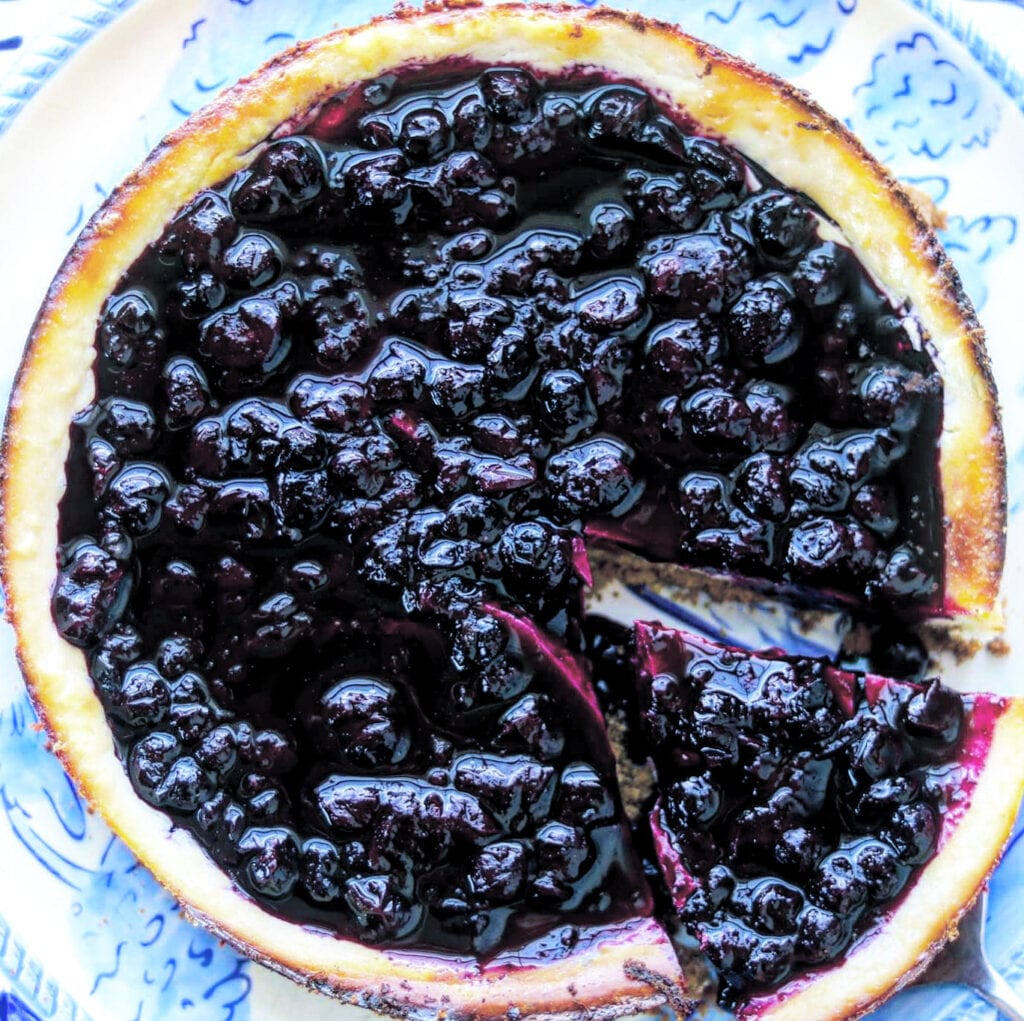
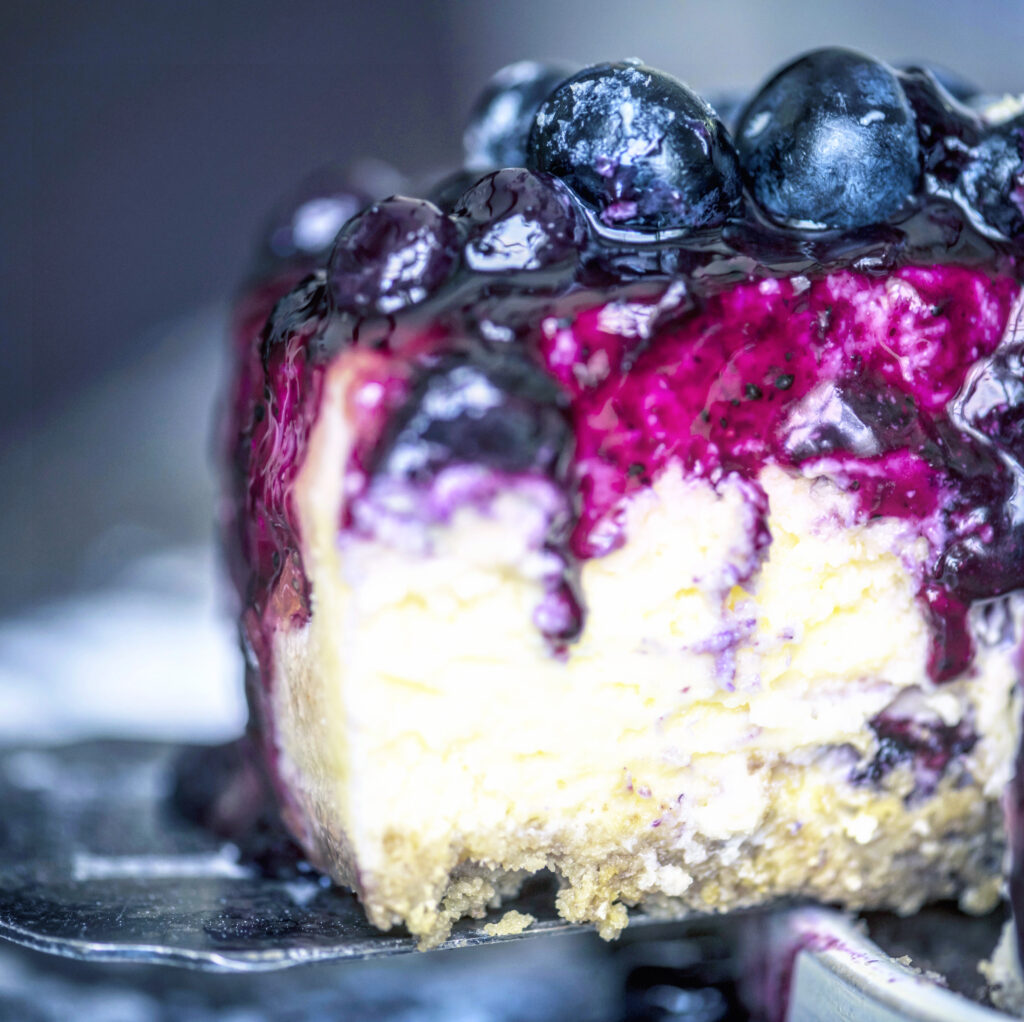
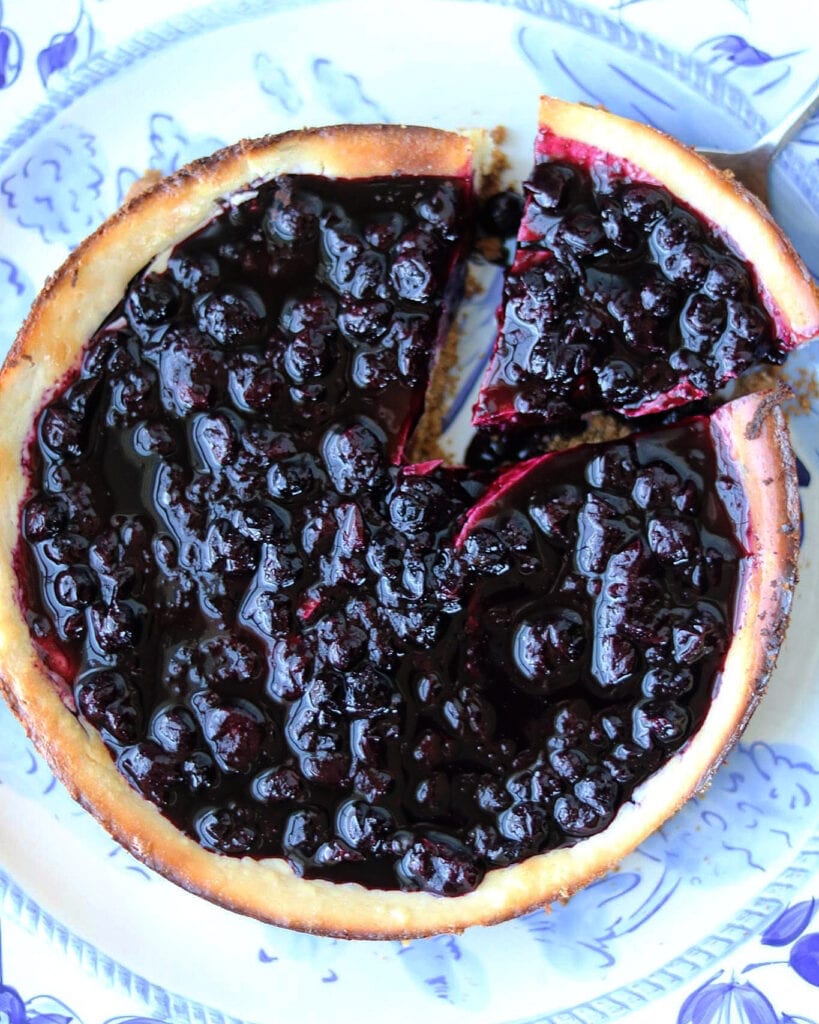
Just look at this Blueberry Cheesecake! A creamy cheesecake filling in a graham cracker crust, piled with bursting blueberries!

This was actually on the cover of Food and Wine magazine for August and I knew I had to make it! Summer berries are the best!

decadent blueberry cheesecake.

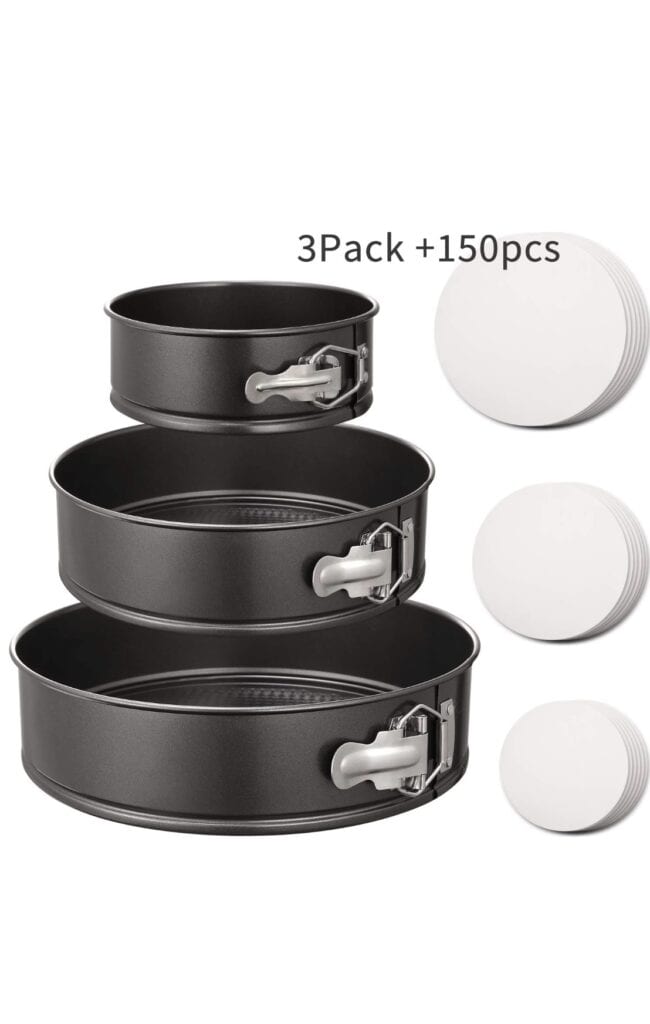
These spring form pans are a must for a cheesecake. You can make this in a 9 inch or a 10 inch. https://amzn.to/3fOG0w0 is a link of a set of 3. I use the small one a lot since there’s just 2 of us.

Blueberry Cheesecake

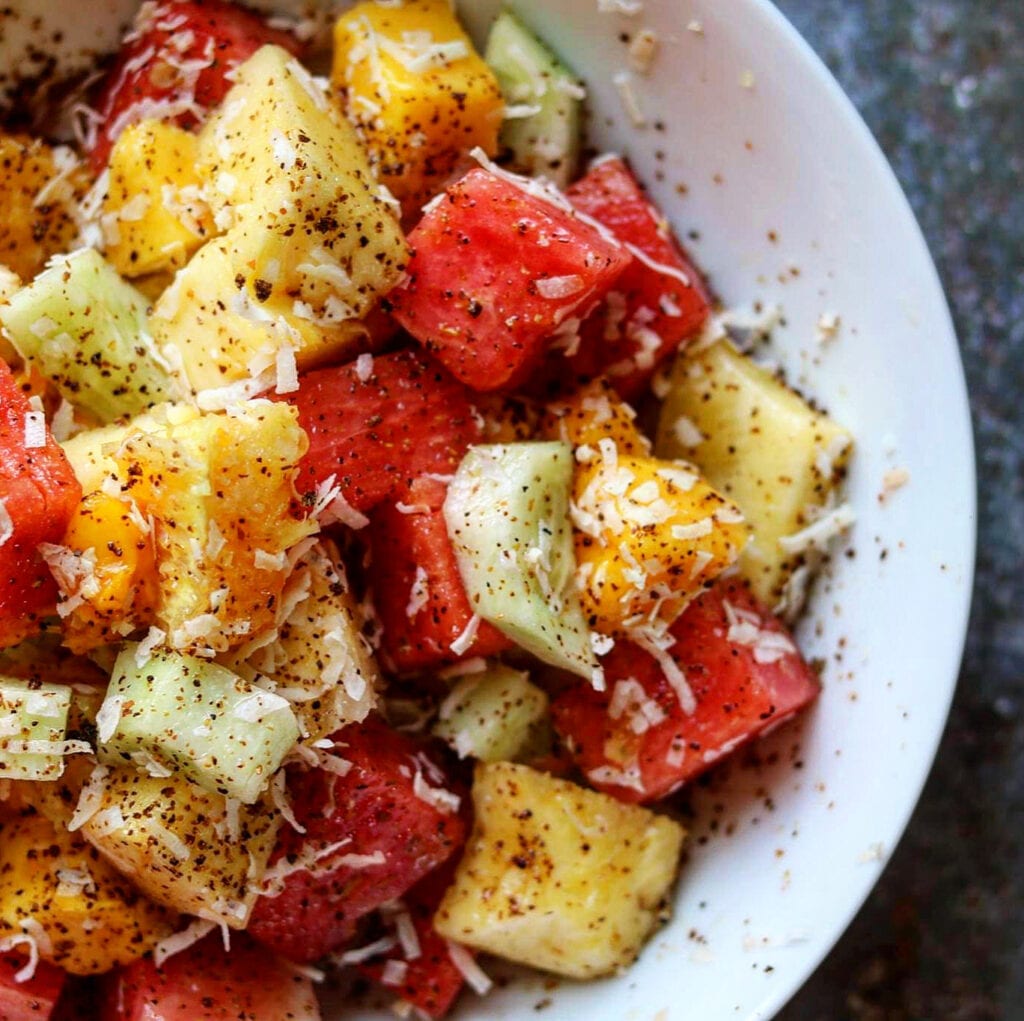
Before I give you this recipe, here’s another recipe using summer fruits! It’s delicious! https://the2spoons.com/the-best-spicy-summer-fruit-salad/

Spicy Summer Fruit Salad

Here’s the recipe!! Enjoy!

Blueberry cheesecake

Print Recipe
CourseDessert
CuisineAmerican
Keywordblueberry cheesecake, cheesecake, summer, summer berries
Servings12 Servings

Ingredients

  • 2 Cups Crushed graham crackers
  • 1/2 Cup Unsalted butter melted
  • 1/2 Cup Plus 2 tbsp light brown sugar, divided
  • 2 8 oz Packages cream cheese, softened
  • 4 Large Eggs, separated
  • 3/4 Cup Plus 3 tbsp granulated sugar, divided
  • 1 1/2 Tsp Vanilla extract, divided
  • 2 Cups Sour cream
  • 2 Cups Fresh blueberries

Instructions

  • Preheat oven to 375°F. Stir together crushed graham crackers, butter, and 1/2 cup brown sugar in a bowl. Press mixture into bottom of a 10-inch springform pan; wrap bottom of pan in aluminum foil, or place on a rimmed baking sheet. Bake in preheated oven until golden brown, about 8 minutes. Let cool 10 minutes. (Leave oven temperature at 375°F.)
  • Meanwhile, beat cream cheese, egg yolks, 3/4 cup granulated sugar, and 1 teaspoon vanilla in a medium bowl with an electric mixer on medium-high speed until smooth, about 2 minutes, stopping to scrape down sides of bowl as needed. Using clean beaters, beat egg whites in a separate medium bowl with an electric mixer on high speed until stiff peaks form, about 2 minutes. Fold egg whites into cream cheese mixture in 3 additions. Pour mixture into prepared crust, and smooth top.
  • Bake cheesecake at 375°F until filling is puffed and top begins to dry out, 22 to 25 minutes. Let cool on a wire rack 1 hour.
  • Whisk together sour cream, remaining 2 teaspoons brown sugar, and remaining 1/2 teaspoon vanilla in a bowl. Gently spoon onto cheesecake; smooth using an offset spatula.
  • Bake cheesecake at 375°F until center is set (center will wobble slightly), 18 to 22 minutes. Let cool on a wire rack 1 hour. Place in refrigerator until chilled, at least 6 hours or up to 8 hours or overnight.
  • Meanwhile, stir together blueberries and remaining 3 tablespoons granulated sugar in a small saucepan; cook over medium-high, stirring often, until blueberries start to release juices and sugar dissolves, about 4 minutes. Remove from heat; let cool.
  • Run a knife around edges of cheesecake in pan. Remove springform ring from cheesecake, and transfer to a serving platter. Spoon blueberry sauce over cheesecake just before serving.

Filed Under: Dessert Tagged With: blueberries, blueberry, blueberry cheesecake, blueberry sauce, cheesecake

  • « Go to Previous Page
  • Page 1
  • Interim pages omitted …
  • Page 18
  • Page 19
  • Page 20
  • Page 21
  • Page 22
  • Interim pages omitted …
  • Page 65
  • Go to Next Page »

Primary Sidebar

Categories

  • Appetizer
  • Beans, Lentils, Grains, Rice
  • Beef
  • Bread
  • Breakfast/Brunch
  • Cocktails
  • Dessert
  • Dishes of Mexico, Tex Mex and New Mexico Red and Green Chile
  • Fish/Seafood
  • Ice Cream
  • Pasta
  • Pizza
  • Pork
  • Poultry
  • Salad Dressings
  • Salads
  • Salsas
  • Sandwiches/Burgers/Hot Dogs
  • Sauces, Compound Butters, Condiments
  • Side dish
  • Soups/Stews/Gumbo//Chili
  • Stocks, Broths, Gravies
  • Vegetables

Copyright © 2026 The 2 Spoons on the Foodie Pro Theme

Rate This Recipe

Your vote:


A rating is required
A name is required
An email is required