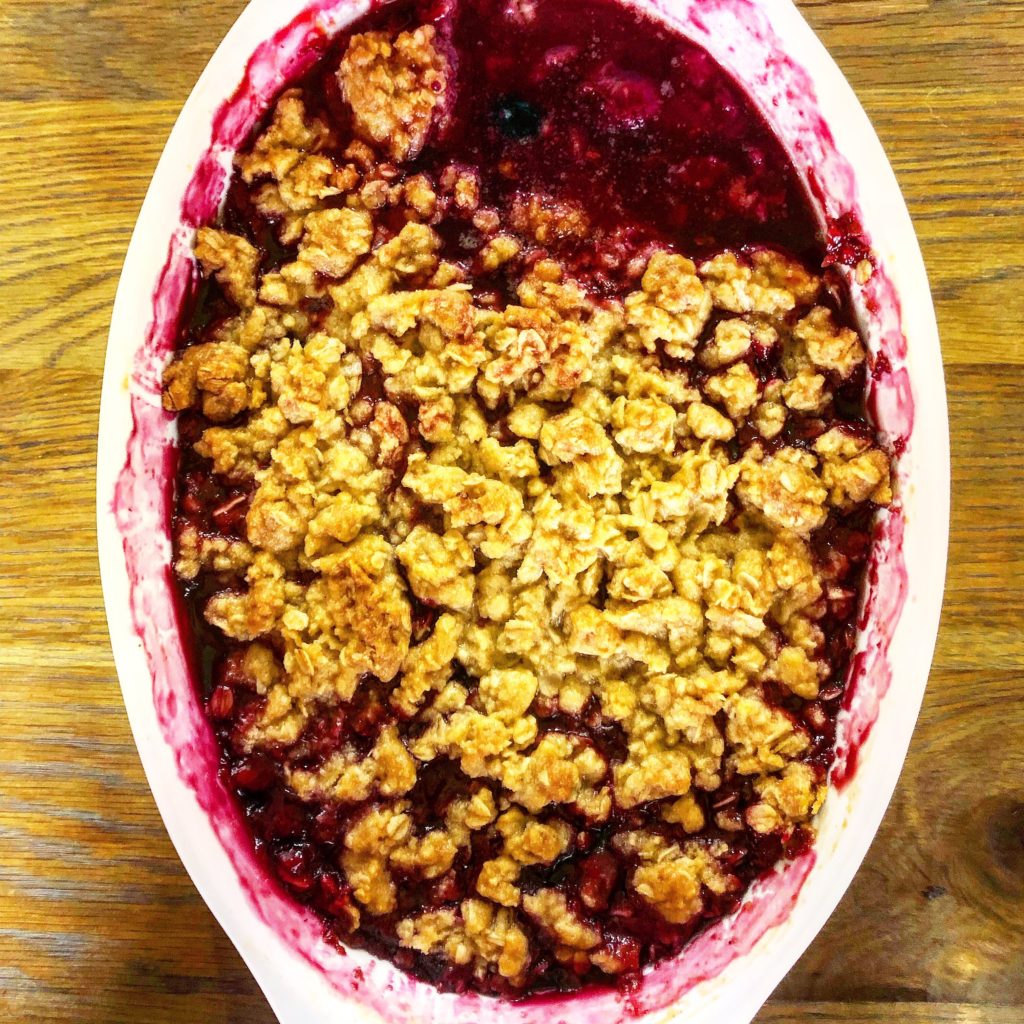
This fresh berry crisp is an absolute favorite of mine. Mostly berries, I also had fresh Texas peaches to go along with strawberries, blueberries and raspberries. I needed to do something with this fruit and this is the perfect dish.
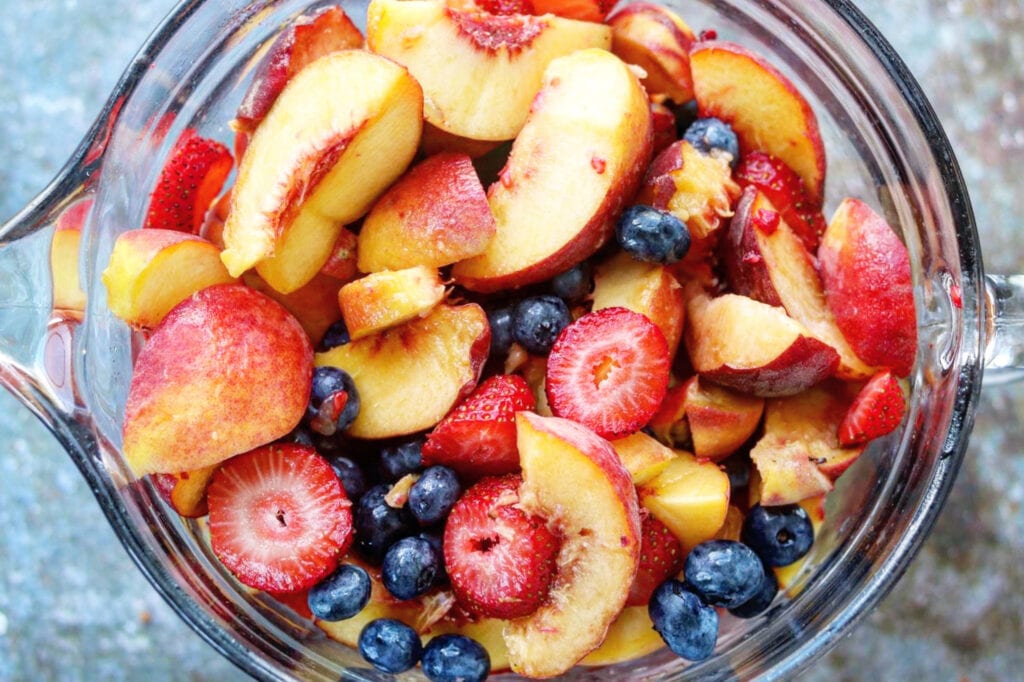
Just look at all of this fresh fruit!
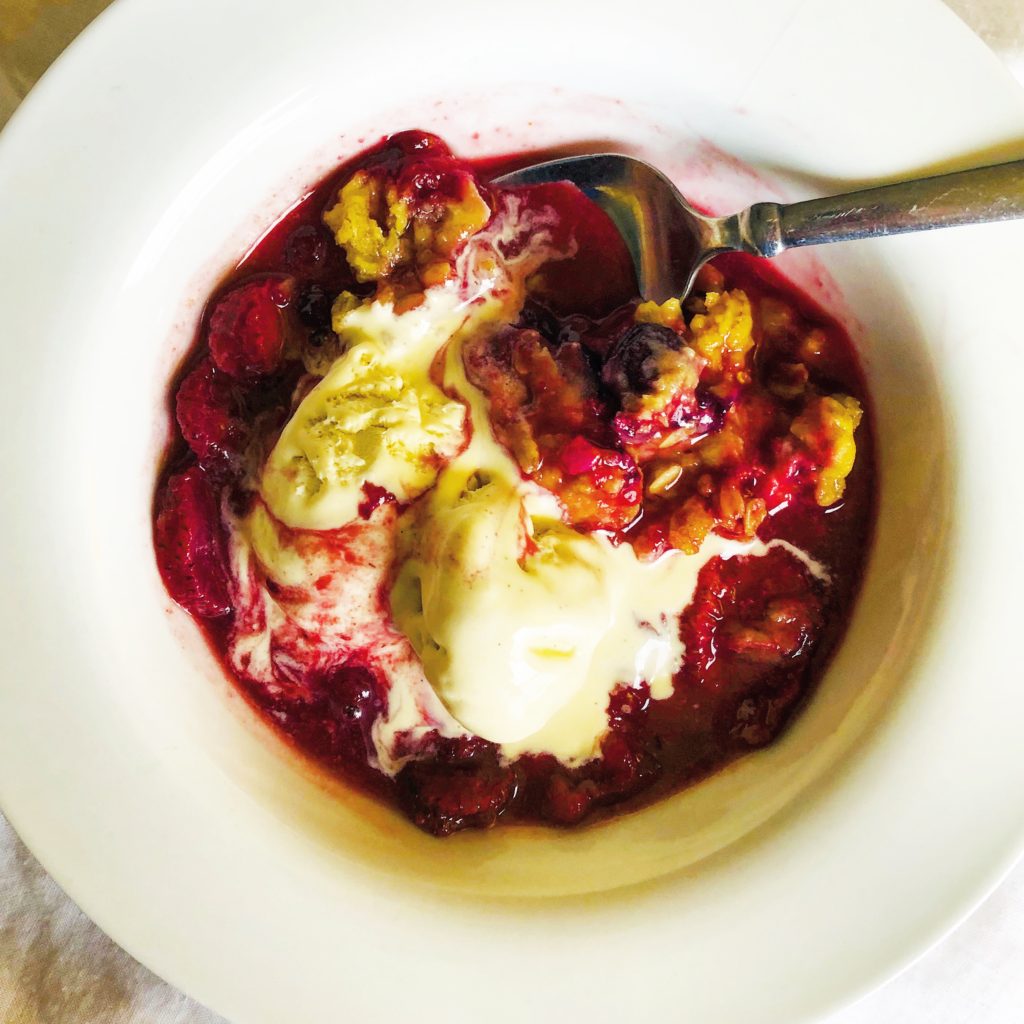
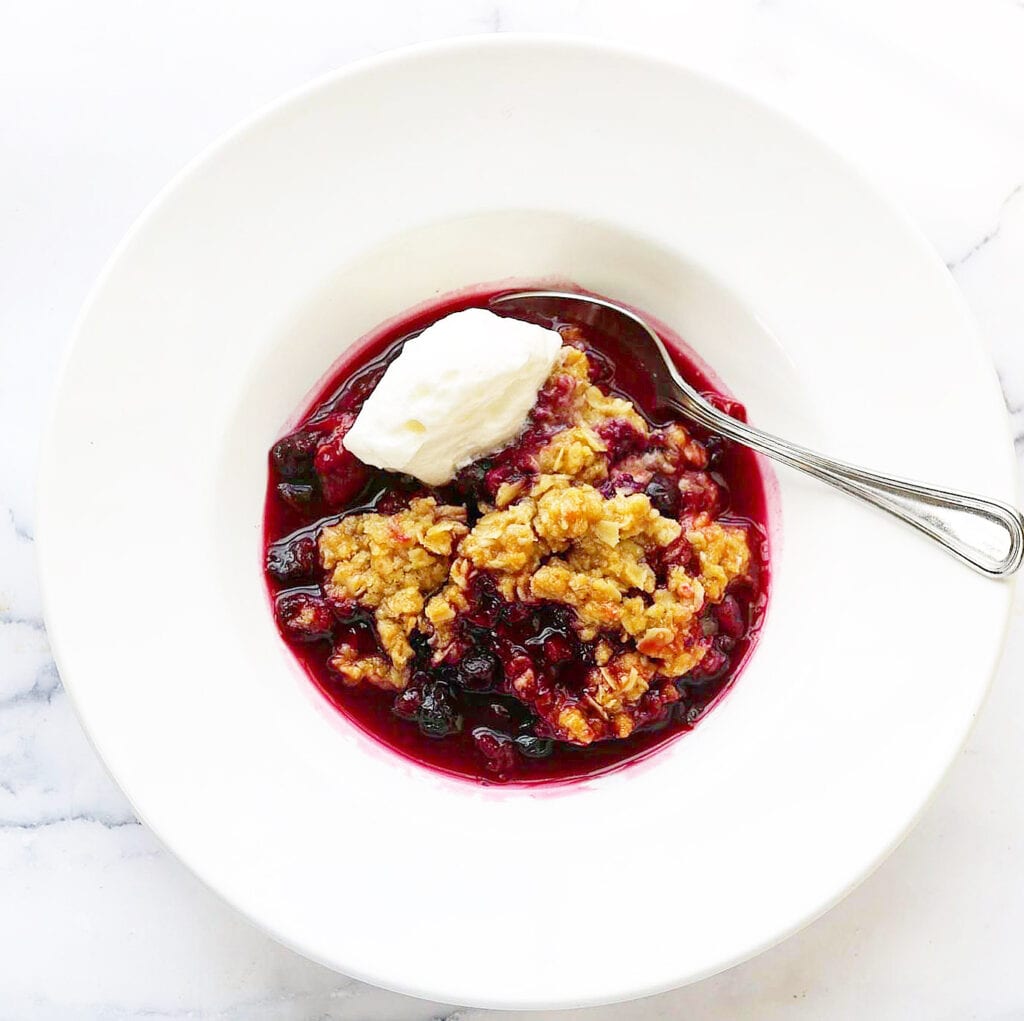
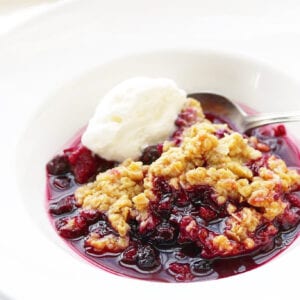
delicious fresh berry crisp.

A crisp is so easy. I used fresh orange juice and orange zest along with a corn starch slurry for the base. Then I combined flour, sugar, oats and butter with my mixer and topped this delicious fruit. Then baked until golden brown on top.
I baked this in an oblong white dish that is one of my favorites. I love white dishes because your food just looks so much better in a white dish. Gray is also a favorite, but white works with almost everything. Here’s a similar dish to the one I used: https://amzn.to/3fm2HXj

Something else I used in this recipe is the 8 cup batter bowl with a lid. I actually have had this for many years that I got from Pampered Chef. I love it. You can mix things ahead of time and store in the refrigerator with the lid. Here is a similar bowl https://amzn.to/3fqzGJY

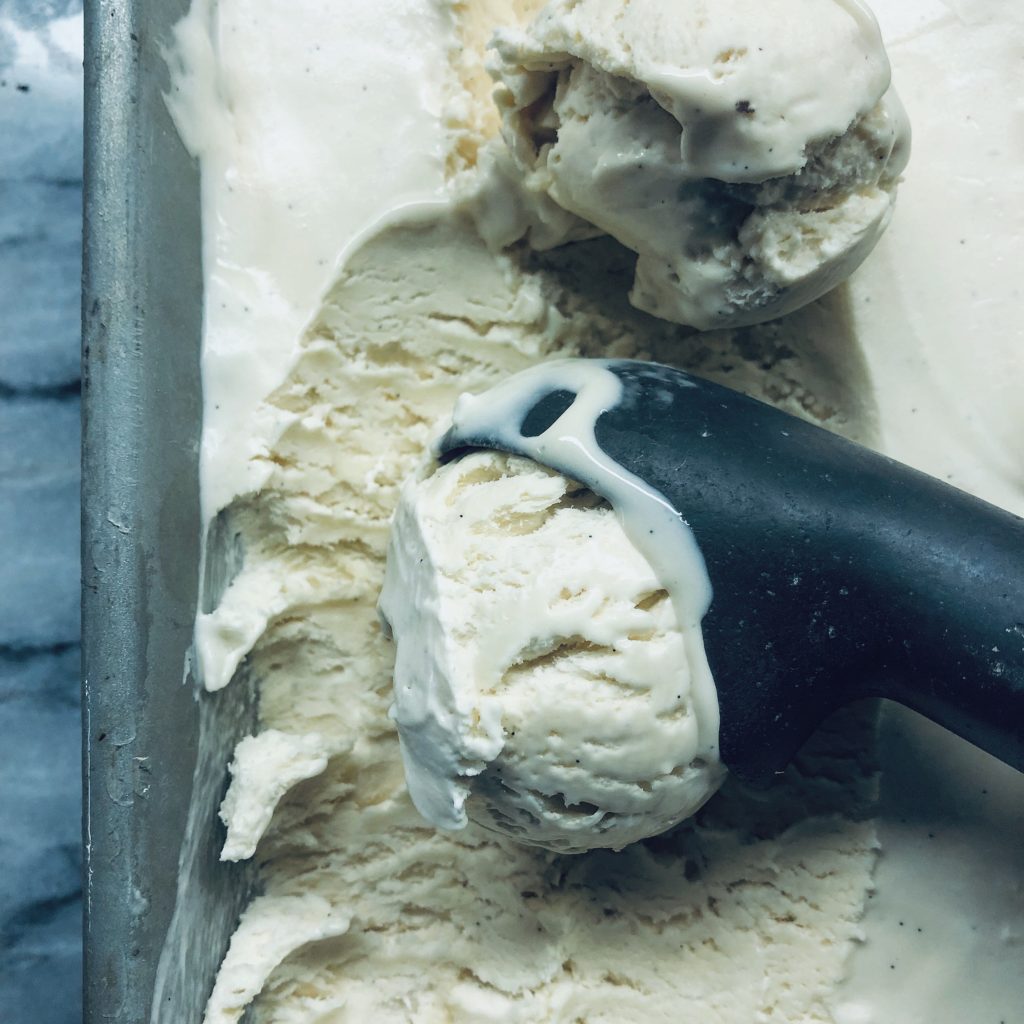
I made my no-churn vanilla ice cream to top it with which is perfection. Oh, yum! You have to try the ice cream! Here’s the link: https://the2spoons.com/so-good-essential-no-churn-vanilla-ice-cream/
You probably have your own recipe, here’s mine!! Hope you like it!
Fresh Berry Crisp
Ingredients
- 6 cups fresh strawberries, thick sliced
- 2 cups fresh blueberries
- 1 1/2 cups granulated sugar, divided
- 1 1/2 tsp orange zest
- 1 tbsp cornstarch
- 1 cup all purpose flour
- 1/2 cup light brown sugar, slightly packed
- 1/2 tsp salt
- 1 cup quick cooking oats, not instant
- 12 tbsp unsalted butter, diced
Instructions
- Preheat the oven to 350 degreesFor the fruit, toss the blueberries and strawberries, ¾ cup granulated sugar, and the orange zest together in a large bowl. In a measuring cup, dissolve the cornstarch in the orange juice and then mix it into the fruit. Pour the mixture into a buttered 8 × 11-inch baking dish and place it on a sheet pan lined with parchment paper.For the topping, in the bowl of an electric mixer fitted with the paddle attachment, combine the flour, the remaining 3/4 cup granulated sugar, the brown sugar, salt, and oatmeal. With the mixer on low speed, add the butter and mix until the dry ingredients are moist and the mixture is in crumbles. Sprinkle the topping over the fruit, covering it completely, and bake for 50 minutes to 1 hour, until the fruit is bubbling and the topping is golden brown. Serve warm with ice cream.
Notes

Fresh Berry Crisp No-Churn Vanilla Ice Cream No-Churn Vanilla Ice Cream