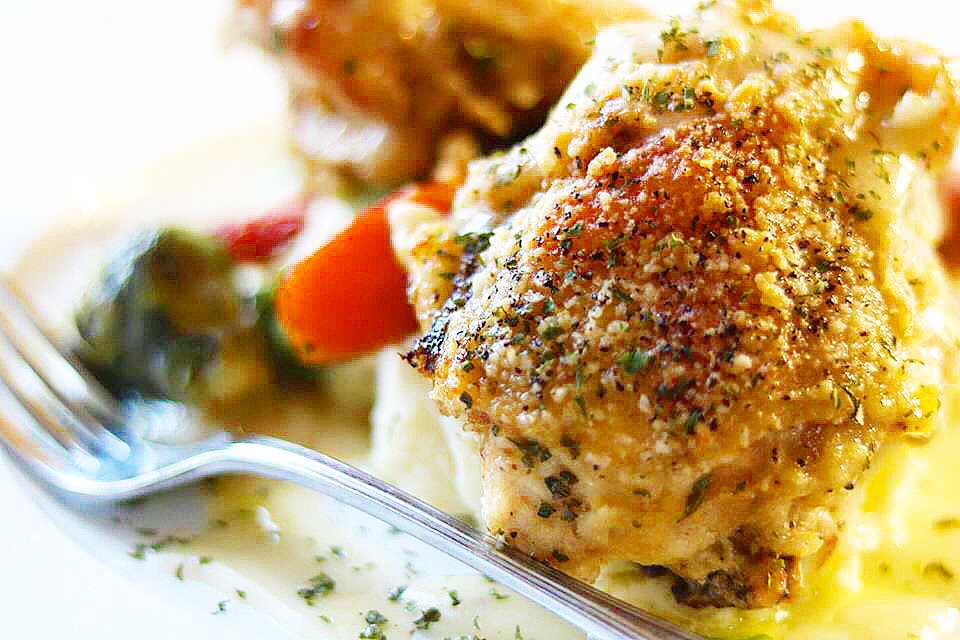
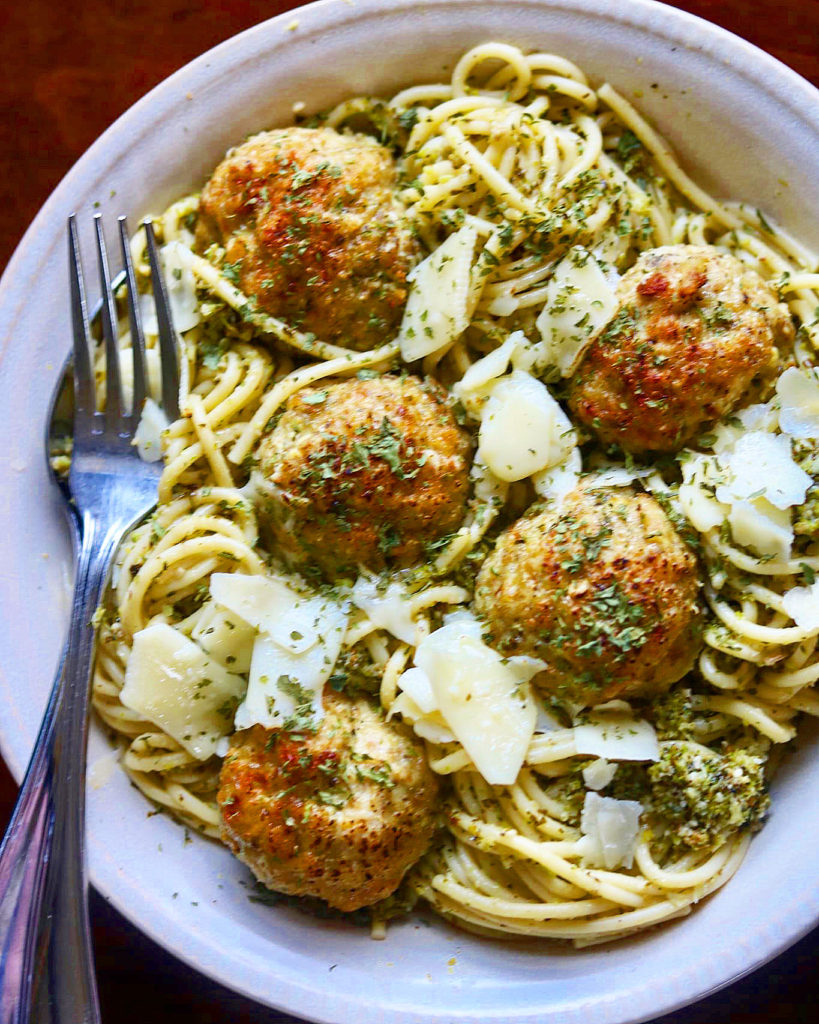
These recipe for Baked Chicken Meatballs with Broccoli Pesto Pasta is so, so good! Sometimes it seems ground chicken recipes aren’t flavorful, but I tell you, these meatballs are loaded with flavors like the Italian seasoning I used and the parmesan cheese! They are moist, a little salty from the parmesan and they have a great texture.
I saw this dish on Instagram by The Modern Proper blog. My dish is a little different because I substituted the fennel seeds she used in her meatballs with Italian Seasonings. I couldn’t find my fennel seeds she used in her recipe so the Italian Seasonings worked perfectly. That’s what cooking is about! Taking a recipe and substituting what you have.
What ingredients do you need for this recipe?
For the Meatballs:
- ground chicken
- breadcrumbs
- eggs
- Italian seasoning
- Parmesan Cheese
- garlic
For the Broccoli Pesto Pasta:
- broccoli
- extra virgin olive oil
- jar of pesto
- spaghetti
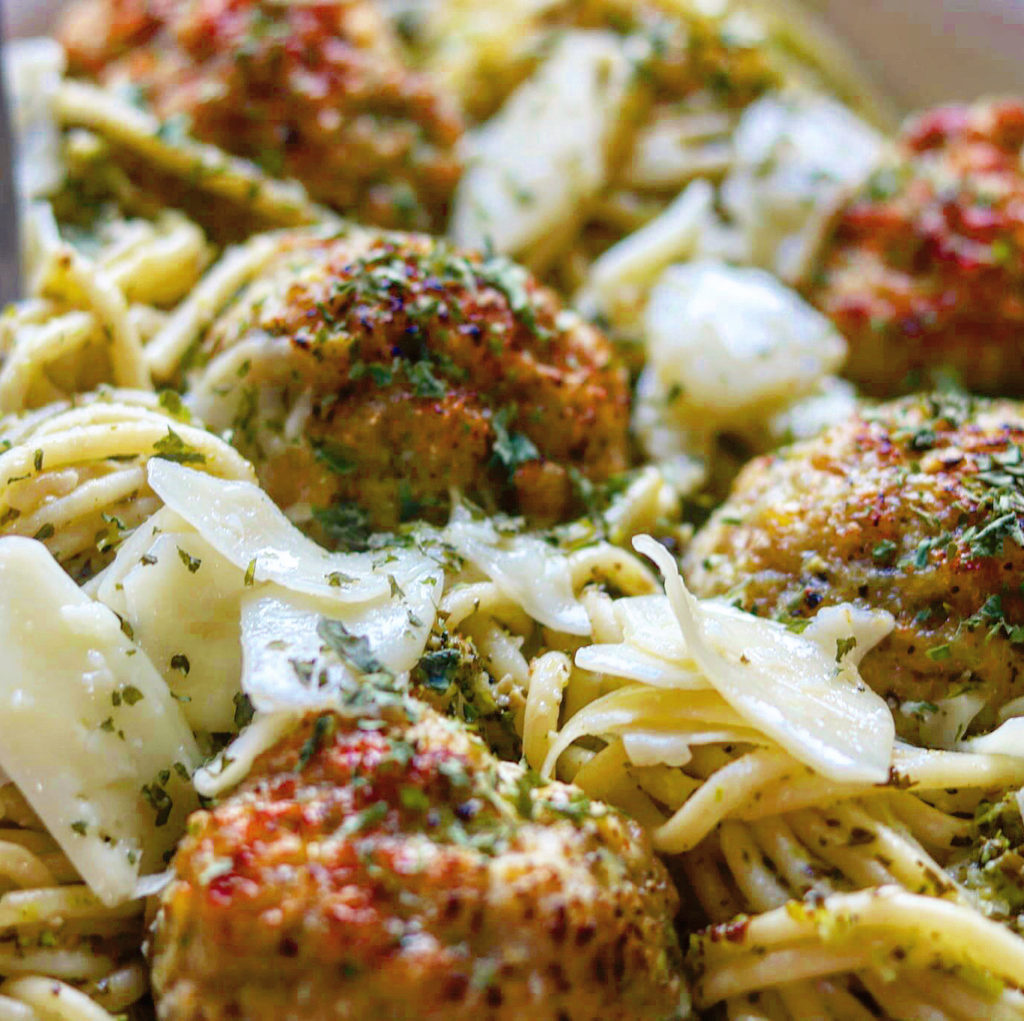
The Modern Proper’s recipe calls for a roasted broccoli pesto with fresh basil. I didn’t have fresh basil and I didn’t want to drive 30 miles to get fresh basil, but I did have broccoli and a jar of basil pesto. I roasted my broccoli, put it in my food processor, pulsed it, then added my jar of pesto. I added a little more parmesan cheese, pulsed a couple of times and it’s a perfect broccoli pesto! I used a jar of pesto from my favorite HEB store in my area. Here’s the link for the brand I used Mezzetta Pesto Basil: https://www.heb.com/product-detail/mezzetta-basil-pesto/1491629 however, there are many great brands of pesto.
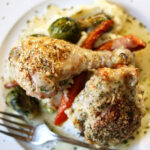
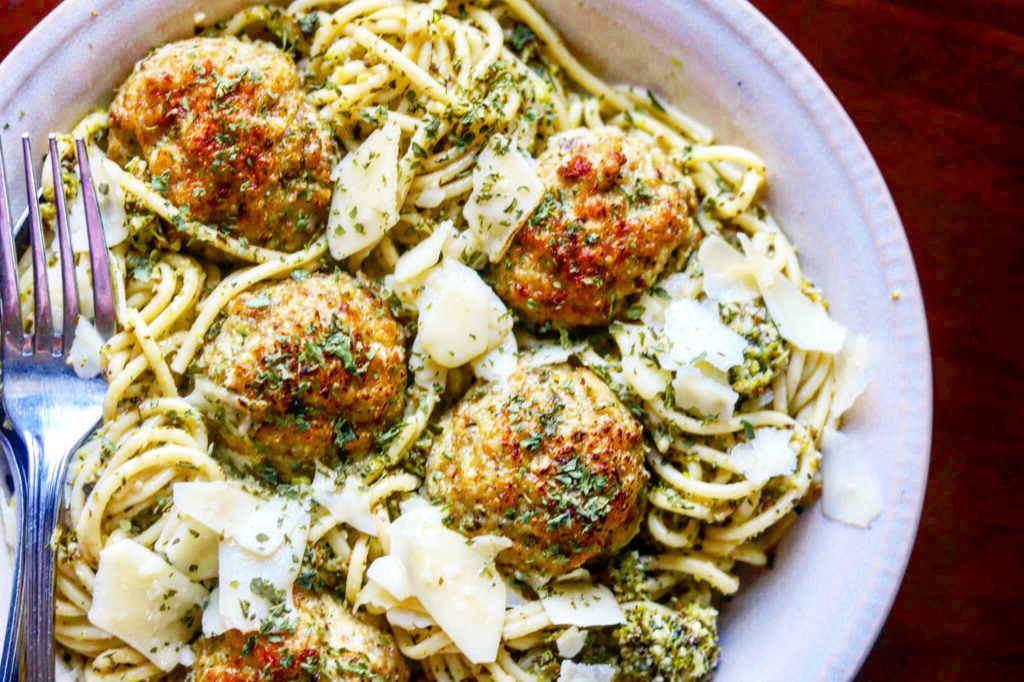
Baked Chicken Meatballs with Broccoli Pesto Pasta
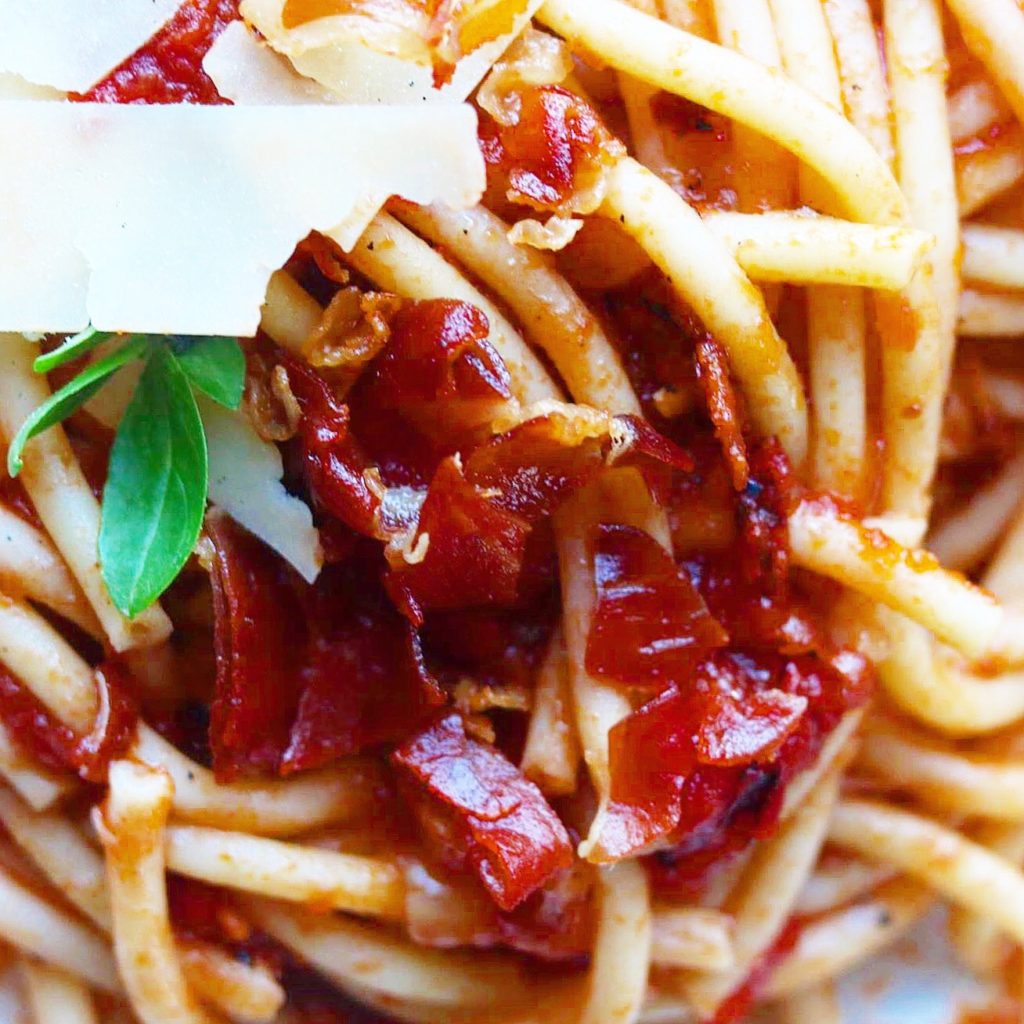
Want another meatball recipe? This is another excellent recipe that I think you will love. Here’s the link for the recipe: Simply Delicious – Bucatini All’Amatriciana
I can’t wait for you to try this recipe!
Baked Chicken Meatballs with Broccoli Pesto Pasta
Ingredients
For the Meatballs
- 2 lbs ground chicken
- 1 cup fresh soft breadcrumbs
- 2 large eggs, beaten
- 1 tbsp Italian Seasoning
- 1 cup finely grated parmesan cheese
- 4 cloves garlic, minced or grated on a box grater
- 1 tsp salt
For the Broccoli Pesto Pasta
- 1 large head of broccoli, roughly chopped
- extra virgin olive oil for coating the broccoli
- 1 8 oz jar pesto of your choice (I used Mezzetta Branc)
- 1/4 cup parmesan cheese
- extra virgin olive oil
- 1 lb spaghetti or similar pasta
Instructions
For the Broccoli Pesto
- Preheat the oven to 400 degrees. Place on a sheet pan and toss with olive oil. Roast until the edges begin to crisp and the inside of the broccoli is tender, about 30 minutes.
- Place a pot of water with salt on the burner and bring to a boil. Add the pasta and cook until your desired doneness. In a food processor, pulse the roasted broccoli until roughly ground. Add the jar of pesto and the parmesan cheese. Pulse several times to combine and add a little extra virgin olive oil adding more if you want a thinner consistency.
For the Meatballs
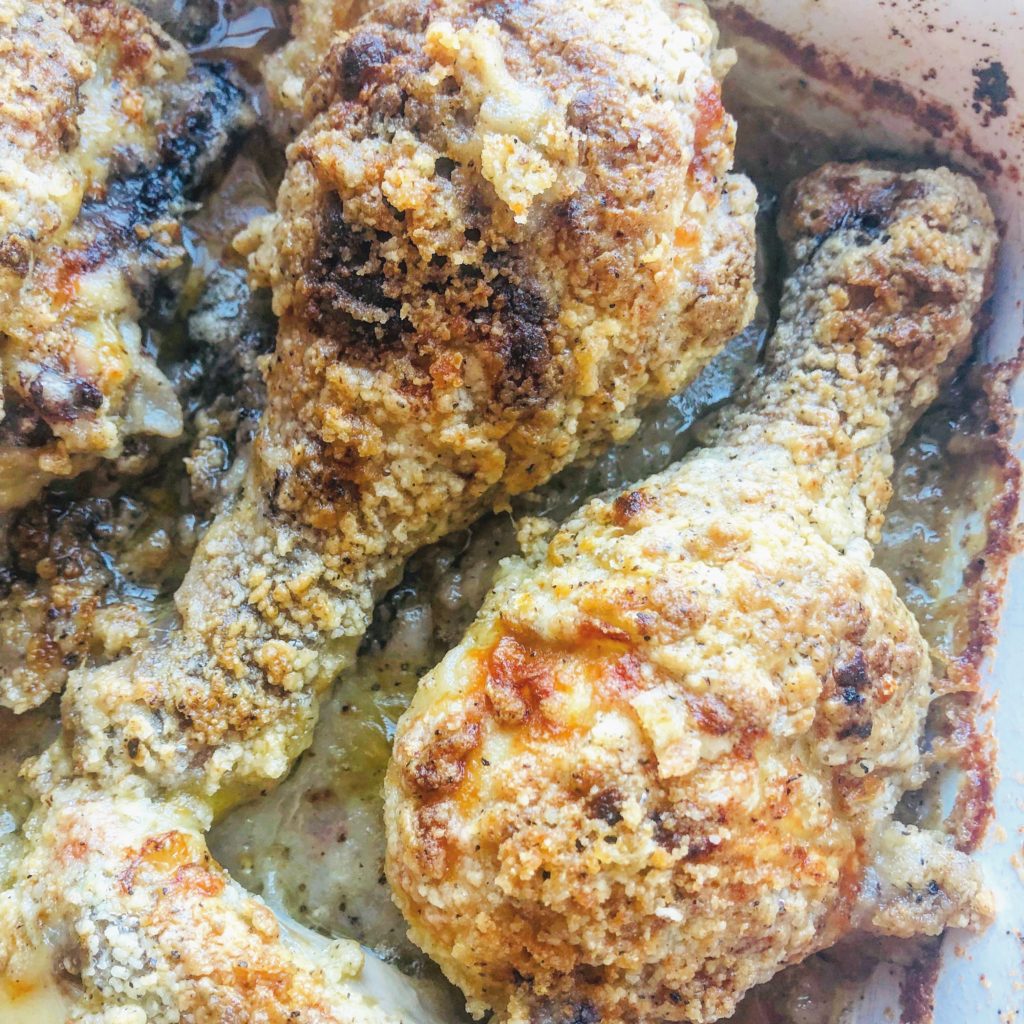
- Preheat the oven to 450 degrees F. In the same bowl, use your hands to combine the ground chicken, salt, eggs, Italian seasoning, grated parmesan cheese, garlic and bread crumbs. Form into uniform meatballs, about 2 tablespoons each and arrange on a baking sheet.
- Roast the meatballs for 15 minutes on center rack. Turn the heat to 500 degrees F and brush the meatballs with olive oil. Cook for another 5 minutes.
- In a skillet or separate pan, remove the pasta from the water reserving the pasta water. Add a little pesto at a time, along with some pasta water, continuing adding pesto until the desired amount is reached. Serve topped with the Meatballs and more parmesan cheese. Bon Appetit!