Filet of Beef is my favorite cut of beef to prepare. Whether in a large piece like this that I roasted whole in the oven or just a filet mignon, it’s just a beautiful piece of beef. I love to buy a whole tenderloin, cut some of it into individual filets, and leave large portions to roast. I saw Ina Garten make this recipe the other day and I had to try it.
There are so many uses for a beef tenderloin. It is as delicious served cold. I have made it many times for a party or gathering with rolls and a horseradish sauce for mini sandwiches. Perfect for a salad or a sub sandwich layered with cheese and fresh vegetables. It is perfect for serving with your favorite chimichurri sauce. Additionally, there are so many sauces that are perfect for beef tenderloin. Peppercorn sauce, rosemary butter sauce, blue cheese sauce, or a red wine sauce.
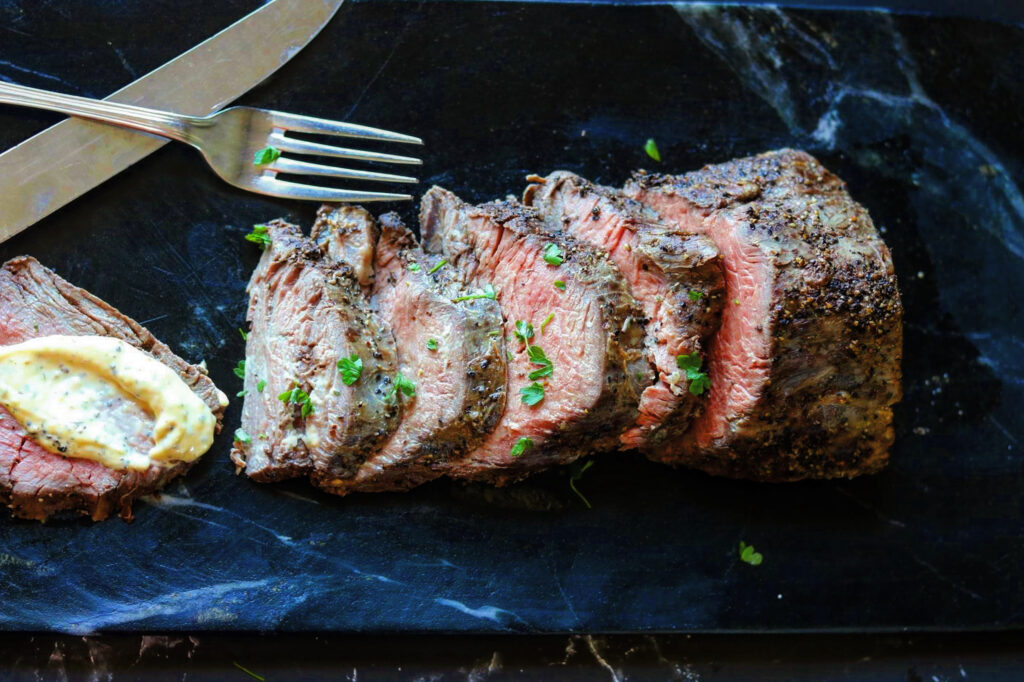
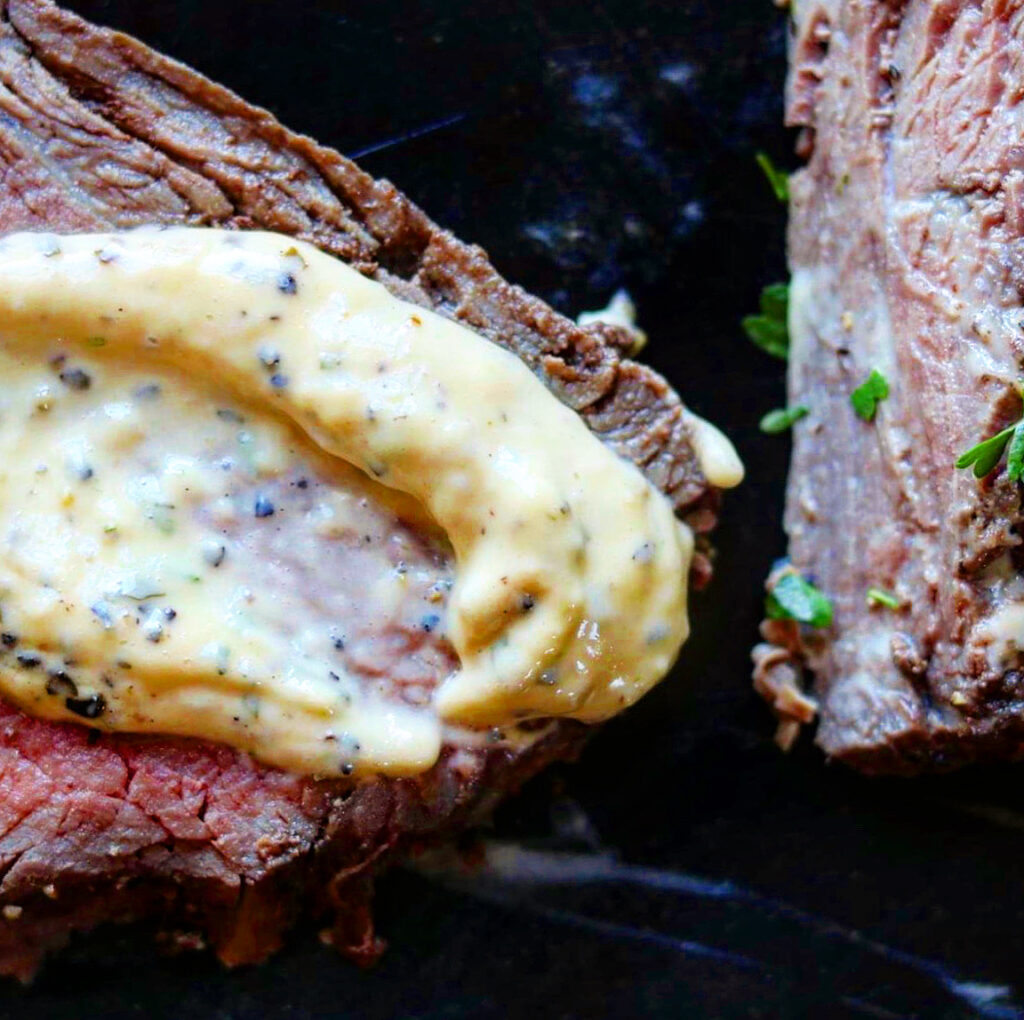
I made a Ina’s béarnaise mayonnaise to serve alongside this beef. Wow, am I glad I did. It is so delicious and easy. Béarnaise is one of my favorites! Loaded with fresh tarragon, white wine, lemon and shallots, it is the perfect condiment for this dish!
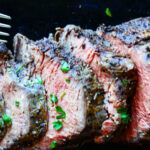
favorite filet of beef with béarnaise mayonnaise
Buying a whole tenderloin then figuring our what to do can seem to be a daunting task. There are just a few steps to prepare your tenderloin. Here’s a little tutorial. https://youtu.be/Z9Z9I_9d4Xg. They can also be expensive, but look at how many steaks you can get from just one whole tenderloin and occasionally you can find them on sale.
Here’s a video teaching how to tie a beef tenderloin: https://youtu.be/N_EWIbybSEU.
One of my favorite ways is on a sandwich or a crostini. Toasted bread with some kind of cheese and a sauce with beef tenderloin just makes an amazing combination.
Filet of Beef with Béarnaise Mayonnaise
Ingredients
- 1 whole 4-5 pound beef tenderloin, trimmed and tied
- 6 tbsp unsalted butter, melted
- Kosher salt and black pepper
- 3/4 cup minced shallots (about 3 shallots)
- 4 tbsp minced fresh tarragon leaves, divided
- 1/2 cup dry white wine
- 1/4 cup tarragon vinegar or white wine vinegar
- 3 extra large egg yolks, at room temperature
- 3 tbsp freshly squeezed lemon juice, at room temperature
- 1 tbsp Dijon Mustard
- 1 cup vegetable or canola oil, at room temperature
- 1/2 cup good olive oil, at room temperature
Instructions
- Preheat the oven to 275 degrees F. Line a sheet pan with aluminum foil.
- Dry the entire tenderloin with paper towels and brush it all over (top and bottom) with the butter. Sprinkle it all over with 4 teaspoons of salt and 2 teaspoons of pepper. It will seem like a lot but trust me, it's important.
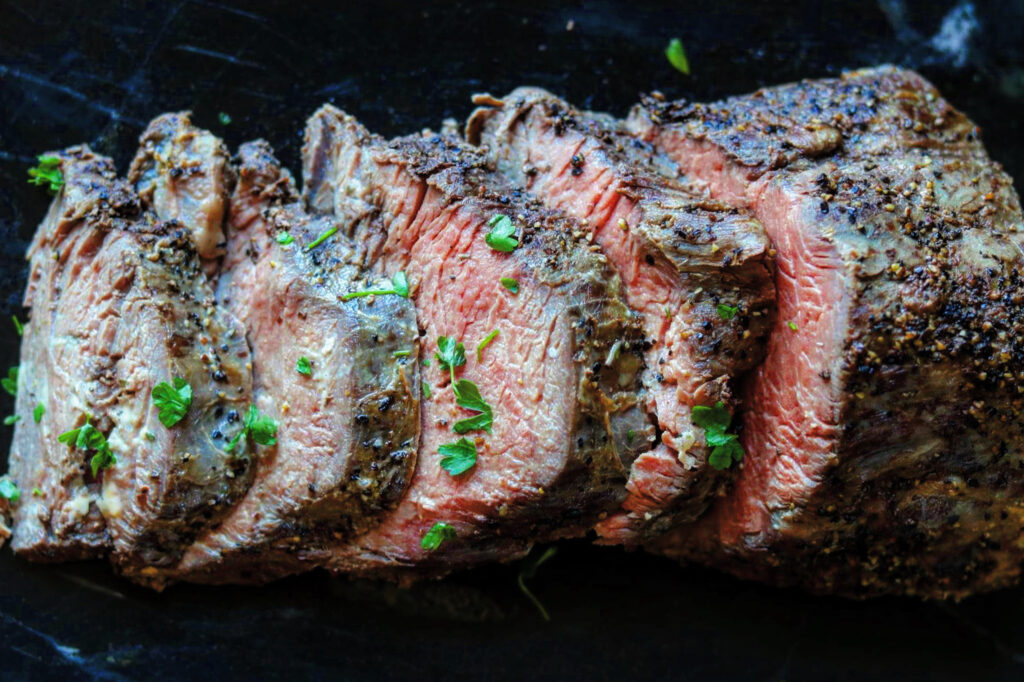
- Place the filet on the sheet pan and roast it for 1 to 1 1/4 hours, until an instant-read thermometer inserted into the end of the beef registers 130 degrees F for medium rare. Remove from the oven, cover tightly with aluminum foil, and allow to rest at room temperature for 15 minutes. Discard the foil and allow to sit at room temperature.
- Meanwhile, place the shallots, 3 tablespoons of tarragon, the wine, and vinegar in a small saucepan and bring it to a boil over medium-high heat. Boil for 5 minutes, until only 1 tablespoon of liquid remains. Set aside to cool for 15 minutes.
- Place the egg yolks, lemon juice, mustard, 2 1/2 teaspoons salt, and 1 teaspoon pepper in the bowl of a food processor fitted with the steel blade and process for 10 seconds. With the processor running, slowly pour the vegetable oil and olive oil through the feed tube to make a thick emulsion. Add the shallot reduction and the remaining tablespoon of tarragon leaves and pulse to combine. Refrigerate until ready to serve.
- Slice the filet of beef between 1/4 and 1/2 inch thick, sprinkle with salt, and serve warm, at room temperature, or cold with the béarnaise mayonnaise on the side.