
• Skip to primary navigation
  • Skip to main content
  • Skip to primary sidebar

A cook named Rebecca

  • Home
  • Favorite Cookbooks
  • Recipes
  • Travel
You are here: Home / Home

awesome spring asparagus and ham quiche.

April 21, 2020 by Becky Spoon

Asparagus and Ham QuicheJump to Recipe
Asparagus and Ham Quiche

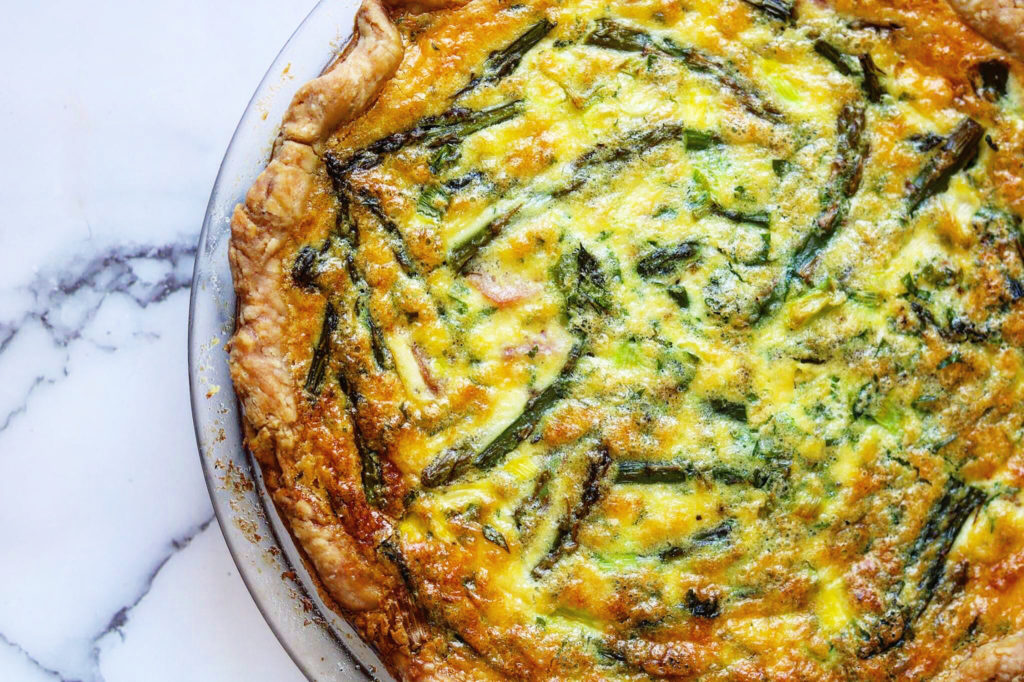
I love a quiche, especially this Spring Asparagus and Ham Quiche. The good thing is, I had everything in my pantry to make the crust and all of the ingredients to make the filling. They are not complicated ingredients, mostly eggs, milk and cream or half and half, cheese, a meat product, some vegetables and that’s it.

This quiche can be made in the min muffin tins for an appetizer or in the small tart tins. Love to use the Tart tins. I love a quiche for breakfast, lunch or dinner!

I used ham, asparagus and gruyere cheese in this quiche. You could make this with crab and gruyere with a little hot sauce, or bacon with cheddar and green onions would be delicious. Ham and spinach with feta or even sharp cheddar or swiss would be delicious. I honestly love a quiche with chicken, mushrooms and swiss cheese.

spring asparagus and ham quiche.
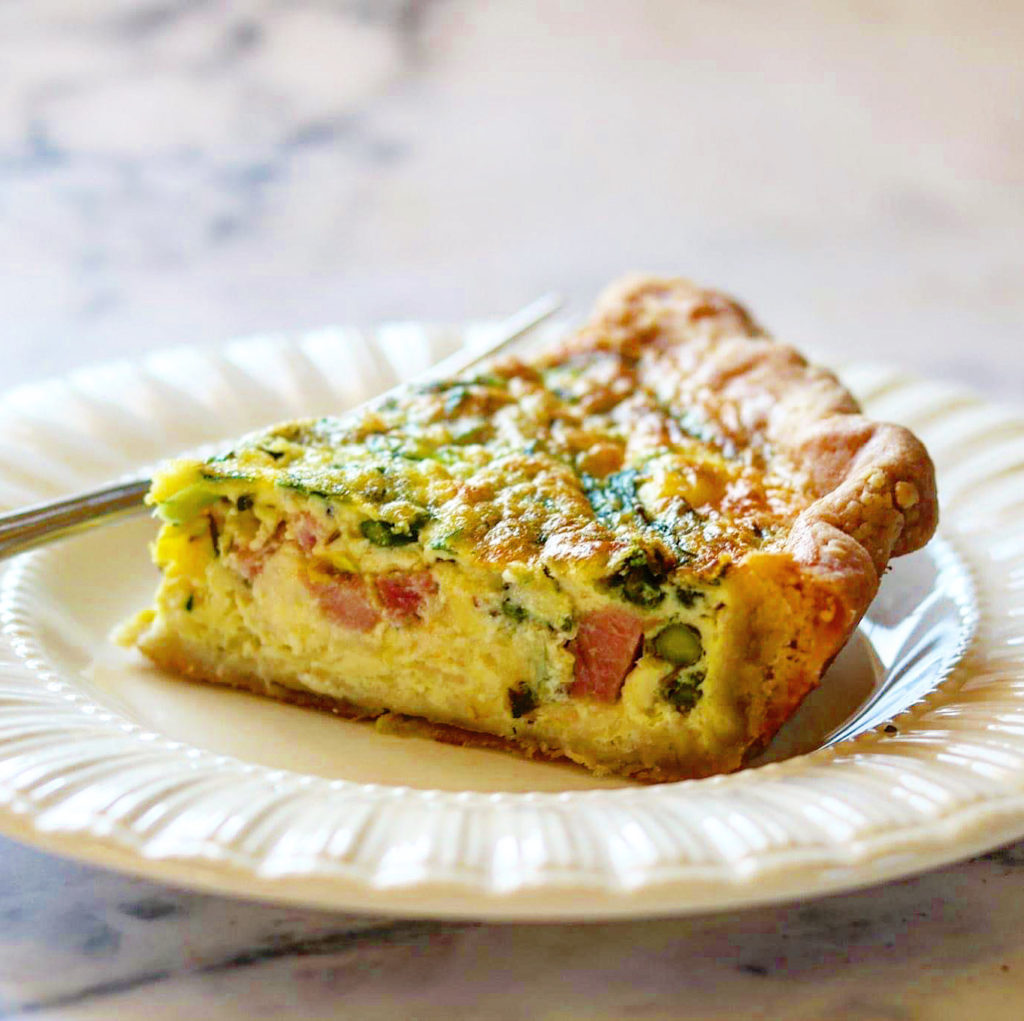
Asparagus and Ham Quiche

I made my crust homemade because I didn’t have the Pillsbury Pie Crust. Love that I made it homemade because this crust is delicious. It has butter and shortening and it is flaky and delicious. If you want to use bought, I really like the Pillsbury that comes in a roll because it is much more like homemade.

Image result for pillsbury pie crust

Whether using store bought or homemade, you want to blind bake the pie crust to prevent your bottom crust from being soggy. I use pie weights. If you don’t have pie weights, this is a great investment if you like to bake. I just place parchment in the bottom of my crust that goes up the sides, careful not to disturb my crust, then add my pie weights. I have ceramic pie weights and here is a link for you to check them out: https://amzn.to/2ys9bnN

If you don’t have pie weights, try dried beans or rice. They will work also.

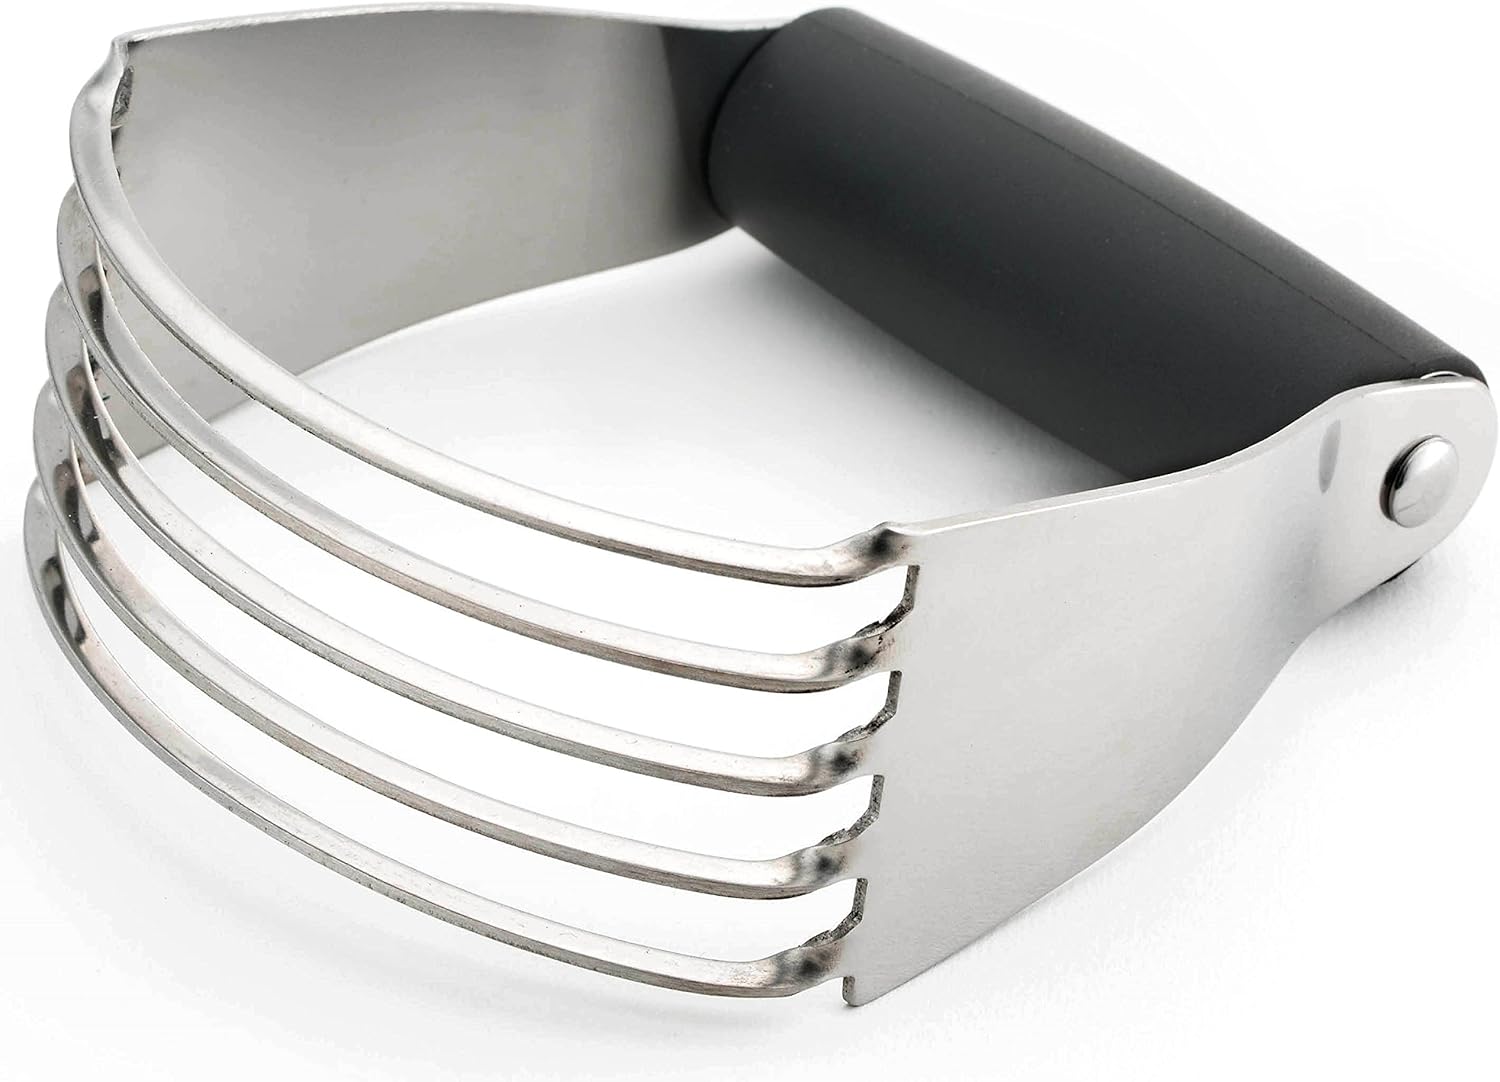
Other tools I use for the pie crust is a pastry blender and a pie shield. Here’s a link for those too! https://amzn.to/3eG31RG
Here’s the pie shield I use: https://amzn.to/2VqnRgf

Here’s another delicious quiche recipe. I made this in little tart tins and they were so pretty, Mushroom, Pancetta and Shallot quiche. Here’s the link: https://the2spoons.com/mushroom-pancetta-and-shallot-quiche/
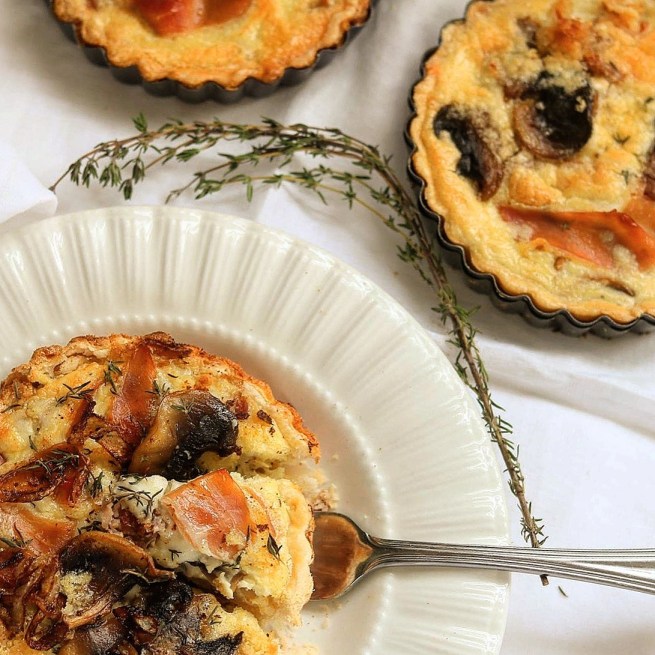
Mushroom, Pancetta and Shallot Quiche

spring asparagus and ham quiche.

Here’s the recipe for this delicious spring quiche. Hope you try it! The crust in this recipe makes two crust. I saved the other for a Lemon Meringue Pie that I will post later! So good!

Asparagus and Ham Quiche

Print Recipe
CourseBreakfast, dinner, Lunch
CuisineAmerican
Keywordasparagus, ham, ham and asparagus quiche, quiche, spring, spring quiche
Servings7 servings

Ingredients

  • 1 unbaked Flaky Pie Crust (below) or store bought crust
  • 4 large eggs
  • 1/2 cup whole milk
  • 1/2 cup heavy cream or heavy whipping cream
  • 1/4 tsp salt
  • 1/4 tsp pepper
  • 1 cup grated gruyere, swiss or cheddar
  • 1 cup diced ham
  • 1 bunch asparagus, just the tops

Flaky Pie Crust

  • 2 1/2 cups All purpose flour, spoon and level
  • 1 1/4 tsp salt
  • 6 tbsp unsalted butter, chilled and cubed
  • 3/4 cup vegetable shortening
  • 1/2 cup ice water

Instructions

Flaky Pie Crust

  • Mix the flour and salt together in a large bowl. Add the butter and shortening.
  • Using a pastry cutter or two forks, cut the butter and shortening into the mixture until it resembles coarse meal (pea-sized bits with a few larger bits of fat. A pastry cutter makes this step very easy and quick.
  • Measure 1/2 cup of water in a cup. Add ice. Stir it around. From that, measure 1/2 cup of water– since the ice has melted a bit. Drizzle the cold water in, 1 Tablespoon at a time, and stir with a rubber spatula or wooden spoon after every Tablespoon added. Do not add any more water than you need to. Stop adding water when the dough begins to form large clumps. I always use about 1/2 cup of water and a little more in dry winter months (up to 3/4 cup).
  • Transfer the pie dough to a floured work surface. The dough should come together easily and should not feel overly sticky. Using floured hands, fold the dough into itself until the flour is fully incorporated into the fats. Form it into a ball. Divide dough in half. Flatten each half into 1-inch thick discs using your hands.
  • Wrap each tightly in plastic wrap. Refrigerate for at least 2 hours (and up to 5 days).
  • When rolling out the chilled pie dough discs to use in your pie, always use gentle force with your rolling pin. Start from the center of the disc and work your way out in all directions, turning the dough with your hands as you go. Visible specks of butter and fat in the dough are perfectly normal and expected.
  • Proceed with the pie per your recipe’s instructions.

For the Quiche

  • Make the dough the night before if possible or allow to chill in the refrigerator for at least 2 hours.
  • Preheat oven to 400°F (204°C). On a floured work surface, roll out one of the disks of chilled dough (keep the other one in the refrigerator). Turn the dough about a quarter turn after every few rolls until you have a circle 12 inches in diameter. Carefully place the dough into a 9-inch pie dish. Tuck it in with your fingers, making sure it is completely smooth.
  • Chill the pie crust in the refrigerator for at least 30 minutes and up to 5 days. Or freeze for up to 3 months. Cover the pie crust with plastic wrap if chilling for longer than 30 minutes or if you’re freezing it. If you freeze it, let it thaw for a couple hours in the refrigerator before continuing.
  • Line the chilled pie crust with parchment paper. (Crunch up the parchment paper first so that you can easily shape it into the crust.) Fill with pie weights or dried beans. Make sure the weights are evenly distributed around the pie dish.
  •  Place the crust in the preheated oven and bake until the bottom crust is just beginning to brown, about 7-8 minutes.
  • Reduce oven temperature to 350°F.
  • In a large bowl with a handheld or stand mixer fitted with a whisk attachment, beat the eggs, whole milk, heavy cream, salt, and pepper together on high speed until completely combined, about 1 minute.
  • To your partially baked pie crust, add your cheese to the bottom, then add your diced ham and your asparagus last. Pour your egg mixture over the ham and asparagus and cheese.
  • Bake the quiche until the center is just about set, about 45-55 minutes. Don’t over-bake. Use a pie shield or foil  to prevent the pie crust edges from over-browning. If the entire quiche is browning too rapidly, loosely place a sheet of foil over the top. Allow to cool for 15 minutes. Enjoy!

Filed Under: Breakfast/Brunch Tagged With: dinner, ham, ham and asparagus quiche, quiche

easy lasagna roll ups.

April 6, 2020 by Becky Spoon

Lasagna Roll UpsJump to Recipe
Lasagna Roll Ups
Lasagna Roll Ups

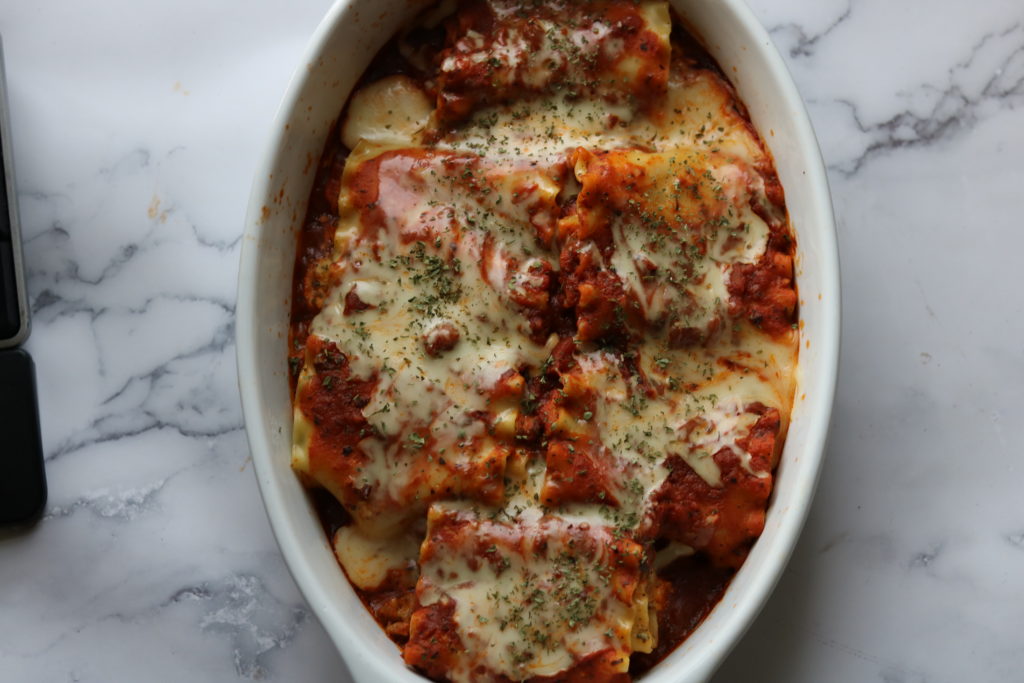
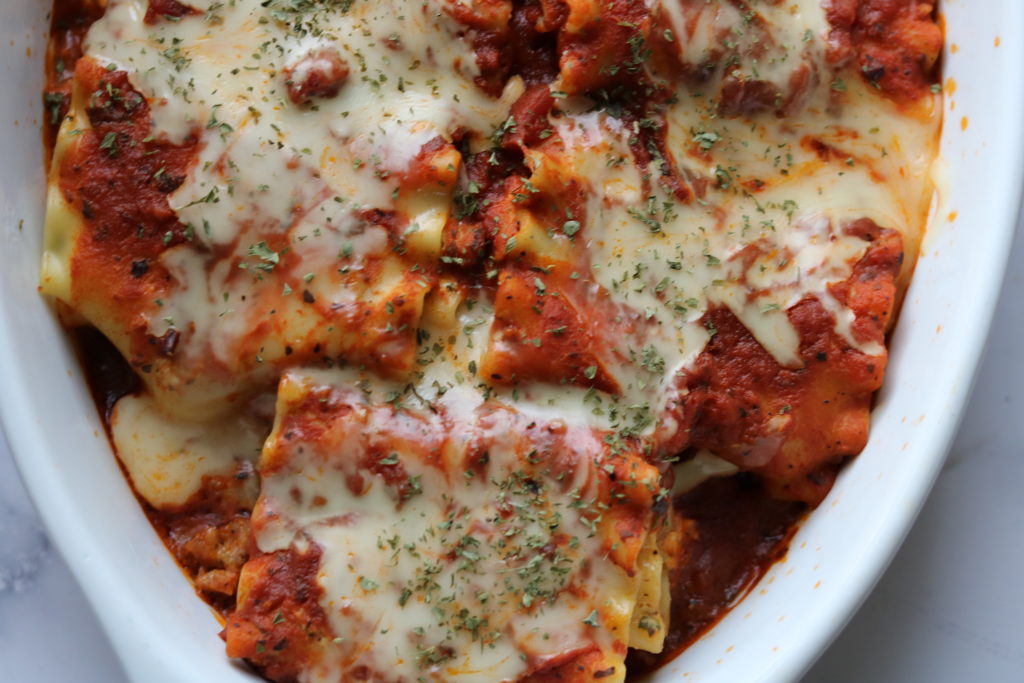
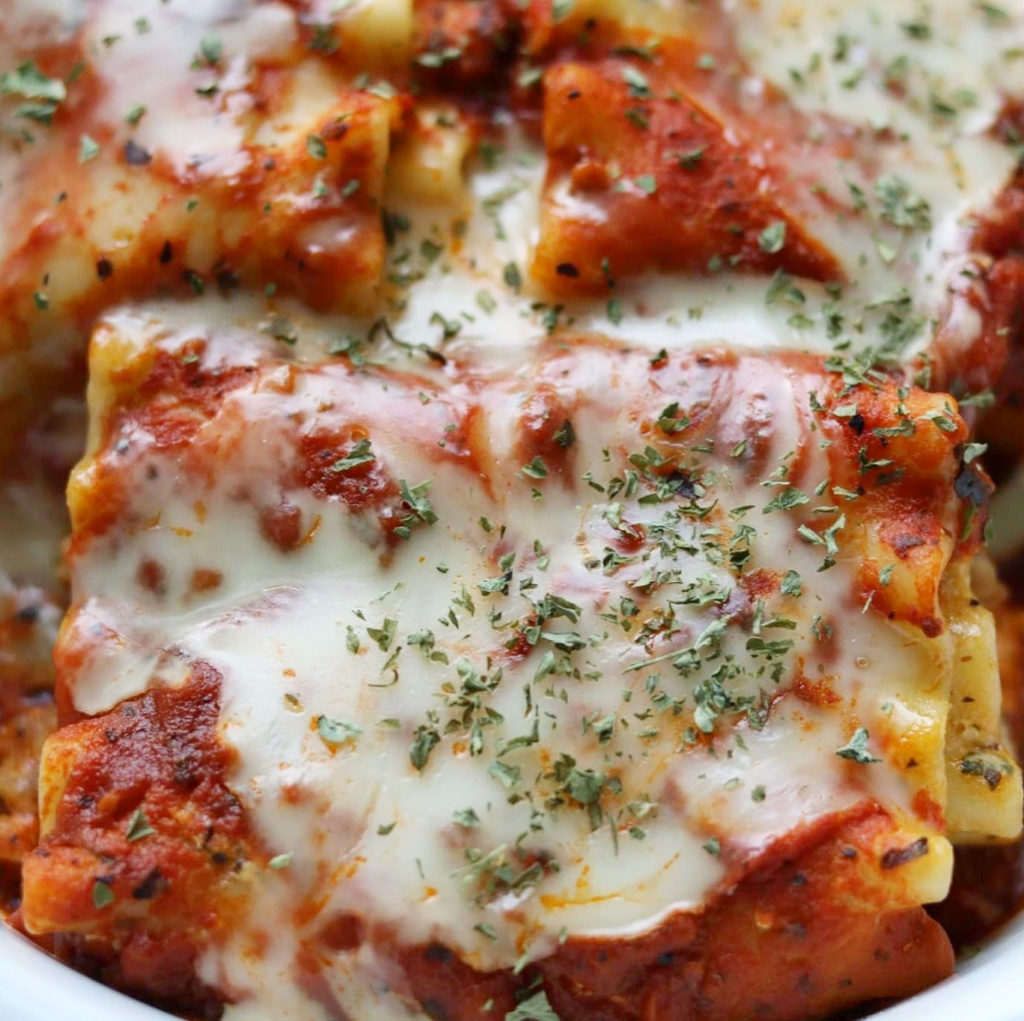
These Lasagna Roll Ups are exactly what the title says “easy”. They are so easy because I used jarred tomato sauce. Exactly the kind of recipe we need right now. I had 6 lasagna strips in the pantry, perfect for 2 or 3 or even 6 if you are serving with a salad or a side and some yummy garlic bread.

I cooked three Italian sausage links that I added some of the jarred sauce to. I added the sausage mixture after I had added a layer of ricotta, then a little mozzarella cheese. I then rolled them up and finished with the jarred sauce and more mozzarella.

Lasagna Roll Ups

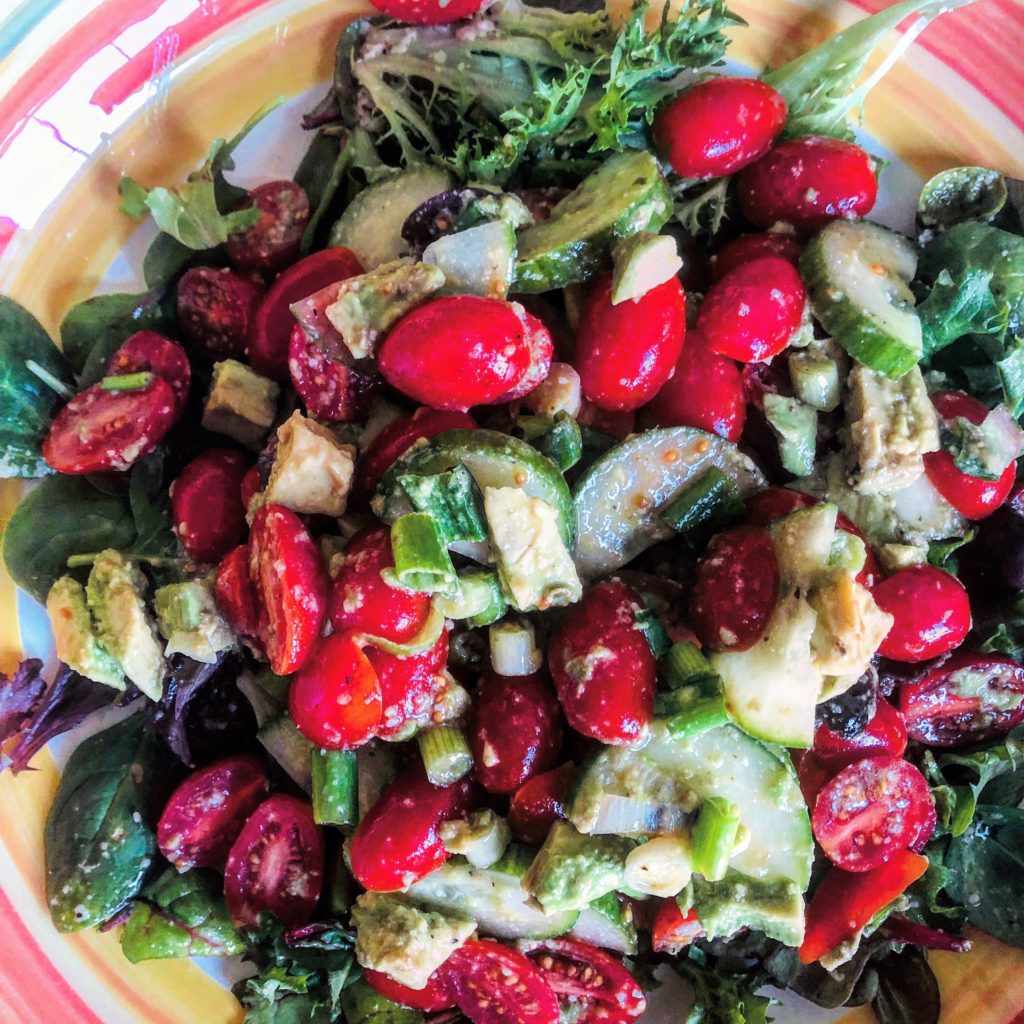
For the two of us we had a salad and garlic bread. I made my Italian Salad which is always a favorite of ours. Simple. Here’s the link for the salad: https://the2spoons.com/italian-salad-with-lemon-olive-oil-vinaigrette/.

Italian Salad with Lemon and Olive Oil Vinaigrette

easy lasagna roll ups.

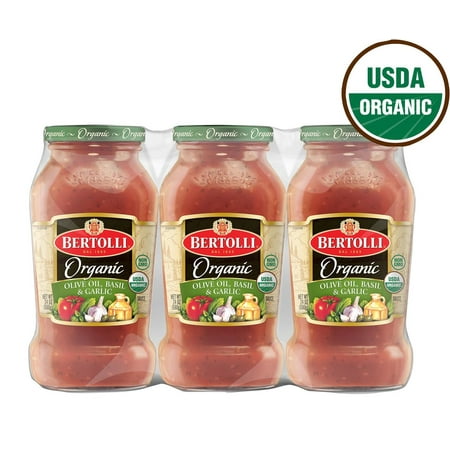
You can use any jarred sauce that you have on hand. I used a jar of Bertoli Organic Olive Oil, Basil and Garlic which is perfect for the lasagna. Here’s a link for the sauce: https://goto.walmart.com/c/2049504/568835/9383?veh=aff&sourceid=imp_000011112222333344&prodsku=592671332&u=https%3A%2F%2Fwww.walmart.com%2Fip%2FProduct-of-Bertolli-Organic-Olive-Oil-Basil-Fresh-Garlic-Sauce-3-ct-24-oz%2F592671332.

Lasagna Roll Ups

Here’s the recipe for this easy lasagna dish! Bon Appetite!

Lasagna Roll Ups

Print Recipe
Coursedinner, Lunch, Main Course
CuisineItalian
KeywordItalian, Lasagna, lasagna rollups, main course, pantry cooking

Ingredients

  • 1-2 24 oz Jarred pasta sauce of your choice (I used Bertolli Organic Olive Oil, Basil and Garlic) I always have 2 on hand just in case I need more and for serving.
  • 6 lasagna strips or sheets
  • 12 tbsp whole milk ricotta cheese, 2 tablespoons per roll up
  • 1/2 cup grated parmesan cheese
  • 2 tbsp chopped fresh parsley (Use dried if you don't have fresh)
  • 1 egg, beaten
  • salt and pepper
  • grated mozzarella cheese

Instructions

  • Preheat the oven to 350 degrees.
    Bring a pot of water to a boil. Add the lasagna and cook according to package directions. When done, remove and rinse under cold water. Drain on a dish towel or paper towels, separating so they don't stick together. Allow to cool a little so you can handle.
  • Brown the sausage in a skillet until there is no trace of pink. Add enough of the jarred sauce so that the meat is coated. Set aside.
  • In a bowl add the ricotta cheese, Parmesan cheese, parsley and salt and pepper to taste. Add a little salt and pepper and taste, add more salt if needed. Your Parmesan cheese is salty so that is why it is by taste and I always check the seasoning before I add the egg. When you are good with your seasoning, add the egg and combine.
  • To assemble, take one lasagna strip or sheet and add about 2 tablespoons of the ricotta cheese spreading to cover the entire strip. Then add a little of the Italian sausage mixture, distributing a little over the entire strip or sheet. Lastly, add a little grated Mozzarella cheese to each roll.
  • Pour a little of the sauce to cover the bottom of a casserole dish large enough to hold the rolls. Starting with the end closest to you, roll each strip and place in the casserole dish, seam side down. Continue until all of the strips or sheets have been rolled.
  • Pour the remaining sauce over the pasta making sure it's covered from side to side. As I said in the ingredients list, I always have an extra jar on hand just in case I need a little extra.
  • Cover the casserole with saran wrap, then with foil. Place in the oven and cook for about 30 minutes. Remove from the oven, remove the foil and saran wrap. Add grated mozzarella cheese over the rolls. Allow to sit until the cheese has melted. Serve with additional sauce on the side. Enjoy!

Filed Under: Pasta Tagged With: italian, pasta

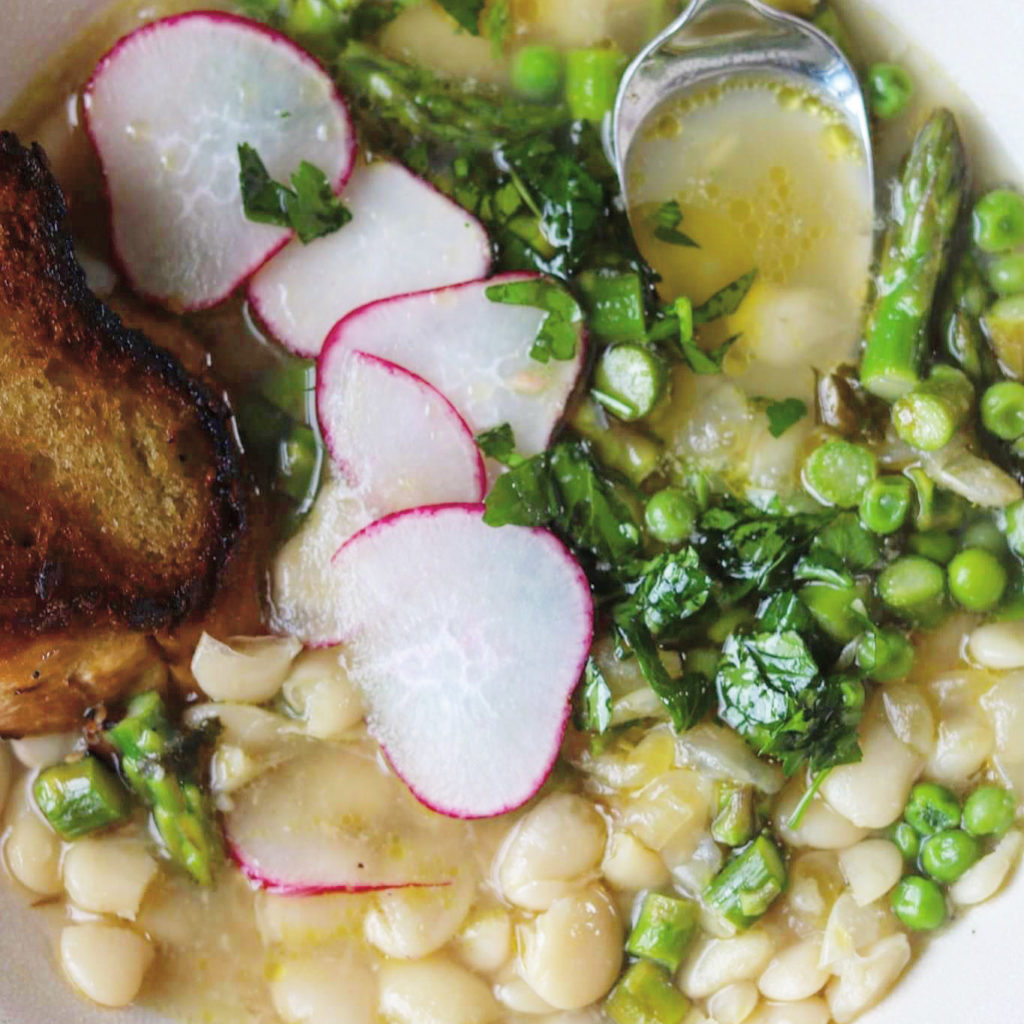
beautiful white bean and spring vegetable stew.

April 1, 2020 by Becky Spoon

White Bean and Spring Vegetable StewJump to Recipe
White Bean and Spring Vegetable Stew

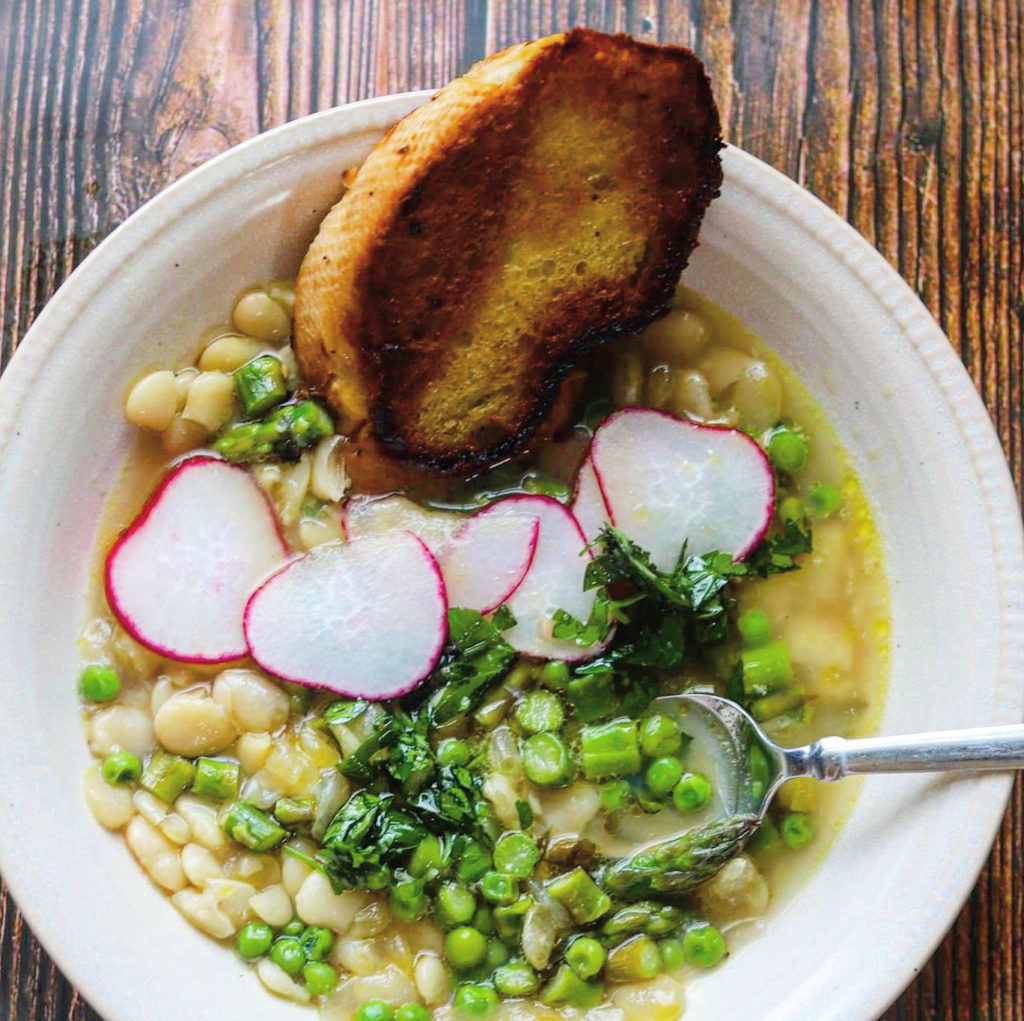
I love this beautiful white bean and spring vegetable stew! Probably because I love beans so much! Not only does this have white beans but there is seasonal fresh asparagus, and green peas that are best this time of the year. Radishes too are a vegetable that makes early in our gardens.

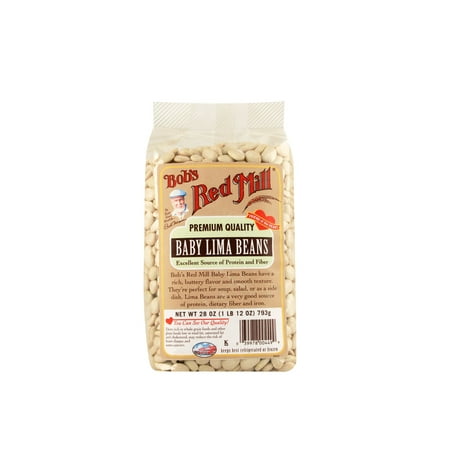
I used baby Lima beans. You could use large Lima beans, Great Northern Beans, Navy Beans and even Cannellini beans, which are a little harder to find in the dried state.

I love the Bob Red Mill products and that was the brand of baby Lima beans I had. They are a little more expensive, so use your favorite brand. Here’s the link for the Bob Red Mill Baby Lima Beans: https://goto.walmart.com/c/2049504/568835/9383?veh=aff&sourceid=imp_000011112222333344&prodsku=135125638&u=https%3A%2F%2Fwww.walmart.com%2Fip%2FBobs-Red-Mill-Baby-Lima-Beans-28-Oz%2F135125638

beautiful white bean and spring vegetable stew.

White Bean and Spring Vegetable Stew

Unlike the usual method of cooking beans on the stove-top or in a pressure cooker or slow cooker, these beans are soaked overnight and cooked in a 300 degree oven.

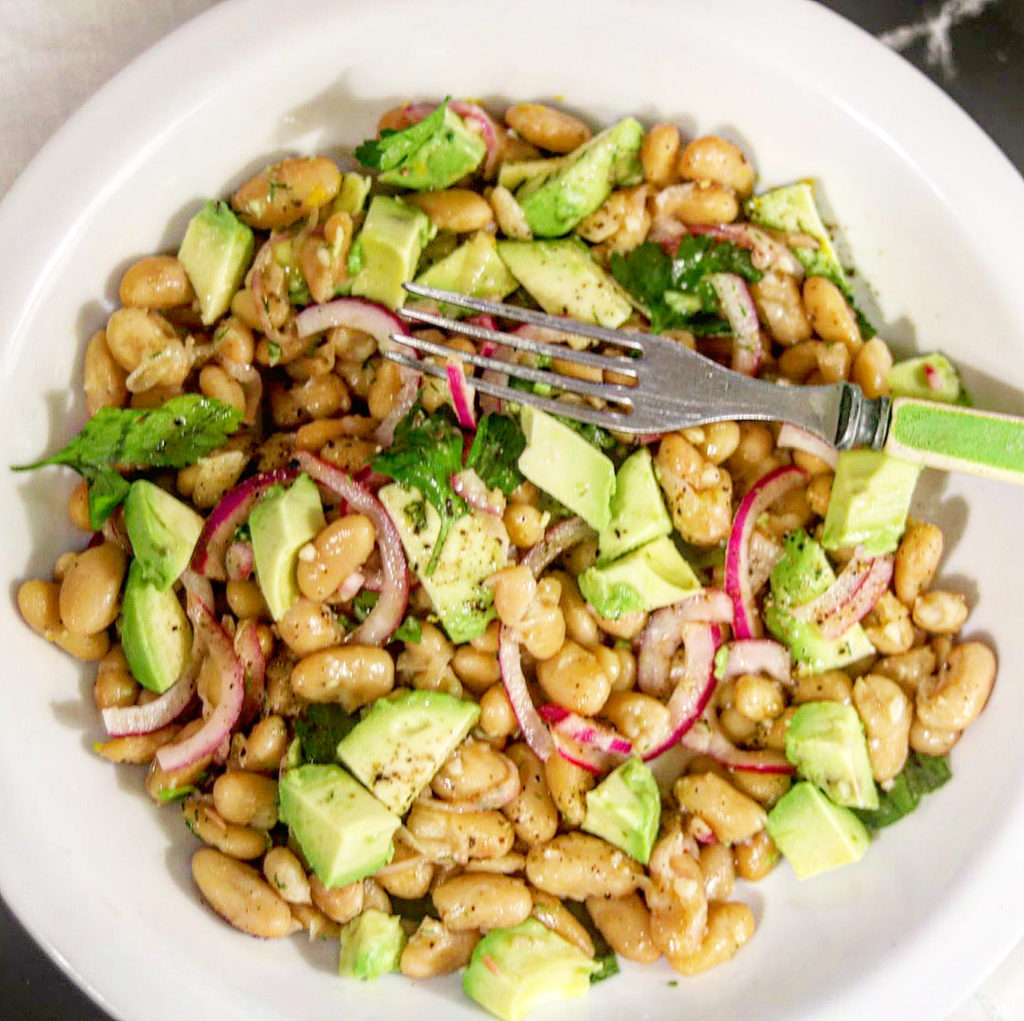
Another recipe I have on the blog that I love is a vibrant greek bean salad. It is a delicious salad that I make a lot! Here’s the link for the recipe: https://the2spoons.com/vibrant-greek-bean-salad/

Greek Bean Salad
Greek Bean Salad

Here’s the recipe for the simple stew! Enjoy! One of my favorites!

White Bean and Spring Vegetable Stew

Print Recipe
Coursedinner, Lunch, Main Course
CuisineAmerican, Greek
Keywordspring, spring vegetables, stew,, white bean, white bean and spring vegetable stew
Servings8 servings

Ingredients

  • 1 lb dried large white beans, small white beans soaked overnight, drained
  • 1 onion, trimmed, peeled, halved trough core
  • 3 ribs celery, trimmed, halved
  • 10 large shiitake or button mushrooms
  • 8 sprigs parsley, plus 3/4 cup parsley leaves with tender stems
  • 1 head of garlic, halved, plus 1 garlic clove, finely grated
  • 1 tbsp plus 1 tsp kosher salt, plus more
  • 3/4 cup plus 3 tsp extra virgin olive oil, plus more for drizzling, divided
  • 3/4 cup mint leaves
  • 1 bunch radishes
  • 1 bunch medium-size asparagus (about 1 lb)
  • 1 10 oz bag frozen peas, thawed
  • 8 thick slices country or sourdough bread
  • 1 lemon, cut into 8 wedges

Instructions

  • Preheat oven to 300°. Combine beans, onion, celery, mushrooms, parsley sprigs, halved head of garlic, 1 Tbsp. salt, 3 Tbsp. oil, and 2 qt. water in a large Dutch oven. Bring to a simmer over medium-high heat, cover, and transfer to oven. Bake until beans are fully cooked, tender, and creamy through and through but as intact as humanly possible, about 1 hour, depending on the type, brand, and age of beans; start checking every 10 minutes after the first 45 minutes. (When checking beans for doneness, stir gently and taste at least 3 beans—it isn’t finished until they’re all tender!)
  • Using tongs, fish out aromatics and discard. Season with salt. Be generous! Under-seasoned beans are barely worth eating. Let sit on stovetop, uncovered, until ready to serve.
  • While beans are cooking, make your pistou and prep the vegetables and garnishes. Using your sharpest knife, finely chop mint and ¾ cup parsley leaves. (A dull knife will just mash your herbs and cause them to turn dark around the edges.) Transfer to a small bowl. Add ¾ cup oil, grated garlic, and 1 tsp. salt and stir to combine; set pistou aside.
  • Trim and wash radishes, then slice as thinly as possible into coins (a mandoline really helps here). Transfer radishes to a small bowl, cover with cold water, and chill until ready to use.
  • Wash asparagus and trim woody stems by bending each spear near the cut end until you find the place where it wants to break naturally. Cut off tips, then cut each tip in half lengthwise. Slice now-tipless stalks crosswise into thin coins. Toss asparagus coins and tips and peas in a medium bowl; set aside.
  • When you’re almost ready to serve the stew, return beans to a gentle simmer over medium heat, taking care not to stir too much—you don’t want to bust up those beans!
  • Generously drizzle oil into a large cast-iron skillet and heat over medium until shimmering. Working in two batches, fry bread slices until golden brown on both sides, about 2 minutes per side. Season with salt and transfer to a plate. (You may have to add more oil between batches, as the bread will soak some of it up.)
  • When beans are simmering, add reserved asparagus and peas and cook, stirring gently, until asparagus coins are barely cooked but still bright green and crunchy, about 2 minutes.
  • Drain reserved radishes. Bring Dutch oven full of stew directly to the table. Serve with fried bread, pistou, radishes, and lemon wedges.

Filed Under: Soups/Stews/Gumbo//Chili Tagged With: asparagus, Stew, vegetables, white bean, white bean and spring vegetable stew

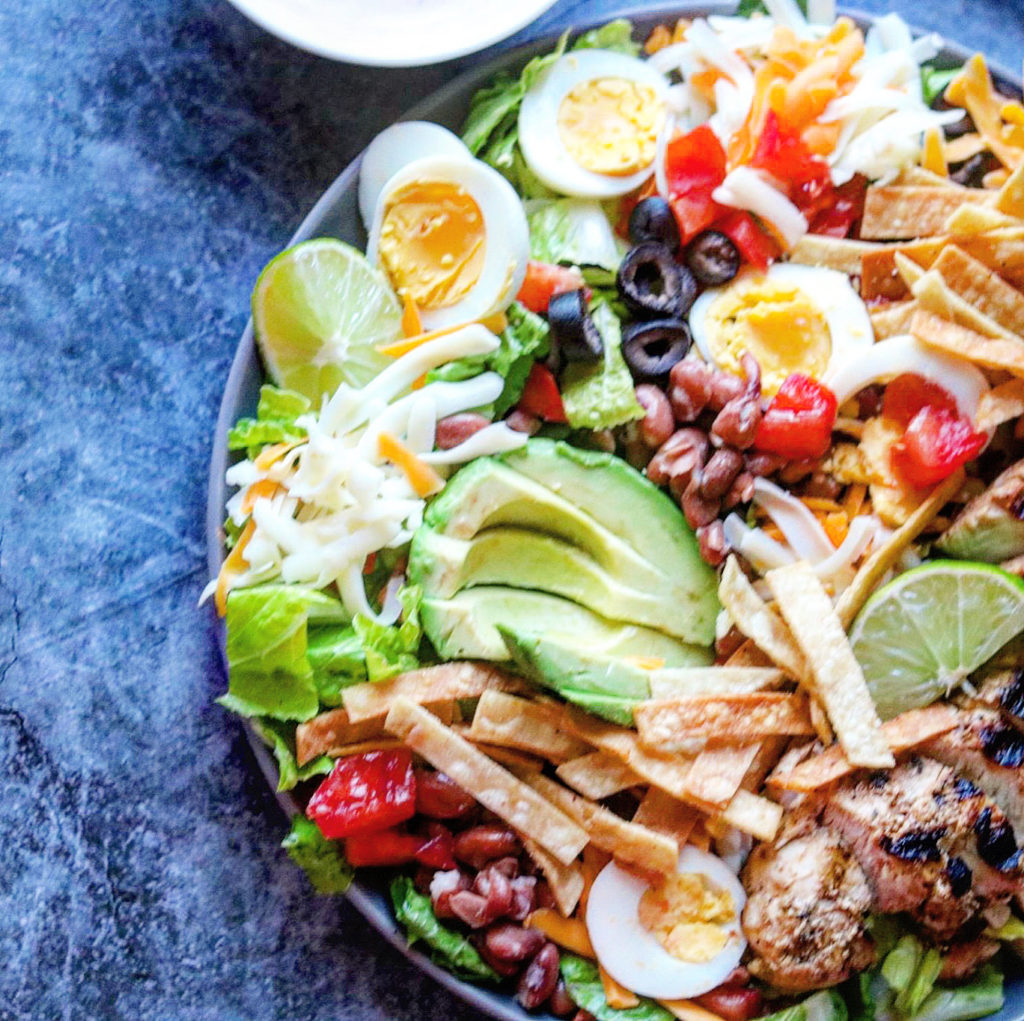
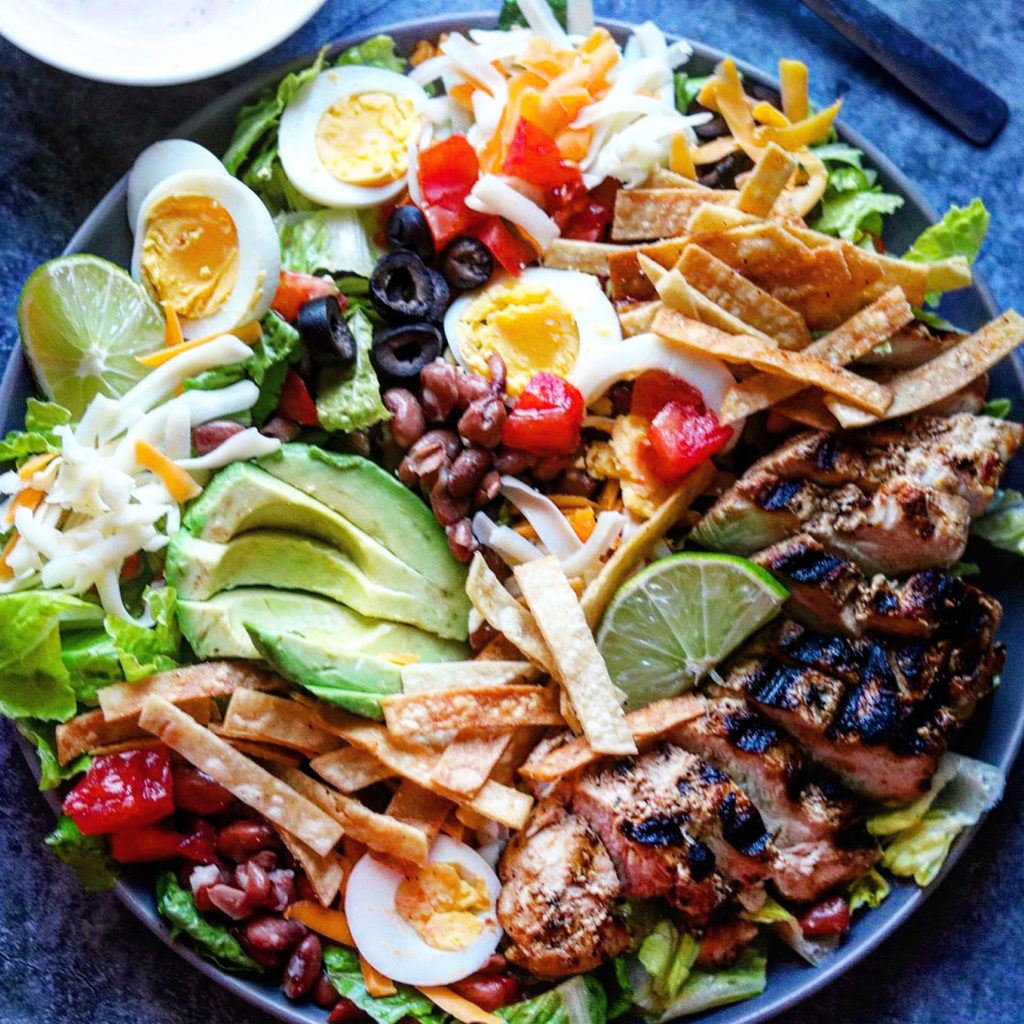
easy mexican grilled chicken cobb salad.

March 31, 2020 by Becky Spoon

mexican grilled chicken cobb saladJump to Recipe
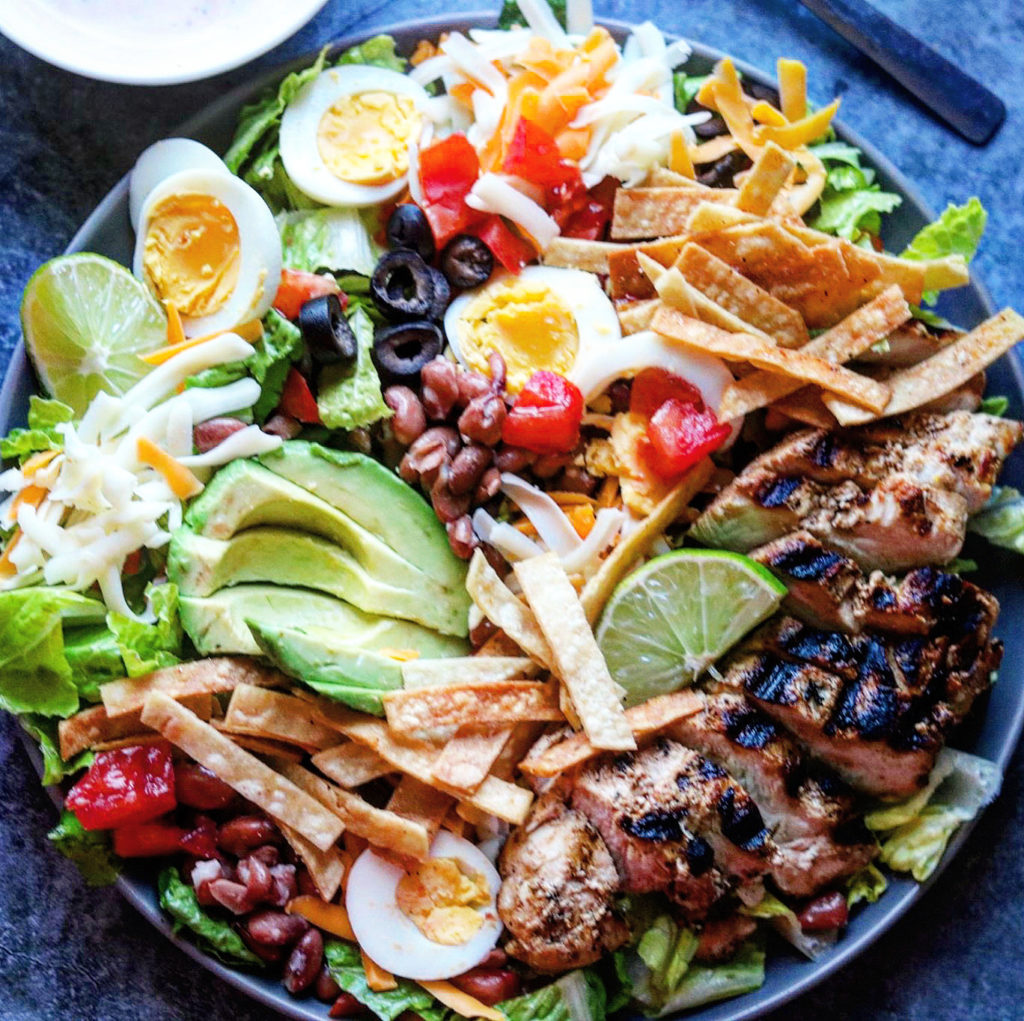
mexican grilled chicken cobb salad

Wow! This mexican grilled chicken cobb salad is crazy good! Just look at it! Lettuce, tomato, grilled chicken, avocado, lettuce, beans, olives, cheese, eggs??? I’m sure I’m missing something because there’s so many ingredients! I actually had grilled corn I was going to add and I forgot it! Do you all do that?

The chicken is coated with a mixture of olive oil and taco seasoning mix. I used Taco Bell taco seasoning that I buy at my grocery store. Here’s a link for the taco bell seasoning: https://amzn.to/2vXl9F4

easy mexican grilled chicken cobb salad.

mexican grilled chicken cobb salad

For the dressing I used a Chipotle Ranch Dressing that I made from adding a chipotle pepper and the adobo sauce to ranch dressing that I had made from the Hidden Valley spice mix. You can buy the Chipotle Peppers in Adobo Sauce in cans. Here’s the link for the brand I had this time, but I’ve bought different brands. https://amzn.to/39teWhO

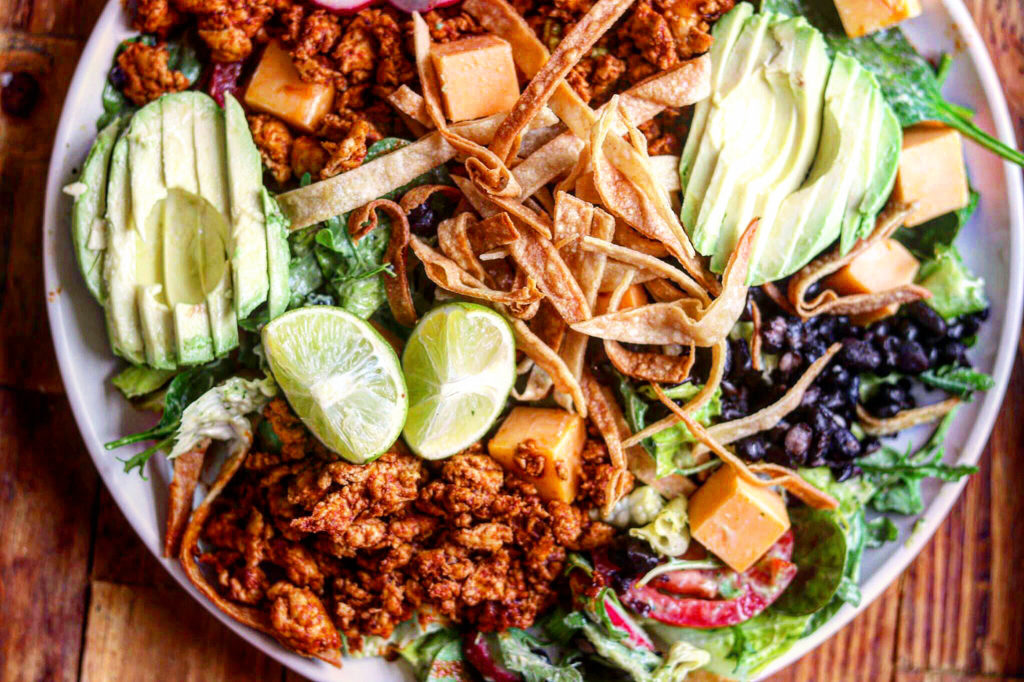
Before I work on the recipe, here’s another great salad I have on the blog: https://the2spoons.com/the-best-beautiful-chicken-taco-salad/

Chicken Taco Salad
Chicken Taco Salad

This is a great salad using ground chicken and it was A-M-A-Z-I-N-G!!

Here’s the recipe for this new chicken Cobb salad. I think you will love it!

mexican grilled chicken cobb salad

Mexican Grilled Chicken Cobb Salad

Print Recipe
Coursedinner, Lunch, Main Course, Salad
CuisineAmerican, Mexican
Keywordchicken, chipotle ranch dressing, cobb salad, Grilled Chicken, mexican
Servings4 servings

Ingredients

For the Tortilla strips

  • 4-6 corn tortillas
  • oil for frying
  • salt to sprinkle after cooking

For the Chipotle Ranch Dressing

  • 1-1 1/2 cups ranch dressing bottled or homemade
  • 1-2 chipotle peppers from canned chipotle in adobo sauce
  • 1-2 tbsp adobo sauce

For the Chicken

  • 1 lb boneless, skinless chicken breast
  • 1 packet Taco Bell taco seasoning mix or taco seasoning mix of your choice
  • 3-4 tbsp extra virgin olive oil

For the remaining salad ingredients

  • 2 heads romaine lettuce, chopped
  • 1 cup cooked black beans rinsed and drained or pinto beans rinsed and drained
  • 1 cup fresh grilled corn on the cob kernels
  • 1 cup cherry tomatoes, halved
  • 4 hard boiled eggs, sliced
  • 1 can ripe olives
  • 2 avocados, sliced and divided
  • 1 cup Monterrey jack or cheddar cheese, grated
  • sliced limes for serving
  • salt and pepper to taste

Instructions

For the Tortilla strips

  • Cut the tortillas in half, then stack them on top each of other and cut into about 1/4 inch strips. Heat the oil in a skillet and add the tortilla strips, a few at a time and cook until golden brown. Repeat the process until all have been cooked. Sprinkle with salt and set aside.

For the Chipotle Ranch Dressing

  • Either use a bottled ranch dressing or use a homemade dressing. I used the Hidden Valley Ranch Dressing with the packet of ranch dressing mix with milk and mayonnaise. To that, add one or two chopped chipotle peppers and the adobo sauce to the desired heat that you like.

For the Grilled Chicken

  • In a gallon zip lock add the Taco Bell seasoning mix or the taco seasoning mix of your choice and the olive oil. Add the chicken breast and coat them on all sides. After your grill is ready, cook the chicken breast, turning until done. Chicken should reach an internal temperature of about 160, then allowed to rest for at least 5 minutes that the temperature will rise to 165 degrees.

To assemble the salad

  • In a large bowl combine the lettuce, cheese, beans, corn, olives and tomatoes in a bowl. Toss well to combine. Divide the mix among 4 plates. Slice each chicken breast and top each of the salad plates. Top each with the divided deviled eggs and the divided avocado, Top with the dressing and serve with limes if you like.

Filed Under: Salads Tagged With: chicken, cobb salad, grilled chicken, mexican, mexican food

delicious catfish parmesan.

March 28, 2020 by Becky Spoon

Catfish ParmesanJump to Recipe
Catfish Parmesan
Catfish Parmesan

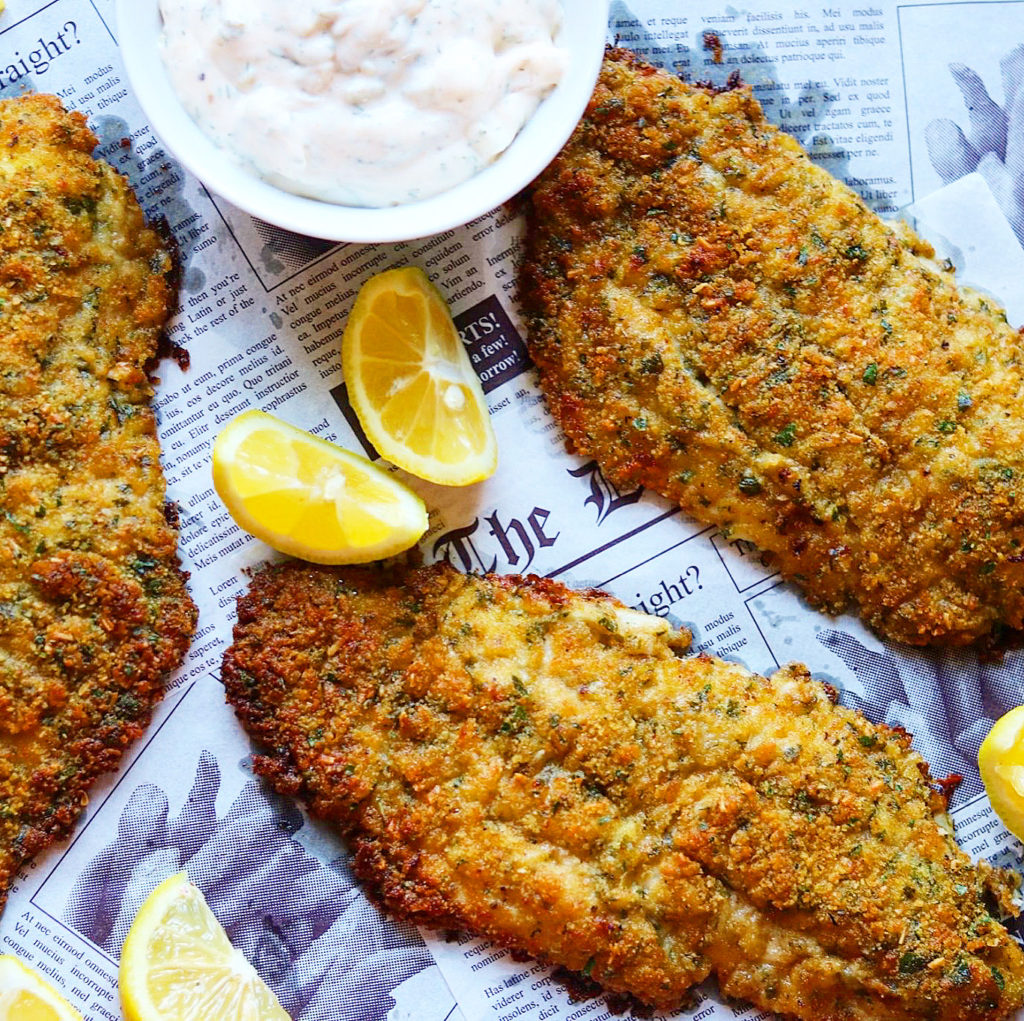
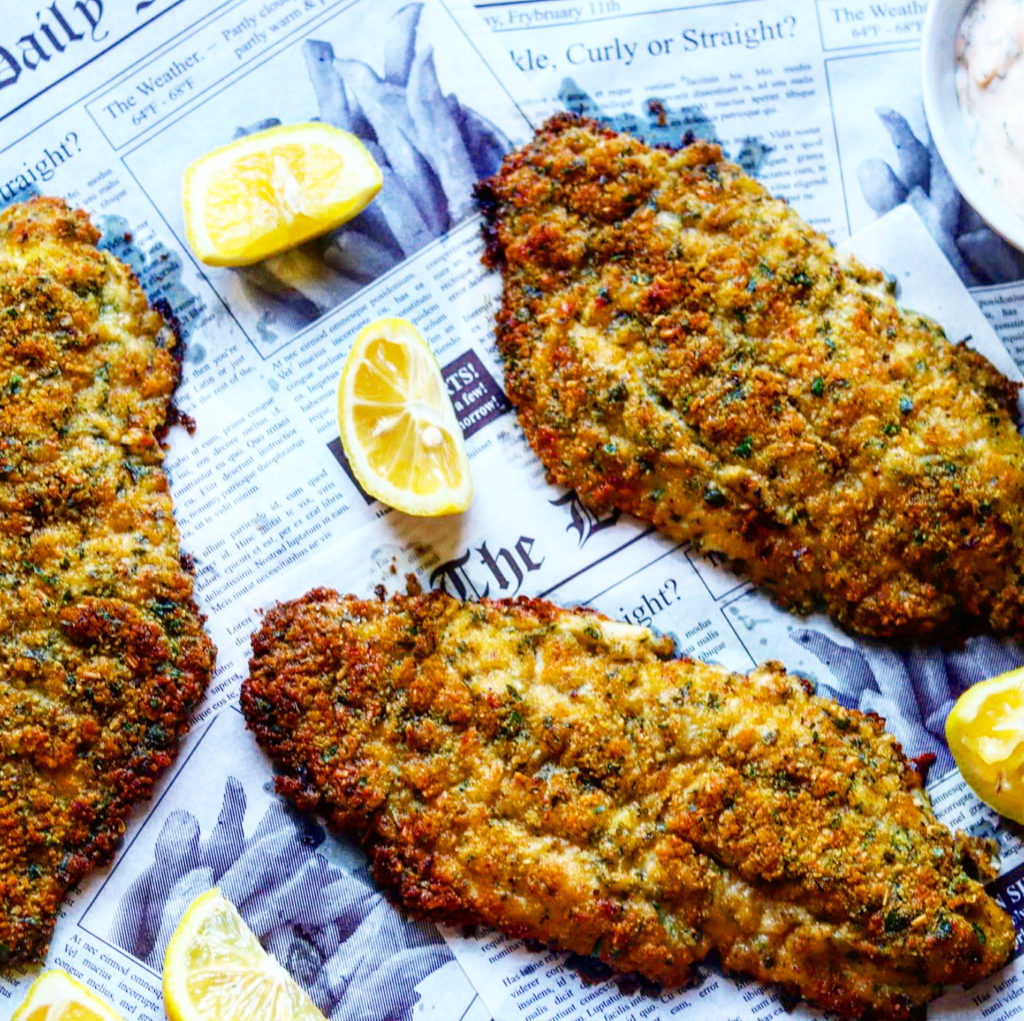
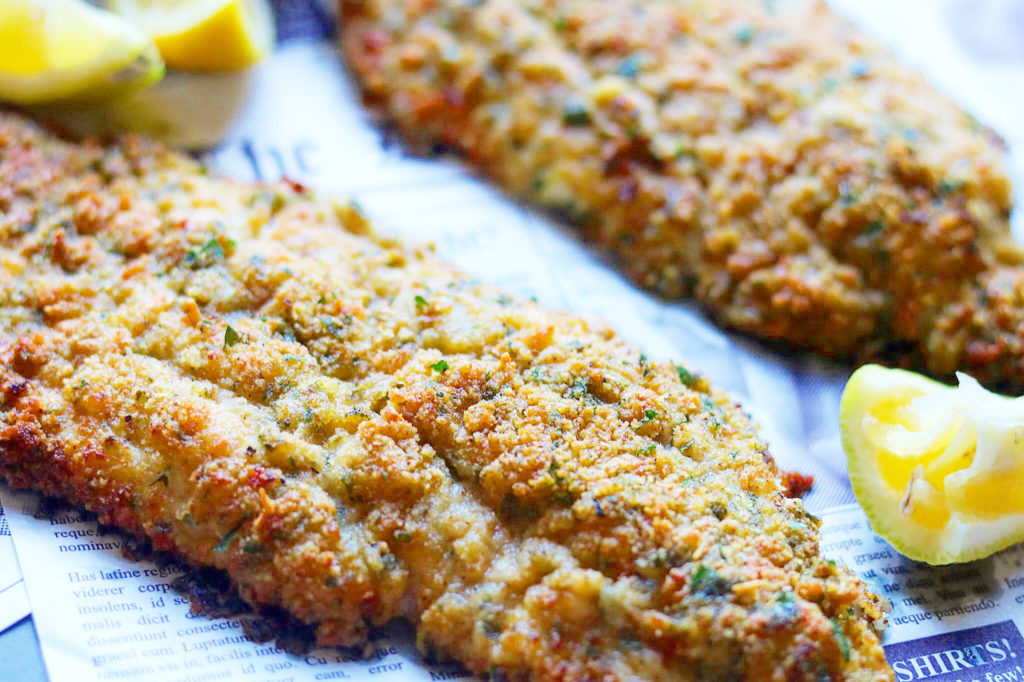
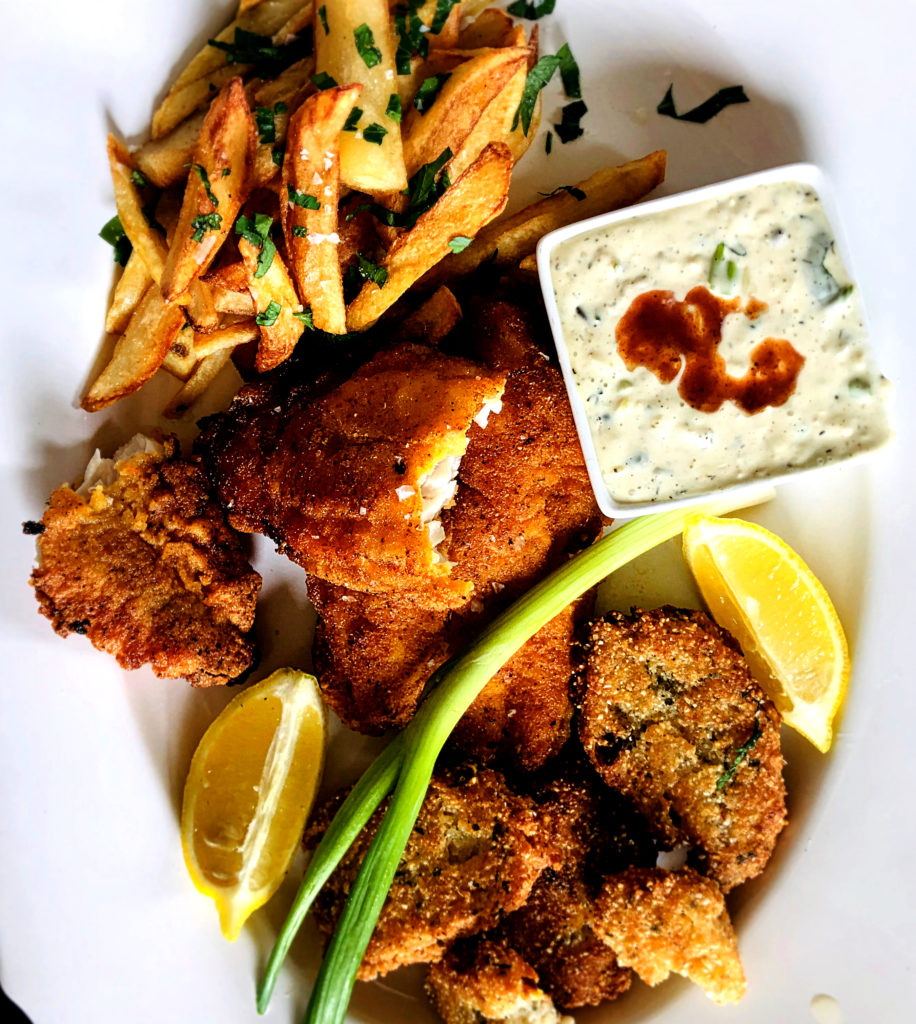
This catfish parmesan is so good! We love catfish! Our go to normally is grilled or fried with Zatarain’s fish fry. For a little variety I baked it with this parmesan/breadcrumb coating and it was delicious. Another plus with this recipe is that catfish was readily available in the fresh fish market and in the frozen section of the grocery store.

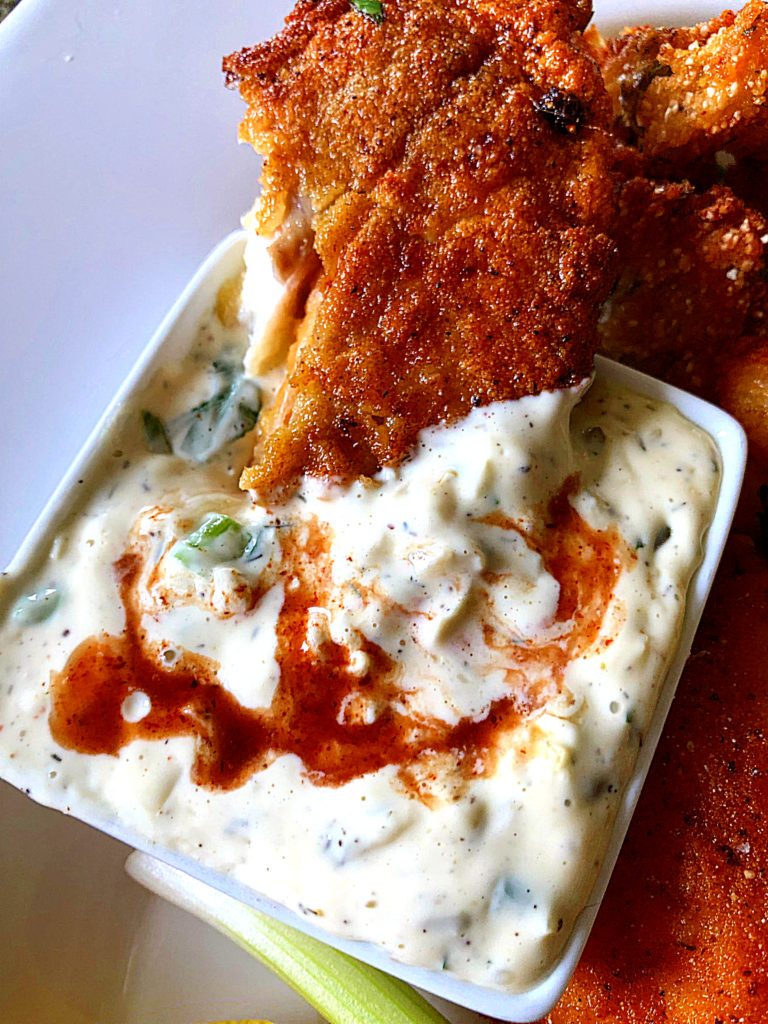
I serve this dish with my homemade tarter sauce and lemon wedges. Here’s the link for the simple tarter sauce that is so good and you can serve with any fish dish you make. It is great along side some fried shrimp, oysters, and a must for that seafood platter! Here’s the link for the recipe for the tarter sauce: https://the2spoons.com/so-good-simple-tarter-sauce/

Tarter Sauce
Tarter Sauce
Catfish Parmesan

I used Progresso Plain bread crumbs, but you could use the Italian Bread Crumbs too. Here’s a link for the Progresso Italian Bread Crumbs: https://amzn.to/2QQt2n9

Panko is another great choice. I didn’t use Panko bread crumbs, but I will try them next time because I think they will produce a crispier finished product. You are baking these catfish fillets so they don’t have the crisp that you have when you fry fish. I stick them under the broiler the last minute to crisp up a little. I say use any parmesan cheese you have on hand.

delicious catfish parmesan.

As I said before we love catfish and sometime I fry it using Zatarain’s fish fry. Here’s my recipe that’s on the blog for the fried fish which is so delicious! https://the2spoons.com/the-best-southern-fried-catfish/.

Southern Fried Catfish

Ok! Here’s the recipe for the star dish! Enjoy and make soon!

Catfish Parmesan

Print Recipe
Coursedinner, Lunch, Main Course
CuisineAmerican
Keywordbaked fish, catfish, catfish parmesan, fish, main course, parmesan, southern food
Servings6 servings

Ingredients

  • 1 cup dry bread crumbs or Panko bread crumbs
  • 3 tbsp grated parmesan cheese
  • 2 tbsp chopped fresh parsley (use dried if you don't have fresh)
  • 1/2 tsp salt
  • 1/4 tsp paprika
  • 1/8 tsp each pepper, dried oregano and basil
  • 6 fresh or frozen catfish fillets
  • 1/2 cup (1 stick) butter, melted
  • tarter sauce and lemon wedges for serving

Instructions

  • In a shallow bowl, combine the bread crumbs, Parmesan cheese, parsley and seasonings. Dip catfish in butter, then in crumb mixture. Arrange on a sheet pan.
  • Bake, uncovered, at 375° until fish just begins to flake easily with a fork, 20-25 minutes. In the last minute or so, turn your broiler on and while watching closely, crisp up or add a little more browning to the fish. I think this helps to solve the lack of crispiness you have because you are not frying the fish in hot oil.
  • If desired, serve with tartar sauce and lemon wedges.

Filed Under: Fish/Seafood Tagged With: catfish, fish, parmesan catfish, parmesan cheese

easy fresh tomato pasta – my #1 go to in a pinch

March 28, 2020 by Becky Spoon

fresh tomato pasta.Jump to Recipe
fresh tomato pasta.
fresh tomato pasta.

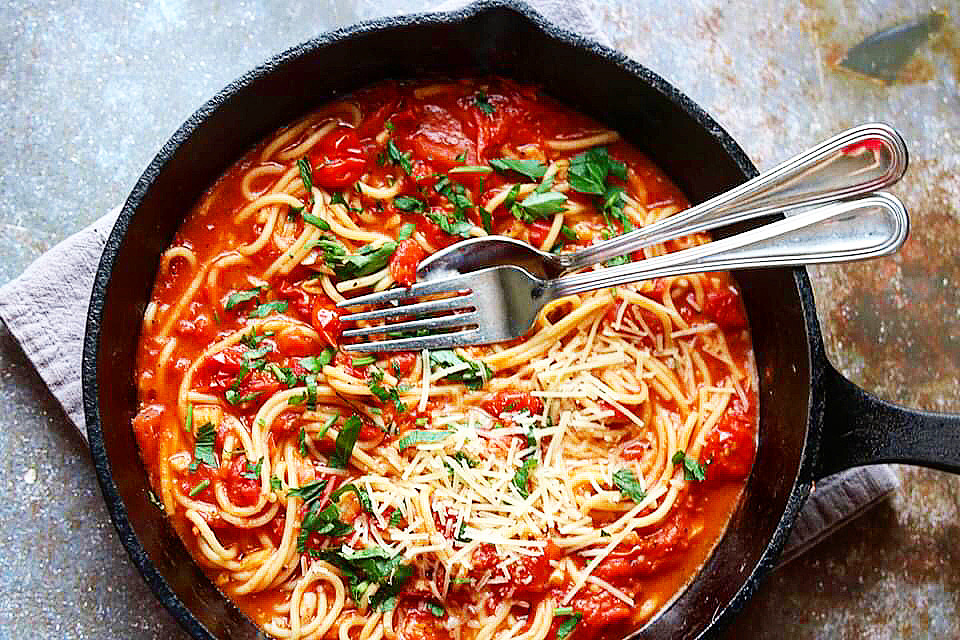
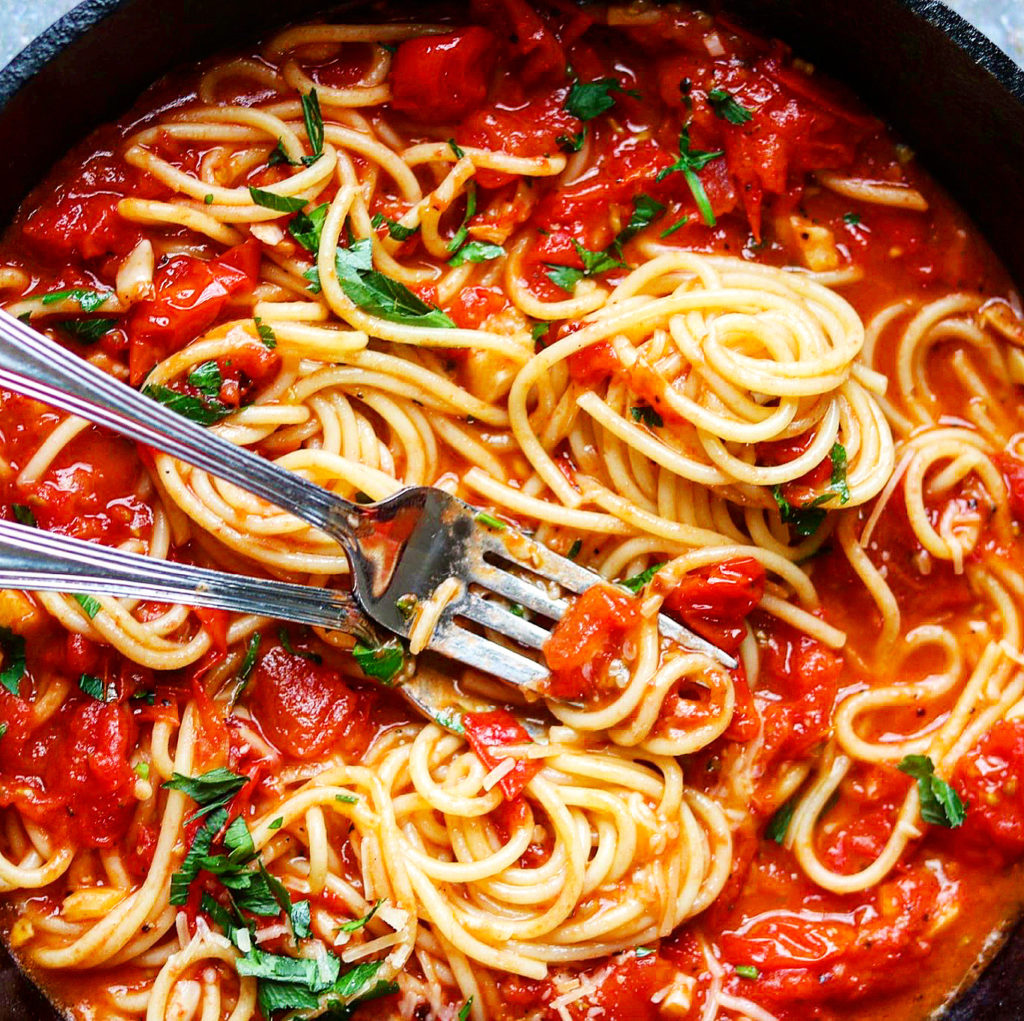
This fresh tomato pasta is another perfect recipe for cooking things you have on hand and a great use for those ripe tomatoes that we need to use up. I’m looking daily in my refrigerator and at my non perishable items trying to make sure I don’t let anything go to waste!

fresh tomato pasta.
fresh tomato pasta.

Other that the olive oil and salt and pepper, this recipe has 4 ingredients! I used very ripe Roma tomatoes, a few leftover sweet cherry tomatoes I had on hand, fresh garlic, crushed red pepper flakes, and fresh basil or Italian parsley, whichever you have on hand. In a pinch you could use dried basil if you don’t have fresh.

fresh tomato pasta.

I used spaghetti, however any pasta would work. I tubed pasta or fusilli or other spiral shaped pasta would work well. This recipe is not one to just make with fresh tomatoes when you need to! I’ve been making this recipe for years and I have used a canned diced tomato before. I would use a really good tomato like Mutti or a San Marzano brand. Here’s a link for the Mutti: https://amzn.to/2Jhwseb

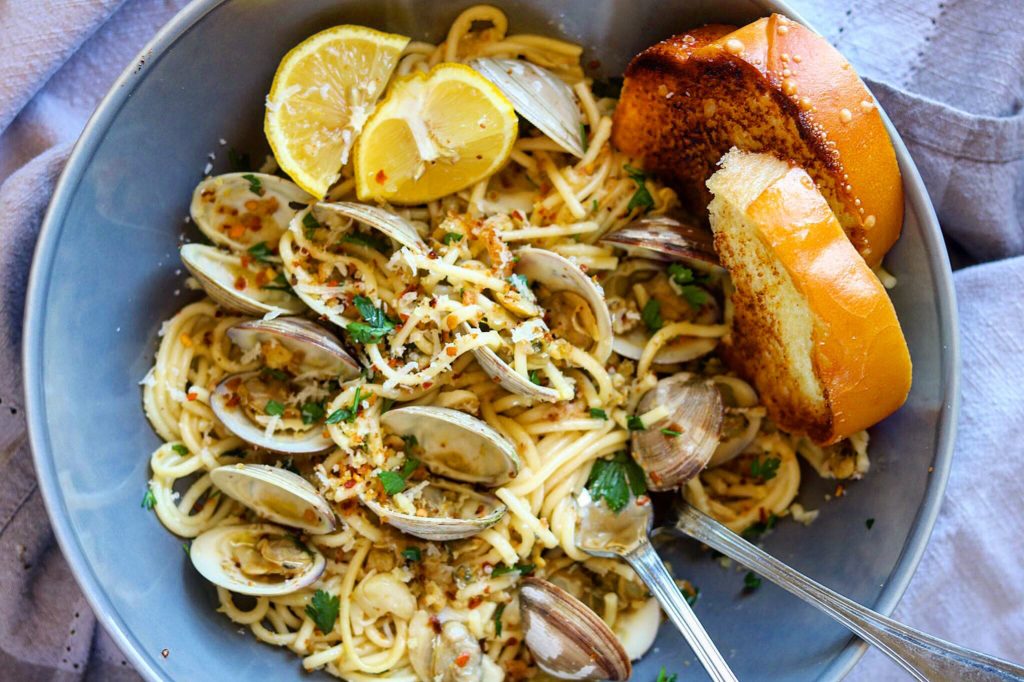
Need another pasta receip? https://the2spoons.com/best-pasta-and-clams/. This pasta with clams is also a great recipe for cooking from your pantry. While at the grocery store the other day they had canned clams which work well in the pasta with clams dish.

Best Pasta and Clams

Here’s the easy recipe for the fresh tomato pasta! Bon Appetit!

Fresh Tomato Pasta

Print Recipe
Coursedinner, Lunch, Main Course
CuisineItalian
Keywordfresh tomatoes, pasta, spaghetti, tomatoes
Servings2 servings

Ingredients

  • 12 oz pasta of your choice, I used spaghetti
  • 8-10 Roma tomatoes, diced or good quality Italian diced canned tomatoes like Mutti or San Marzano.
  • handful of cherry tomatoes (optional)
  • 2 garlic cloves, minced
  • 1/4 tsp red pepper flakes
  • fresh basil, several leaves torn, or 1/4 cup fresh Italian Parsley chopped (If you only have dried, add about 1/2 teaspoon of basil, parsley, or a combination of both)
  • 2 tbsp extra virgin olive oil plus more for drizzling while plating
  • salt and pepper to taste and salt for the pasta water
  • 1 cup reserved pasta water or more if needed
  • Parmesan cheese for serving

Instructions

  • Bring a salted pot of water to a boil and add your pasta.
  • While the pasta is cooking, heat the olive oil to medium in a large skillet. Add the red pepper flakes, cook about a minute, then add the garlic. Stirring constantly add the garlic and do not allow the garlic to brown. Reduce the heat if you need to. After about a minute, add the tomatoes and cook until the tomatoes are broken up and a sauce has formed. Salt and pepper to taste.
  • Remove the pasta from pot with tongs or a spider and add to the sauce in the skillet, tossing with tongs and adding a little pasta water at a time as needed to make a nice sauce.
  • Check for salt and add your fresh herbs. Toss then serve in bowls or on plates drizzled with a little extra virgin olive oil and grated or shaved Parmesan cheese. Enjoy!

Filed Under: Pasta Tagged With: fresh, fresh tomato, pasta, Spaghetti

  • « Go to Previous Page
  • Page 1
  • Interim pages omitted …
  • Page 22
  • Page 23
  • Page 24
  • Page 25
  • Page 26
  • Interim pages omitted …
  • Page 65
  • Go to Next Page »

Primary Sidebar

Categories

  • Appetizer
  • Beans, Lentils, Grains, Rice
  • Beef
  • Bread
  • Breakfast/Brunch
  • Cocktails
  • Dessert
  • Dishes of Mexico, Tex Mex and New Mexico Red and Green Chile
  • Fish/Seafood
  • Ice Cream
  • Pasta
  • Pizza
  • Pork
  • Poultry
  • Salad Dressings
  • Salads
  • Salsas
  • Sandwiches/Burgers/Hot Dogs
  • Sauces, Compound Butters, Condiments
  • Side dish
  • Soups/Stews/Gumbo//Chili
  • Stocks, Broths, Gravies
  • Vegetables

Copyright © 2026 The 2 Spoons on the Foodie Pro Theme

Rate This Recipe

Your vote:


A rating is required
A name is required
An email is required