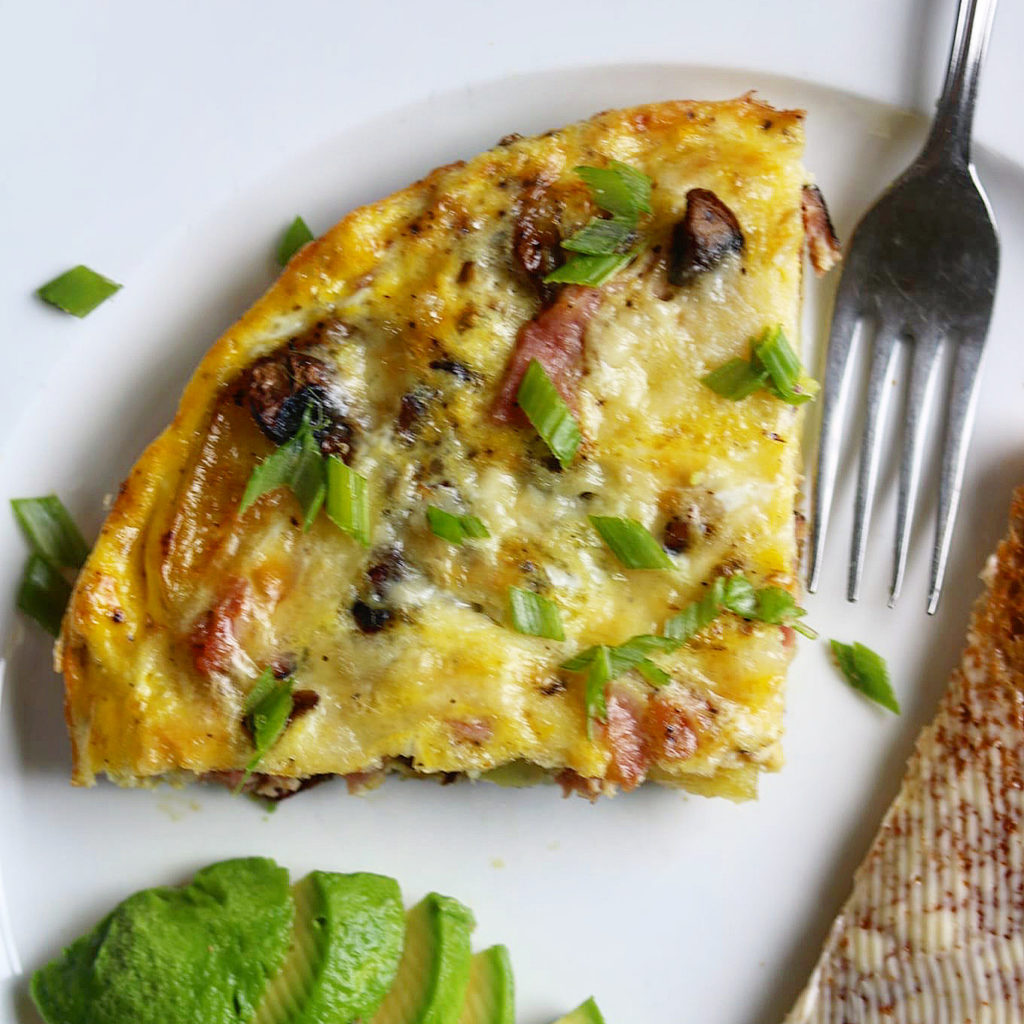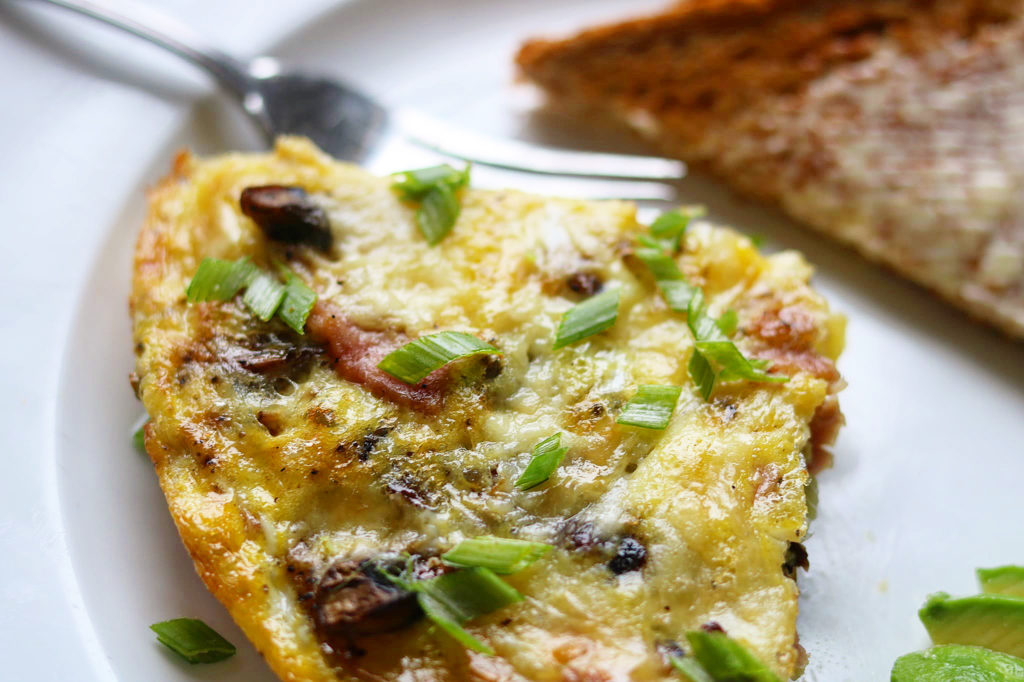

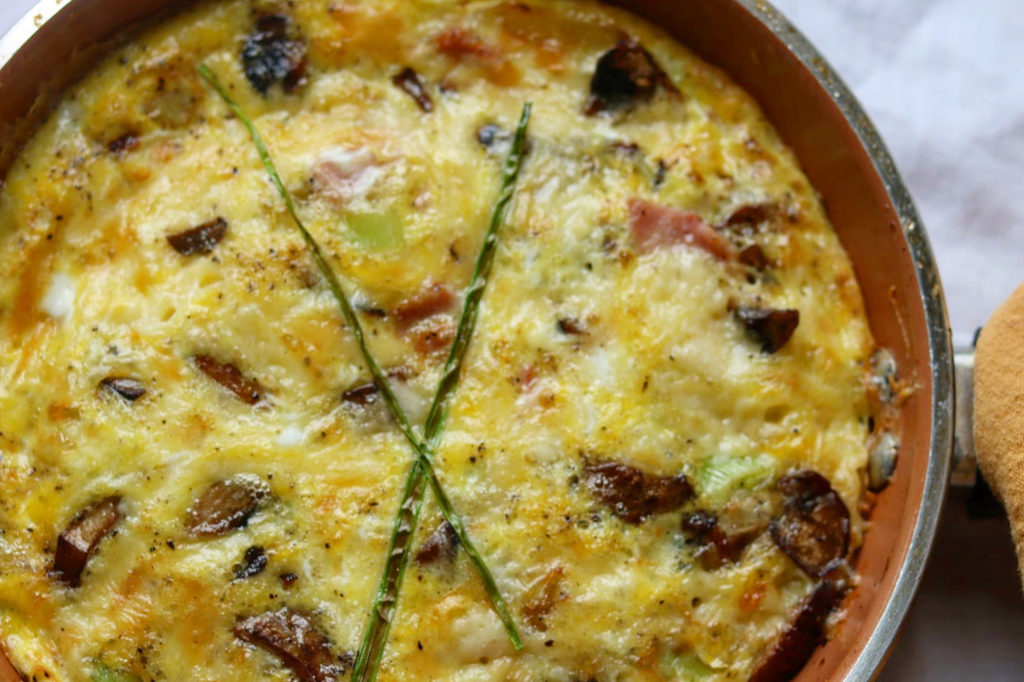
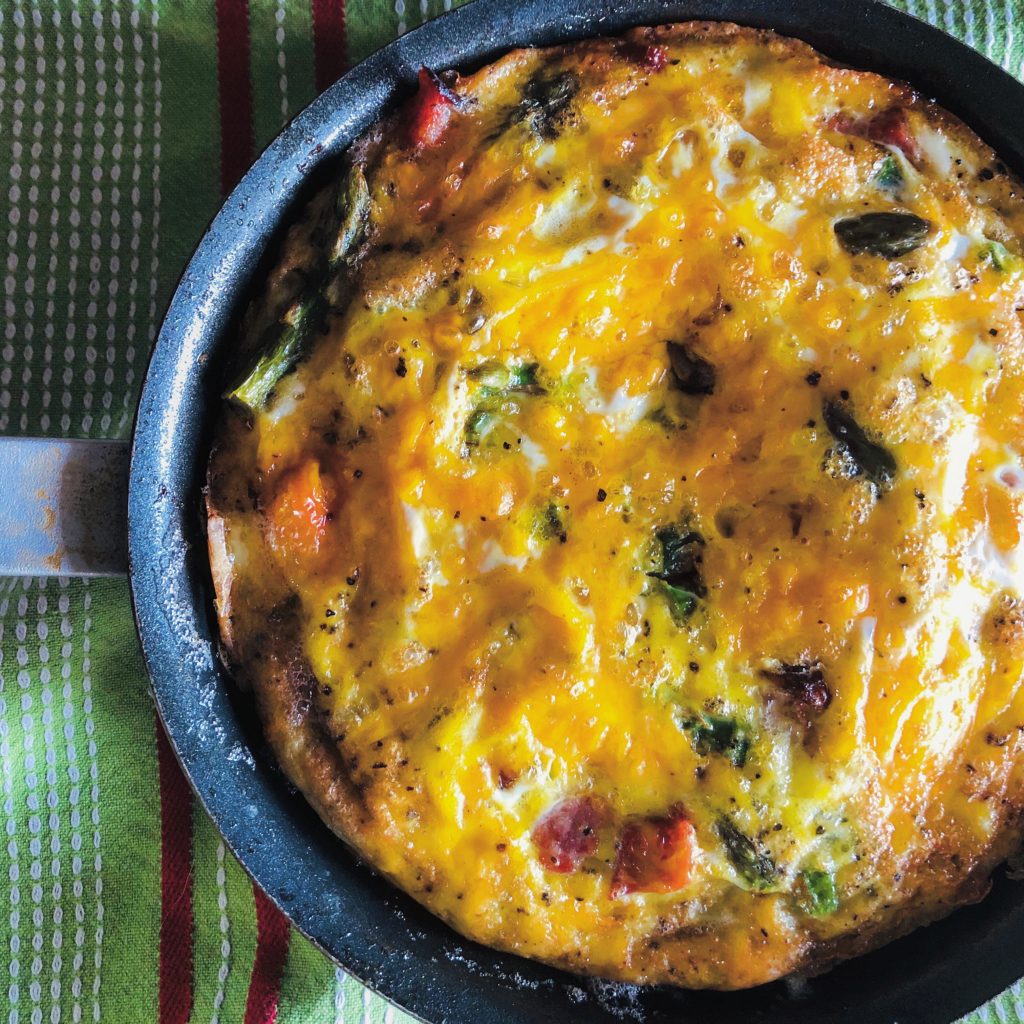
I loved this Ham and Mushroom Frittata for breakfast and it was an absolute hit! Loaded with potatoes, Black Forest ham, green onions and mushrooms, this is simple and delicious!
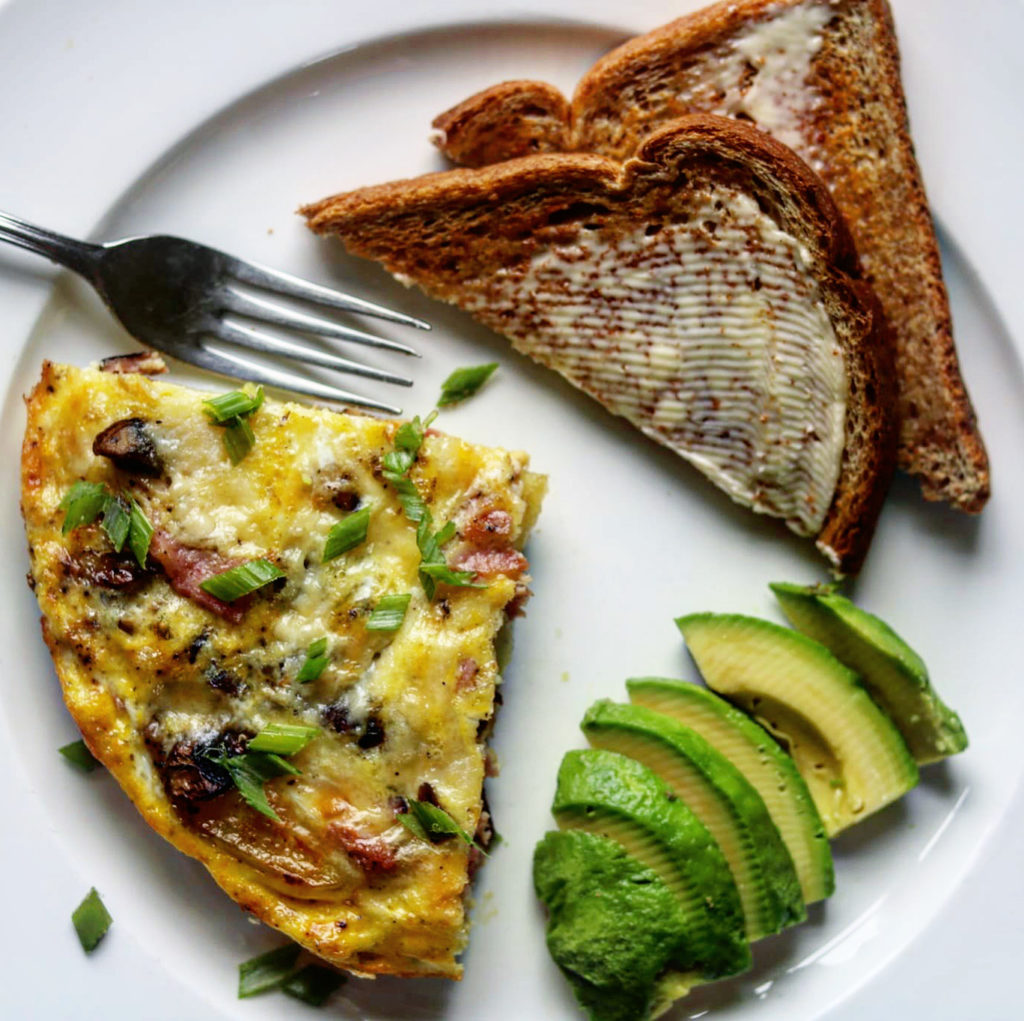
Simple and Delicious, Ham and Mushroom Frittata
What’s the difference between a Frittata and a Quiche?
The biggest differences between a frittata and a quiche are the egg-to-dairy ratio, the presence of a crust, and the vessel that they’re baked in.
A frittata is made up primarily of eggs, with a bit of full-fat dairy (think: sour cream, yogurt, heavy cream, or crème fraîche) to prevent dryness and make it fluffy and custardy, and any combination of fully cooked add-ins for flavor. The cooking begins on the stovetop — you’ll sauté any veggies or cook any meat that’s being added in an oven-safe skillet — then pour the egg mixture (eggs, dairy, cheese, and any seasonings, spices, or herbs) overtop. You’ll continue to cook it on the stovetop just until the edges begin to set, then transfer it to the oven to finish cooking. One 10-inch frittata makes four very generous portions, or six smaller slices.
(Source: https://www.thekitchn.com/frittata-vs-quiche-22301377?amp=1.)
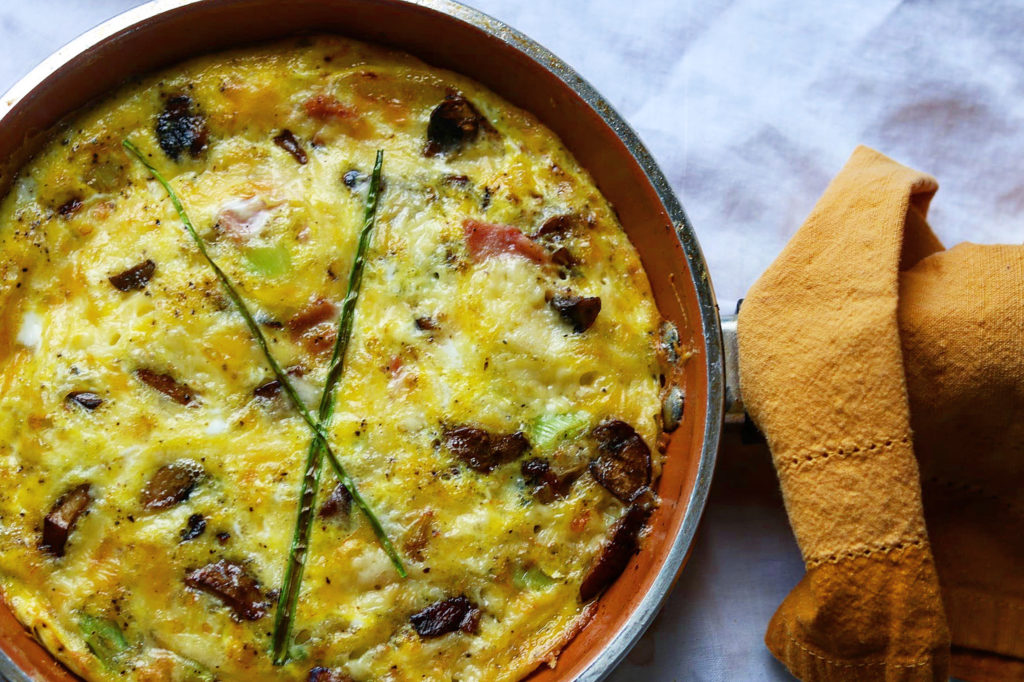
I made this recipe for two; however, you can double or triple easily, just make sure to increase your skillet size. I use a non stick pan because I want my eggs to easily move around in the pan, and they’ll be easy to remove when finished.
Here’s another Frittata recipe on the blog: https://the2spoons.com/ham-mushrooms-potato-asparagus-and-cheese-frittata/.
Hope you enjoy this easy recipe!
Ham and Mushroom Frittata
Ingredients
- 1 Large potato, sliced in rounds, about 1/4 inch
- 1/2 cup Diced Black Forest ham
- 1 Cup Mushrooms, sliced or chopped
- 2 Green onions sliced
- 4 Eggs, beaten
- 1 Cup Gruyere cheese or other swiss or similar cheese, grated
- Tbsp Olive oil
- 1-2 Tbsp Butter
Instructions
- Preheat the oven to 375 F. Add the oil to the skillet you will be finishing your Frittata in. Heat to medium and line the bottom of the pan with the potato rounds. Cook until brown and then turn. Lower the heat, place a lid on and cook until the potatoes are tender.
- In a separate pan, add the butter and melt. Add the mushrooms and cook until done as nd liquid has evaporate. Add the green onions and chopped ham and cook , stirring often, until the onions have softened and the ham is heated through.
- Beat the eggs in a separate bowl. Add a little cheese to the top of the potatoes, then add the ham, mushrooms and green onions. Pour the eggs over and cook, lifting the sides periodically allowing them to run under the cooked eggs. Continue until the eggs are set and add almost done.
- Top the Frittata with the remaining cheese and place in the oven for about 10 minutes until the top is set s and slightly puffed, the cheese has melted and the top is beginning to grown. If you want a more golden brown, place under the broiler for about a minute! Serve immediately. Enjoy!