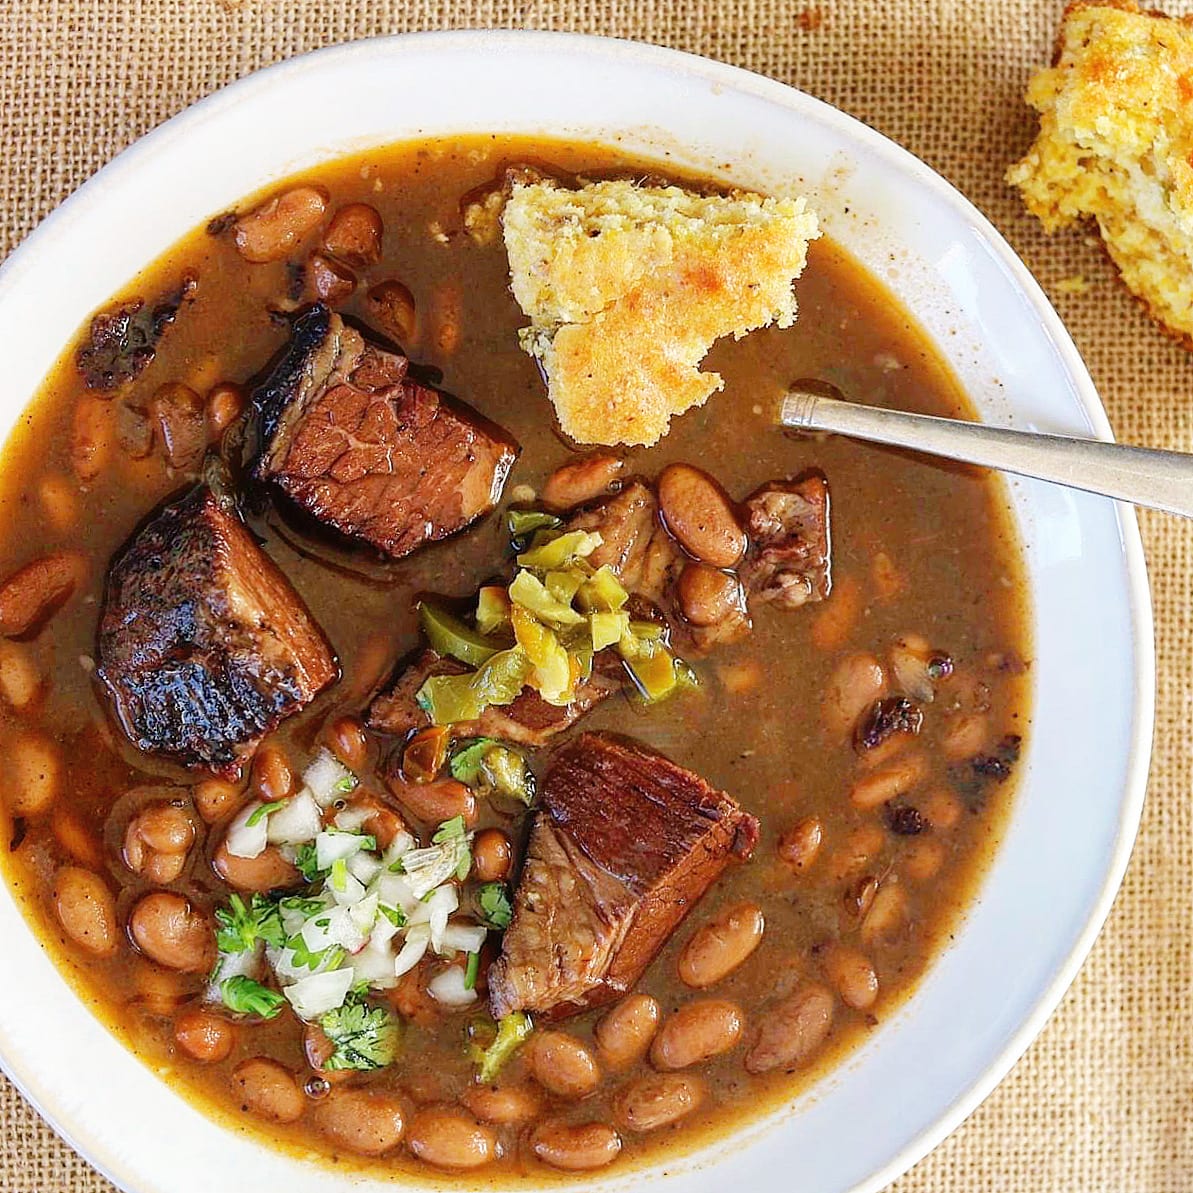
Please follow and like us:
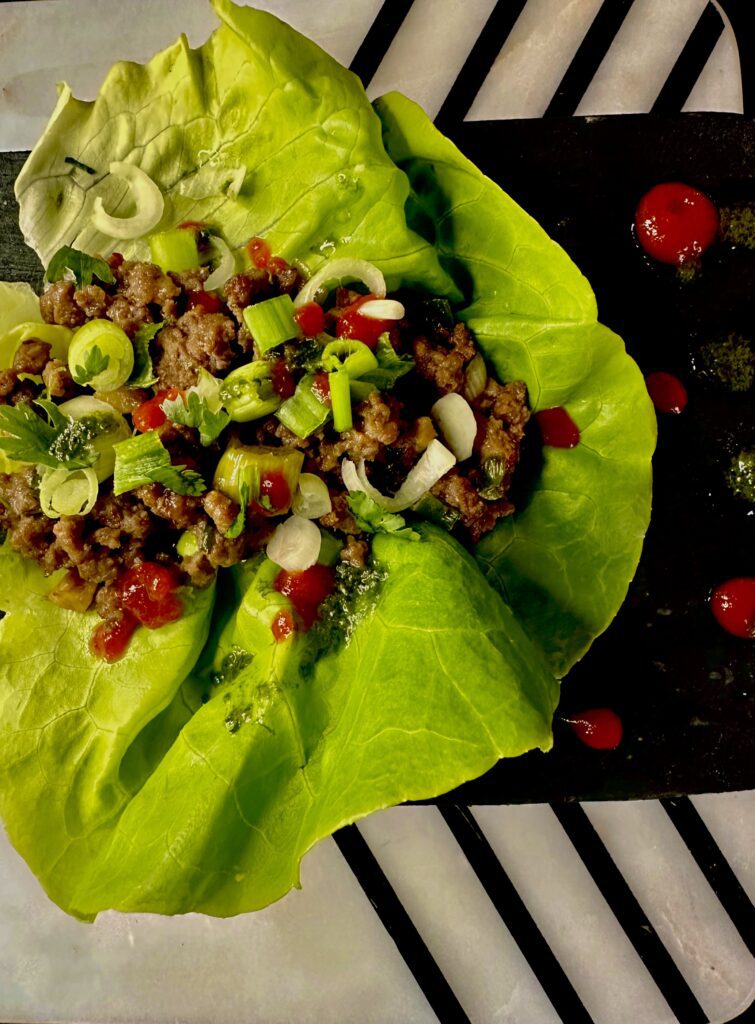
These Szechuan-style Beef Lettuce Wraps are delightful to prepare and enjoyable to devour! Butter Lettuce was my choice, but feel free to opt for romaine or any other leaf lettuce.
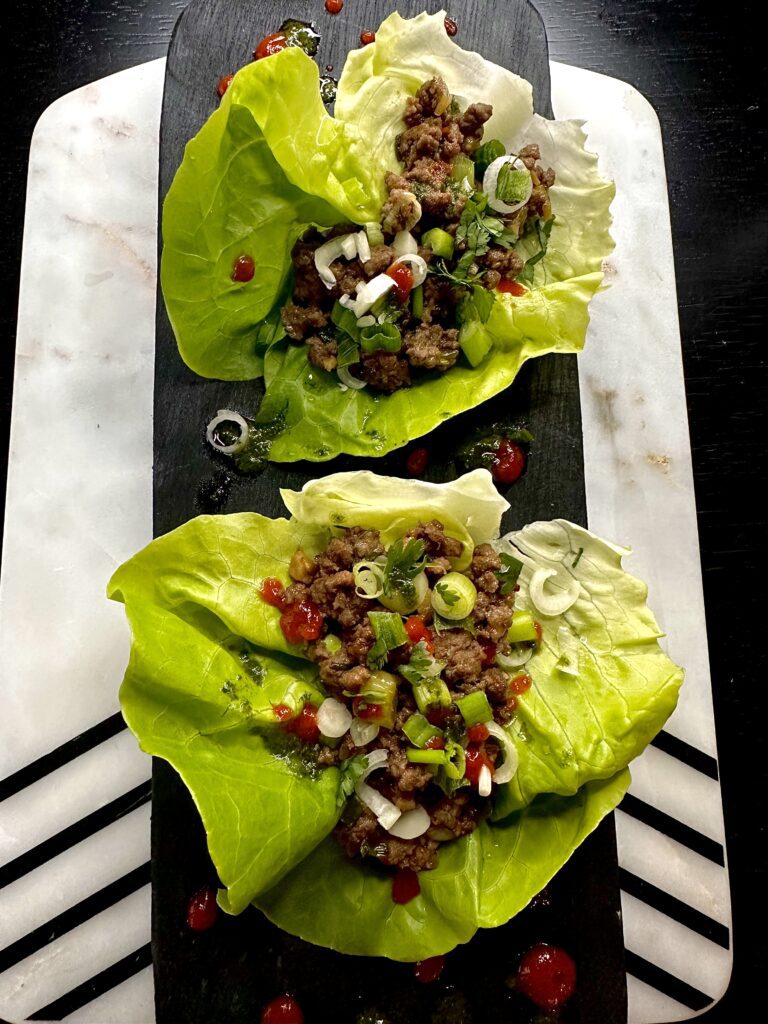
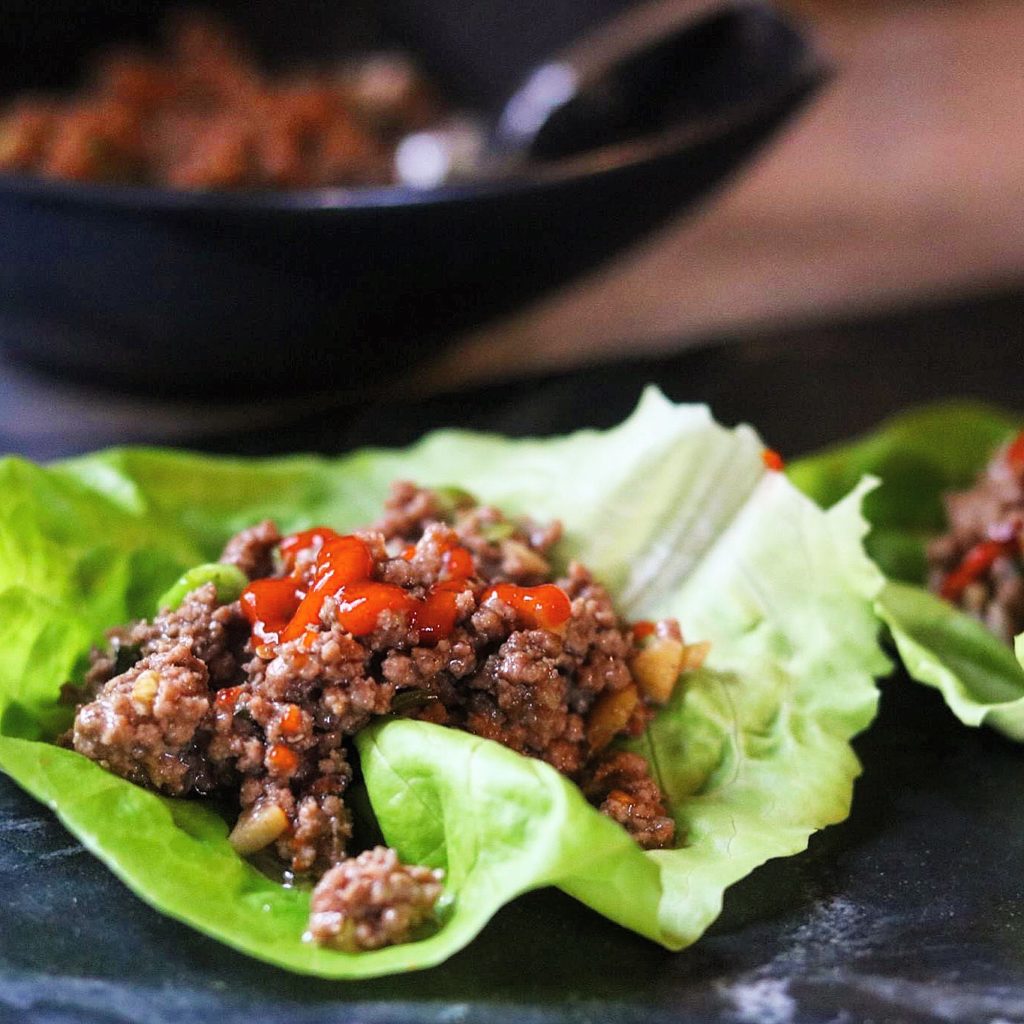
This is a dish I start to crave and I have to make it! The beef is spicy from red pepper flakes, and there is a marinade for the beef of soy sauce, sherry, sugar, and salt. The stir fry is with ginger and garlic, a beautiful flavor combination. I always have to have mine with Huy Fong Sriracha http://www.huyfong.com or their Sambal Oelek. Yum.
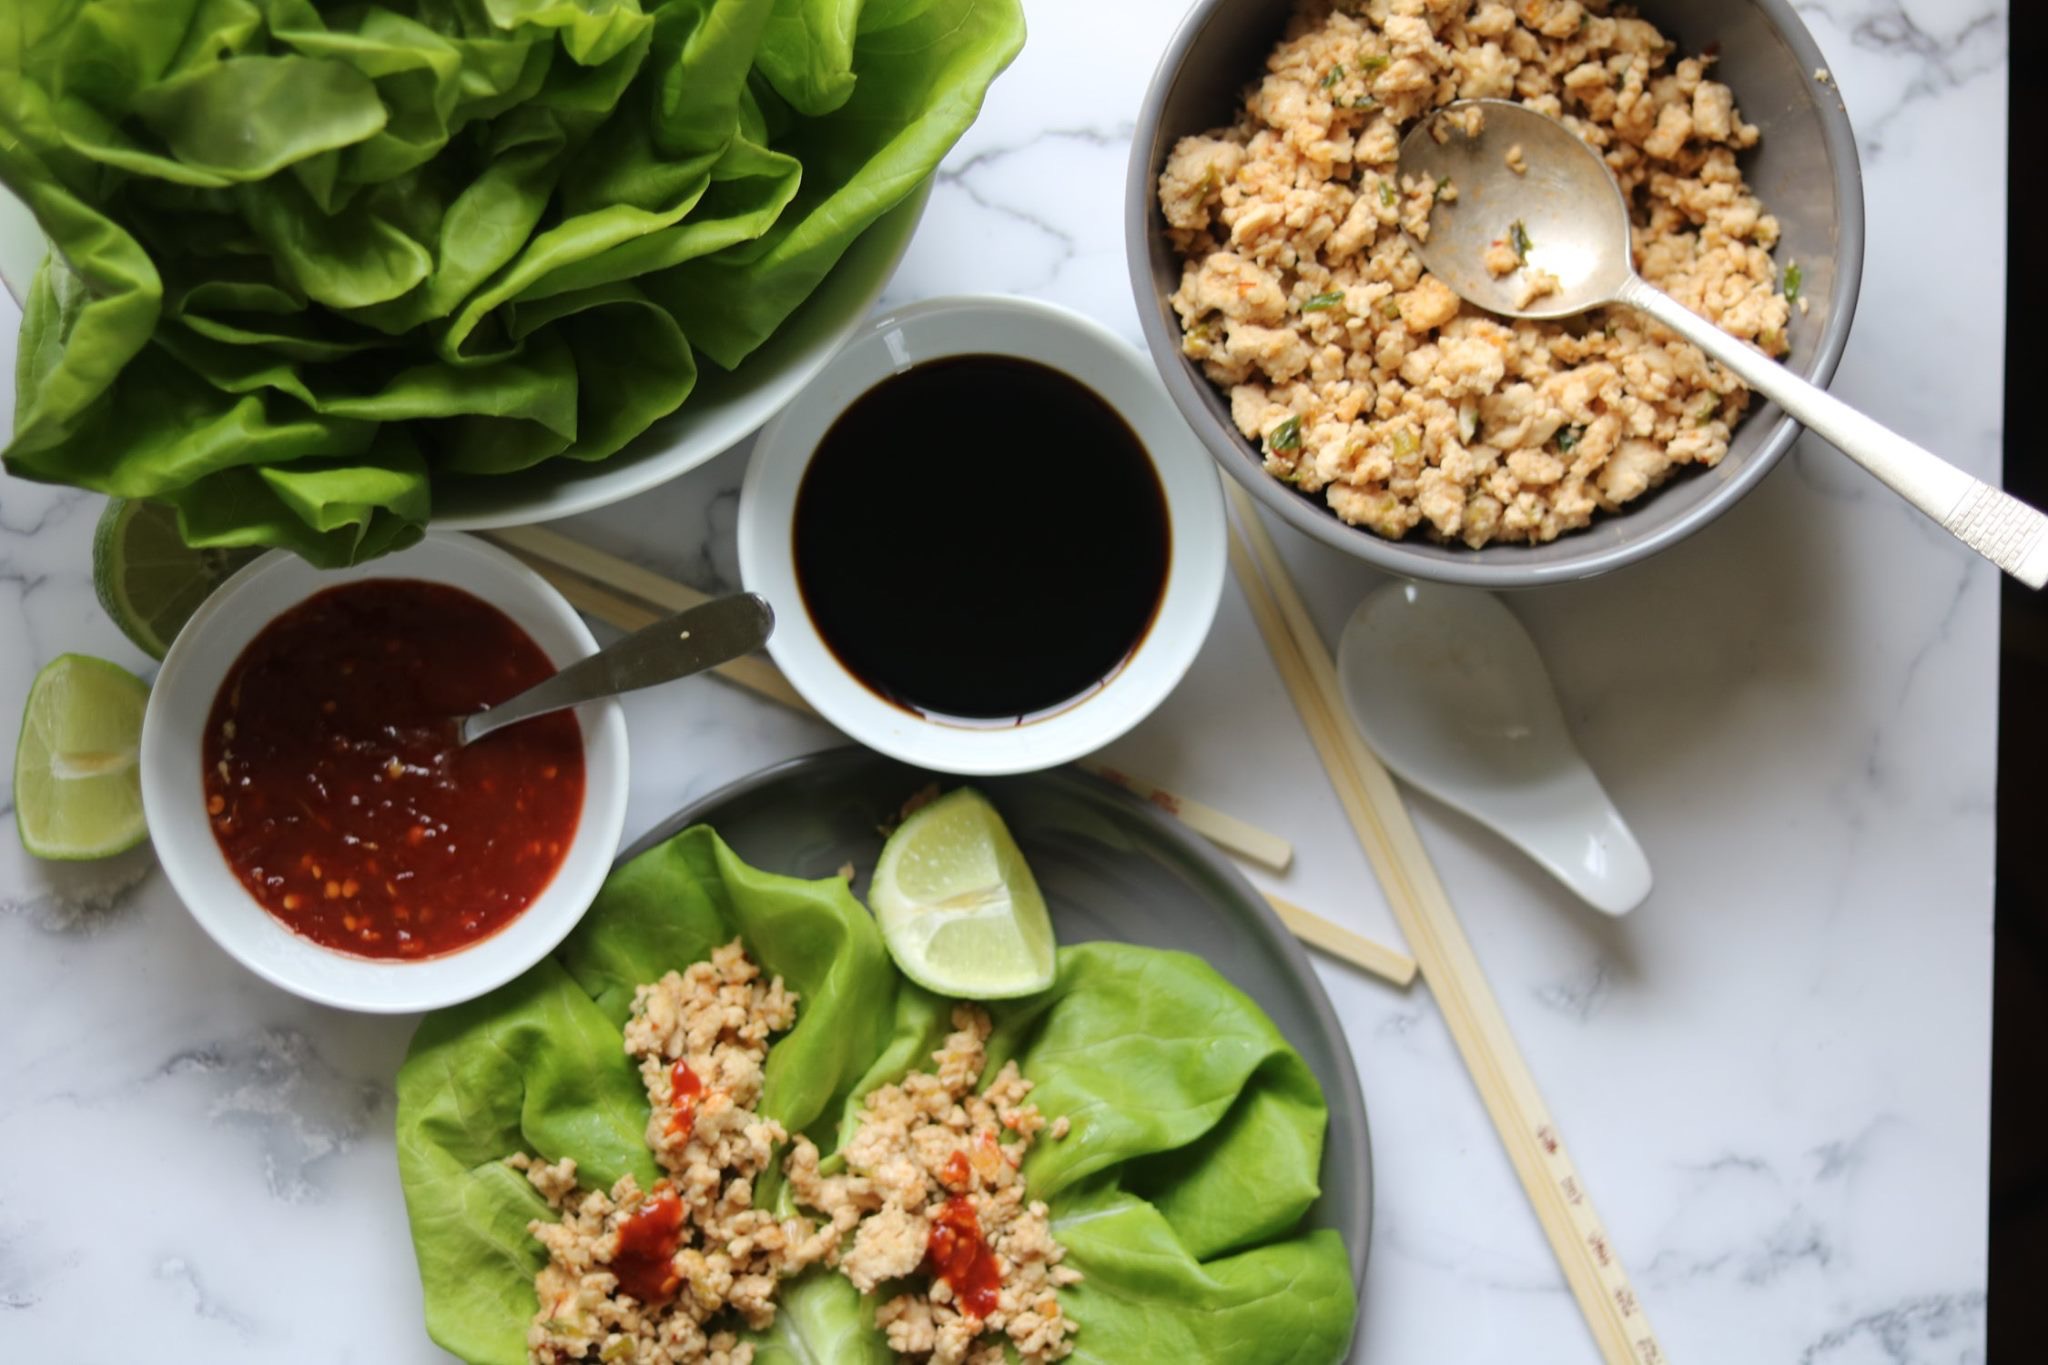
What you need for these simple lettuce wraps!
- soy sauce
- sugar
- dry sherry, cooking sherry, white wine or Shaoxing wine cornstarch
- salt (optional if you aren’t using low sodium soy sauce, they will be a little salty)
- ground beef
- Vegetable oil
- red pepper flakes
- fresh ginger chopped garlic red pepper flakes
- chopped green onion
- asian sesame oil
- letuce leaves, such as bibb, butter, romaine, boston, iceberg, leaf lettuce
You could actually add this meat from this recipe to my breakfast stir-fry! Delicious, Easy Shrimp Fried Rice.
Here’s an additional lettuce wrap recipe! Love these for Game Day! Spicy Chicken Lettuce Wraps

Ingredients
Method
- In a small bowl, combine the soy sauce, sherry, cornstarch, sugar, and salt, and stir well to dissolve the cornstarch and combine everything into a smooth sauce. Place the ground beef in a medium bowl, and use a spoon to separate it into five or six big clumps. Add about half the soy sauce mixture, and gently mix the seasonings into the ground beef, using your hands or a large spoon. Set aside for 10 to 15 minutes. To cook, heat a wok or a large, deep skillet over medium-high heat until very hot. Add the vegetable oil, swirl to coat the pan, and then toss in the ginger and garlic. Cook for about 1 minute, tossing once, until fragrant but, not browned.Crumble in the seasoned ground beef, and use your spatula or a git, slotted spoon to break it up and spread the meat out over the hot pan to help it cook evenly. Let it cook until it changes color on one side, 1 to 2 minutes. Toss the meat just enough to turn the uncooked side onto the hot pan, and let it cook another minute undisturbed. Then toss well, using your spatula to break up any large chunks. When the meat is cooked, ad the red pepper flakes and the green onion and toss well. Add the sesame oil and remove from the heat, tossing once more to mix everything well. Transfer to a serving plate and serve hot, warm, or at room temperature. Arrange lettuce cups on a serving platter and fill each one with a spoonful or two of the cooked beef.