
Seriously. This Broccoli with Potato and Cheese Soup is so easy. No sautéing, just dump the broccoli florets, diced potato, onion, and chicken stock into a saucepan! Yes, that easy!
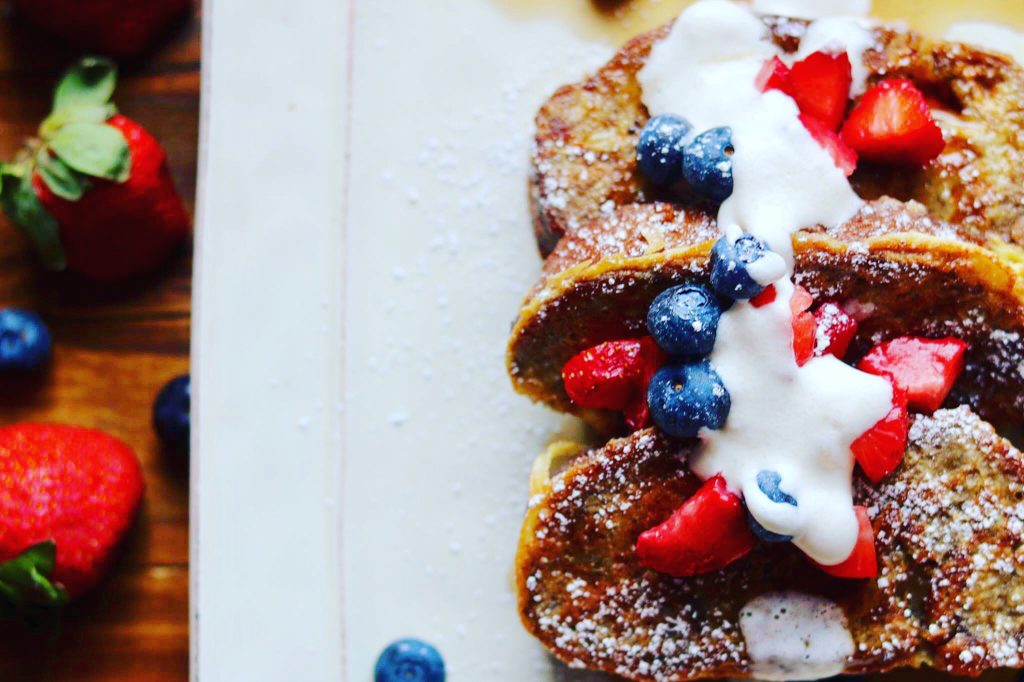
The Best & Easiest Broccoli with Potato & Cheese Soup
There are so many times I make “stuff” because I have ingredients in my refrigerator that need to be used. Like this Broccoli with Potato & Cheese Soup. I didn’t want to spend a lot of time making this soup and I didn’t want this broccoli to hang out in the refrigerator any longer, so I just dumped broccoli florets in a saucepan, added diced potatoes, added a half onion, quartered, then barely covered with chicken stock.

The recipe of course will give you all the instructions..but as you can tell, this Broccoli with Potato and Cheese Soup is easy, yet so yummy.
Oh. Don’t forget broccoli is pretty good for you. https://dancinggecko.wordpress.com/2009/01/11/broccoli-nutrients/
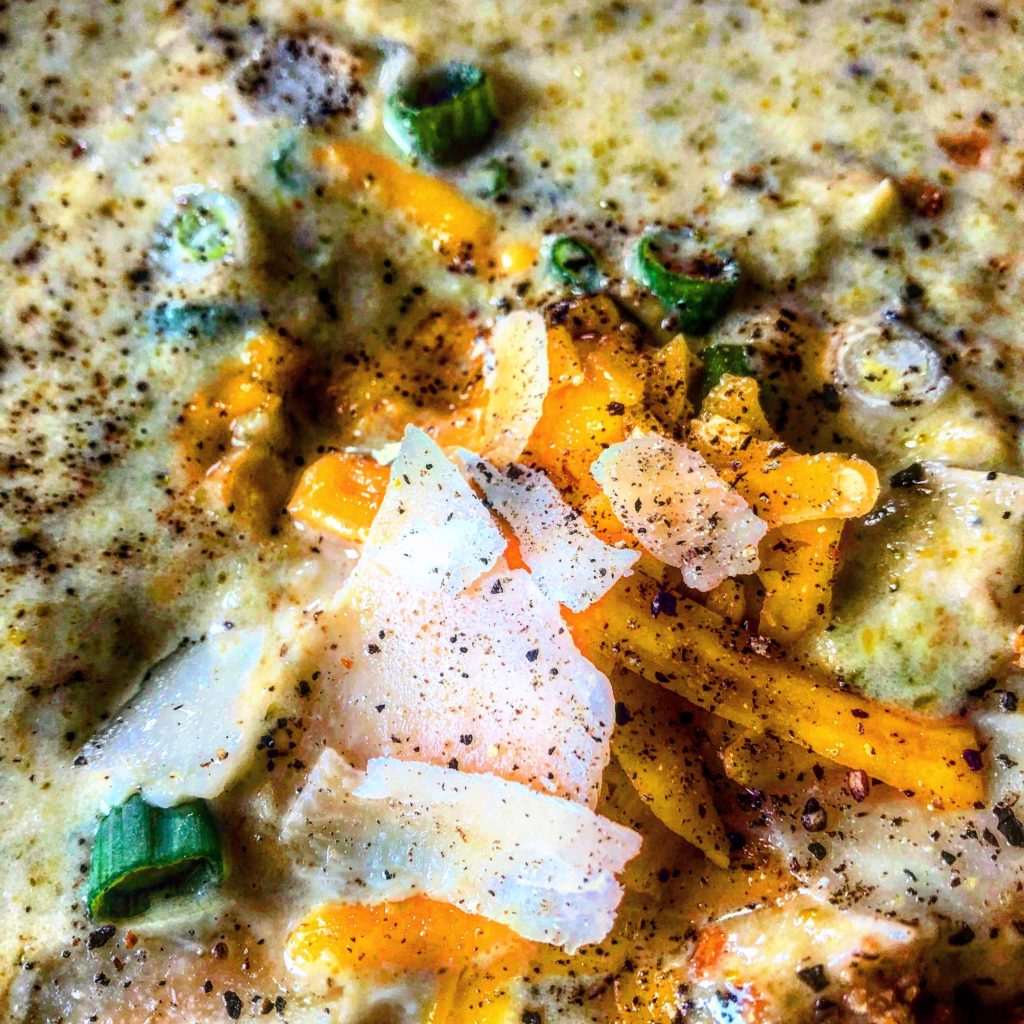
And this is such a pretty soup! Top with more cheese, green onions? Wow!
Serve this soup with my Cheese Straws for more cheese!https://the2spoons.com/easy-so-cheesy-puff-pastry-cheese-straws
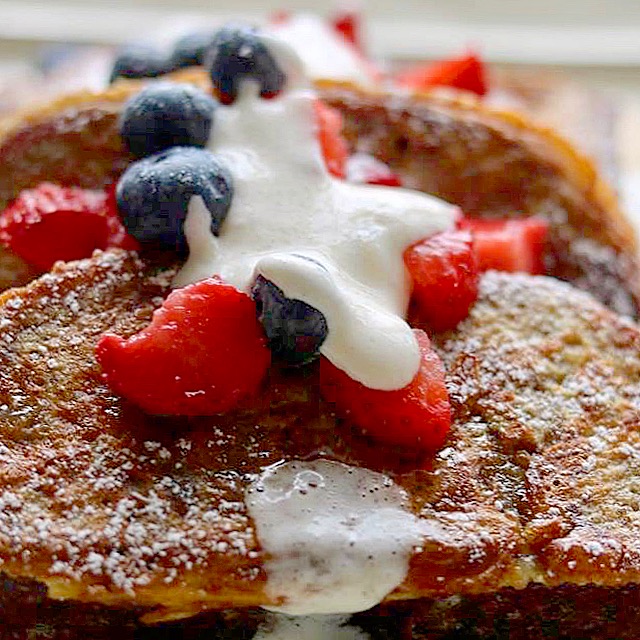
The Best, Yet Easiest – Broccoli, with Potato & Cheese Soup

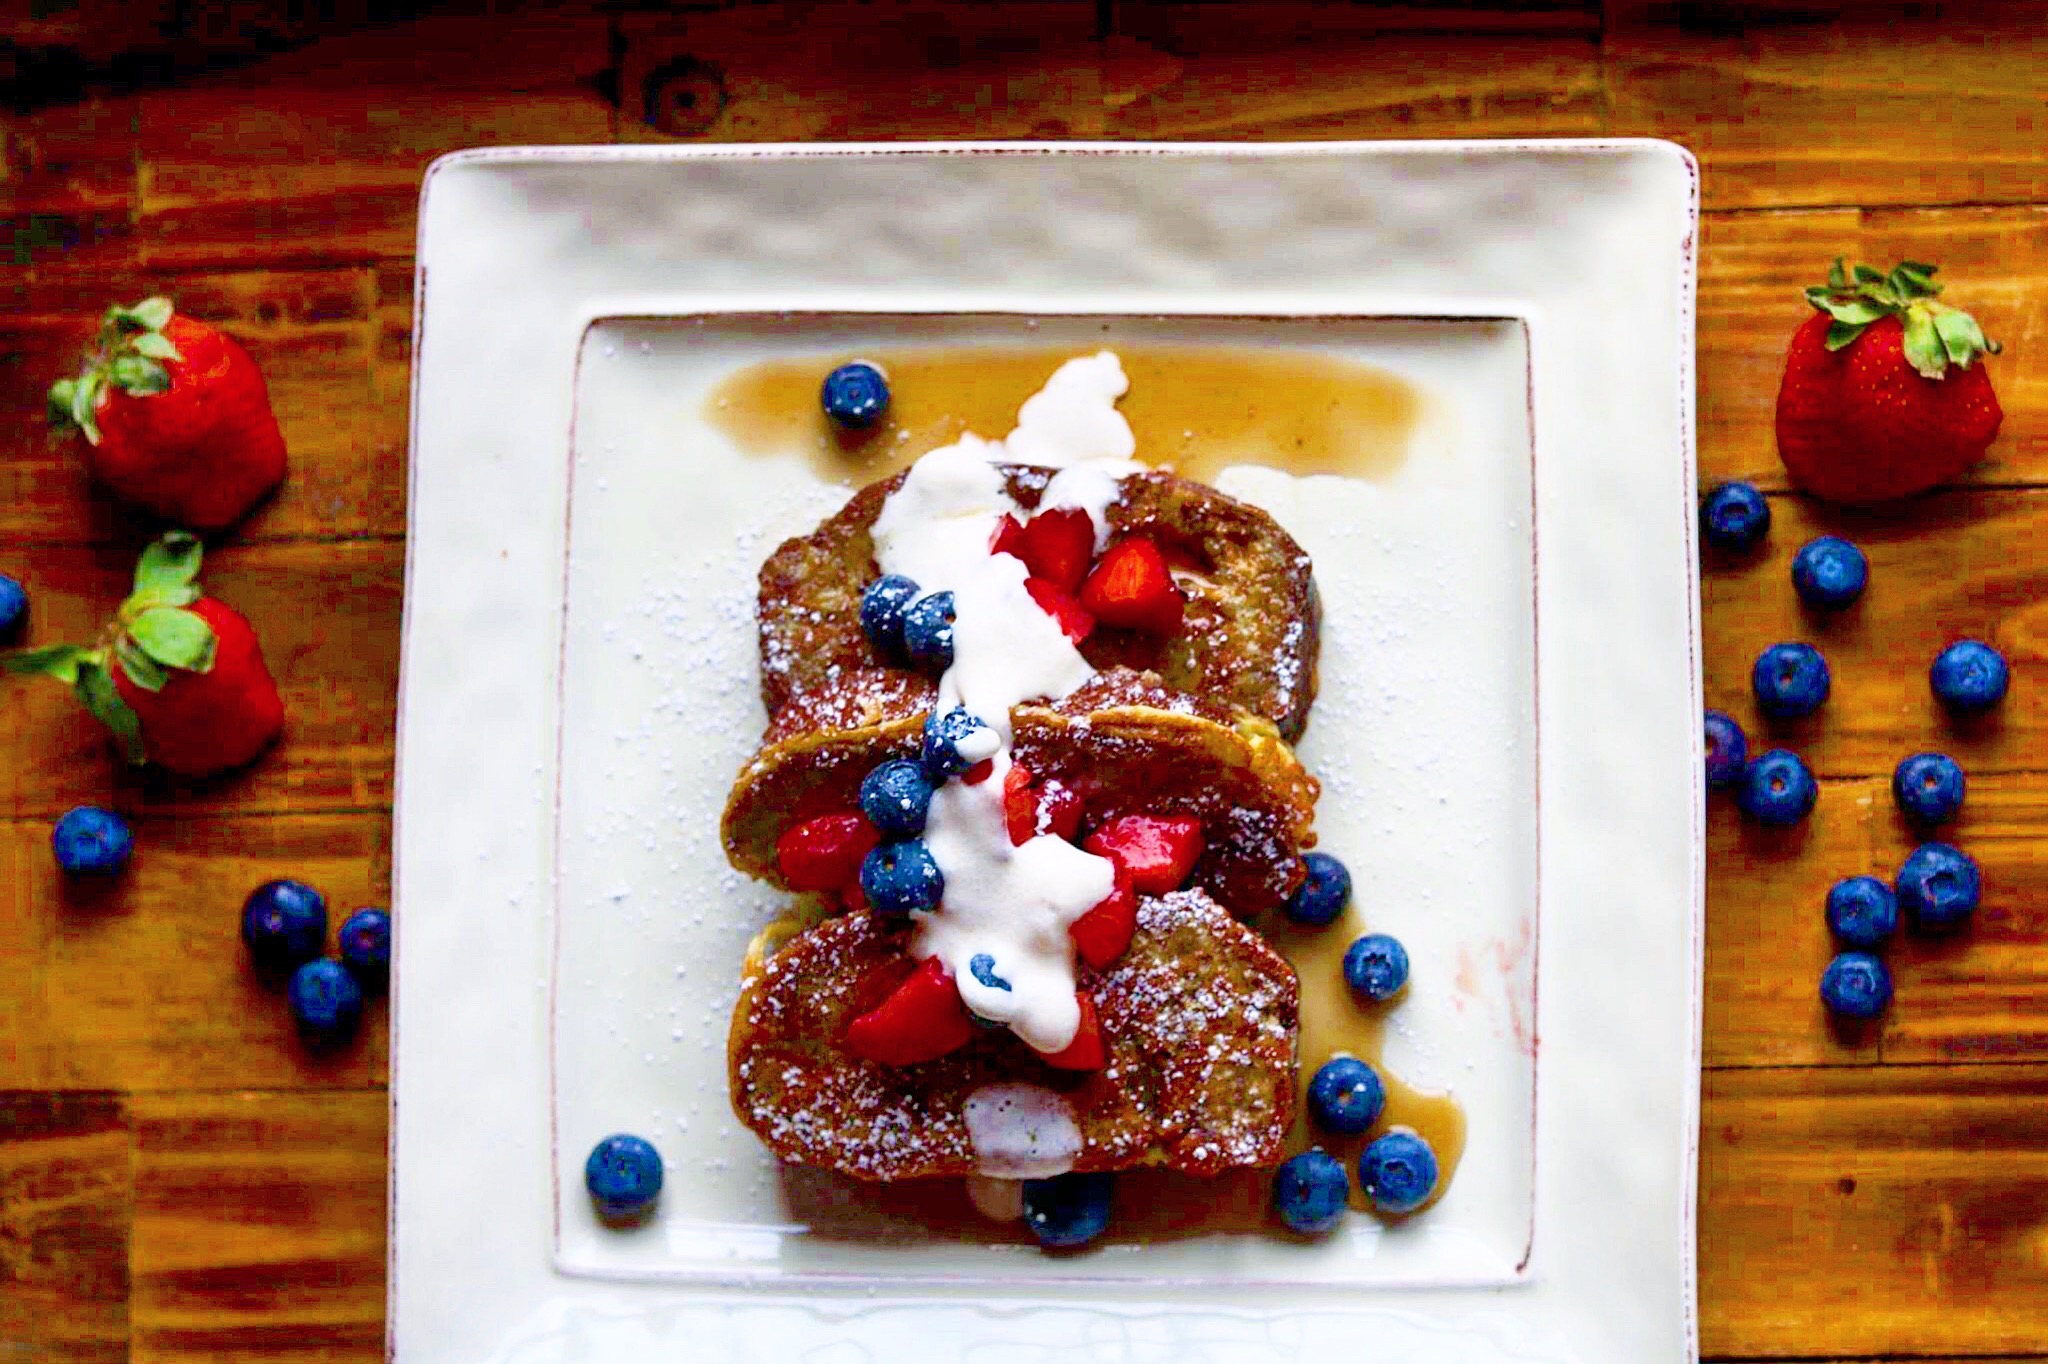
The Best & Easiest Broccoli with Potato & Cheese Soup
Ingredients
- 2 bunches of broccoli, divided into florets
- 2 medium russet potatoes or 1 large, diced
- 1/2 onion
- enough chicken stock to barely cover all the ingredients
- 1/4 cup heavy cream
- salt and pepper to taste
- pinch of nutmeg
- pinch of cayenne (optional)
- 1 cup plus for garnish cheddar cheese
- parmesan shavings for garnish (optional)
- sliced green onions for garnish
- cracked black pepper for garnish
Instructions
- Place the broccoli florets, diced potatoes, onion in a saucepan. Add enough chicken stock to barely cover. Bring to a boil and cook until the vegetables are tender. Using an emulsion blender, or a food processor, slightly puree the ingredients for a creamy soup. Add a little cream, heat through. Taste and add salt and pepper, a pinch of nutmeg and a pinch of cayenne if desired. Garnish with more cheddar cheese, some parmesan cheese shavings, sliced green onions, and some fresh cracked black pepper.