Please follow and like us:
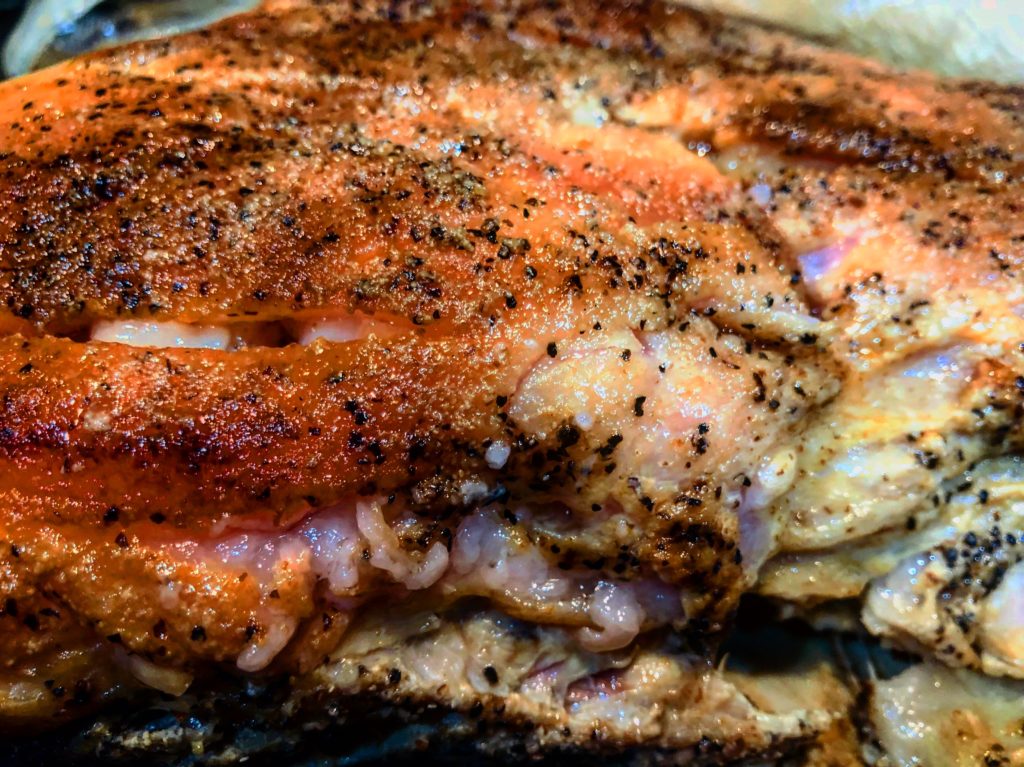

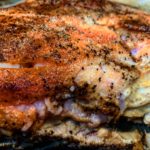
Pork Butt Roast
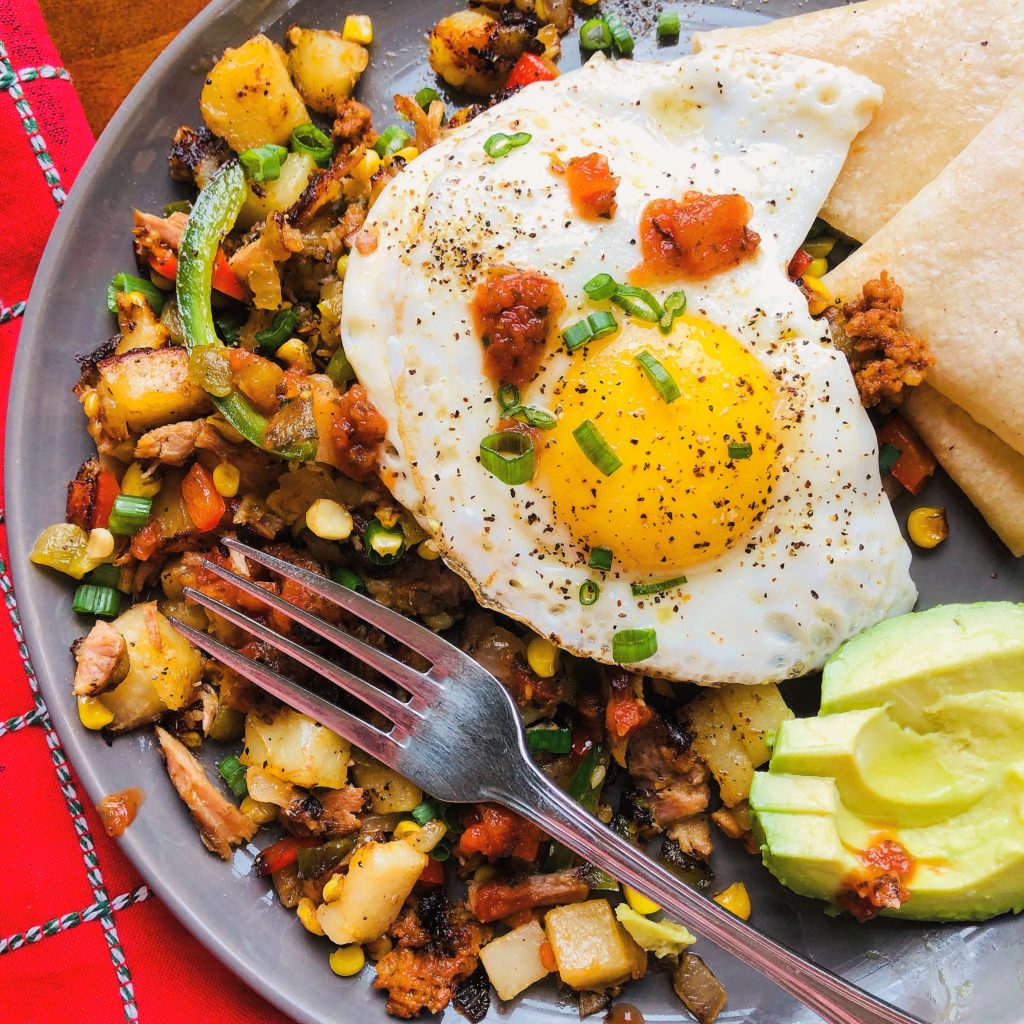
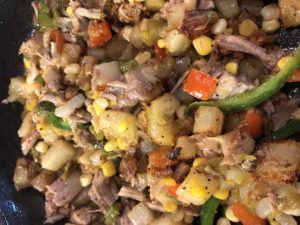
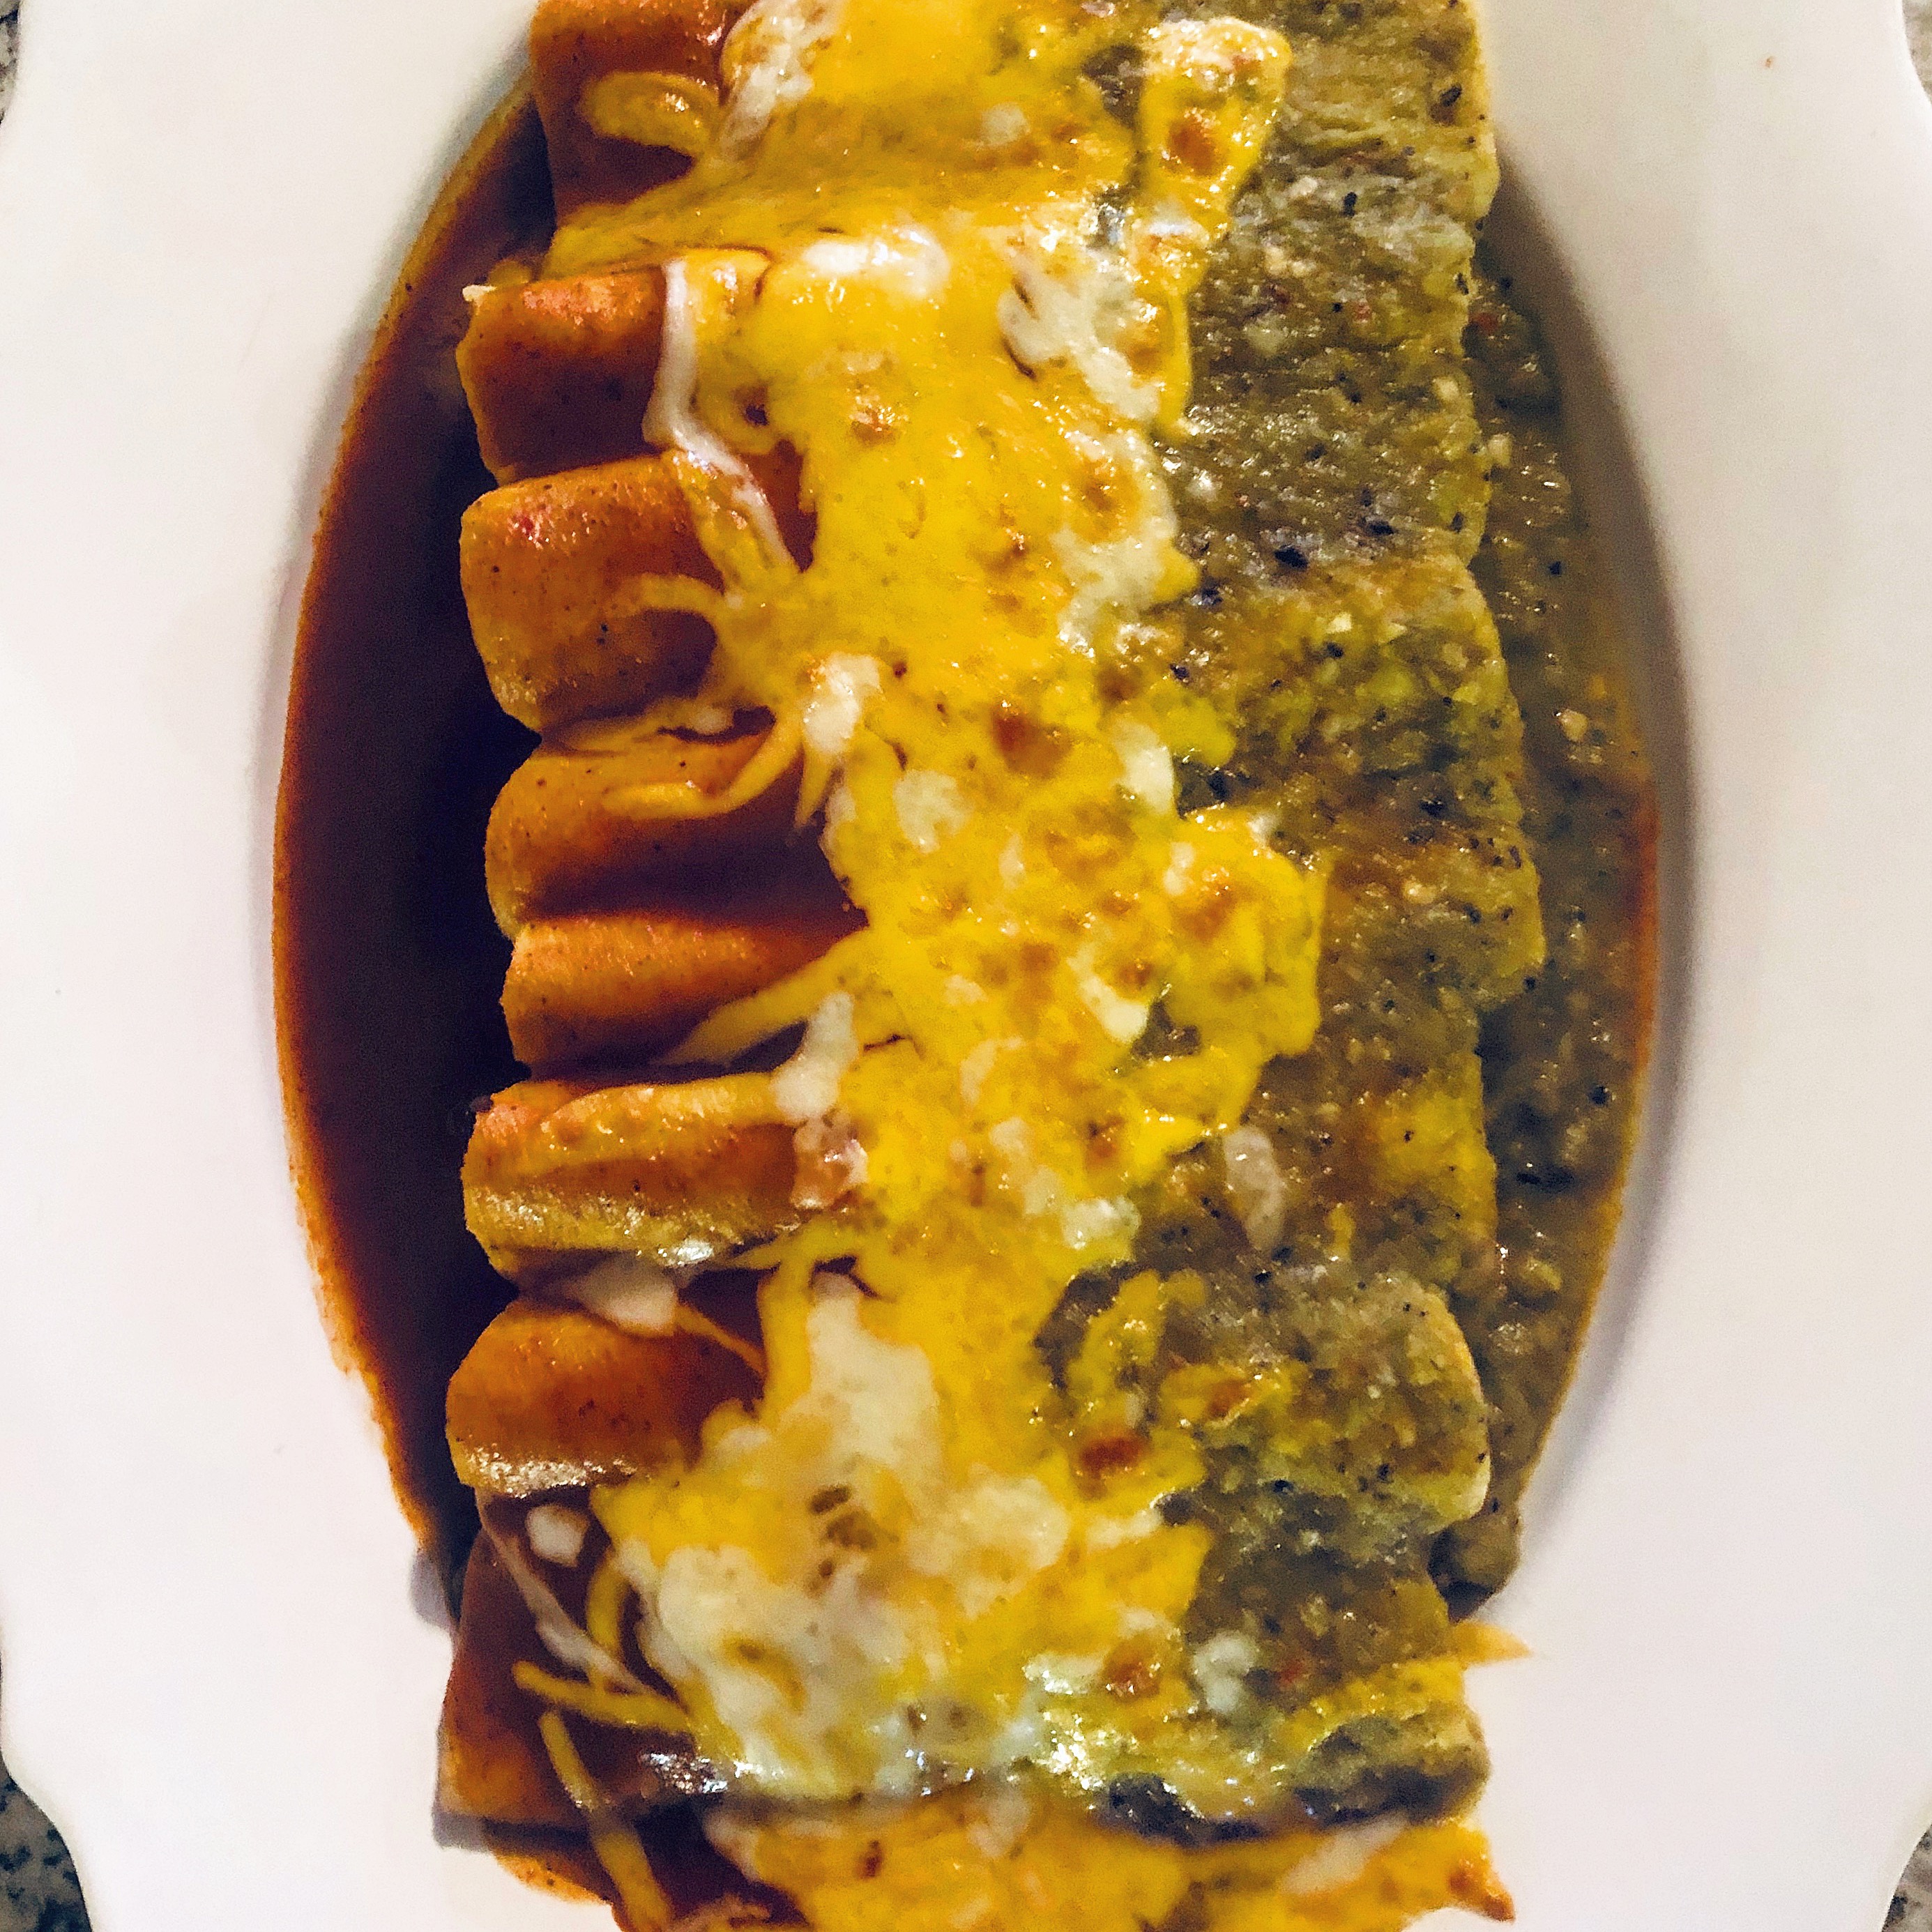
I love a roasted pork butt roast. It is great as a Sunday pot roast with potatoes, carrots and a pan dripping gravy, or in this case I’m using it for posole, tacos, and tamales. So simple and so good!
Ingredients
Method
- Preheat oven to 400 degrees F. Generously salt, pepper and add granulated garlic to all sides of the roast. Place the roast in a roasting pan fat side up, slightly scoring the fat so the spices will penetrate. Place in the oven and cook at 400 degrees for about 30 minutes until the fat has browned on top. Turn the oven to 325, cover with plastic wrap and foil and cook until the internal temperature reaches about 195-200. Since I’m using this pork in tamales and other dishes, I want it to be falling off the bone tender. When done, remove from the oven and let it rest for at least 30 minutes reserving the broth and drippings. Use in your favorite recipes.
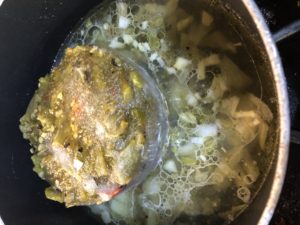
****If you are cooking this pork butt for pozole I think cooking it in a crockpot is best because you want all the delicious broth. To do that brown the roast on all sides, add a generous portion of salt and pepper on all sides and lots of garlic. Place in crock pot with chicken stock or water to 2/3 cover the roast. Cook on low or high whichever you prefer. When finished remove the roast and reserve the drippings.