This italian sausage puttanesca was the perfect dish for using tomatoes from the garden. If you don’t have fresh tomatoes just use a quality can of tomatoes like San Marzano. I love both of these brands. They are more expensive, but if you are going to go to all the trouble to make a spectacular Italian dish, splurge a little on these tomatoes. You will be happy you did. Here’s my favorites:https://amzn.to/2VGaubx

and these also:https://amzn.to/2C1pl9k.

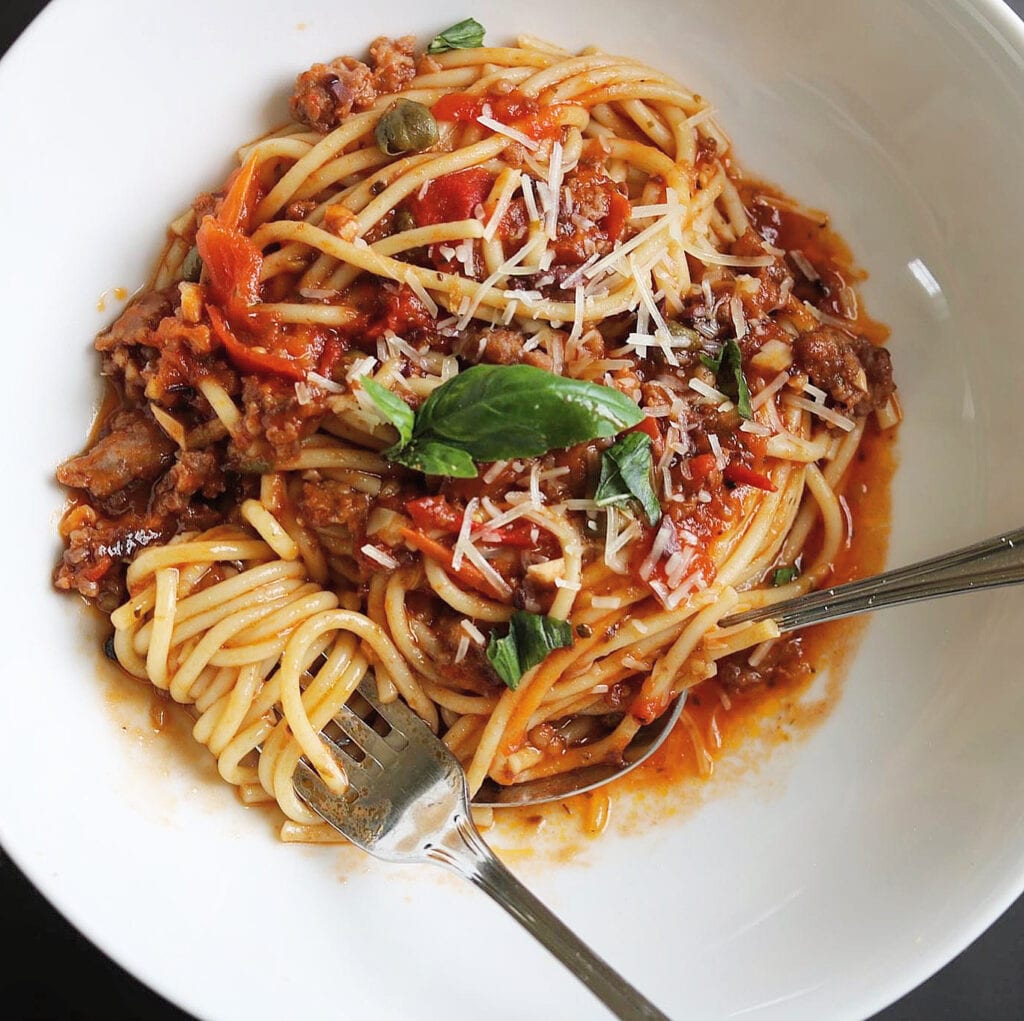
easy italian sausage puttanesca
You do not have to put italian sausage in this recipe. I do because Allen thinks everything has to have meat. That’s ok. The italian sausage certainly is delicious in it. However, it is equally delicious without.
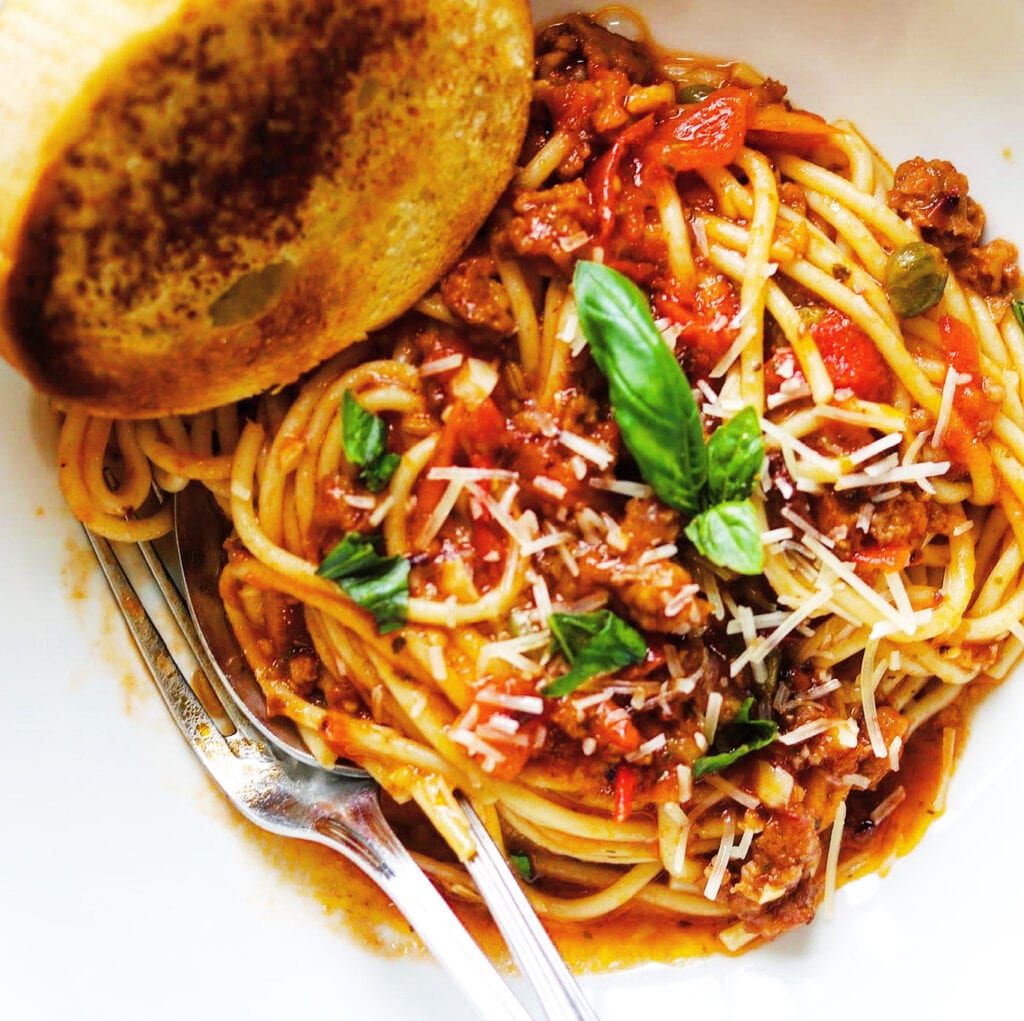
This dish is bursting with flavor! Garlic, anchovies, Kalamata olives, capers, oregano, basil, good extra virgin olive oil, how can you go wrong. This is also one of those sauces you can throw together in minutes, reduce your heat to simmer and go about your day because you can cook this up to two hours. You can lessen the time, but the intensity of flavors developed over time are worth the wait. Then all you have to do is cook your pasta and add it to the sauce with a little of the pasta water.
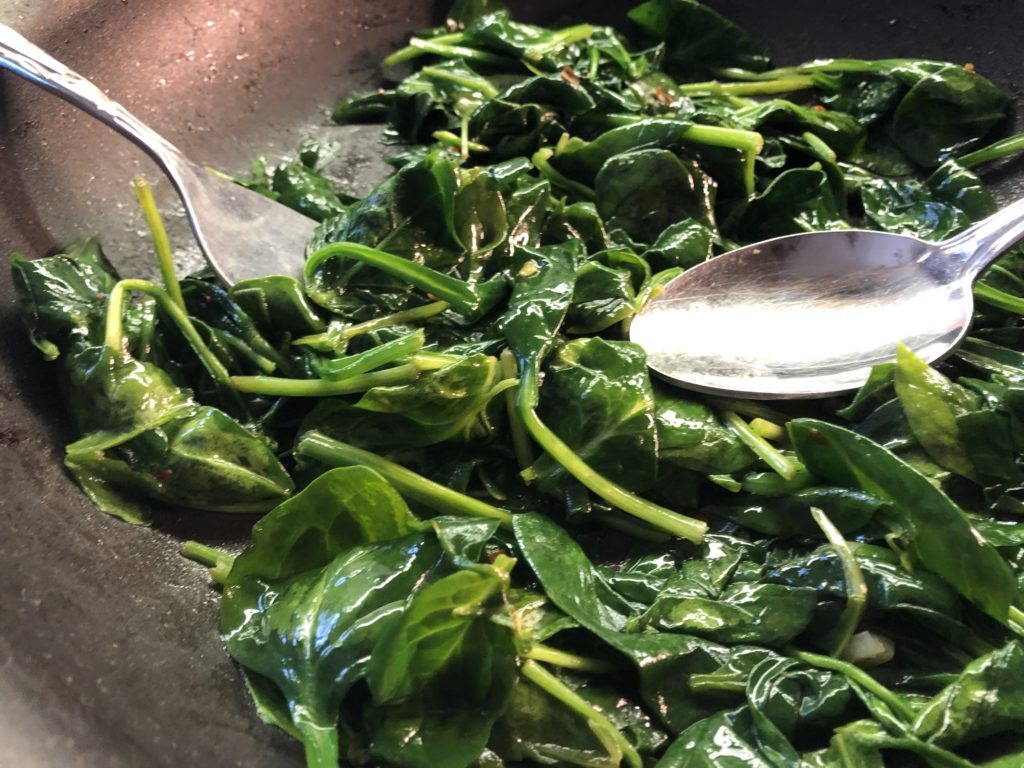
You may not need to add any salt because your anchovy and the capers are salty, so check before you add salt. I just served this with some garlic bread, but if you want a side, a nice salad would be good or garlicy sautéed spinach would be delicious. Here’s my garlicy sautéed spinach recipe: https://the2spoons.com/garlicky-sauteed-spinach-red-pepper-flakes/
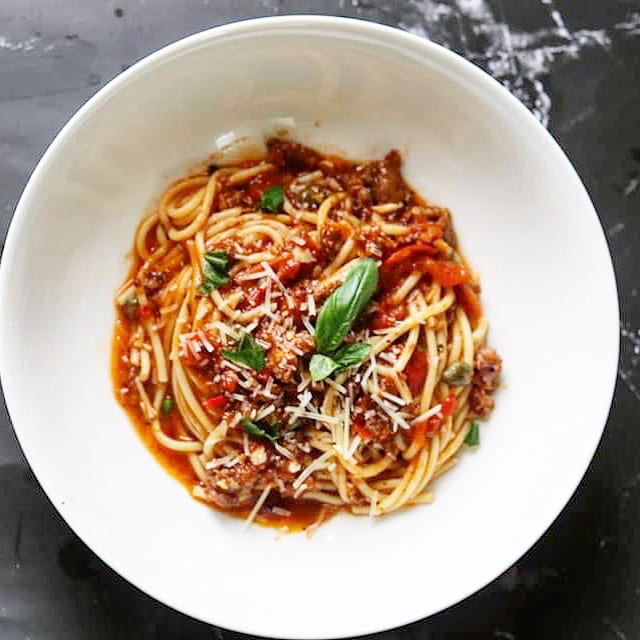
I love to serve pasta in individual bowls or any meal for that matter, I really love everything in a bowl. If you serve the spinach with this dish, just the spinach next to your pasta because they accompany each other very well, especially the fresh tomatoes. These bowls are similar to the ones I used for serving this dish:https://amzn.to/2BwBvay

I love white dishes!! They just make your food stand out!
easy italian sausage puttanesca
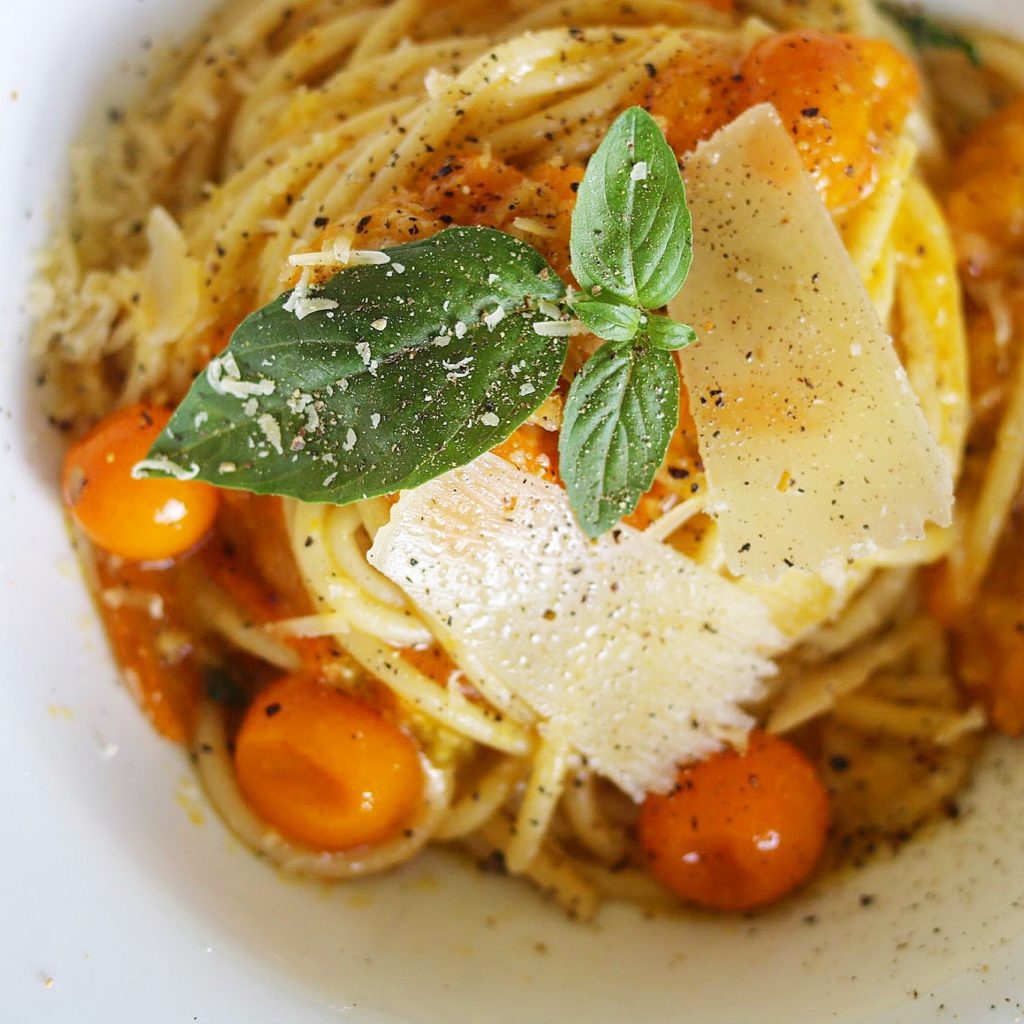
Before I add the recipe for this puttanesca, here is another recipe using fresh tomatoes on my blog: https://the2spoons.com/spaghetti-with-fresh-tomatoes/. This is delicious. I think these were the Sungold Cherry Tomatoes, which I just eat off the vines.
Here’s the recipe! Enjoy!
Ingredients
Method
- Add garlic cloves, anchovies and black olives to a blender and pulse until slightly chunky. Add the olive oil to a medium to large skillet and heat. Remove the casing from your Italian sausage and cook in the heated oil until all pink is gone, breaking up as you go.
- Then,, add the olive oil and add the garlic-anchovy-olive paste, the capers and dried oregano. Cook until paste begins to dissolve in the oil slightly, about 1 minute, then add the tomatoes with 1 cup water. Lover the heat to a simmer and let the sauce simmer for 2 hours, adjust for seasoning, add the basil and reserve.
- When serving, toss with your prepared pasta, a ladle of pasta water if needed and drizzle with olive oil!