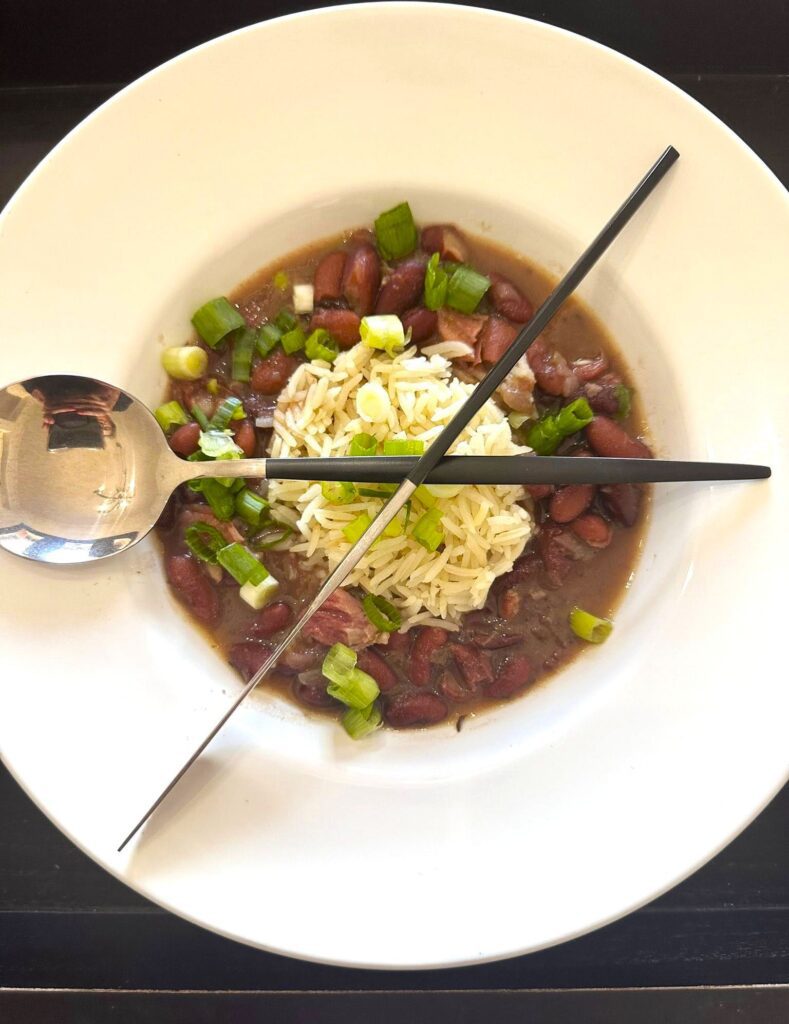
I love beans of any kind, but I especially love beans that have tons of flavor like Red Beans and Rice! These beans have are cooked with ham hocks, Andouille sausage, the holy trinity, onions, peppers and celery, along with traditional spices of Louisiana creole cuisine. Add some rice and you have a complete, so inexpensive hearty meal that has so many things that are good for you.

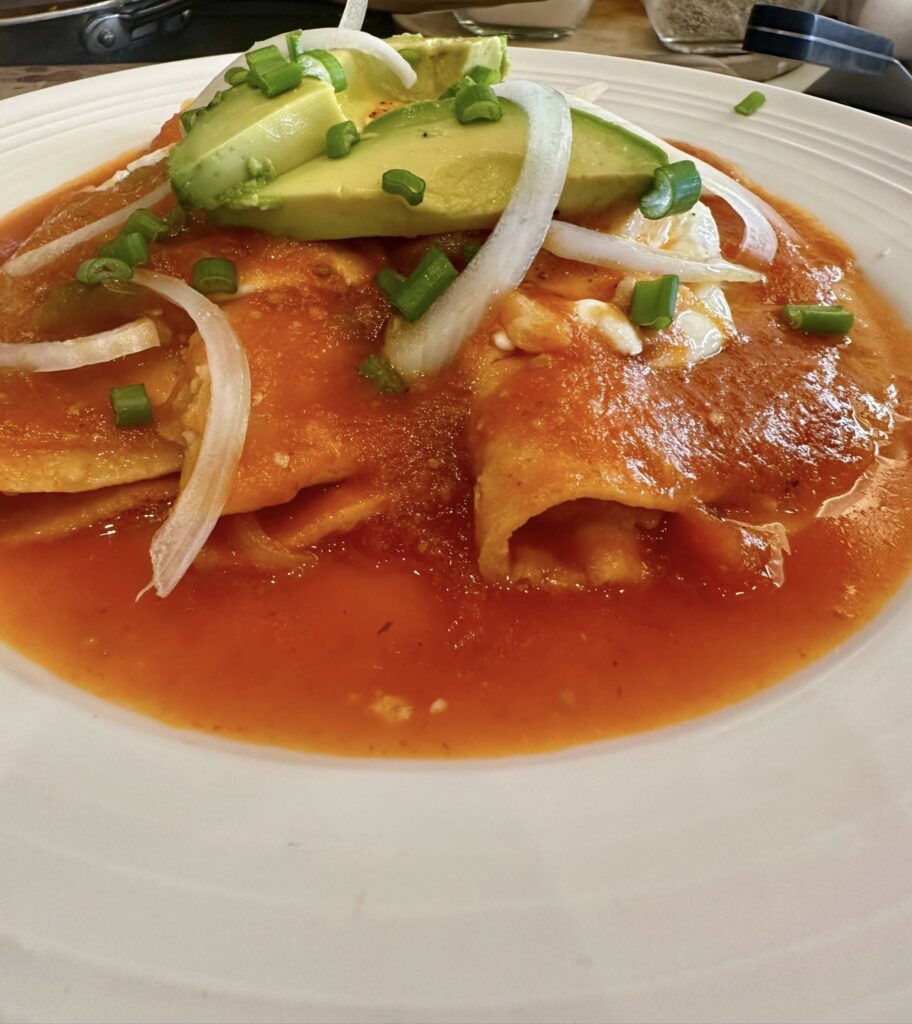
Delicious Red Beans and Rice
I served this with hot water cornbread. Have you heard of hot water cornbread? It’s a very southern cornbread that I grew up eating. It’s so easy and basically is a fried cornbread. Here’s just a really quick recipe:
Hot Water Cornbread
Ingredients
- 2/3 cup cornmeal
- 1/3 cup flour
- 1/2 tsp salt
- 1 tbsp oil
- boiling hot water
- oil for frying
Instructions
- Add enough peanut oil, vegetable oil or canola oil to a skillet to fry the cornbread. Heat to medium high. You don't want it hot, because the outside will brown before the inside is done.
- Bring a cup of water to boil (you may not need all of it). Combine all the ingredients.
- Pour the hot water a little at a time into the mixture until completely combined. Your dough will be soft enough to form a disc with your hands. Too much water and you won't be able to do that.
- Take golf size balls from the dough and form into a disc or a cylinder shape. Gently add to the hot oil and fry until golden brown.
An alternative is my basic cornbread with bacon:1 of My Favorites, Easy – Basic Cornbread Recipe with Bacon

delicious! so easy Louisiana red beans and rice.
I love food from Louisiana, especially New Orleans. I’ve made these beans many times but this time I kind of followed John Besh’s recipe from his cookbook “My New Orleans”. It’s pretty much the same as I always make but because I love this book and his recipes from New Orleans, I felt I needed to try it! He doesn’t use Kielbasa and I used pork belly to render my pork fat. I think the addition of these things added to his recipe. You could use Andouille Sausage, but it’s a little harder to find.
Here’s the link for John Besh’s cookbook: https://amzn.to/2SHF6ar. This is a great cookbook but you have to follow the instructions and not improvise. I only say that because the first recipe I tried from his book, I thought I knew what I was doing and didn’t necessarily follow to a T. The result was a recipe I really didn’t like. Years later I picked the book up and tried the recipe again following his instructions completely, and I loved it!

Other methods to cook this delicious dish.
I have cooked the beans in my instant pot many times making this recipe. I have also made them in a slow cooker. I think the hint I would have about a slow cooker it doesn’t really thicken your broth much and I do like my bean broth to cook down and thicken a little. This is the Instant Pot I use for so many things: https://amzn.to/4hHQ7m3.

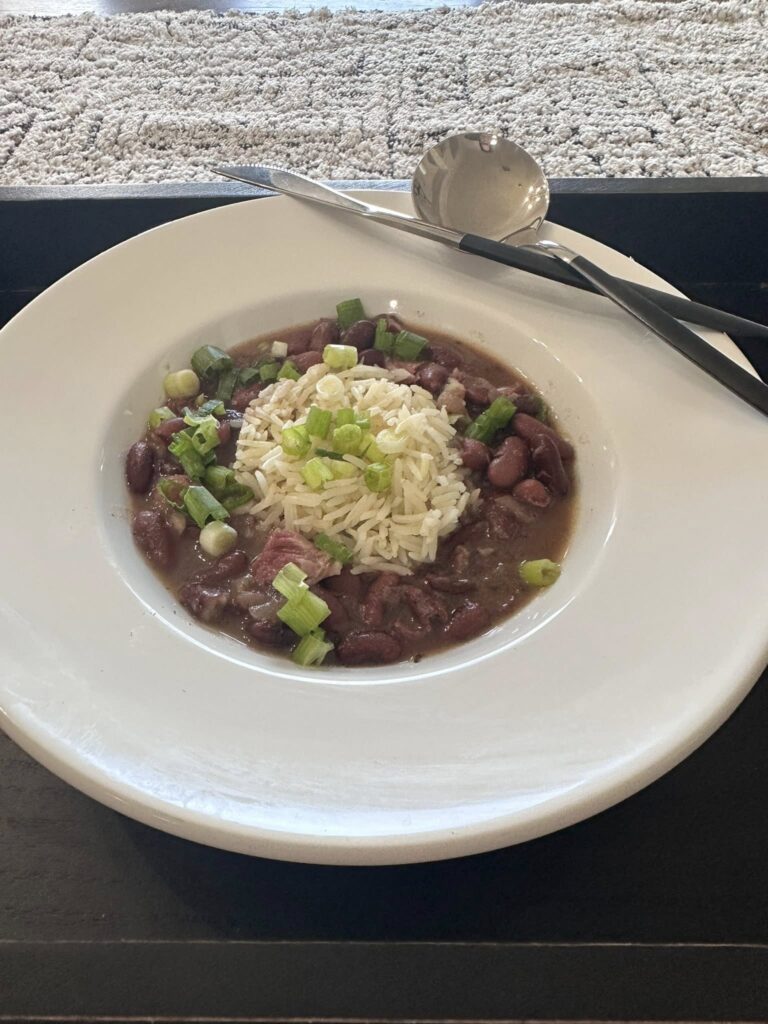
Simple, Delicious Red Beans and Rice
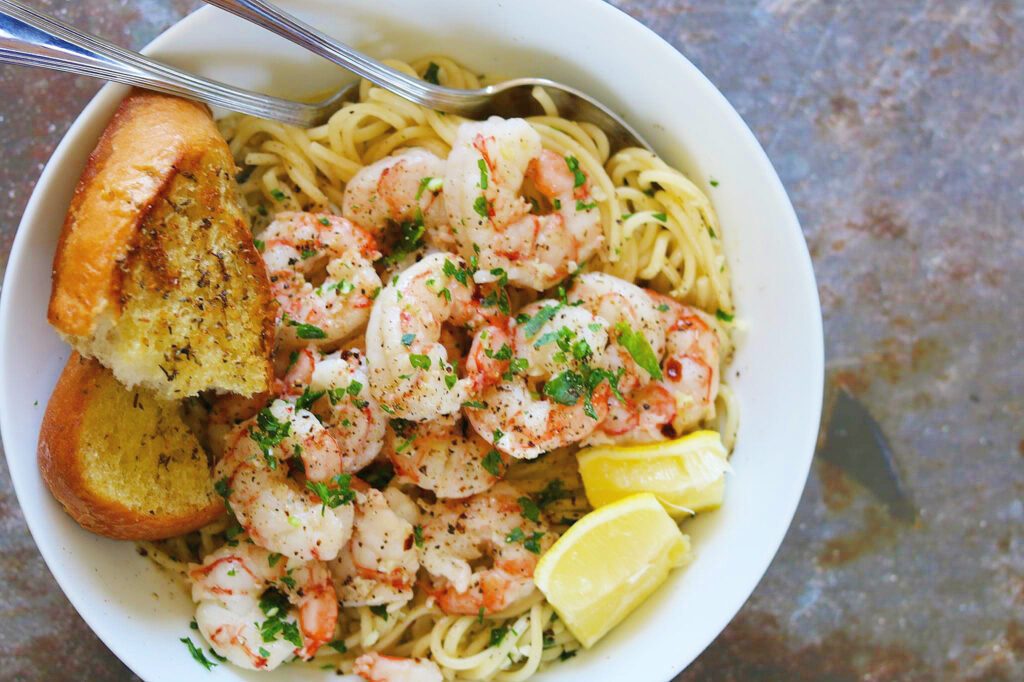
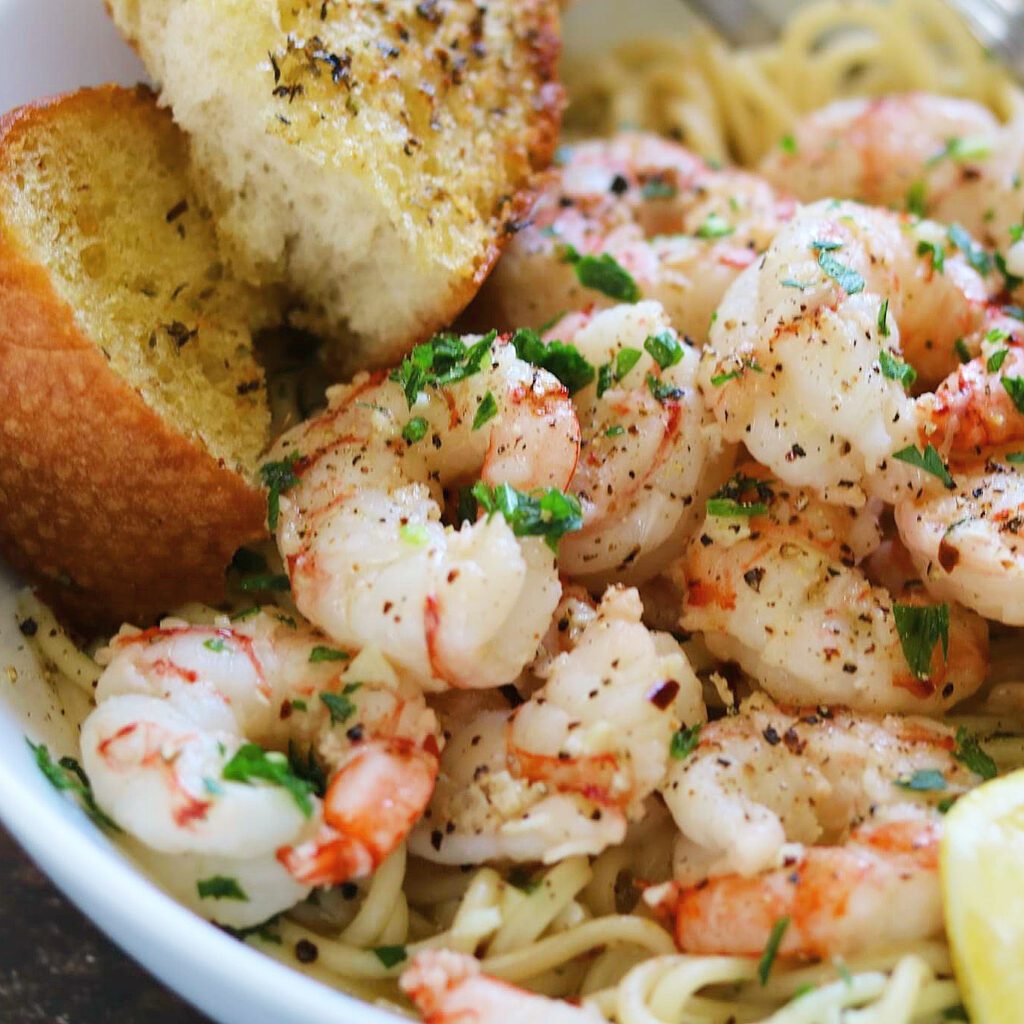
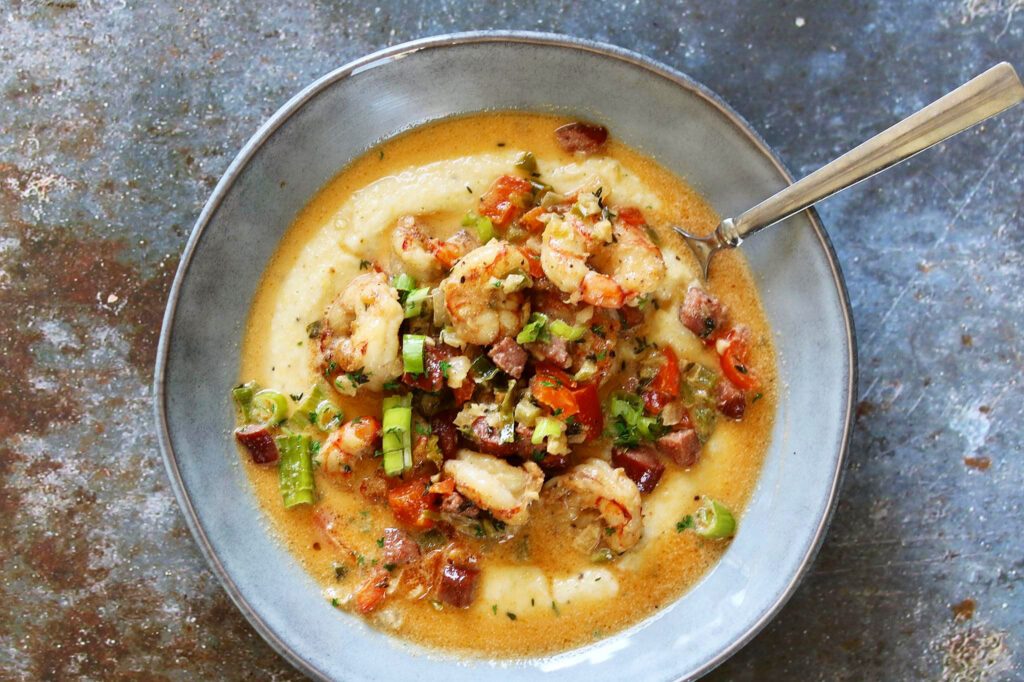
Here are a couple more recipes I’ve made from his book. this is amazing – louisiana shrimp and grits.
Ok, add this new recipe to your Louisiana cooking repertoire!

Red Beans and Rice
Ingredients
For the Beans
- 2 onions, diced
- 1 green bell pepper, seeded and diced
- 1 stalk celery, diced
- 2 tbsp rendered bacon fat (I used pork belly, you can use bacon or salt pork)
- 1 pound dried red kidney beans
- 2 smoked ham hocks
- 3 bay leaves
- 1/2 tsp cayenne pepper
- 3 green onions, chopped
- salt
- freshly ground black pepper
- Tabasco
- 3 cups cooked Basic Louisiana White Rice (recipe follows)
For the Basic Louisiana White Rice
- 1 tbsp chicken fat, extra virgin olive oil or butter
- 1 small onion, minced
- 1 1/2 cups long grain white rice
- 3 cups chicken stock
- 1 bay leaf
- 1-2 pinches salt
Instructions
For the Red Beans
- Sweat the onions, bell peppers, and celery in the rendered bacon fat in a heavy soup pot over medium-high heat.
- Once the onions become translucent, add the kidney beans, ham hocks, bay leaves, and cayenne, then add water to cover by 2 inches.
- Increase the heat and bring the water to a boil. Cover the pot, reduce the heat to low, and allow the beans to slowly simmer for 2 hours. Periodically stir the beans to make sure that they don't scorch on the bottom of the pot, adding water if necessary, always keeping the beans covered by an inch or more of water.
- Continue cooking the beans until they are creamy and beginning to fall apart when they're stirred.
- Remove the ham hock meat from the bones, roughly chop it, and add it back to the pot of beans.
- Stir in the green onions and season with salt, black pepper and Tabasco. Serve with the Basic White Rice.
For the Basic Louisiana White Rice
- Put the fat, oil or butter and the onions into a medium saucepan and sweat the onions over moderate heat until they are translucent, about 5 minutes. Pour the rice into the pan and stir for 2 minutes. Then add the chicken stock and bring to a boil. Add the bay leaf and salt.
- Cover the pan with a lid, reduce the heat to low, and cook for 18 minutes. Remove the pan from the heat, fluff with a fork and serve.