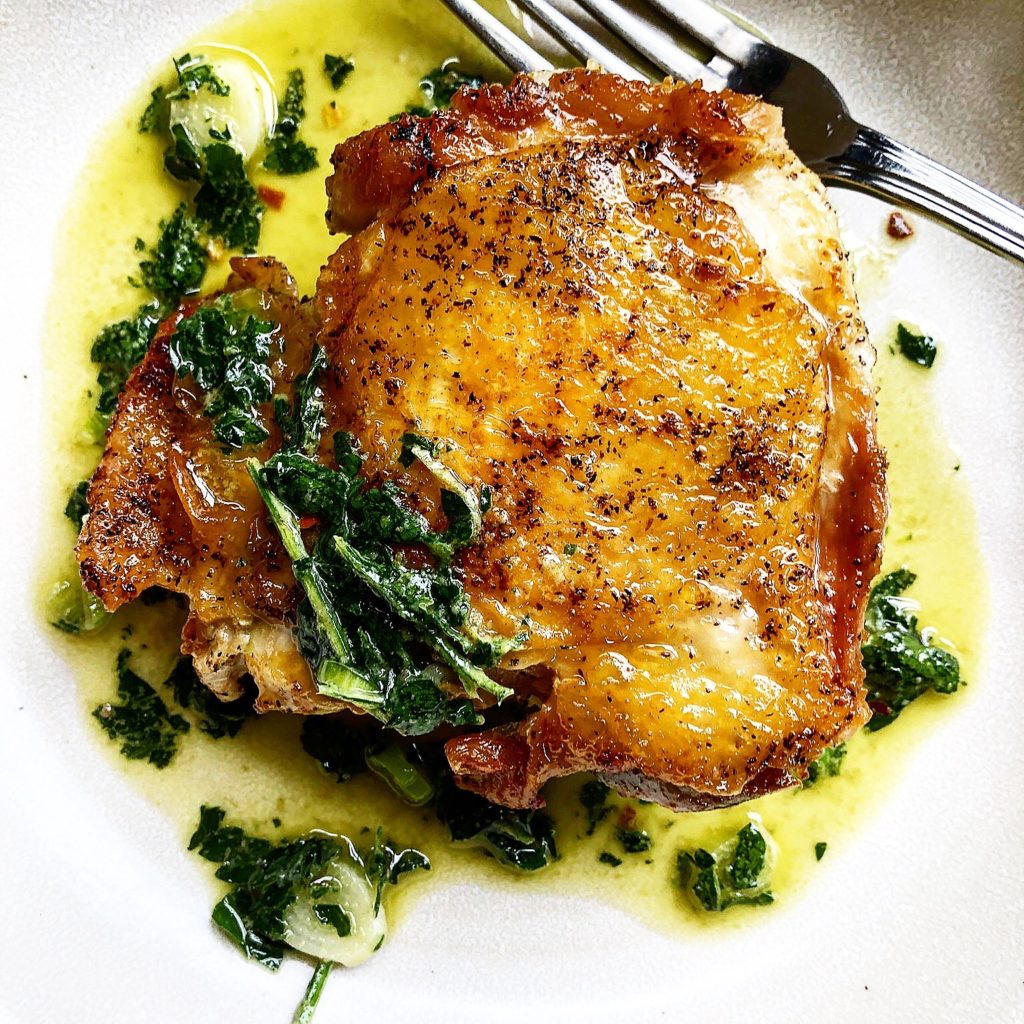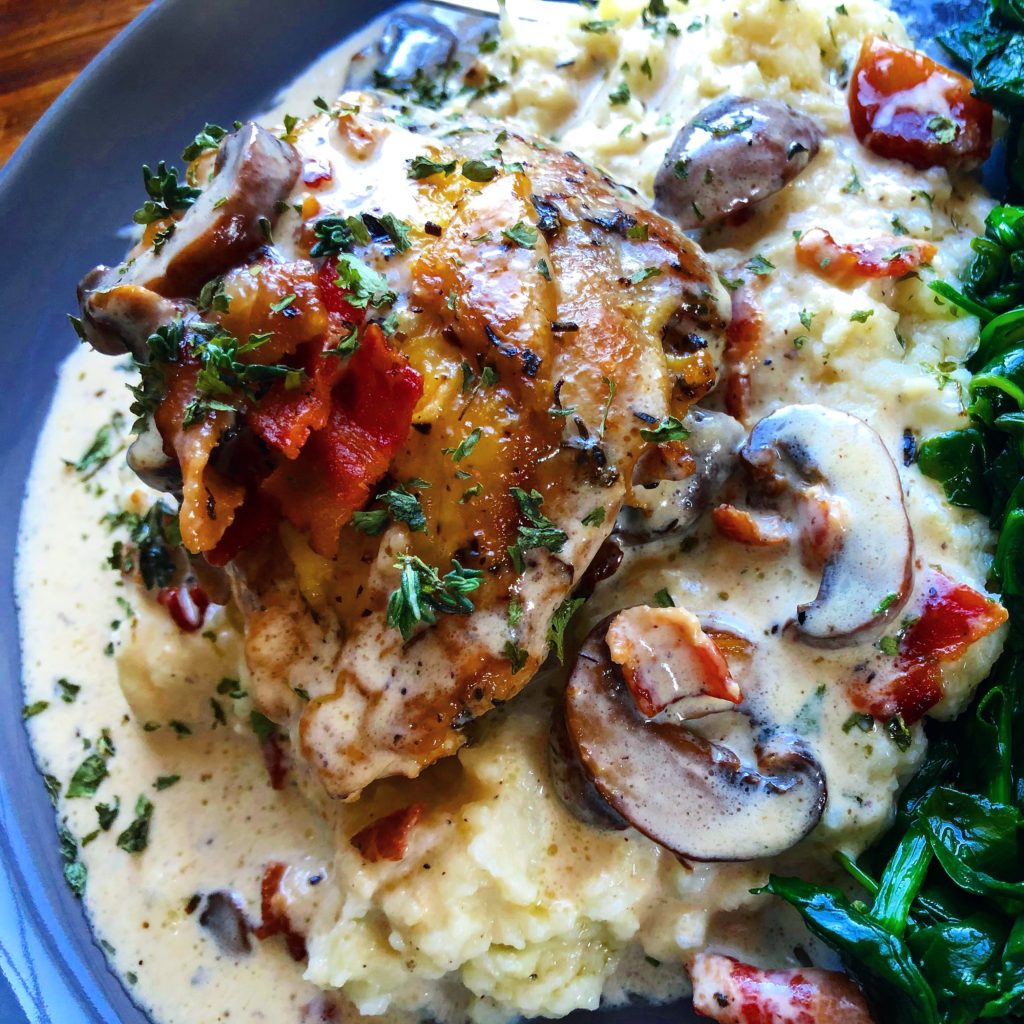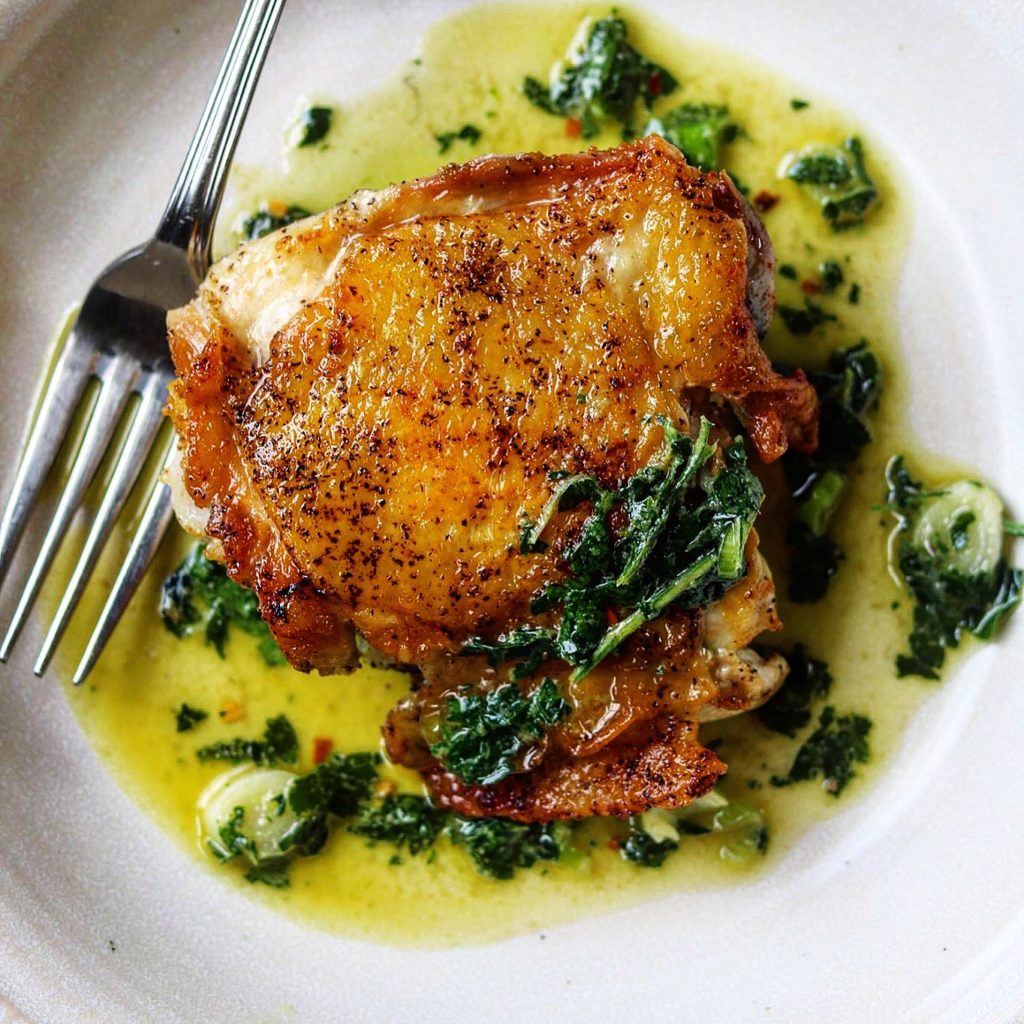
I saw this Chicken Thighs Under a Brick in the June/July issue of Bon Appetite and I had to make it!
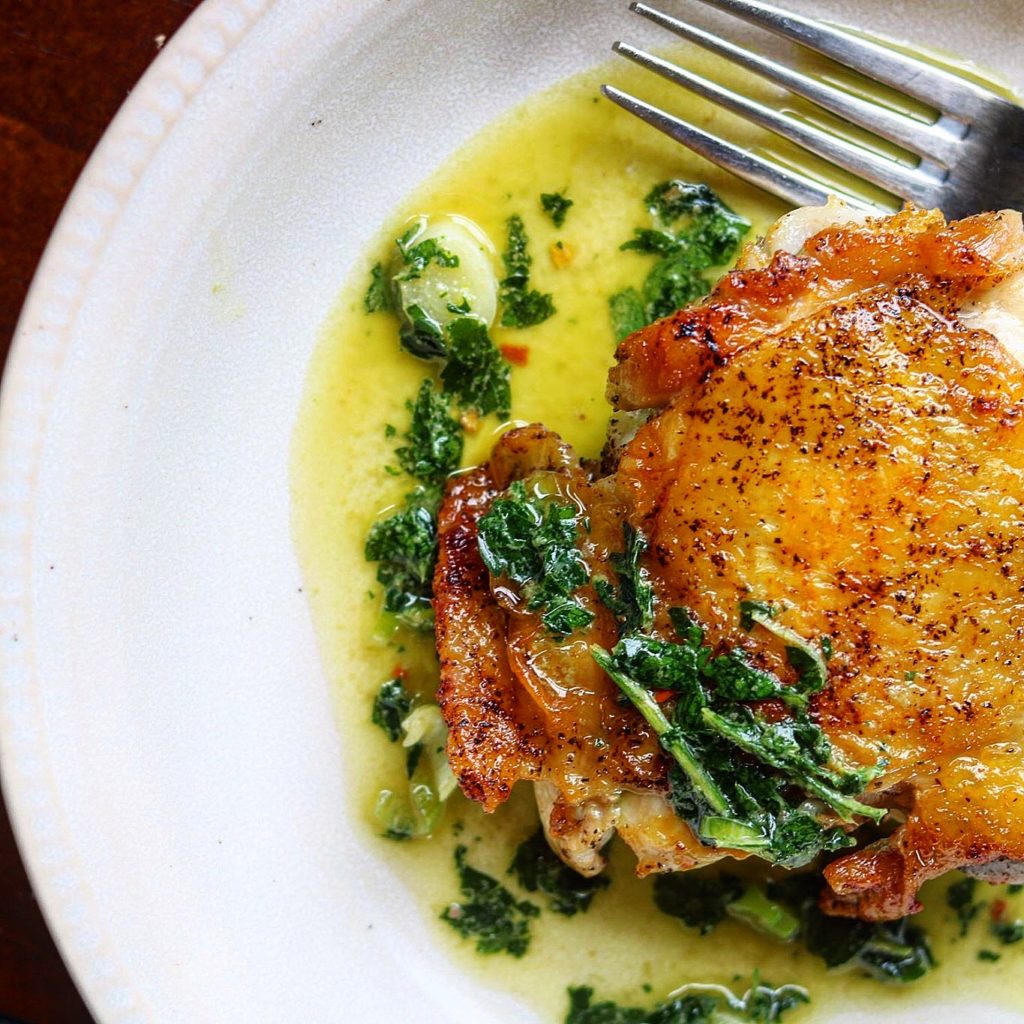
I’ve made chicken under a brick many times with a whole chicken cutting out the back bone, but doing this with just the thighs was so quick and easy! The added pesto verde is a delicious addition to this crispy and juicy chicken!
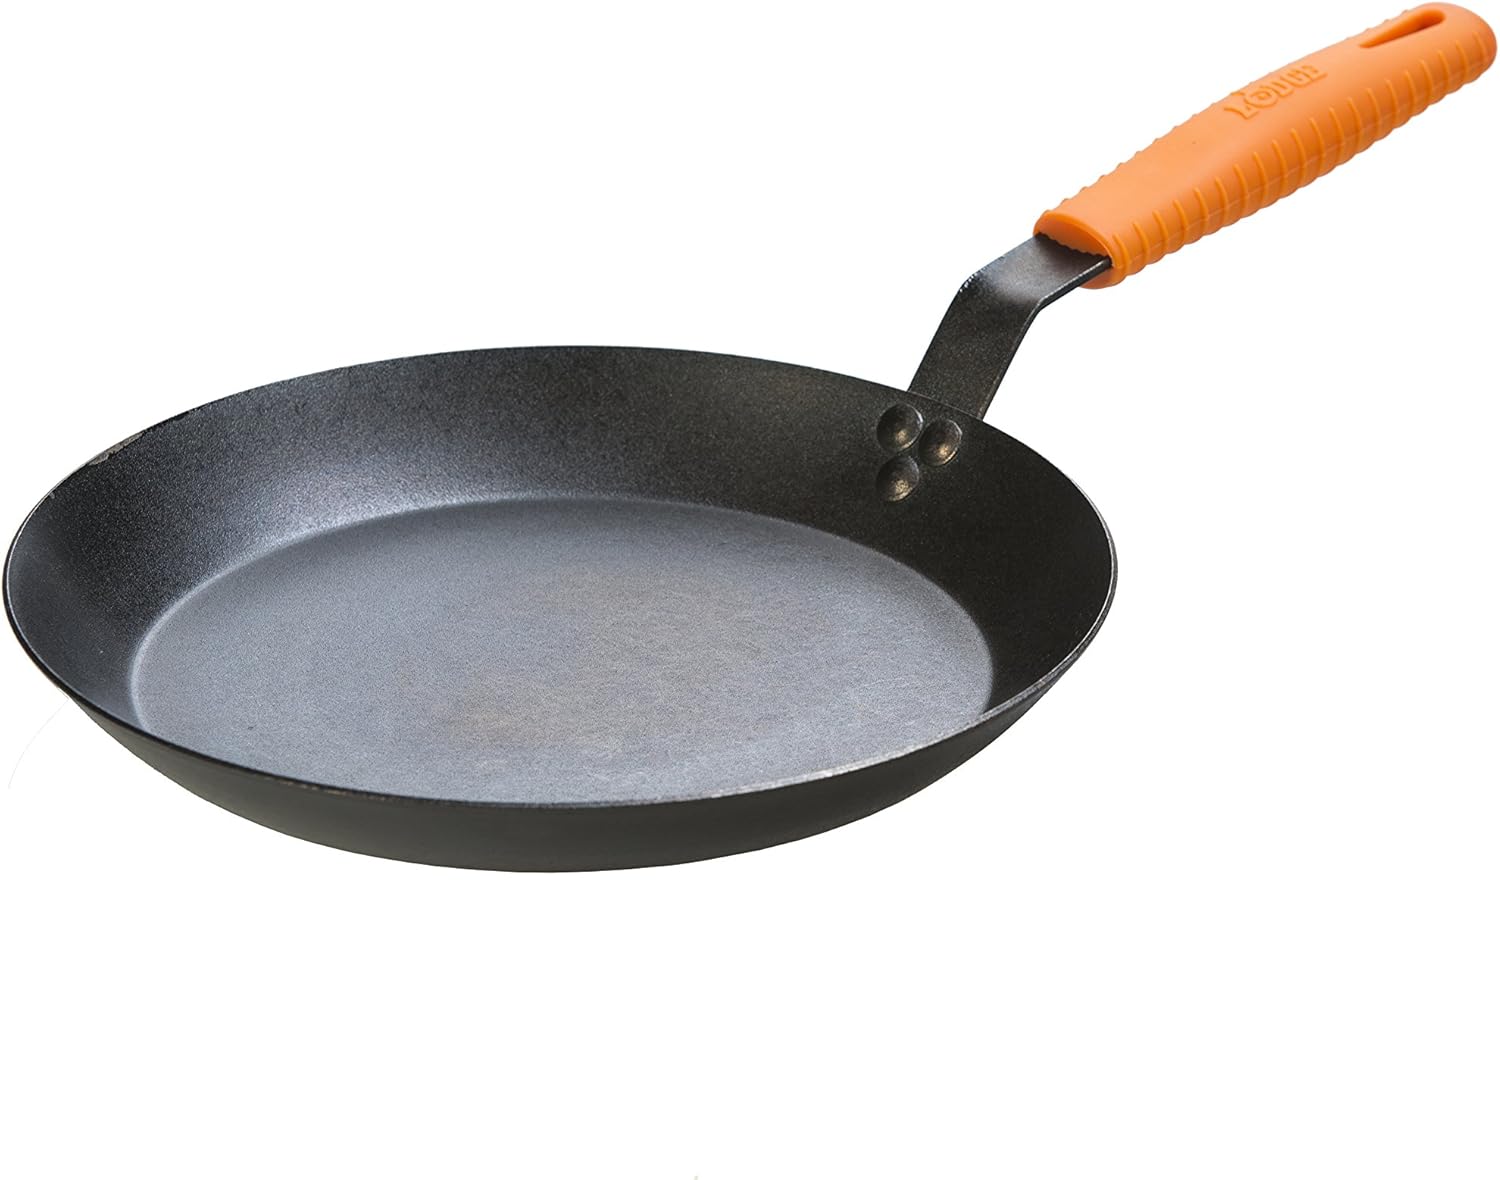
I use two bricks that I wrap in foil. If you done have bricks you can use a heavy skillet like an iron skillet. You would place a piece of foil over the chicken, skin side down and top with the skillet. Here’s a quick “how to” if you aren’t familiar http://www.dartagnan.com/how-to-make-chicken-und…
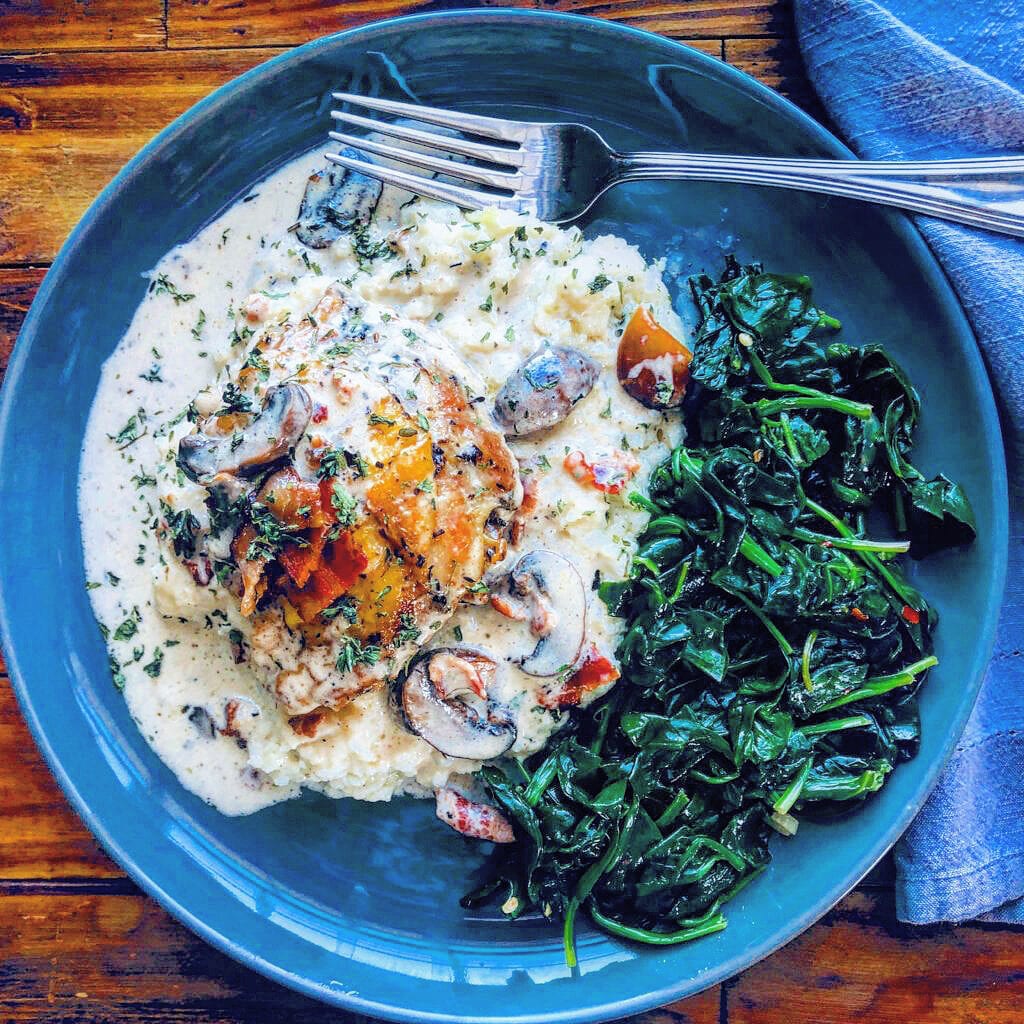
Quick Chicken Thighs Under a Brick with Pesto Verde
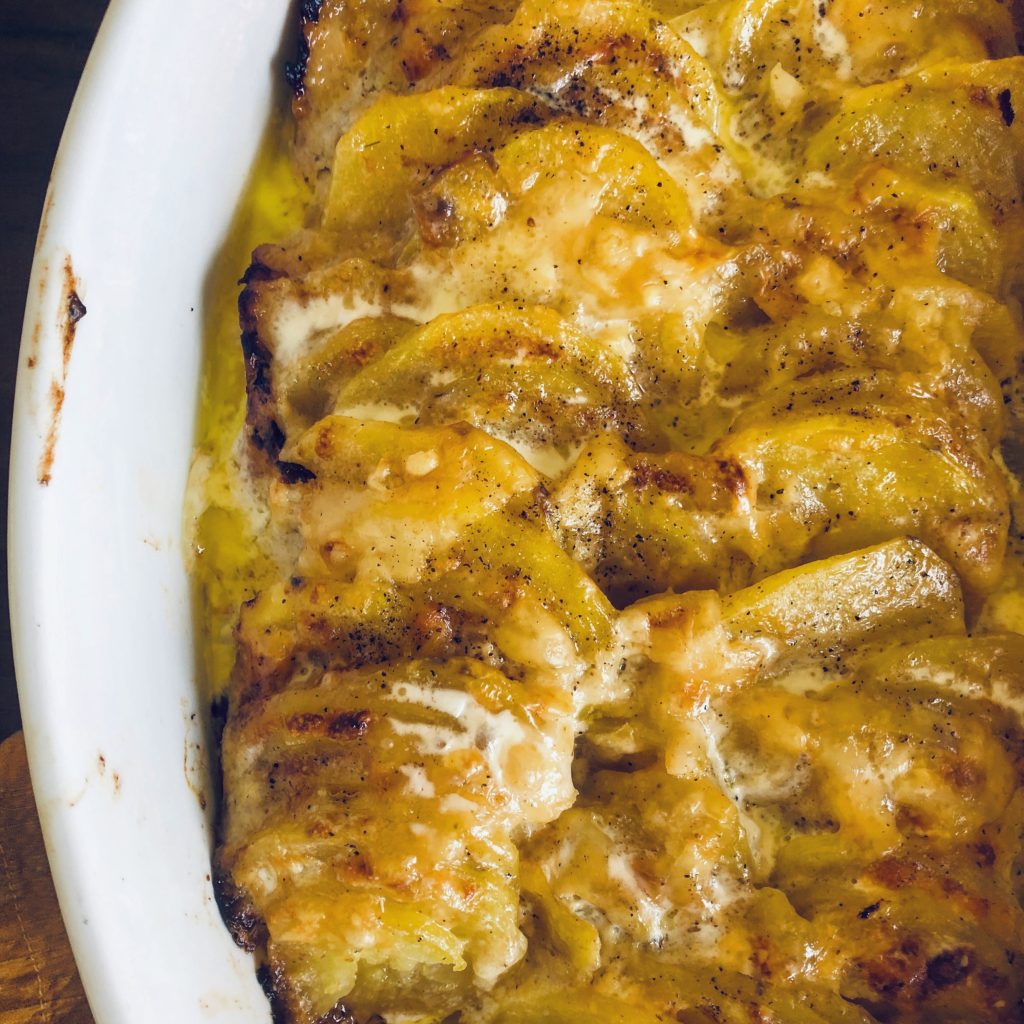
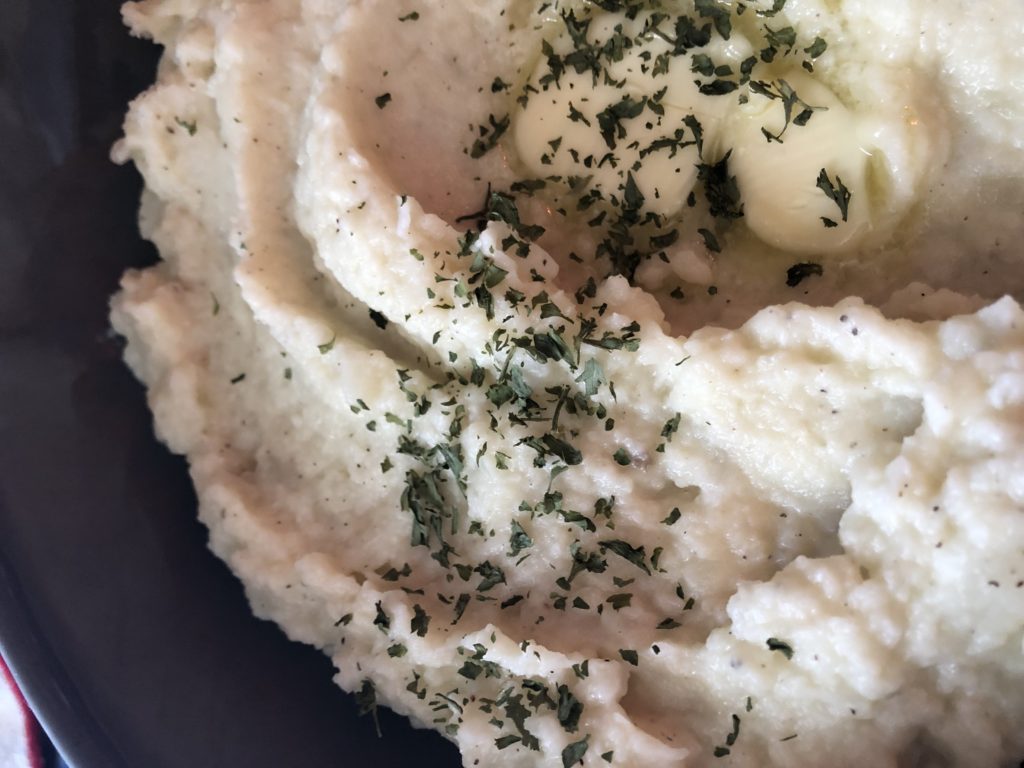
These would be great with potatoes or even rice pilaf would be delicious. Here’s my recipe for my Cheesy Potatoes Gratin https://the2spoons.com/cheesy-potatoes-gratin/.
Chicken Thighs Under a Brick
Ingredients
- 4 skin on, chicken thighs
- 1 tsp kosher salt
- freshly ground black pepper
- 5 tbsp extra virgin olive oil
- 1 oil packed anchovy filet, finely chopped
- 1 garlic clove, finely chopped
- 1/4 cup finely chopped parsley
- 1 tbsp sherry vinegar or red wine vinegar
- 3 scallions, white and pale green parts only, thinly sliced
Instructions
Wrap 2 bricks with foil (if you don’t have any bricks lying around, use a heavy skillet). Season chicken on both sides with salt and pepper. Pour oil into a medium cast-iron skillet. Place chicken in pan skin side down (it’s okay if the pieces touch, but make sure they don’t overlap). Heat pan over medium-high and place a prepared brick on top of each piece (or, place a sheet of foil over chicken, then set a second cast-iron skillet on top). Cook chicken, checking halfway through to make sure skin isn’t taking on color too quickly and reducing heat to medium if needed, until skin is deep golden brown and crisp and flesh is almost completely cooked through, about 10 minutes.- Pesto Verde and AssemblyWhile chicken is cooking, place anchovy, garlic, and 1 tsp. salt in a mortar and use pestle to pound to a paste, about 1 minute. Add parsley and continue to pound until completely pulverized, about 2 minutes. (Alternately, grate garlic and finely chop anchovy and parsley, then mix together in a medium bowl.) Mix in oil, vinegar, mustard, and red pepper flakes with pestle, then add scallions. Taste and season with more salt, if needed.
- Carefully remove bricks (foil will be greasy) and check chicken. There should be only a hint of medium-rare flesh on the thickest part of the thigh. Using a thin spatula, release chicken skin from pan and turn onto flesh side. Remove from heat and let sit to finish cooking through, about 1 minute.
- Spoon some pesto verde onto a platter. Top with chicken, skin side up, and spoon more pesto over (but don’t cover up all that beautiful crisp skin you just created!).