
• Skip to primary navigation
  • Skip to main content
  • Skip to primary sidebar

A cook named Rebecca

  • Home
  • Favorite Cookbooks
  • Recipes
  • Travel
You are here: Home / Archives for 2019

Archives for 2019

So Good! Quick Pan-Fried Cod in Tomato Basil Sauce & Rice Pilaf

May 31, 2019 by Becky Spoon

Pan-Fried Cod in Tomato Basil SauceJump to Recipe
Pan-Fried Cod in Tomato Basil Sauce

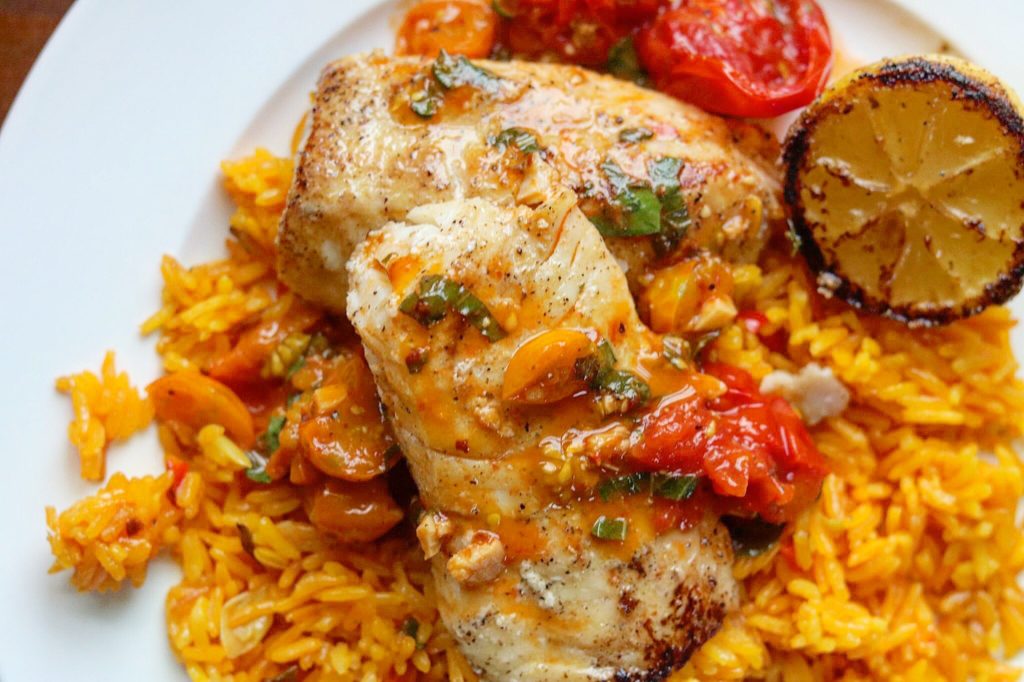
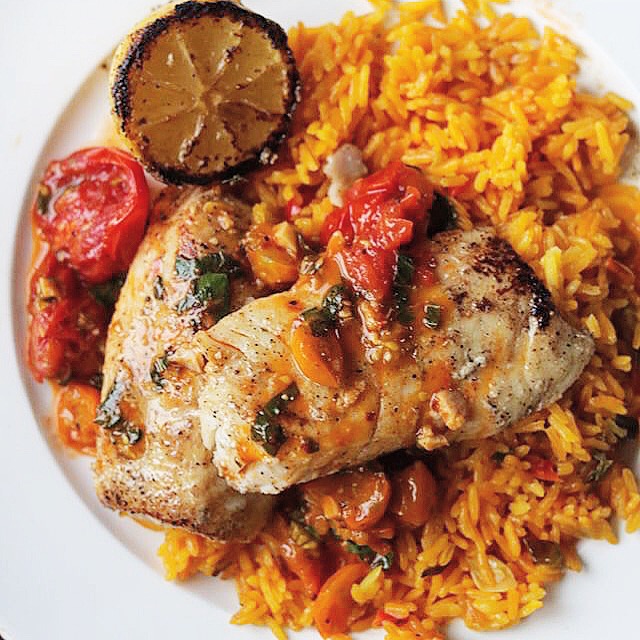
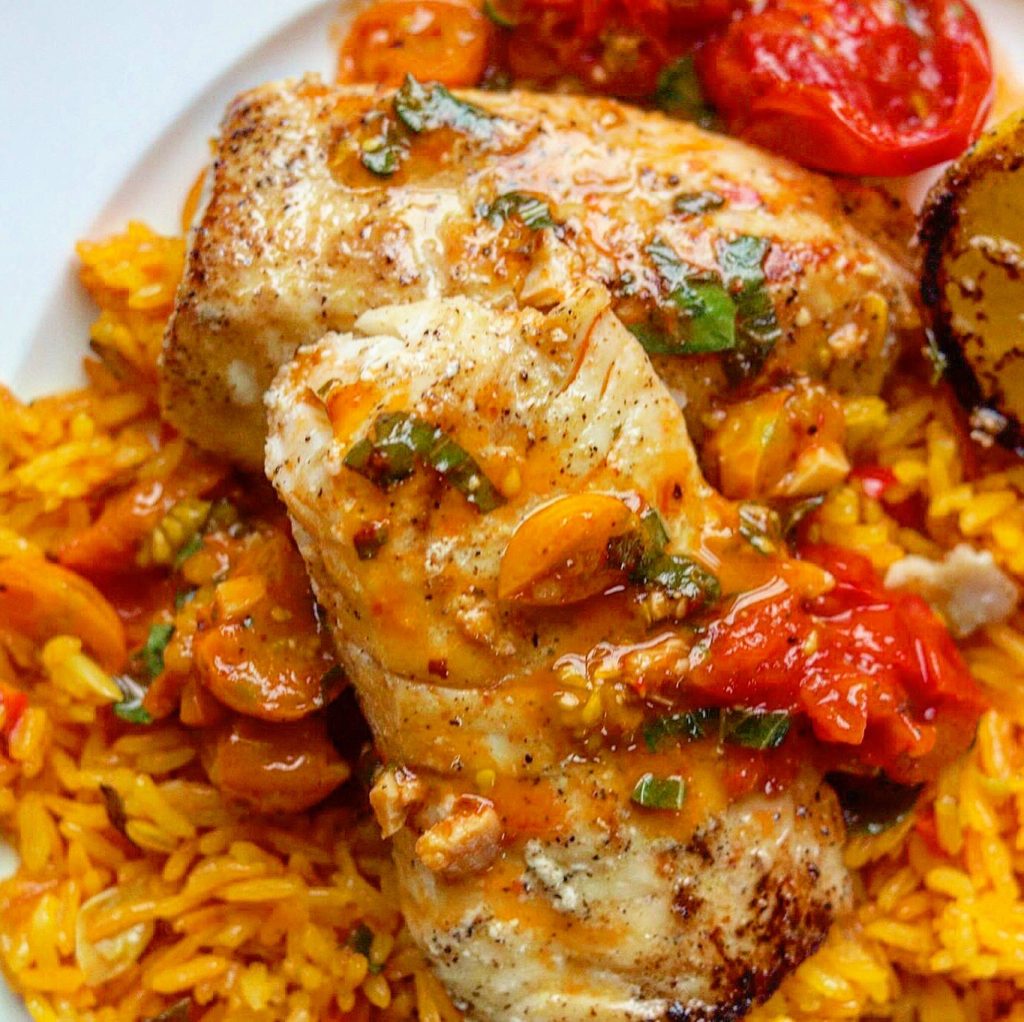
This Pan-Fried Cod in Tomato Basil Sauce was a hit! Don’t let “Pan-Fried” worry you if you are trying to avoid fried foods because this cod is cooked in a nonstick skillet with about a tablespoon of olive oil. Yes! That is all, and that was for 4 filets. This recipe is easy and so quick!

The tomatoes I used in the sauce were from my garden. I was so happy to finally get a few cherry tomatoes. Honestly, the fresh summer tomatoes just added so much to this sauce.

I wanted to serve it with something to soak up the delicious wine and tomato sauce and my rice pilaf was just perfect. Here’s the link for my rice pilaf. https://the2spoons.com/yummy-rice-pilaf-perfect-side-dish/
Pan-Fried Cod in Tomato Basil Sauce

I think cod is really hard to get flavor into it so I took the cod filets out of the freezer, placed them in a dish and added enough Italian Dressing to marinate them. I allowed them to remain on my counter for about an hour or so until they started to thaw out, then I placed them into the refrigerator to finish thawing. If I had thought to do that in the morning I could have allowed them to thaw in the refrigerator the entire time.

The cod I used was from Sam’s Club. It was the Wild Pacific Cod https://www.samsclub.com/sams/pacific-cod-3-lb/prod21001020.ip. I always have really good luck with seafood from Sam’s Club if I can’t find fresh.

So Good! Quick Pan-Fried Cod in Tomato Basil Sauce & Rice Pilaf

You could use different types of fish for this recipe. You could use catfish, halibut, even shrimp would work beautifully! Hope you try this recipe!

Pan-Fried Cod in Tomato Basil Sauce

Print Recipe
Coursedinner, Lunch, Main Course
CuisineAmerican
Keywordcod, pan-fried cod, pan-fried cod in tomato basil sauce

Ingredients

For the Tomato Basil Sauce

  • 2 tbsp extra virgin olive oil
  • 1/2 tsp crushed red pepper flakes (optional)
  • 2 garlic cloves, minced
  • 1 pint cherry tomatoes, cut in half
  • 1/4 cup white wine (I used Pinot Grigio)
  • 2 tbsp fresh lemon juice
  • zest of one lemon
  • 1 tbsp unsalted butter
  • salt and pepper to taste

For the Cod

  • 1-2 tbsp extra virgin olive oil
  • 4 cod filets
  • 1 cup Bottled Italian Salad Dressing
  • salt and pepper

Instructions

For the Tomato Basil Sauce

  • Heat oil in a large sauté pan over medium heat. Add crushed red pepper flakes and garlic and sauté for 1 minute, or until garlic is fragrant. Add the cherry tomatoes and cook, stirring or tossing occasionally, until they're soft and blistered, but still hold their shape, about 10 minutes depending on the size of your tomatoes. Add in the white wine, and allow to reduce. Add the lemon juice, lemon zest, salt, and pepper to taste and simmer for a couple of minutes. Add the basil. Transfer the sauce into a bowl and set aside. (if you are making the sauce ahead and will not be using soon, don't add the basil until you are serving)

For the Cod

  • If the cod is fresh not frozen, place in a pan and add the Italian Dressing. Place in the refrigerator for at least an our up to 4 hours. If the cod is frozen and you are cooking it the same day remove from the freezer, place in a pan with the Italian Dressing and allow to sit at room temperature until the cod begins to thaw. At that time place in the refrigerator and allow to completely thaw. If you planned ahead, you can place the frozen cod with the Italian Dressing in the refrigerator overnight.
    Heat the oil in a large nonstick sauté pan over medium heat. Remove the cod from the Italian Dressing and pat dry. Season both sides of cod with salt and pepper. Place cod in the oil and cook until golden brown, about 3 minutes per side.
  • If you are serving with my rice pilaf, place a serving of the rice on a plate, top with the cod, then top with the tomato basil sauce, dividing among all 4 plates or two if you are making 2 servings with this recipe.
Pan-Fried Cod in Tomato Basil Sauce
Pan-Fried Cod in Tomato Basil Sauce with Rice Pilaf

Filed Under: Fish/Seafood Tagged With: cod, pan fried cod

Yummy Rice Pilaf! Perfect Side Dish

May 31, 2019 by Becky Spoon

Pan-Fried Cod in Tomato Basil Sauce with Rice PilafJump to Recipe
Pan-Fried Cod in Tomato Basil Sauce with Rice Pilaf

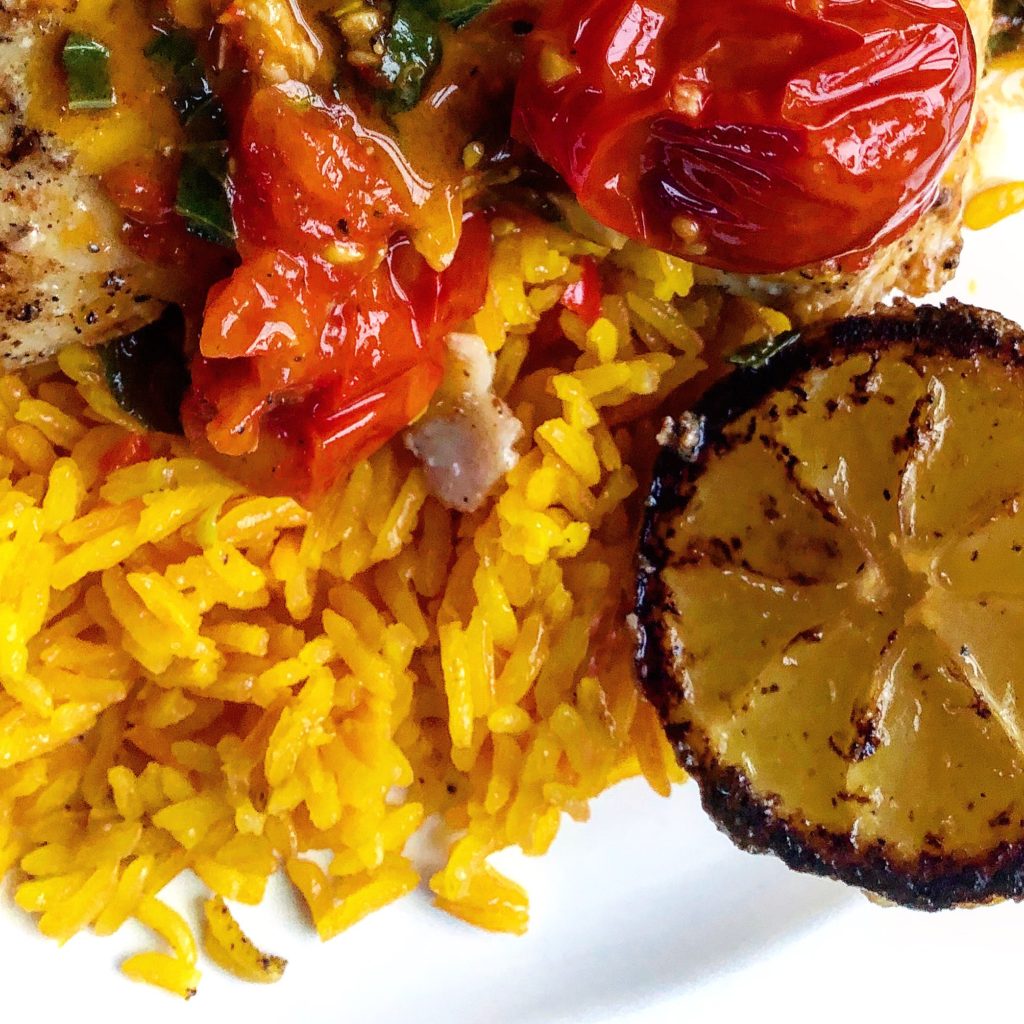
Well, I failed to get a photo with just the rice pilaf! I made this dish to go with my Pan Fried Cod with Tomato Basil Sauce and it was absolutely the perfect side dish! The rice absorbed all the flavors of the sauce, exactly what I wanted it to do! Delicious! Here’s my Pan-Fried Cod with Tomato Basil Sauce for you to try if you want. https://the2spoons.com/pan-fried-cod-in-tomato-basil-sauce/ It was really delicious with this rice pilaf.

The color of this pilaf is because of Sazon Goya Con Azafran. https://www.mycolombianrecipes.com/sazon-goya-with-azafran. It Has Mexican Saffron in it which makes the golden color. I honestly didn’t think about the color before adding it, but it made a great visual accompaniment to my dish aside from the great flavors it added.

Next time you don’t want to make potatoes or pasta but want to add a starch element to your meal, remember rice pilaf! It’s great. Here’s my recipe!

Rice Pilaf

Print Recipe
CourseSide Dish
CuisineAmerican
Keywordrice, rice pilaf
Servings4 servings

Ingredients

  • 1 Cup Basmati or long grain rice
  • 2 Cups Water
  • 1 packet Sazon Goya Con Azafran seasoning from a box of 1.41 oz
  • 2 green onions, sliced on an angle
  • 1 garlic clove, minced
  • 1/2 red pepper (yellow or green or a combinations of) diced
  • 1 tbsp canola oil

Instructions

  • Add the oil to a non stick pan and add the rice. When the rice begins to start browning just a little add the green onion, garlic and peppers. Sauté for a few minutes while the rice continues to brown a little being careful not to burn. Add the water and the Sazon Goya seasoning packet and stir. Bring back to a boil then reduce the heat to simmer, cover and allow to cook until the water has absorbed, about 20 minutes. When done, fluff with a fork.

Filed Under: Side dish Tagged With: Easy Side Dish, Rice

Summertime – Colorful Texas Caviar, a Great BBq Side Dish

May 30, 2019 by Becky Spoon

Texas CaviarJump to Recipe
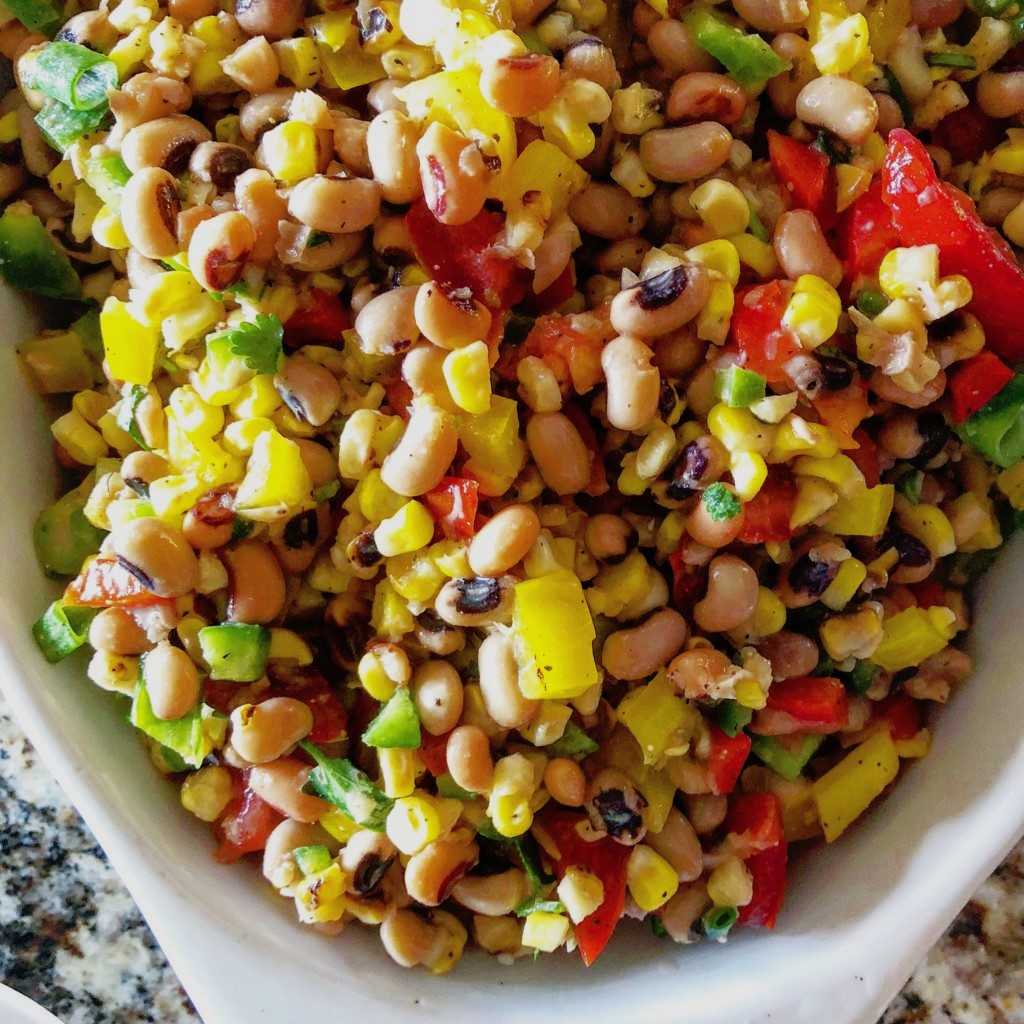
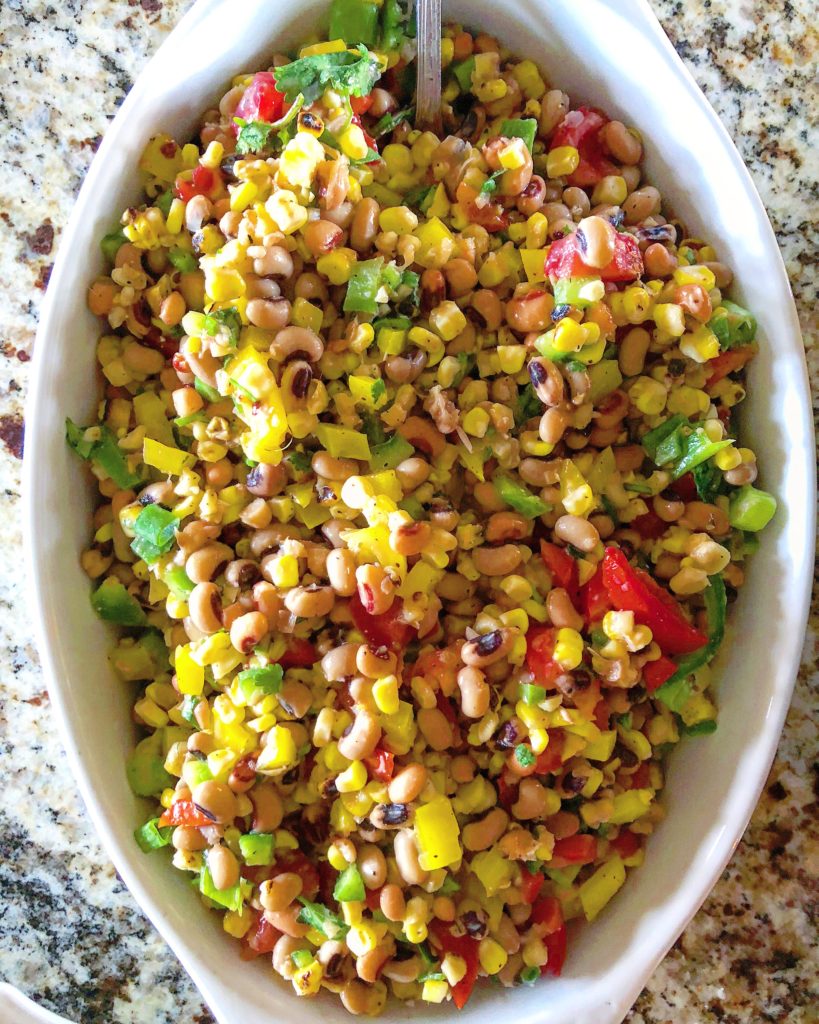
Texas Caviar

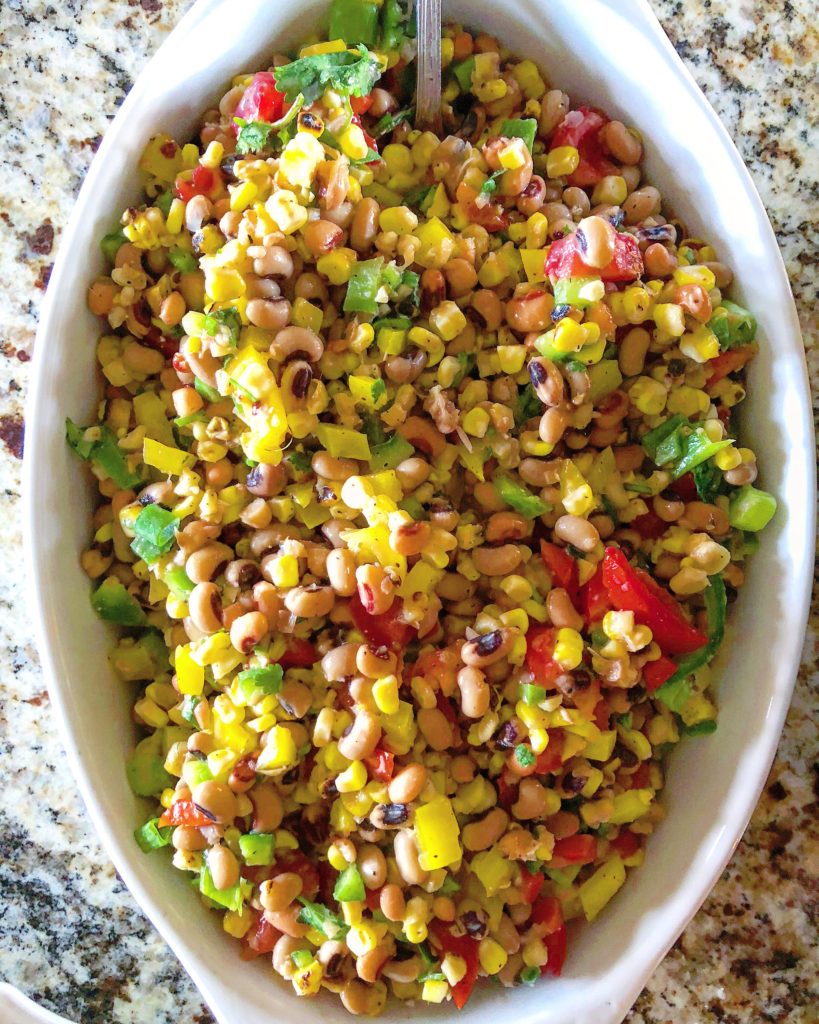
I’ve made Texas Caviar for many years. If you are from the South, you probably have your own favorite recipe too! There really is nothing complicated about this dish at all, but I would recommend making the recipe a day ahead so you can store in the refrigerator overnight so the flavors can meld.

I have made my own dressing for this before which is just a great Italian Dressing, but your favorite bottled dressing works just fine. I used the Olive Garden Italian Dressing that I found at HEB but any good Italian Dressing will work! I got my Olive Garden dressing at HEB but I know Walmart has it too: https://www.walmart.com/ip/Olive-Garden-Signature-Italian-Dressing-16-fl-oz-Bottle/.

This dish is so colorful, loaded with flavor, making the perfect side dish for your weekend BBQ’s this summer!

Summertime -Texas Caviar, a Great BBq Side Dish

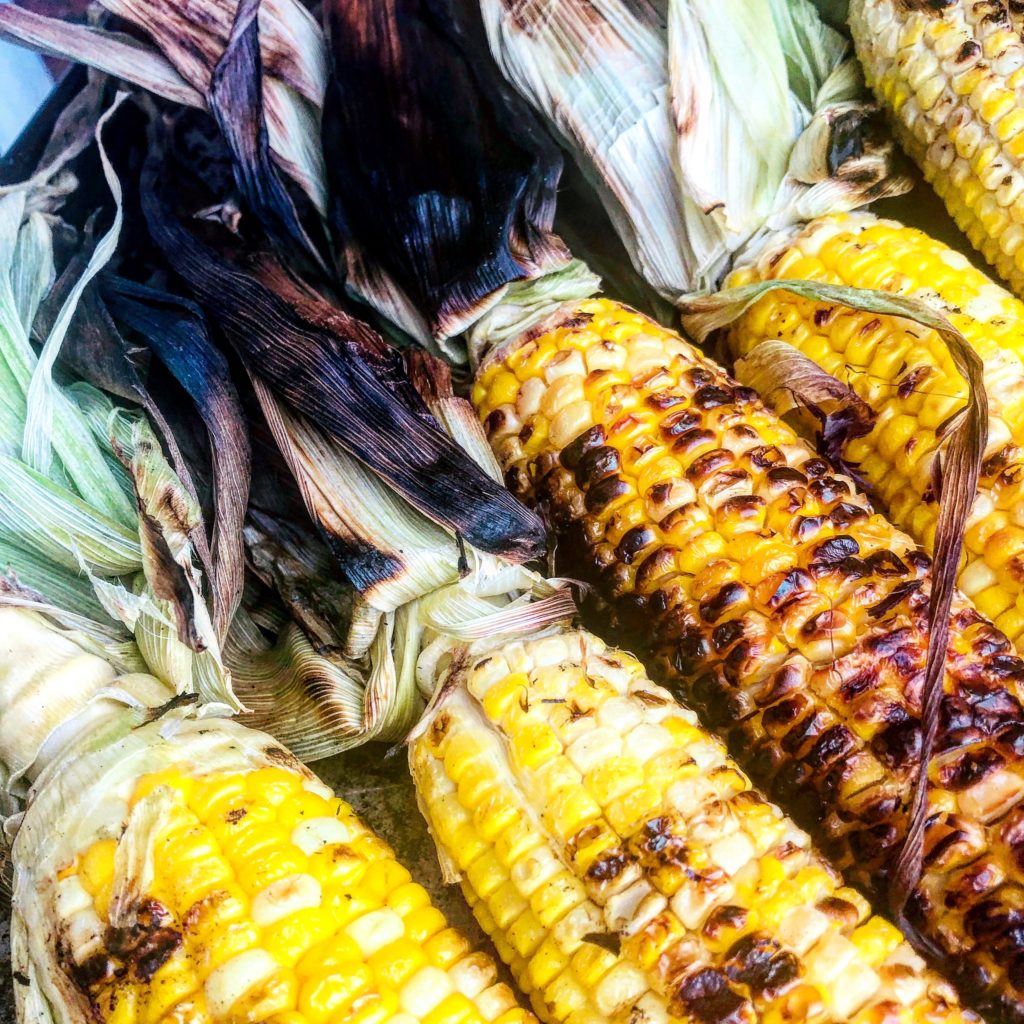
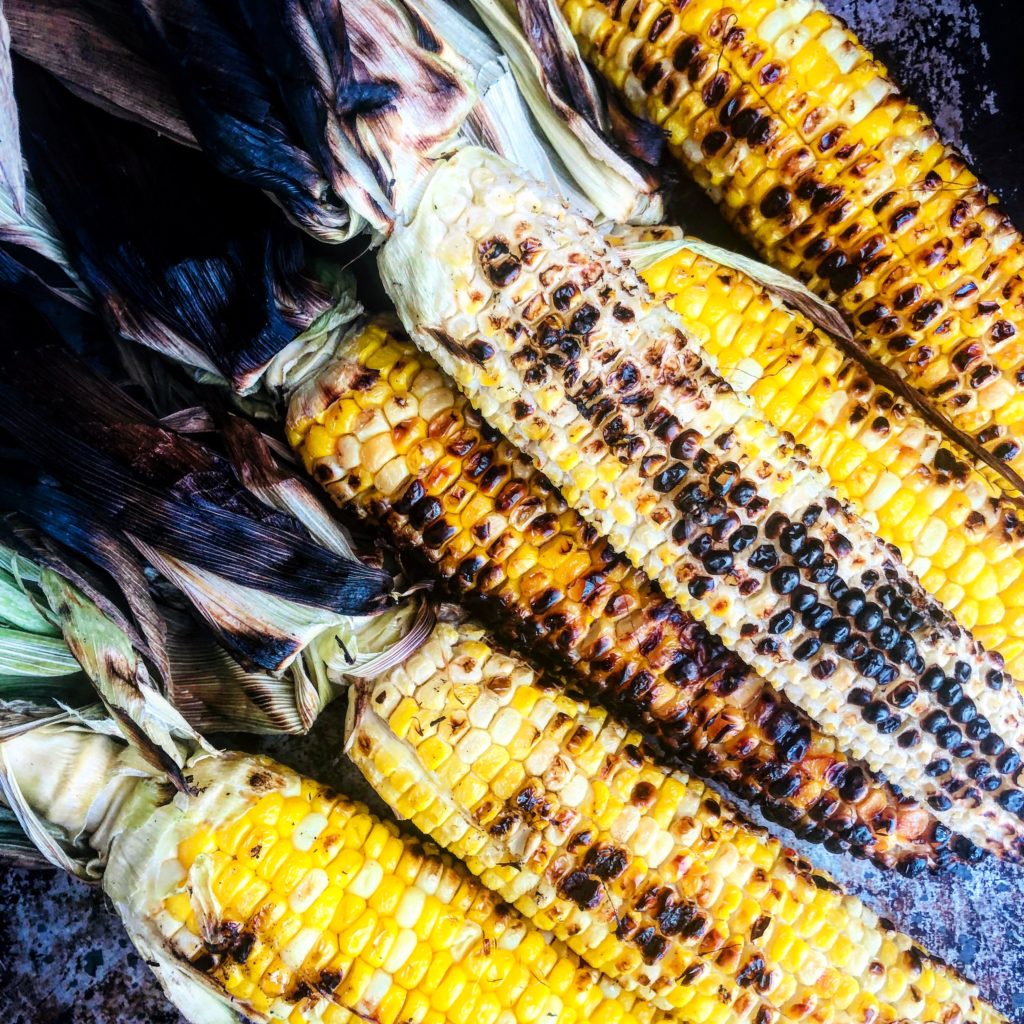
One thing I did do differently this time is that I grilled my corn. I was grilling other things, had 6 ears of corn in my refrigerator, and decided that was what I would do, grill the corn instead of using canned or frozen corn, which by the way, or just fine too. I do think the grilled corn added depth and a smokey flavor to the dish.

Grilled Corn on the Cob

Here’s the link to my grilled corn! https://the2spoons.com/corn-on-the-cob-perfectly-charred-on-the-grill/

Summertime – Colorful Texas Caviar, a Great BBq Side Dish

Texas Caviar

Don’t forget this with your next BBQ! A great refreshing side dish!

Print Recipe
CourseSide Dish
CuisineAmerican
KeywordTexas Caviar
Servings12 servings

Ingredients

  • 1 Yellow bell pepper, diced after removing membranes and seeds
  • 1 Orange or Red Bell Pepper, Diced after removing membranes and seeds
  • 1 Green bell pepper, dices after removing membranes and seeds
  • 2 jalapenos, seeded and finely chopped
  • 2 15 oz cans blackeye peas or 1 can black eye peas and one can black beans
  • 6 ears grilled corn (//www.the2spoons.com/corn-on-the-cob-perfectly-charred-on-the-grill/) or if you don't want to use the grilled corn use a can of yellow whole kernel corn
  • 4 roma tomatoes, diced (add just before serving)
  • 1 bunch cilantro (add just before serving)
  • Italian Dressing of your choice

Instructions

  • Remove membranes and seeds from peppers.

    Dice peppers and place in a large plastic bowl (jalapenos should be finely chopped).

    Drain and rinse the blackeye peas. Cut the corn off the cob or add the can of corn to the peppers.

    Add some of the Italian dressing and stir well.

    Cover and marinate in refrigerator for 8 hours.

    Drain if needed, as it may before a little watery. If you do drain, you can add a little more dressing.

    Dice roma tomatoes and cilantro and stir into mixture.
Grilled Corn on the Cob
Texas Caviar
Texas Caviar

Filed Under: Appetizer Tagged With: bbq sides, eash side dish, side dish, Texas Caviar

Corn on the Cob – Perfectly Charred on the Grill

May 30, 2019 by Becky Spoon

Grilled Corn on the CobJump to Recipe
Grilled Corn on the Cob

I cooked this Corn on the Cob on the grill for my Texas Caviar recipe https://the2spoons.com/summertime-texas-caviar-bbq-side-dish/; however, this is a perfect side dish also, on it’s on for your summer BBQ! Honestly, who doesn’t love corn on the cob, especially when it’s perfectly charred on the grill!

First, I pulled the husk back and removed the silk. Then I poached in water that I added a cup of milk for a few minutes! Wow! Added so much moisture to this already juicy corn!

Grilled Corn on the Cob

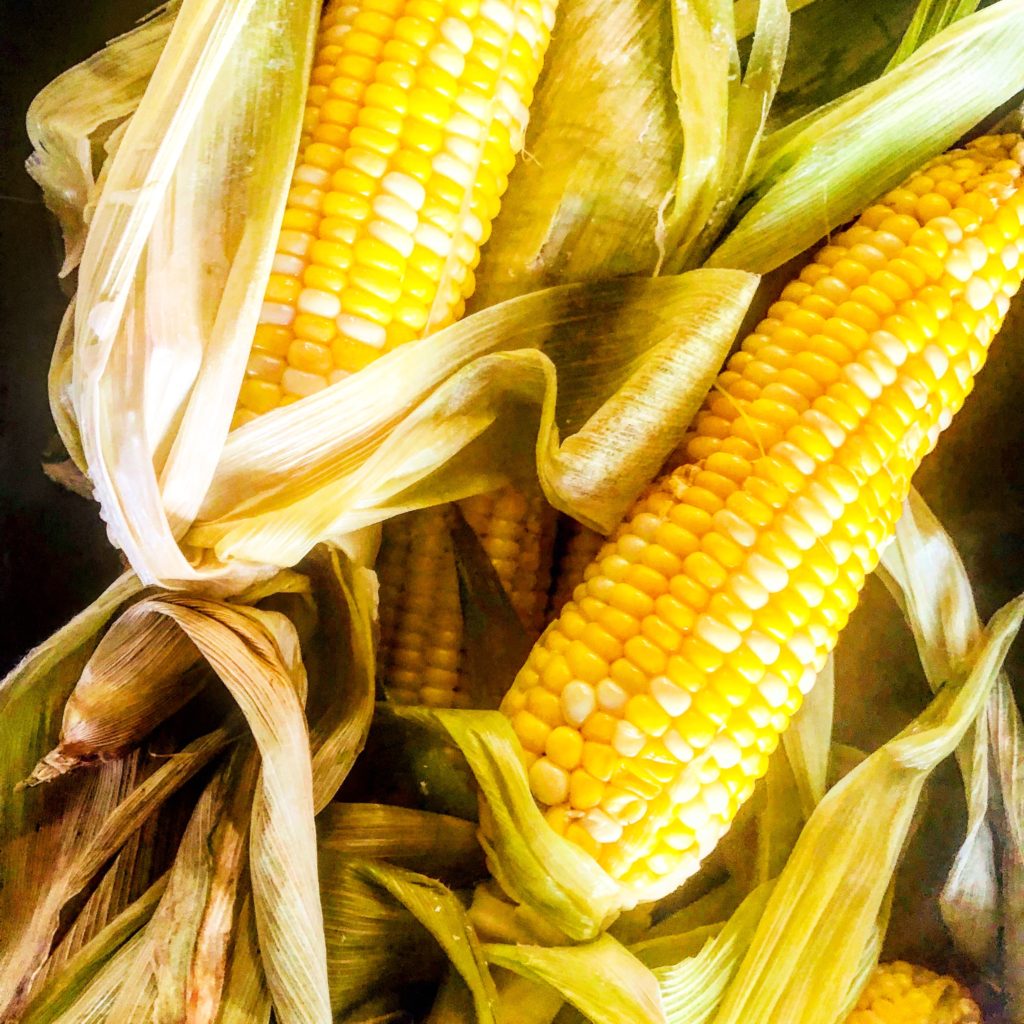
The first thing you want to do is pick the right corn on the cob at the grocery store. Here’s a little help from Taste of Home: https://www.tasteofhome.com/article/how-to-pick-corn. If you can grow your own corn or get from the fields of neighbors if you live rural as I do, that is the absolute best!!

Grilled Corn on the Cob

Corn on the Cob – Perfectly Charred on the Grill

This corn is delicious just slathering it with butter, salt and pepper and serving, or dab with mayonnaise and sprinkle with cotija cheese! Yummy either way!

Hope you like this method!

Corn on the Cob – Perfectly Charred on the Grill

Print Recipe
CourseSide Dish
CuisineAmerican
Servings6 servings

Ingredients

  • 6 ears fresh corn
  • 1 cup whole milk, optional
  • 1/2 cup unsalted butter, room temperature
  • salt and pepper to taste
  • Tajin seasoning (optional in place of salt)
  • Mayannaise to slather if adding Cotija cheese (optional in place of butter)

Instructions

  • Build a fire in your grill, leaving one side free of coals. When coals are covered with gray ash and the temperature is medium (you can hold your hand 5 inches above the coals for 5 to 7 seconds), you are ready to cook. (For a gas grill, turn all burners to high, lower cover and heat for 15 minutes, then turn burners to medium.)
    Meanwhile, shuck the corn, removing both husks and silks.

    Fill a large pot halfway with water and set over high heat to come to a simmer. Add the milk, if using. Blanch the corn in the pot for about 3 minutes, then stack on a platter. Apply just a little butter to each ear of corn, then place on grill. Cook, turning often, until the corn is tender and some of the kernels are beginning to darken, about 5 minutes. Serve immediately with remaining butter and salt.
    Or, slather with mayonnaise and sprinkle with cotija cheese!
Texas Caviar
Texas Caviar
Grilled Corn on the Cob

Filed Under: Vegetables Tagged With: Corn on the Cob, side dish

Love, Love this Mediterranean-Style Dijon Mustard Potato Salad

May 29, 2019 by Becky Spoon

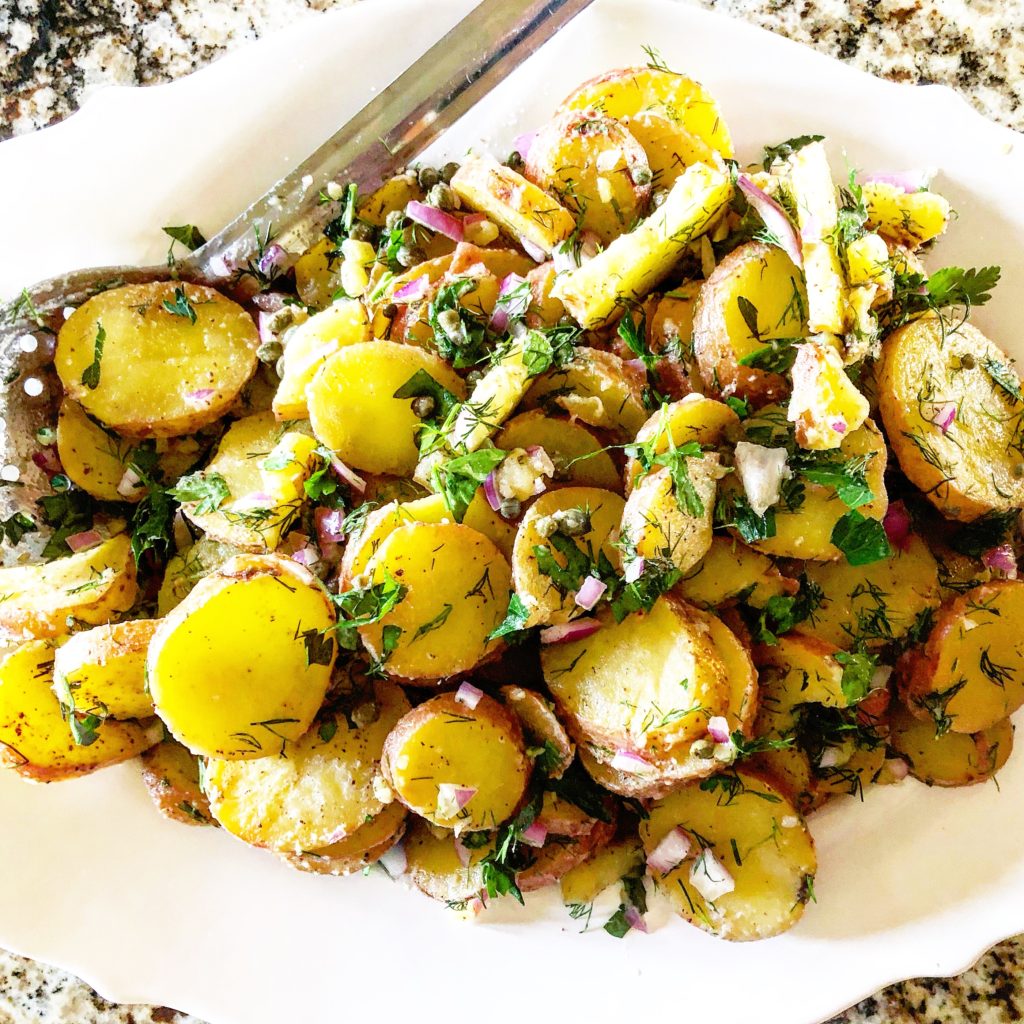
Mediterranean-Style Dijon Mustard Potato Salad

I love this Mediterranean-Style Dijon Mustard Potato Salad. I made this potato salad for a get-together Memorial Day and it was a big hit. Even the guys liked it which is an accomplishment in my book. Haha! I say that because, as I have mentioned before, my cowboy is a meat and potatoes man. I’m not talking about him liking any potatoes because he likes some better than others. When I decided to make this recipe I was worried some may not like it because it was not a traditional potato salad, but to my surprise, everyone loved them.

Instead of the typical Southern Potato salad with mayonnaise more than mustard, this recipe has a mustard vinaigrette. Don’t get me wrong, I still love my Southern potato salad, but this is delicious. And it’s a really light vinaigrette. It’s not too tart, really mild, it’s just right.

Mediterranean-Style Dijon Mustard Potato Salad

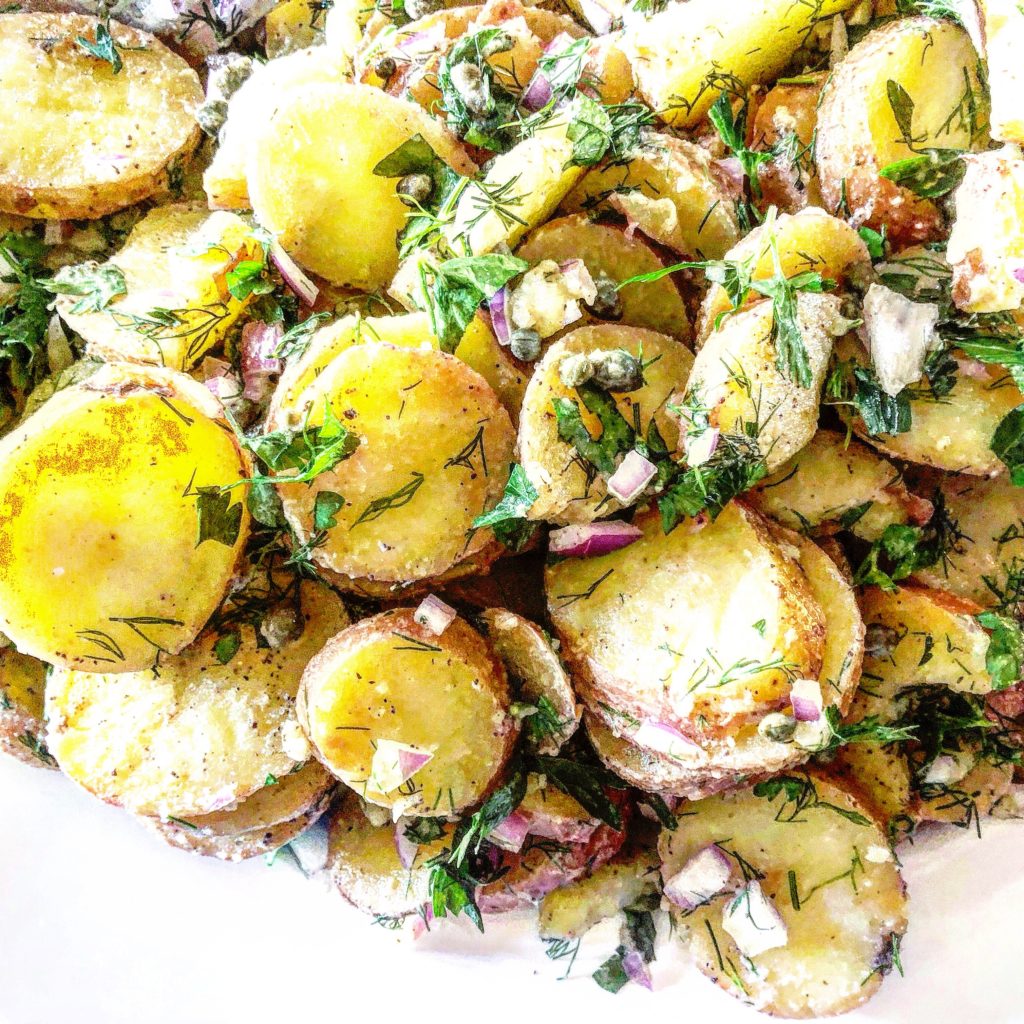
I mean, just look at it. Red potatoes, purple onion, fresh dill, lemon, olive oil, Dijon mustard, fresh parsley, how can you go wrong? Oh, and one of my favorite ingredients, capers.

Mediterranean-Style Dijon Mustard Potato Salad

My recipe calls for ground Sumac. Just 1/2 teaspoon. Ground sumac has a tangy lemony flavor, but more well balanced and less tart than lemon juice. So, if you don’t have sumac, a great substitute is lemon zest. Yes. Just the Zest. https://food52.com/hotline/16398.

This is an easy, delicious potato salad! You want to add the Vinaigrette while the potatoes are still hot to help the flavors absorb, then add the final ingredients right before serving.

This is a great side dish for BBQ! Try my Bbq Chicken recipe with this potato salad! https://the2spoons.com/crazy-good-bbq-chicken-vegetables-on-the-grill/

Mediterranean-Style Dijon Mustard Potato Salad

Here you go! Enjoy!

Mediterranean-Style Dijon Mustard Potato Salad

Print Recipe
CourseSide Dish
CuisineMediterranean
Keywordmustard potato salad
Prep Time15 minutes minutes
Cook Time15 minutes minutes
Servings6 Servings

Ingredients

  • 1 1/2 to 2 lbs baby potatoes, gold or red, unpeeled and sliced
  • 2 tsp salt
  • 1/4 cup chopped red onions
  • 1/4 cup chopped fresh parsley
  • 1/4 cup chopped fresh dill
  • 2 tbsp capers

Dijon Vinaigrette

  • 1/3 cup extra virgin olive oil
  • 2 tbsp fresh lemon juice
  • 2 tsp Dijon Mustard
  • 1/2 tsp ground sumac ( substitute lemon zest if you can’t find)
  • 1/2 tsp black pepper
  • 1/4 tsp ground corriander

Instructions

  • Wash and dry the potatoes. Slice potatoes with a mandolin slicer if you have one.
  • Place potatoes in a pot and add water to cover by one inch. Bring to a boil and add salt. Simmer until potatoes are tender, 10 to 15 minutes.
  • In the meantime, add vinaigrette ingredients to a bowl and whisk well to combine.
  • When potatoes are done, remove from heat and drain. Place on a tray or baking sheet and immediately add the vinaigrette while potatoes are warm. Let them sit about 10 minutes or longer to absorb. Add the onions, fresh herbs and capers and toss gently. Transfer to a serving dish and serve at room temperature.

Notes

Make ahead instructions. You can make the potato salad ahead of time. Dress with the vinaigrette but hold the onions, fresh herbs and capers. Refrigerate up to 8 hours. Add the remaining ingredients before serving and bring to room temperature before serving 
Mediterranean-Style Dijon Mustard Potato Salad
Bbq Chicken and Vegetables on the grill

Filed Under: Salads Tagged With: Mustard potato salad, potato salad

Quick Sheet Pan Chicken Fajitas

May 23, 2019 by Becky Spoon

Quick Sheet Pan Chicken FajitasJump to Recipe
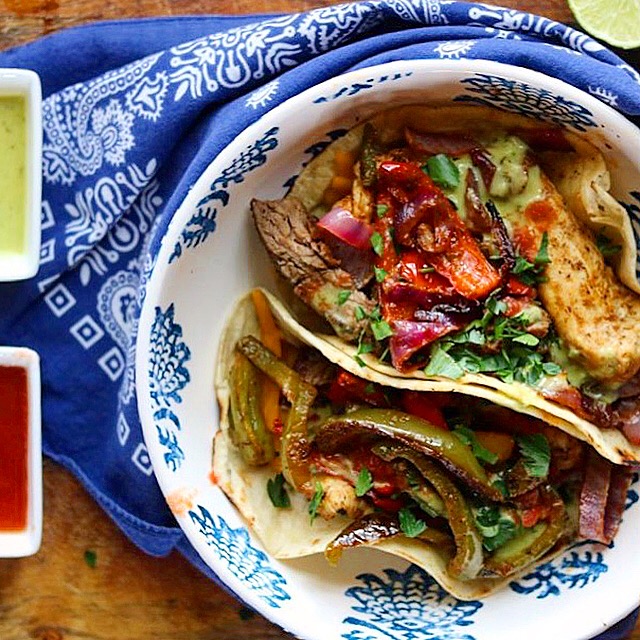
Quick Sheet Pan Chicken Fajitas

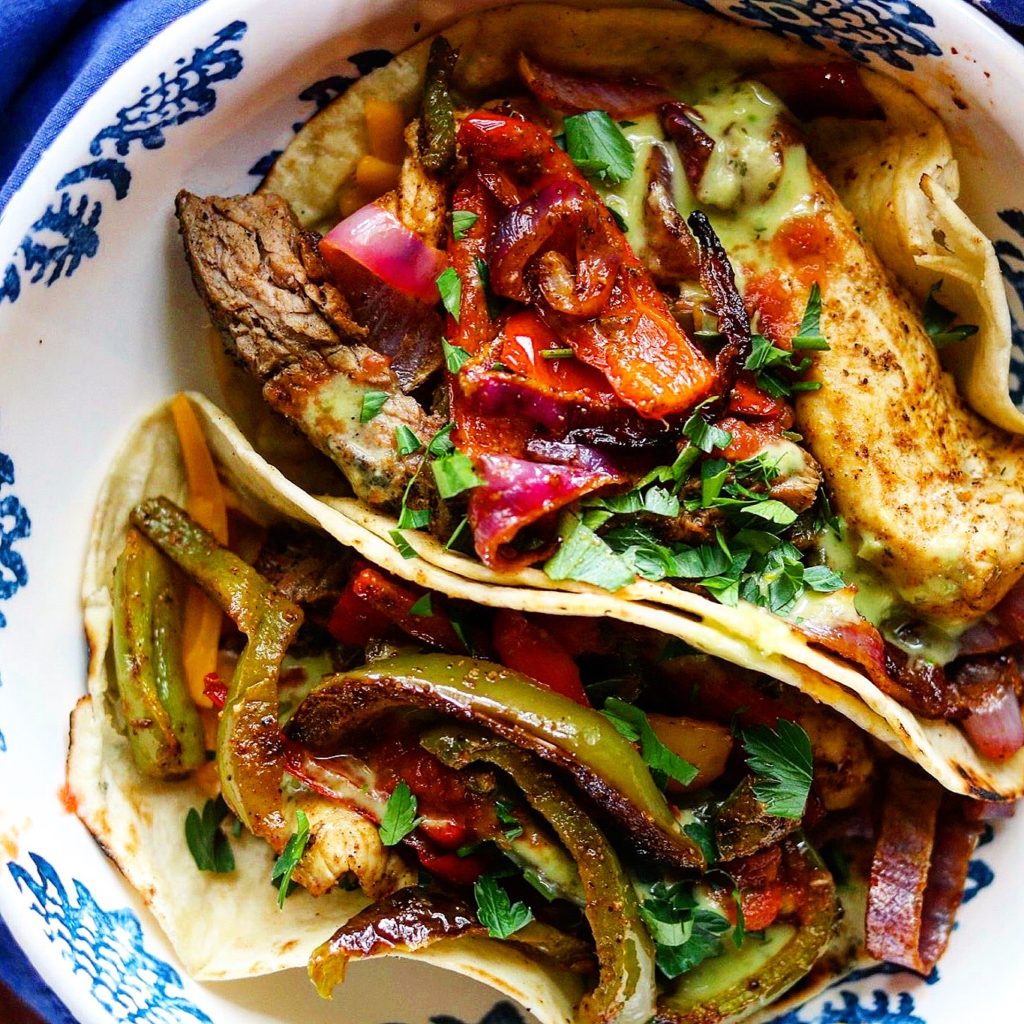
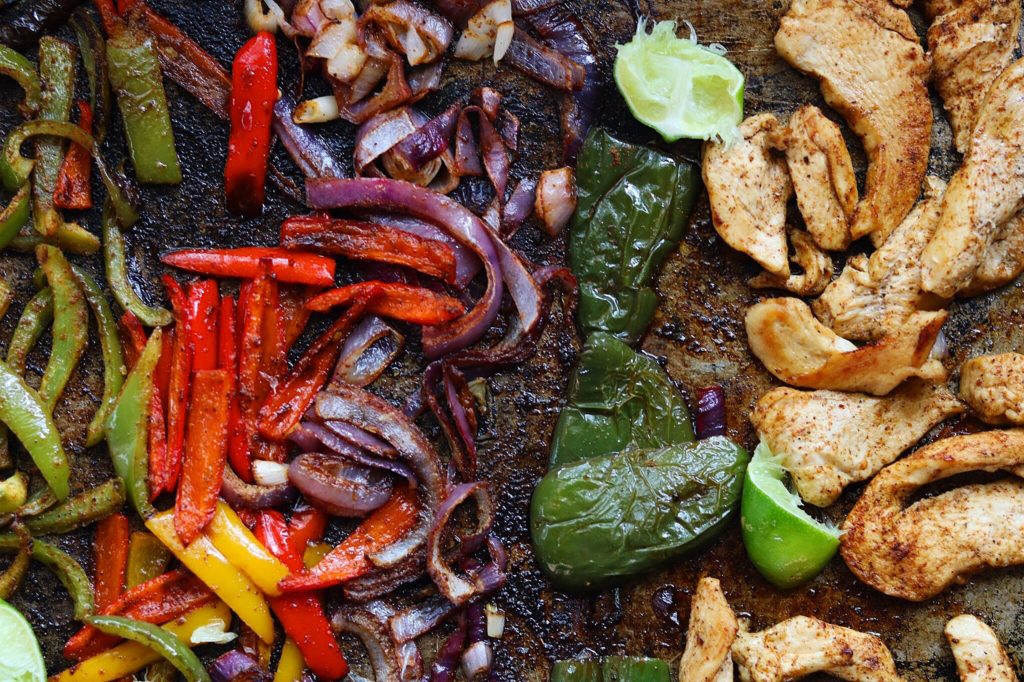
These Quick Sheet Pan Chicken Fajitas are delicious! The great thing about sheet pan cooking which is really popular is that everything is ready at the same time! And the clean-up? One sheet pan! You could easily do the same with a nice piece of fish or even shrimp would be delicious.

Quick Sheet Pan Chicken Fajitas

Quick Sheet Pan Chicken Fajitas

All I did for this recipe was to cut my boneless and skinless chicken breast into uniform thin strips, along with red, yellow and green bell peppers and red onions. Then I sprinkled with salt, pepper, garlic powder, cumin, chili powder, and tajin Clasico seasoning. https://www.tajin.com/products/tajin-clasico.

Quick Sheet Pan Chicken Fajitas

Then, all you have to do is heat some flour or corn tortillas on the griddle, throw in your favorite salsas, some avocado or guacamole and you’re done. Here’s my guacamole recipe that I think you’ll love with these! https://the2spoons.com/easy-homemade-guacamole/

This recipe will be great for this holiday weekend or just your go to for a quick family meal during the week. Because my cowboy always wants beef, I had a small piece of skirt steak that I added the same seasonings, cooked it on the griddle until a medium rare and I sliced it across the grain, then loaded his tortillas with beef and chicken.

Here you go! This easy recipe!

Sheet Pan Chicken Fajitas

Print Recipe
CourseMain Course
CuisineMexican, Texmex
Servings4 Servings

Ingredients

  • 2 Skinless, boneless chicken breast, thinly sliced
  • 1 each green, red and yellow bell peppers, julienned
  • 2 fresh jalapenos, seeded and julienned (optional)
  • 1 red onion, thinly sliced
  • oil for drizzling
  • limes for finishing and more to serve alongside
  • sprinkling of salt, pepper, garlic powder, tajin seasoning, cumin, chili powder
  • cilantro, chopped
  • condiments for serving like guacamole and your favorite salsas

Instructions

  • Preheat oven to 425 degrees. Layer all the chicken and vegetables separately on a sheet pan. Drizzle all with the oil. Sprinkle all with the spices, mixing up, but still keeping your ingredients separate. Bake until the chicken is done, watching carefully…10-20 minutes. If you want a little char.. turn your broiler on the last few minutes of cooking! Squeeze lime juice all over the cooked ingredients and sprinkle with the chopped cilantro. Heat your tortillas on a griddle or skillet. Layer cheese into the tortillas, then the chicken and peppers. Serve with fresh avocado or guacamole and your choice of salsas and more limes! Enjoy!

Filed Under: Poultry Tagged With: chicken fajitas, fajitas, sheet pan chicken fajitas

  • « Go to Previous Page
  • Page 1
  • Interim pages omitted …
  • Page 13
  • Page 14
  • Page 15
  • Page 16
  • Page 17
  • Interim pages omitted …
  • Page 31
  • Go to Next Page »

Primary Sidebar

Categories

  • Appetizer
  • Beans, Lentils, Grains, Rice
  • Beef
  • Bread
  • Breakfast/Brunch
  • Cocktails
  • Dessert
  • Dishes of Mexico, Tex Mex and New Mexico Red and Green Chile
  • Fish/Seafood
  • Ice Cream
  • Pasta
  • Pizza
  • Pork
  • Poultry
  • Salad Dressings
  • Salads
  • Salsas
  • Sandwiches/Burgers/Hot Dogs
  • Sauces, Compound Butters, Condiments
  • Side dish
  • Soups/Stews/Gumbo//Chili
  • Stocks, Broths, Gravies
  • Vegetables

Copyright © 2026 The 2 Spoons on the Foodie Pro Theme

Rate This Recipe

Your vote:


A rating is required
A name is required
An email is required