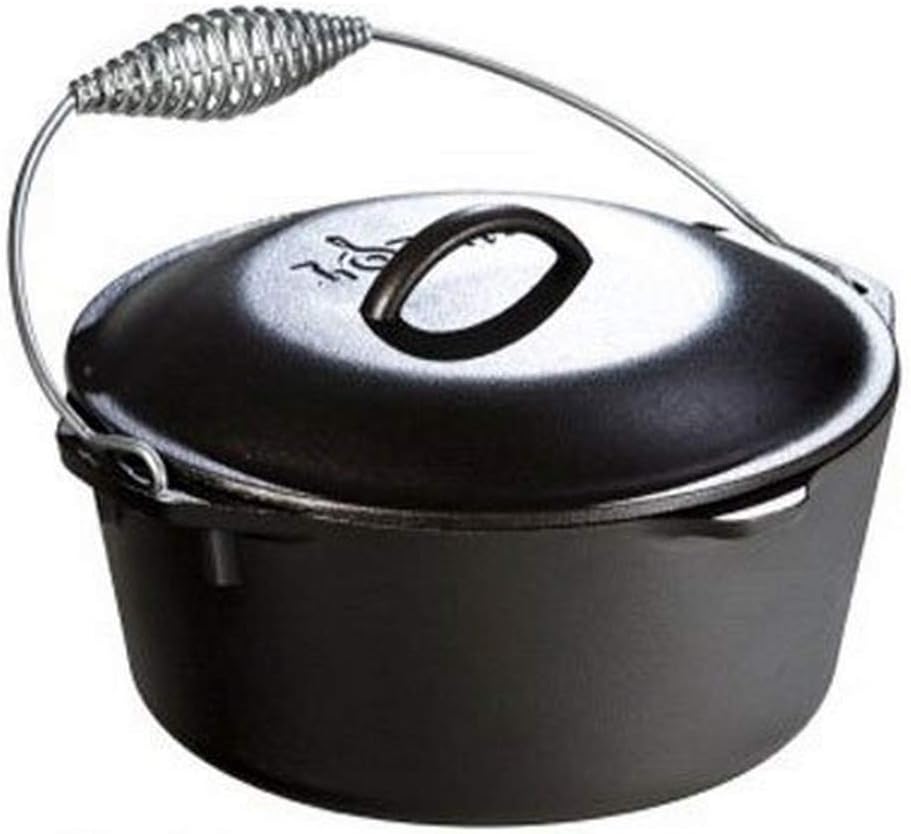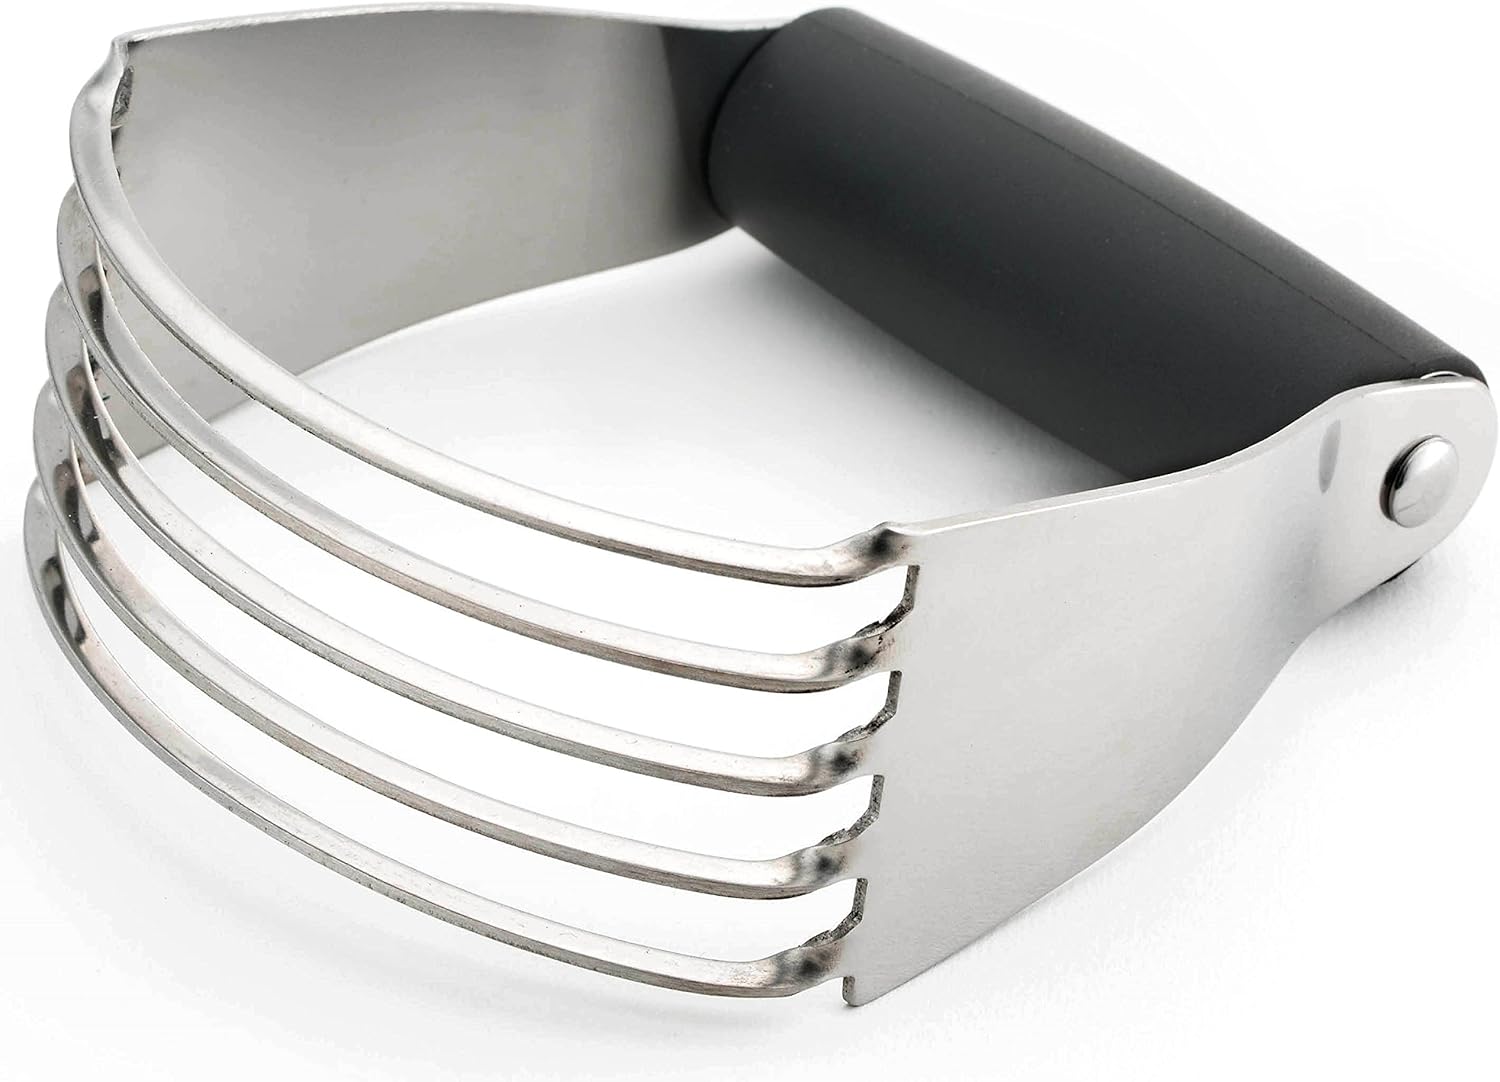
I love Guacamole! Last night we had fajita’s, which I’ll post later, and I made guacamole. If you don’t have a molcajete, you need one. I’ve had this for years. It is really heavy, I hate dragging it out of the cabinet, but it makes the best guacamole ever. It is a volcanic rock mortar and pestle and these have been around for thousands of years. This is similar to mine: https://amzn.to/2Yy6fAK.

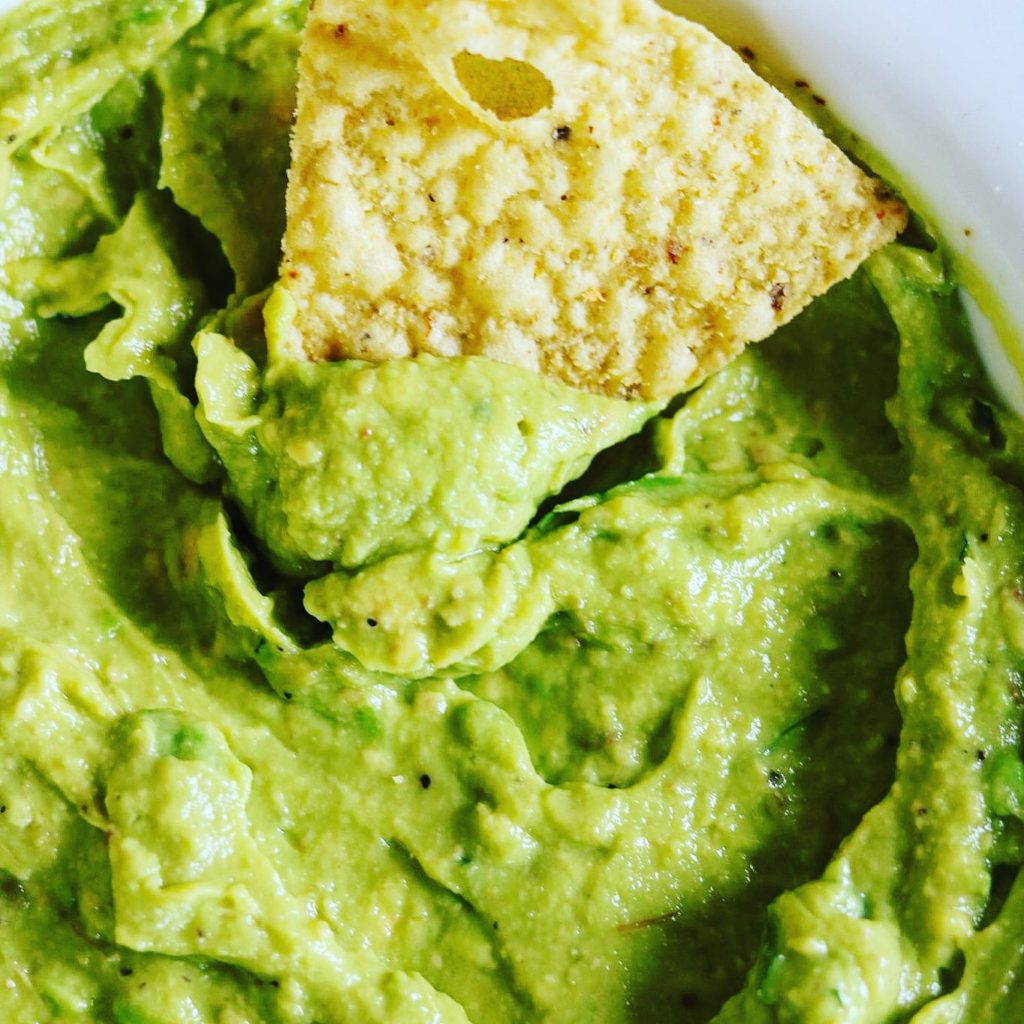
delicious guacamole!
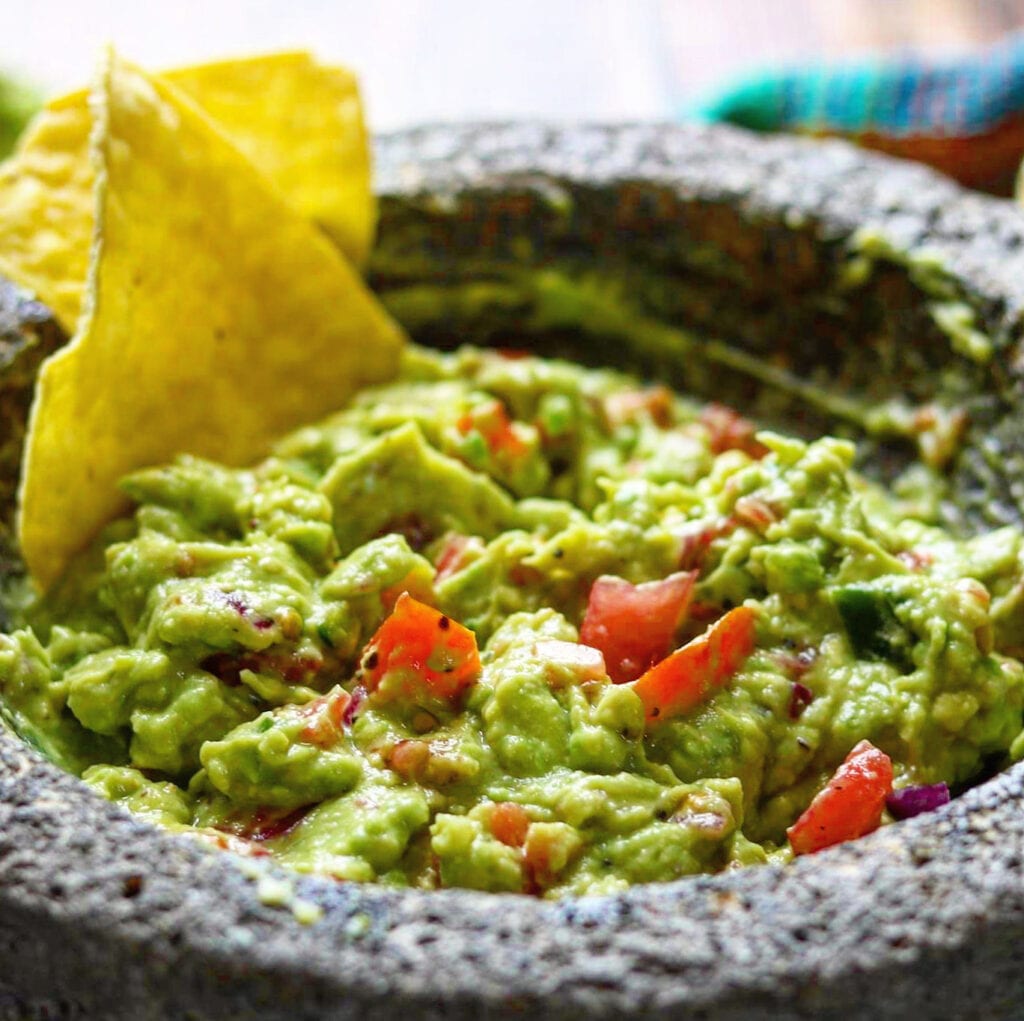
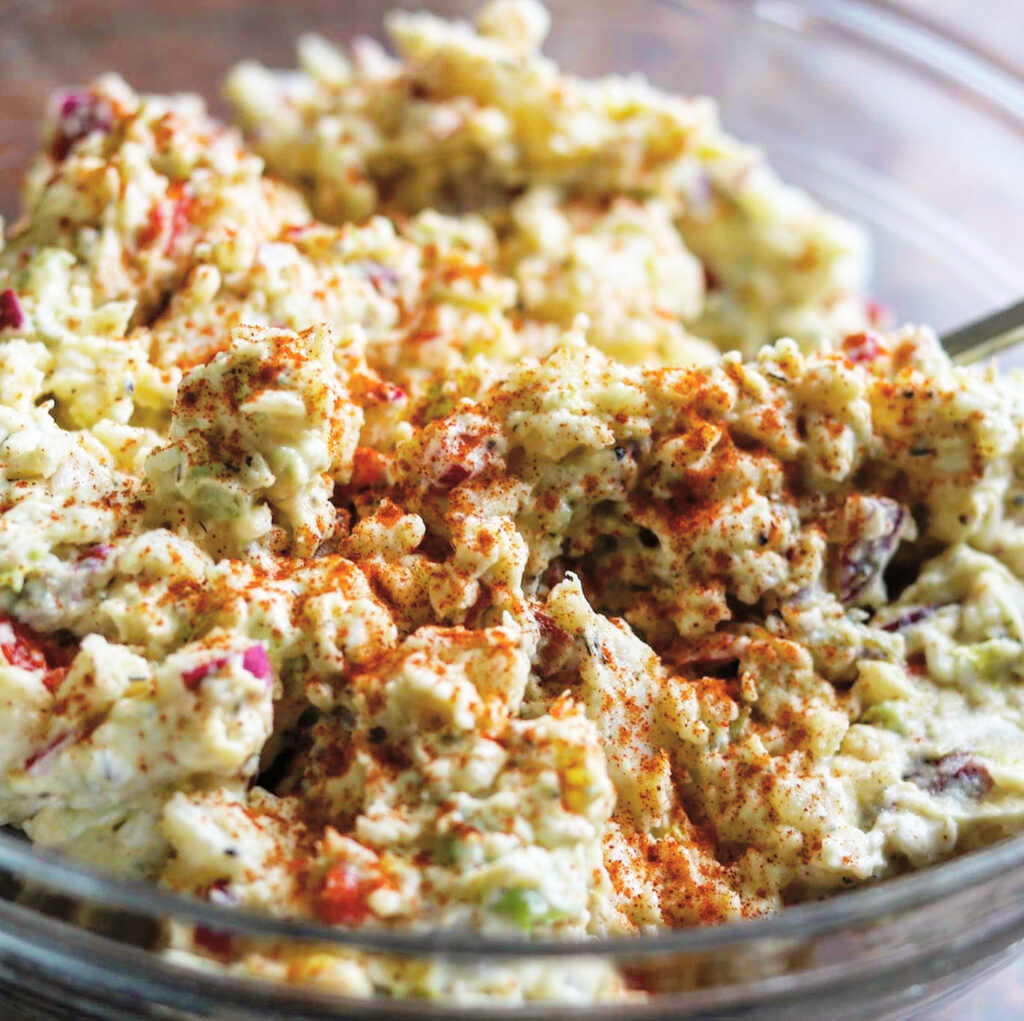
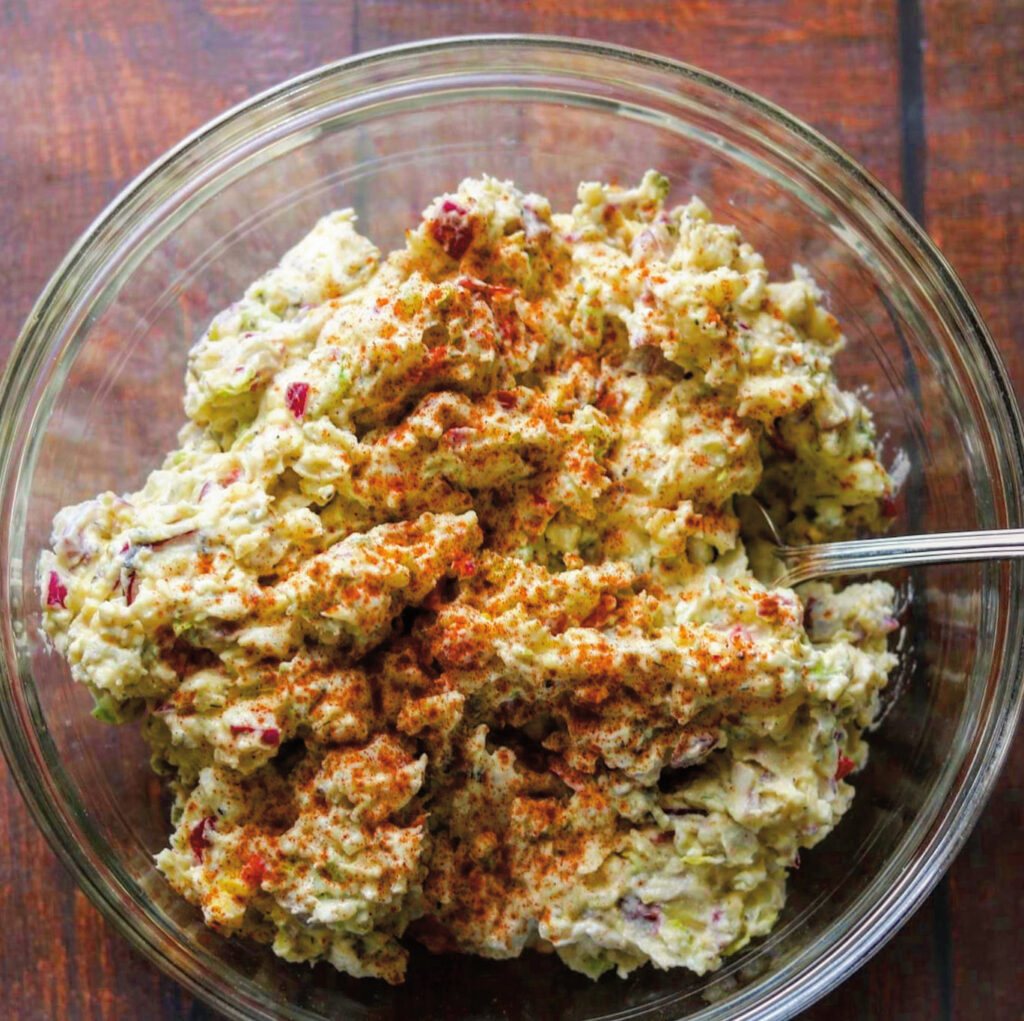
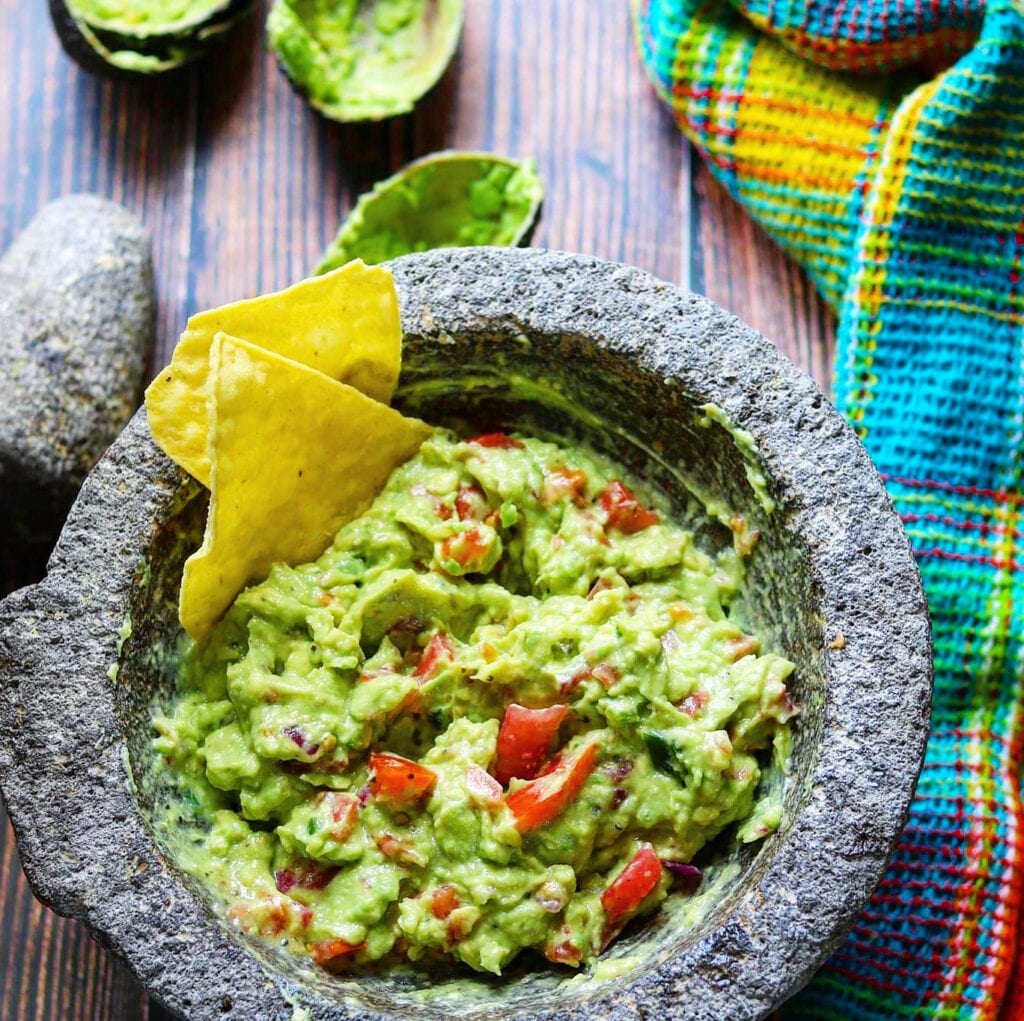
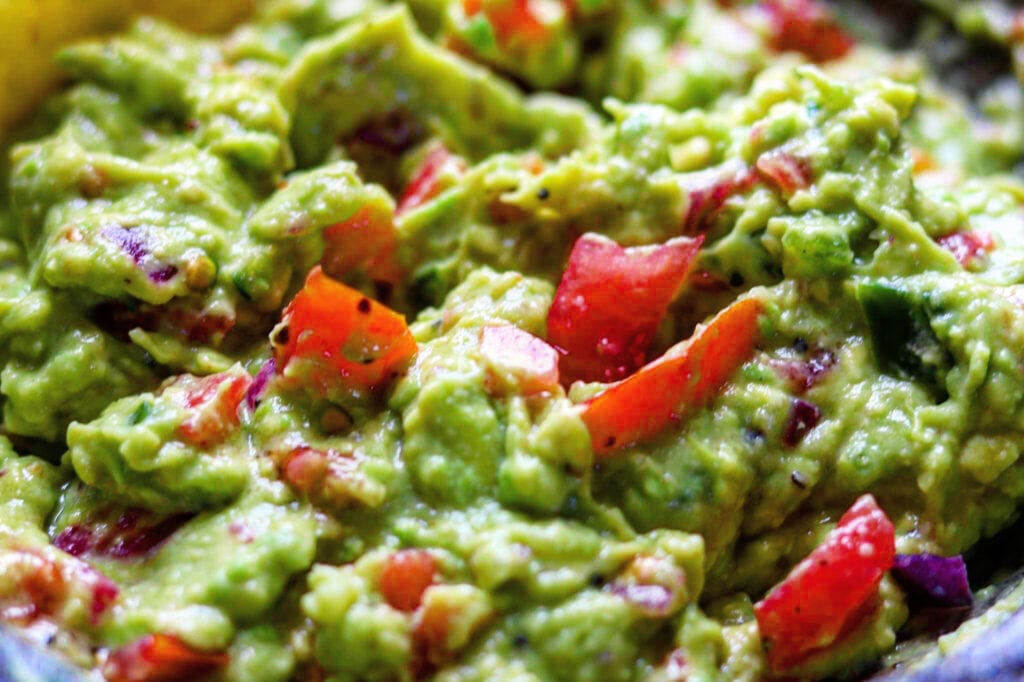
I start this deliciousness by placing my garlic and some jalapeno in the bottom with some salt. The salt helps break down the garlic and pepper. I mash and break up until a paste has formed. I then add some chopped onion and I break up just a little but I don’t form a paste with the onion. I kind of like a couple of chunks of onion in mine. Then I add my avocado and stir to combine with the avocado, onion and jalapeno. I add the juice of one lemon or lime, salt and pepper to taste. Taste before you add salt because if you added salt when you were breaking up your ingredients you don’t want to over salt. I then add fresh chopped tomatoes and some chopped cilantro! That’s it and so good.
If you don’t have a molcajete you can do the same in a shallow bowl allowing you to break up ingredients with a fork. You can also use a food processor and use the pulse. I do think that breaking up these ingredients and making a paste allows the flavors to meld and you don’t have big chunks of onion, jalapeno or garlic.
delicious guacamole!
I have a simple recipe that just has lemon juice, garlic powder, salt and pepper. This is good especially when you want a quick recipe and you have avocados you need to use. Here’s the link for that recipe: https://the2spoons.com/my-ever-so-easy-guacamole/.
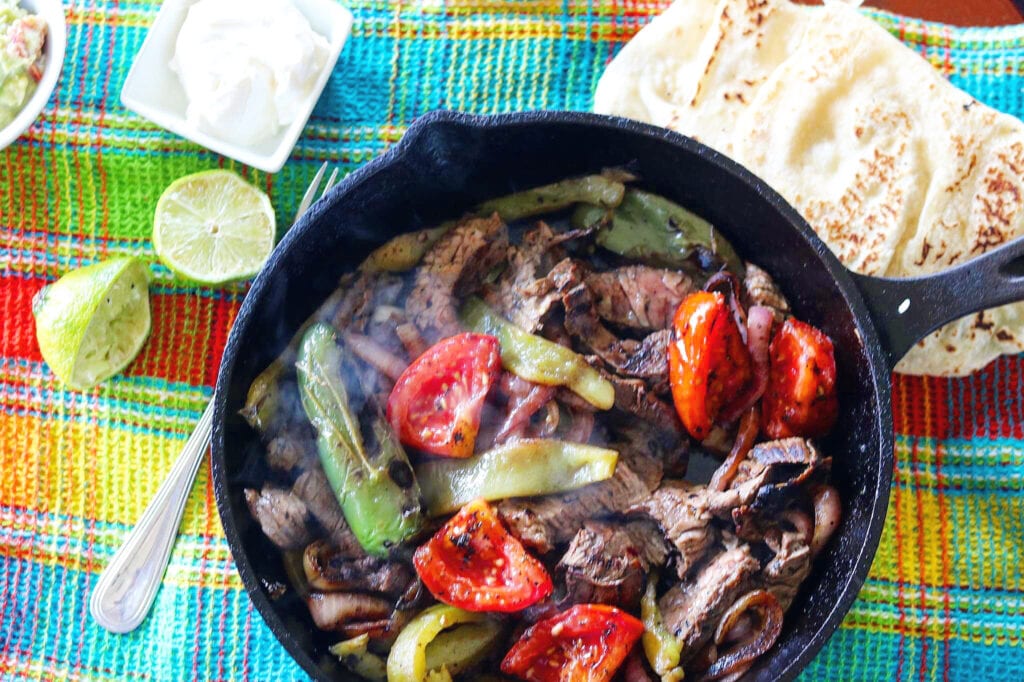
I served my guacamole with fajitas as I mentioned before and here is the link for my delicious fajitas: https://the2spoons.com/easy-grilled-skirt-steak-fajitas-and-shrimp/
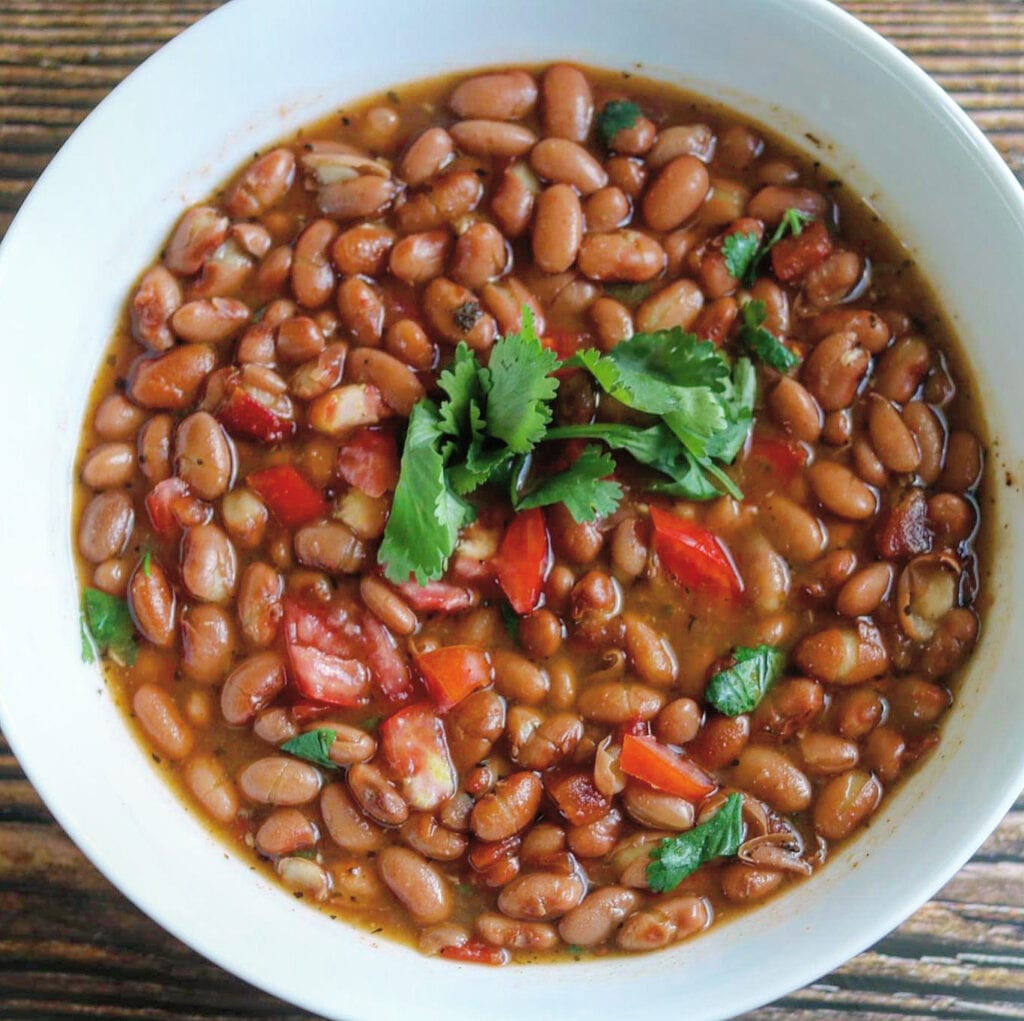
Charro Beans were another side dish and here is the link for those: https://the2spoons.com/love-these-charro-beans/
Here’s the recipe!
Enjoy!

Guacamole
Ingredients
- 3-4 avocados
- 1 jalapeno, stemmed and seeded, sliced (just use half if you don't want it too hot)
- 2 tbsp onion, diced
- 2 garlic cloves, diced
- juice of one lemon
- 1 tomato, diced
- handful of cilantro, chopped
- salt and pepper to taste
Instructions
- Place the jalapeno and garlic in the molcajete if using or in a shallow bowl and add a pinch of salt. Mash the garlic and jalapeno with the salt to make a paste.
- Add the onion and mash a little but don't completely break up. Add the avocado and combine. Add your lemon juice, stir and check your seasoning. Add salt and pepper as needed.
- Add your diced tomatoes and chopped cilantro. Serve immediately or store in an airtight container in the refrigerator. I find that a container that doesn't leave too much room after your guacamole works the best or keeps it from getting brown on top quicker. Enjoy!