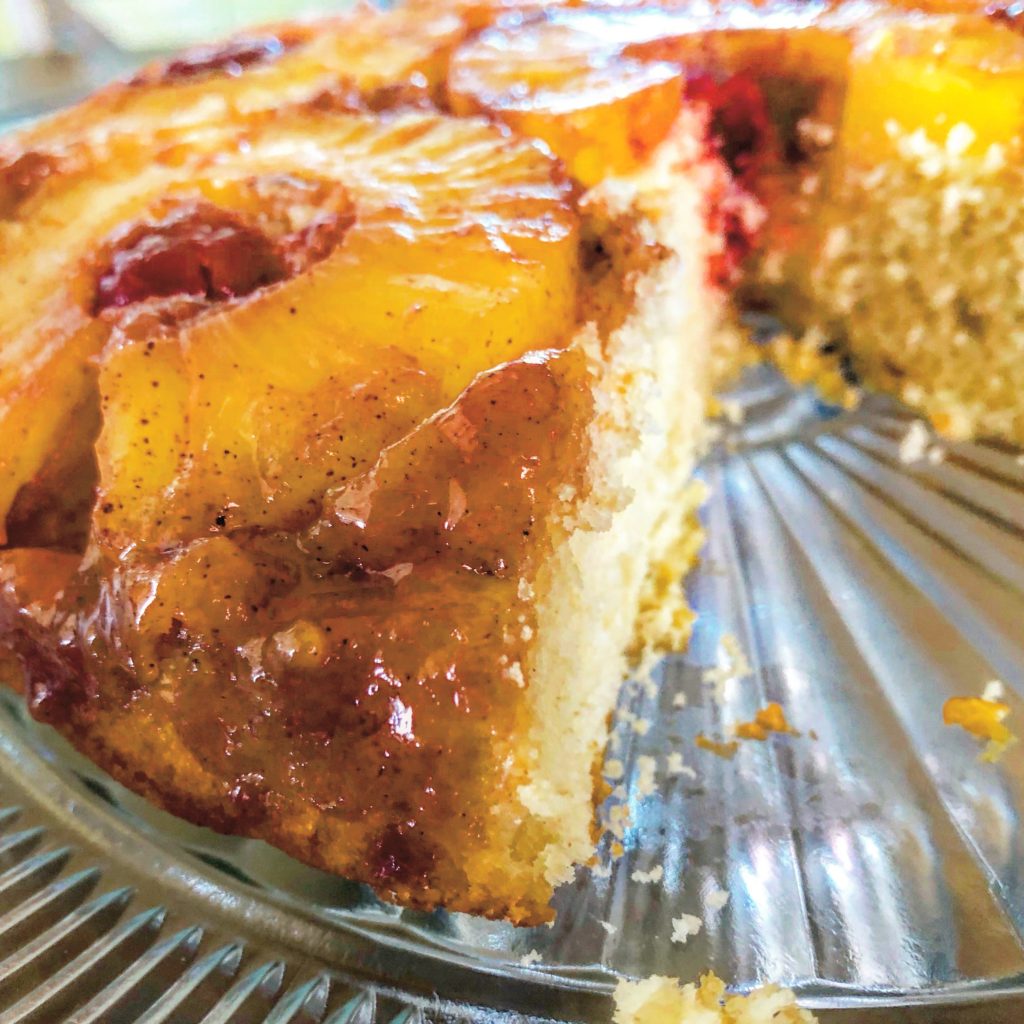
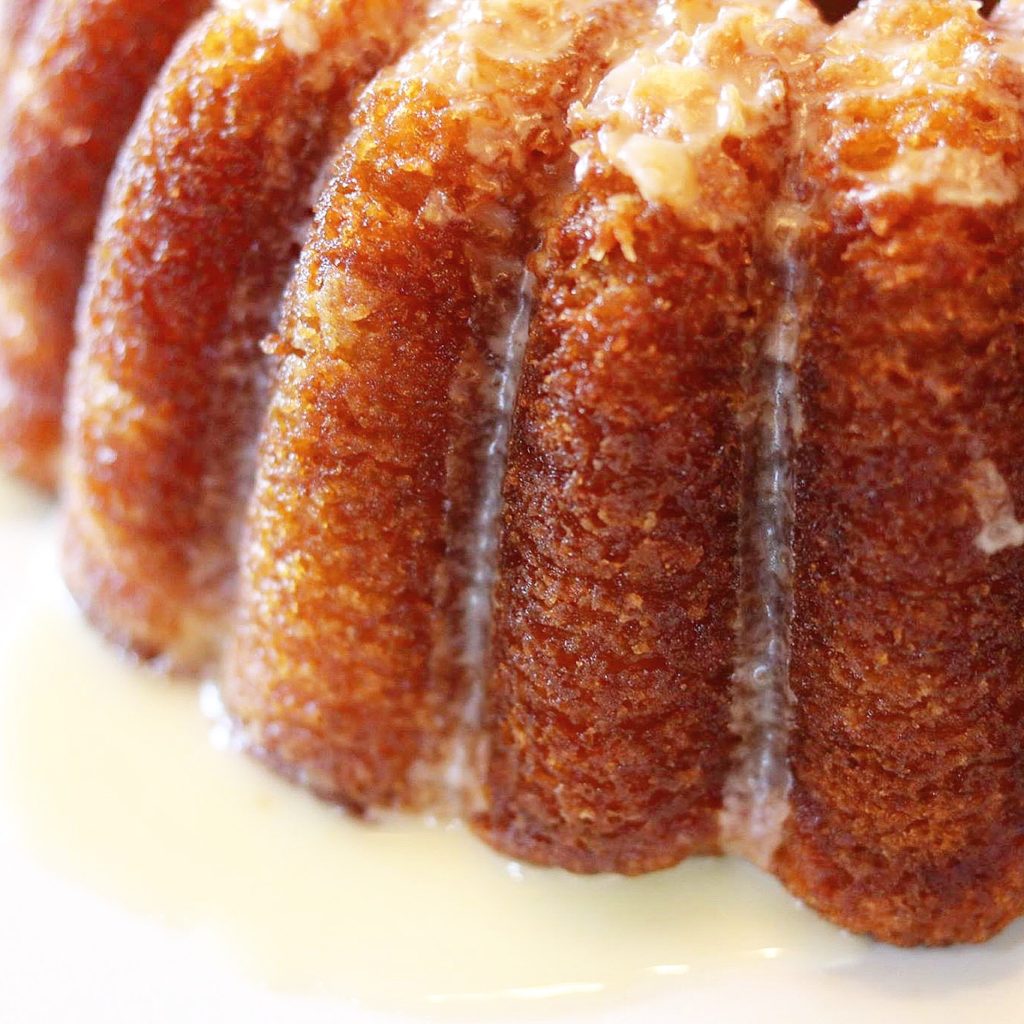
This rum cake melts in your mouth! It is buttery and so tender! It is loaded with rum, how could you not love it?
I used a Coconut Liqueur Rum; however, that is not necessary. You can use a dark rum, or even pick another flavor you like. Captain Morgan has some really nice flavored rums you may like to include in the recipe. https://us.captain.morgan.com
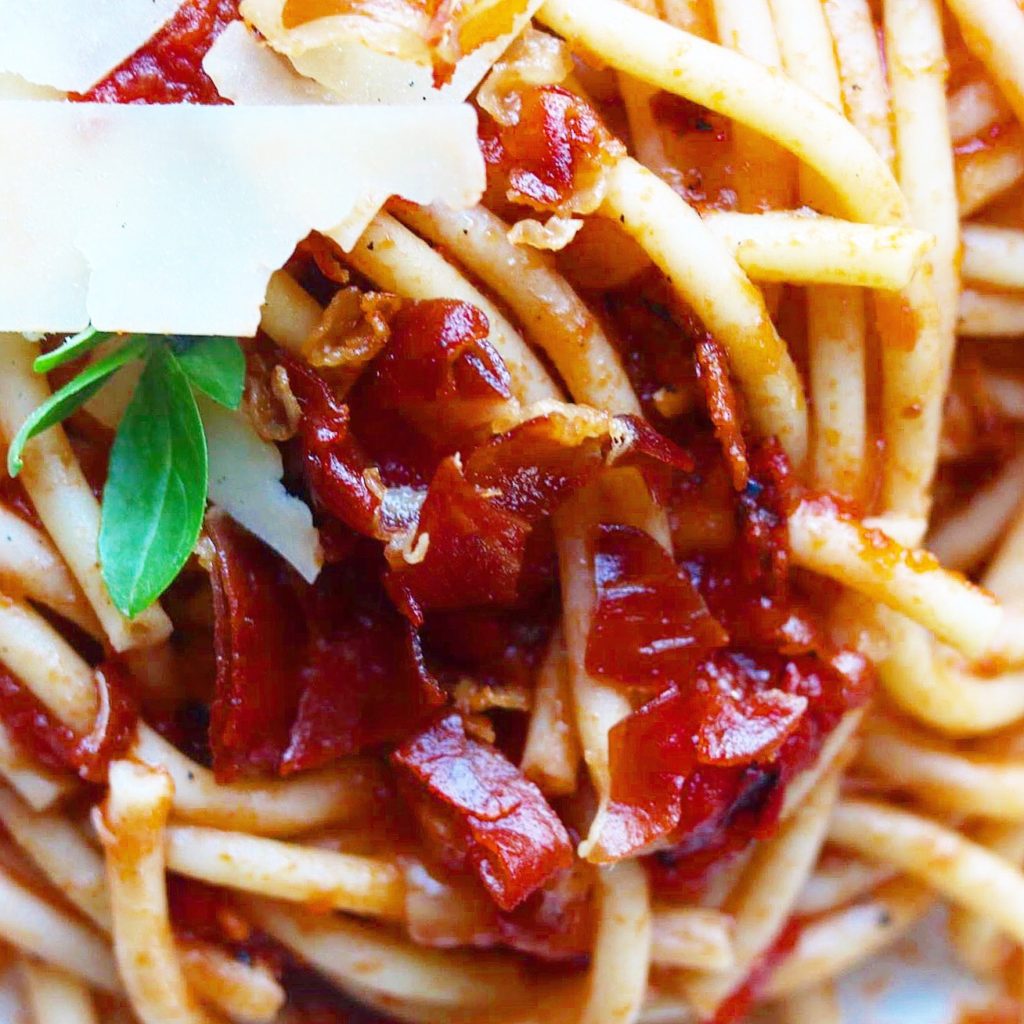
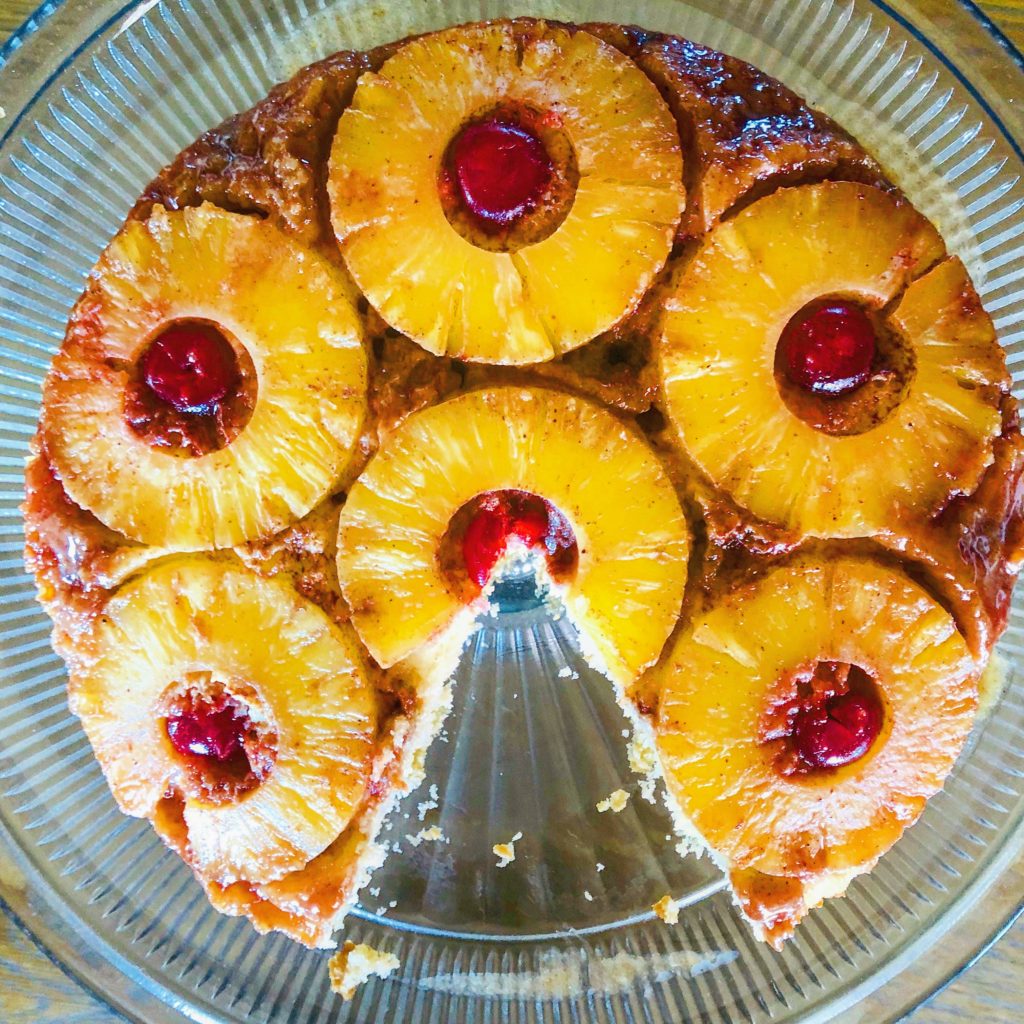
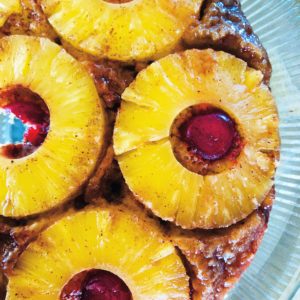
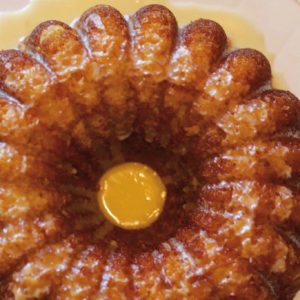
A Beautiful Rum Cake
This is my daughter-in-law’s recipe. After you have cooked the cake you stick holes with a toothpick all over the top, then pour the glaze over. Yum! that creates the most amazing, delicious cake.
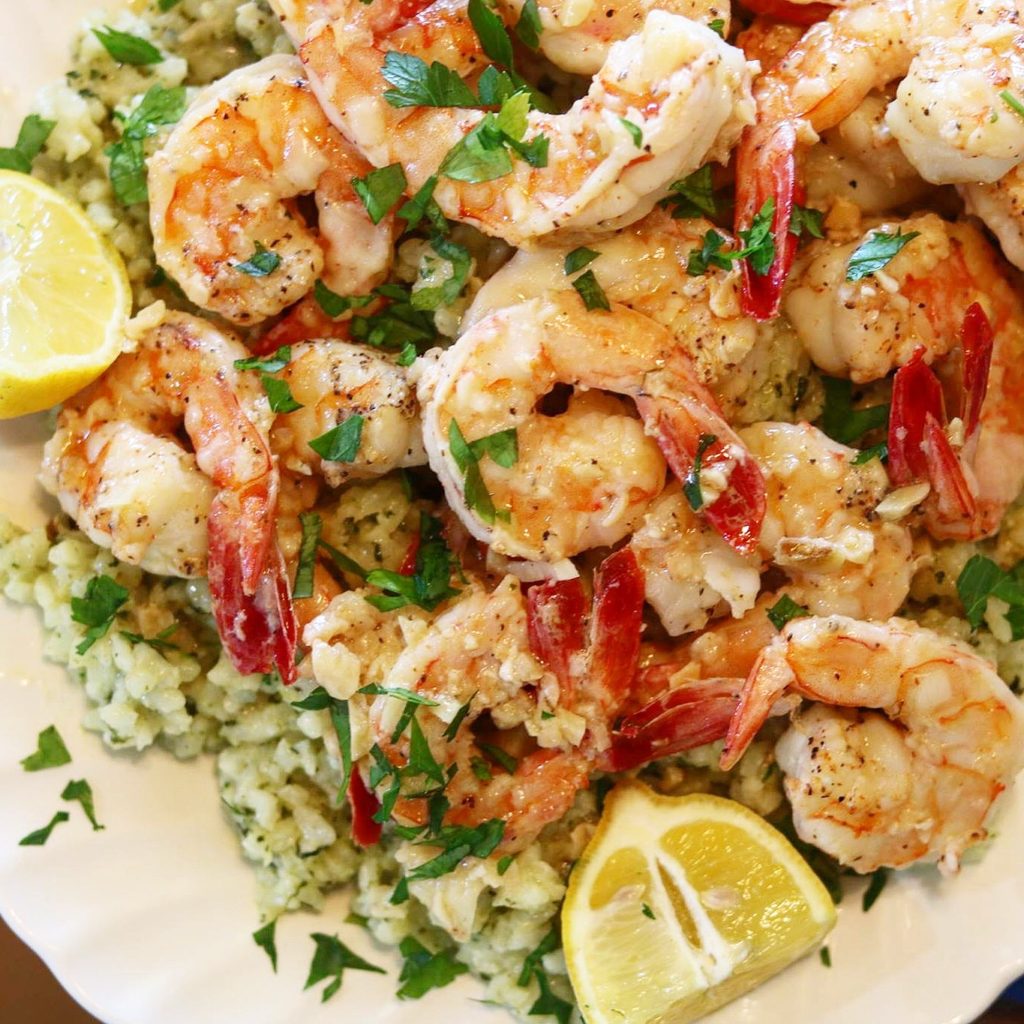
I served this for a birthday cake for my nephew after a meal of my Shrimp Scampi with Risotto. It was the perfect dessert for that dish. Here’s the link for the shrimp dish if you’d like to have it. https://the2spoons.com/shrimp-scampi-with-fresh-herb-risotto/
A Beautiful Rum Cake
Ingredients
- 1 cup chopped walnuts (optional)
- 1 18.25 oz yellow cake mix
- 1 3.4 oz package instant vanilla pudding mix
- 1/2 cup water
- 1/2 cup vegetable oil
- 1/2 cup rum ( I used a coconut liquer rum)
- 1/2 cup butter, melted
For the Glaze
- 1/4 cup water
- 1 cup white sugar
- 1/2 cup rum (I used a coconut liquer rum)
Instructions
For the cake
- Preheat oven to 325 degrees F (165 degrees C). Grease and flour a 10 inch Bundt pan. Sprinkle chopped nuts evenly over the bottom of the pan. In a large bowl, combine cake mix and pudding mix. Mix in the eggs, 1/2 cup water, oil, and 1/2 cup rum. Blend well. Pour batter over chopped nuts in the pan. Bake in the preheated oven for 60 minutes, or until a toothpick inserted into the cake comes out clean. Stick holes all over the top of the cake and pour the glaze over. Allow the cake to sit and cool in the pan, while it absorbs the glaze. When cool, place a plate on top of the cake and holding the plate tight against the cake pan, flip the cake upside down. Enjoy!
For the Glaze
- To make the glaze: in a saucepan, combine butter, 1/4 cup water, and 1 cup sugar. Bring to a boil over medium heat and continue to boil for 5 minutes, stirring constantly. Remove from heat and stir in 1/2 cup rum.