Please follow and like us:
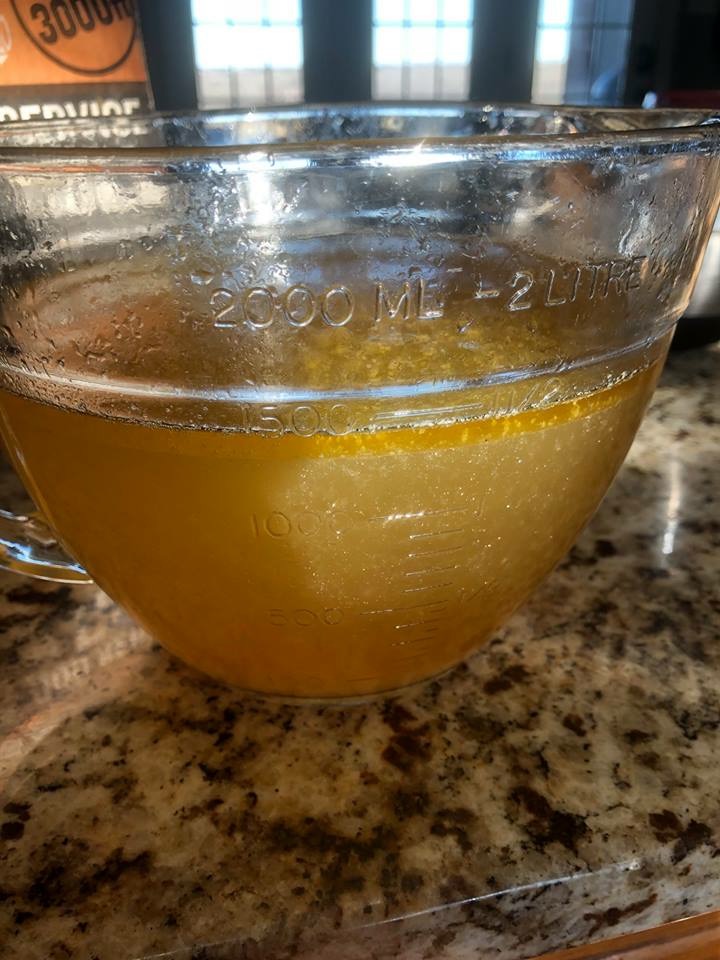
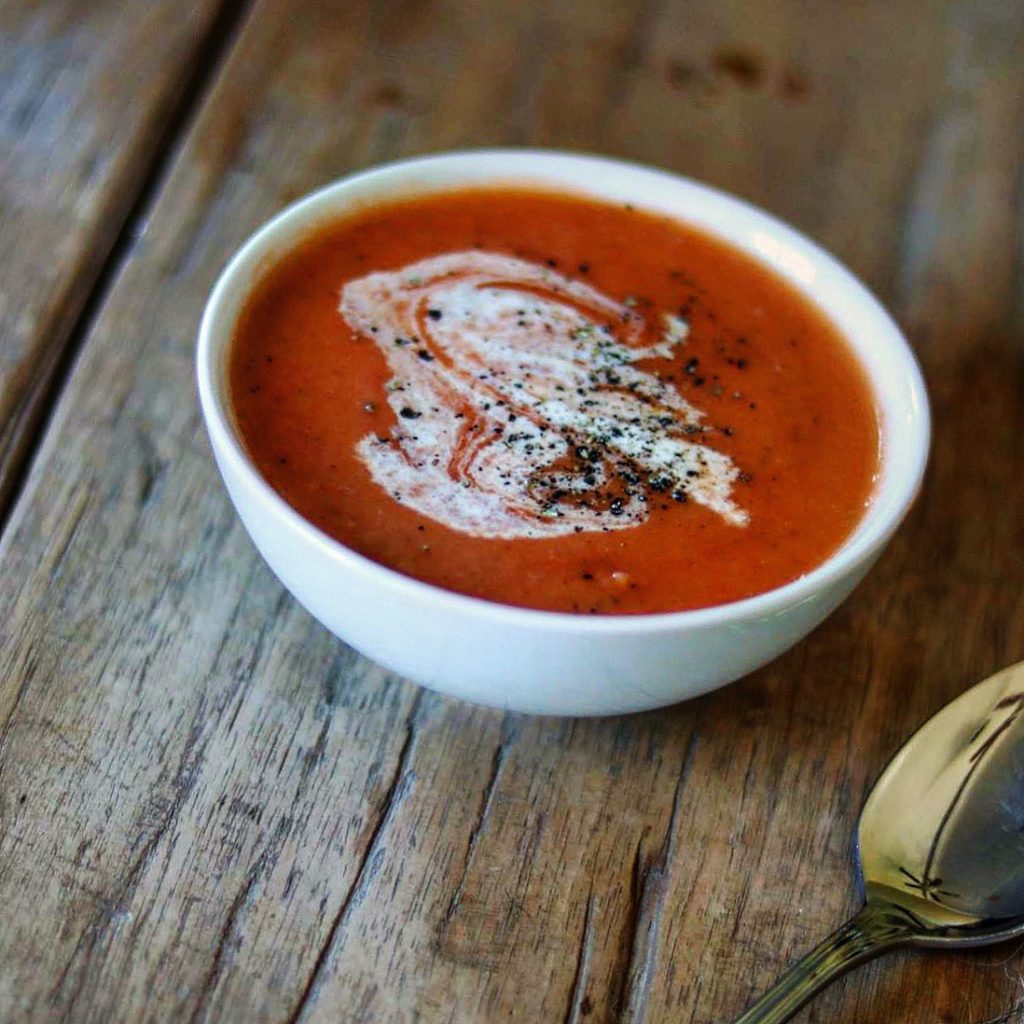
I always have chicken broth that I’ve made in my freezer.
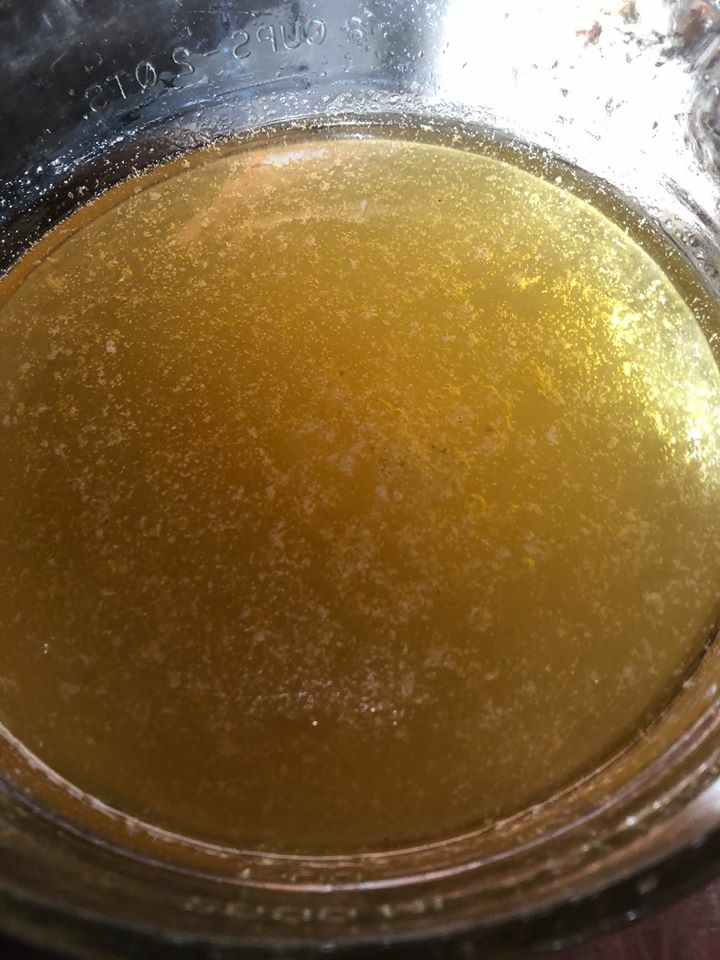
It’s just so easy to make and adds so much to your recipes, and it’s less expensive!
Here you go for the recipe!
Ingredients
Method
- Place the whole chicken in a large stock pot and add all the ingredients. Cover with water.
- Bring to a boil and cook until the chicken begins to fall off the bone.
- Remove the chicken from the broth and set aside to use in soup, chicken salad, chicken and dumplings, casseroles, etc.
- Strain the stock in a colander and discard the vegetables.
- At this point I like to chill the stock so the fat comes to the top and is easily discarded.