I’ve been eating smashburgers my entire life. This double meat, double cheese smashburger is nothing new to me. I don’t eat a double/double but for blog purposes, I forced myself! LOL!!
Before smashburgers world renowned like they are today, I grew up spending every summer at my “granny’s” cafe. She had a plate of ground beef balls on a plate in her restaurant refridgerator at all times. Fresh meat that had never been frozen that she had purchased from the local meat market next door, English’s.
She would place a ball of beef on the hot griddle and allow it to sit there for a few minutes so it’d begin to carmalize. Then she would turn it over, smash it on the hot griddle with a wide spatula, salt and pepper them. At that point she’d allow them to cook for a few minutes, then flip and add the cheese! Amazing! The very best burgers ever.

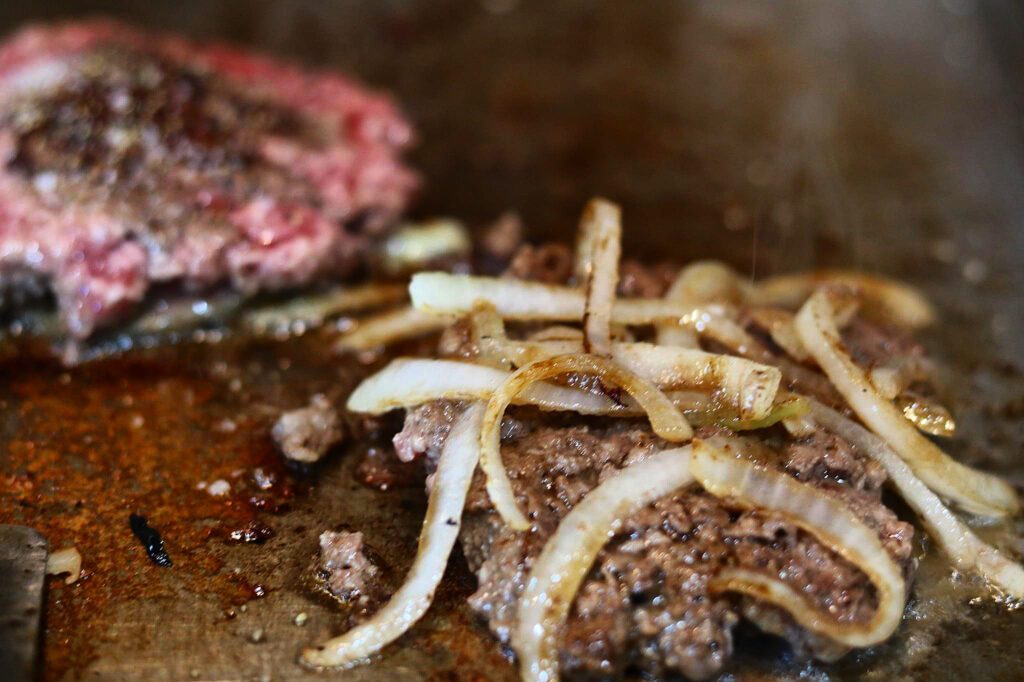
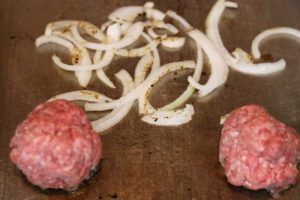
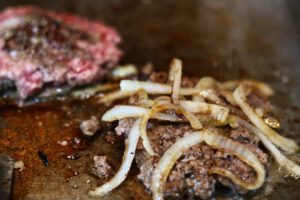
I added onions to the griddle that I will combine into the beef pattie.
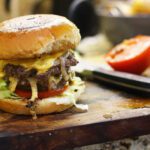
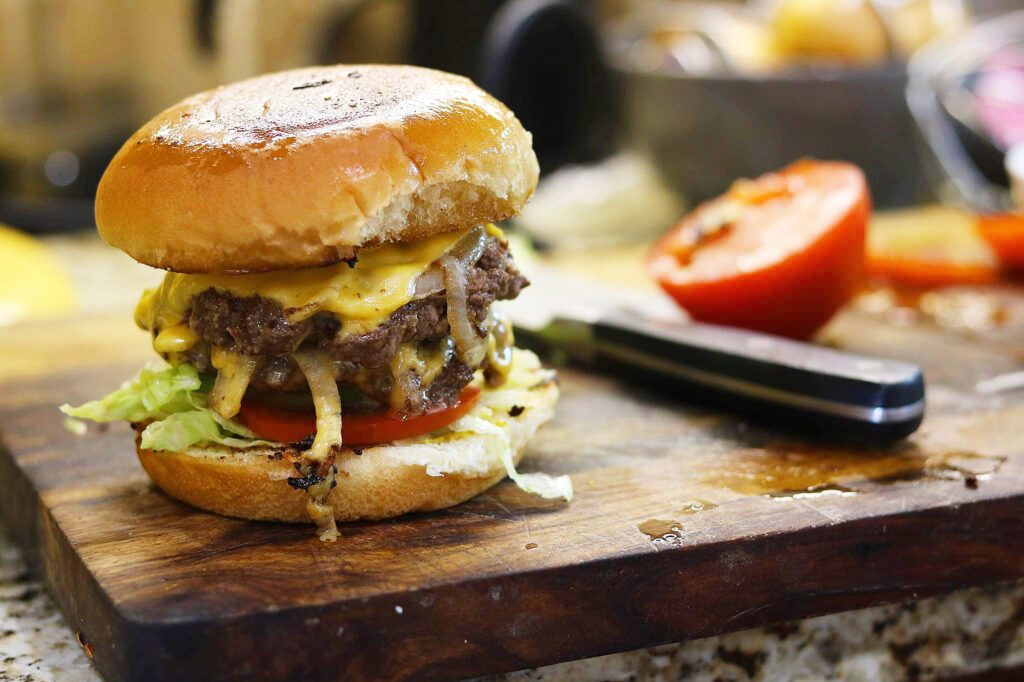
my favorite – love a double meat, double cheese smashburger.
I have a griddle that is built into my stove top. If you don’t these Lodge gridles are great. Here’s the link for those: https://amzn.to/3ASljKf.

Want another burger recipe? Try this Hatch Green Chile Cheeseburger! Amazing! we love a new mexico green chile cheeseburger.
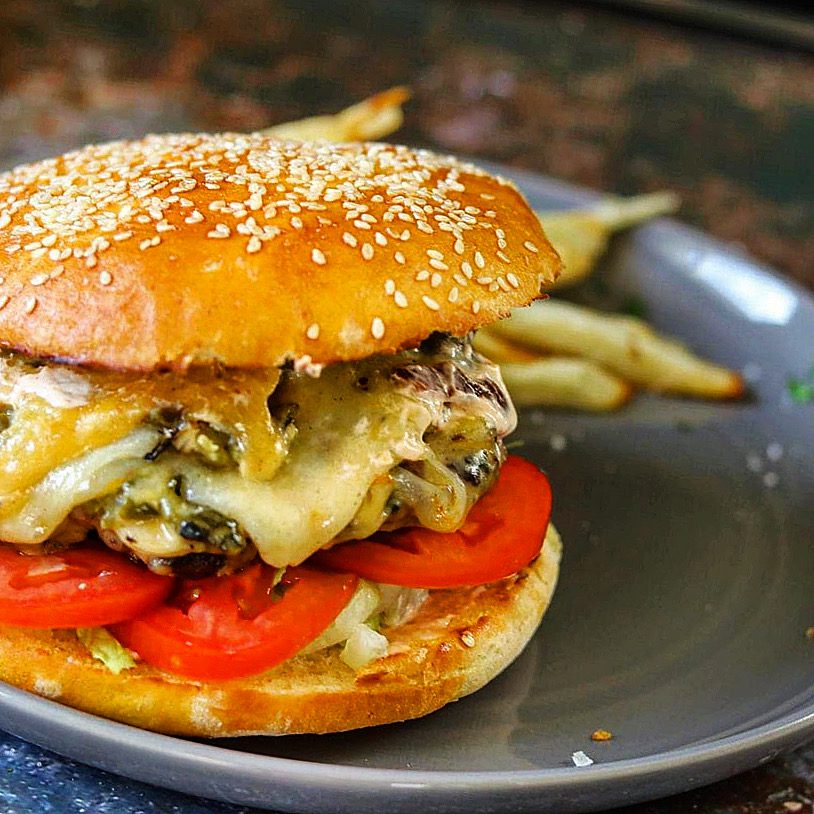
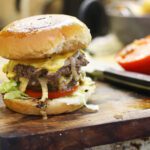
my favorite – love a double meat, double cheese smashburger.
Ingredients
- 2 lbs 80/20 ground beef (if you're making double-double)
- salt and pepper
- 8 slices American Cheese
- 4 hamburger buns of your choice
- Lettuce, sliced tomatoes, sliced pickles, sliced onions
- Mustard, Mayonnaise, Ketchup
Instructions
- Divide each pound of ground beef into 4ths. Roll into 8 balls of beef.
- Heat your griddle to 375 to 400 degrees. You want it hot when the beef hits the grill. When the grill is hotplace the 8 ground beef balls on the hot griddle and allow them to sit there for a few minutes. The beef will start to carmalize, that's what you want.
- In still a ball formation, flip it over, then with a solid spatula, or another type of press, smash the ground beef ball down to a pretty thin patty. Try to make them uniform as much as possible. Salt and pepper the patties after you smashed them.
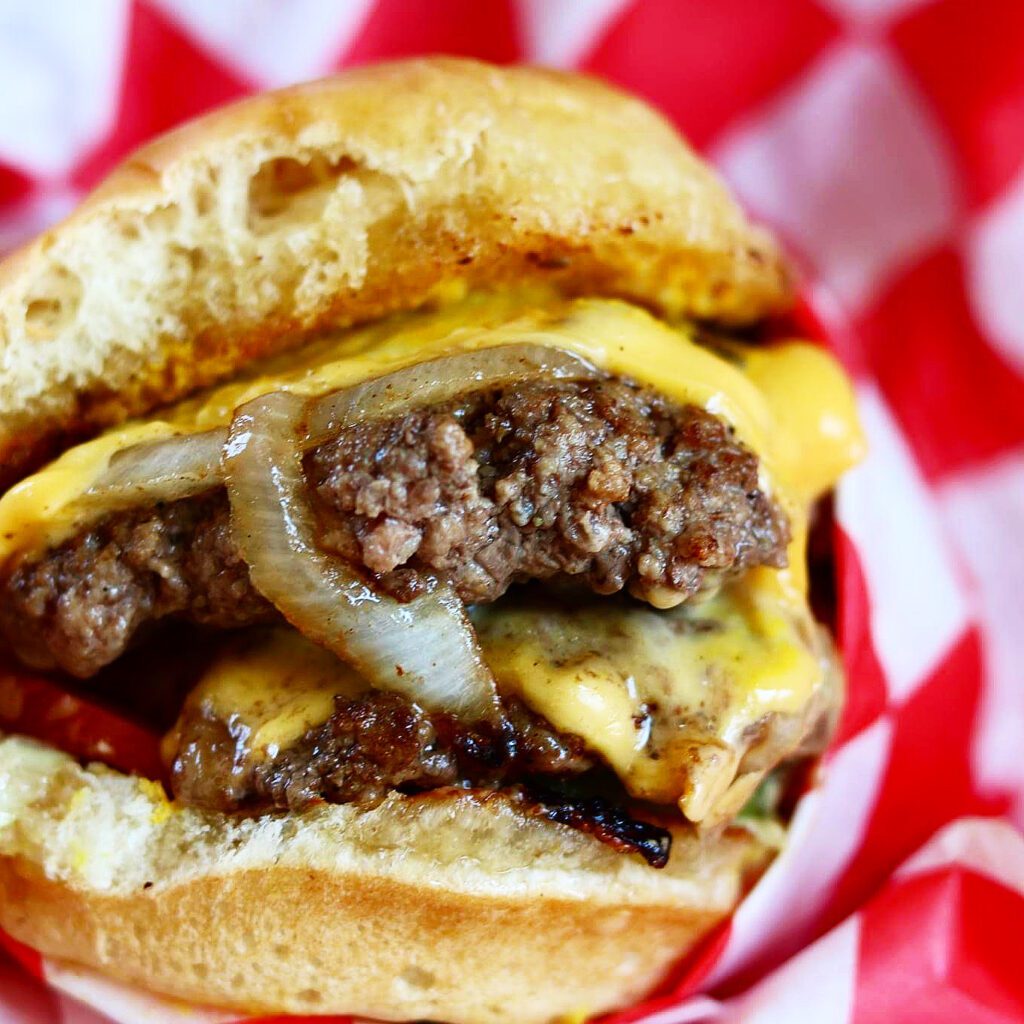
- Allow them to cook on the first side for about 5 minutes or so, then flip them over to cook on the other side. Immediately add the cheese. By the time the cheese has melted, the burgers will be done. If you're making double-double, stack a patty onto another patty. Prepare your buns.
- I butter my buns and heat them on the grill turning to toast both sides. Add your favorite spread to the buns. Add a lettuce leaf to the bottom, then the onions, pickles and tomatoes, topping with your double meat and double cheese patties. Place the top on and get ready for the juices to run down your arm!!! Enjoy!