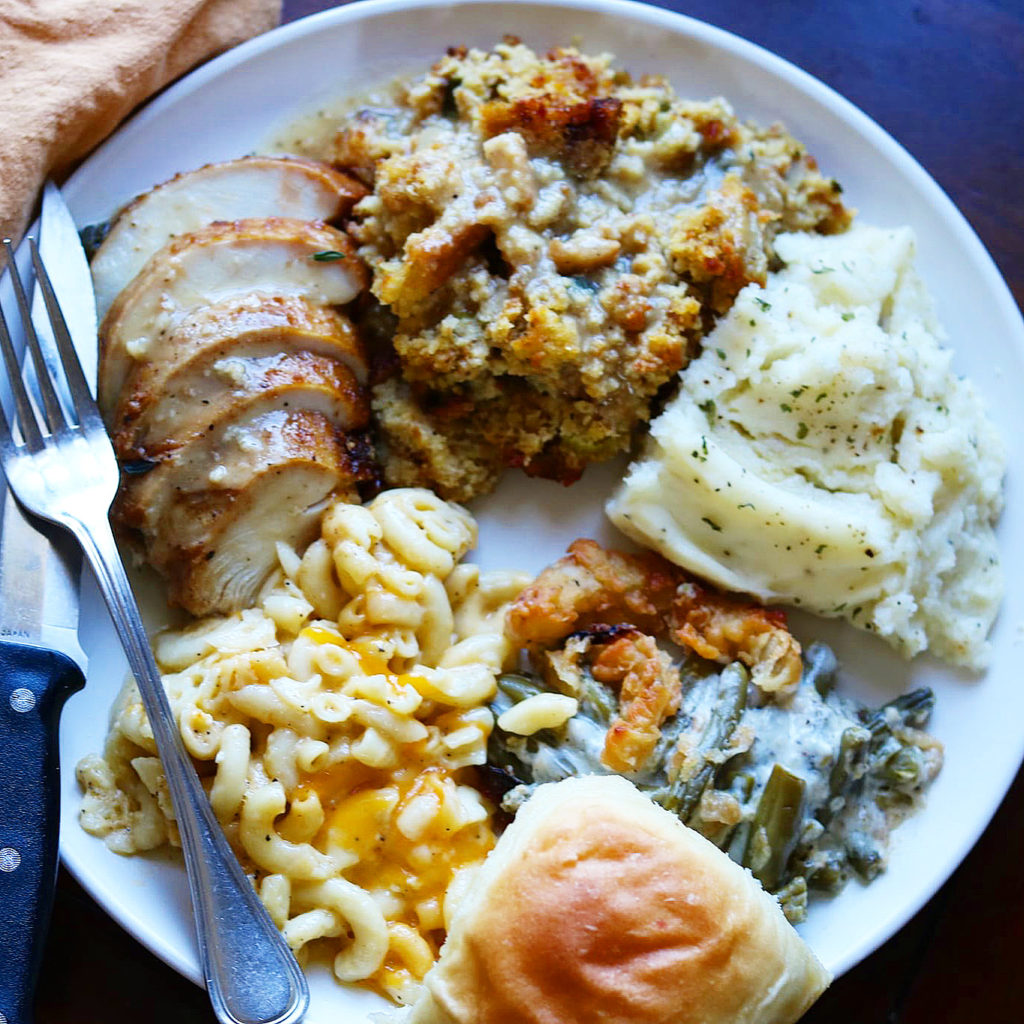
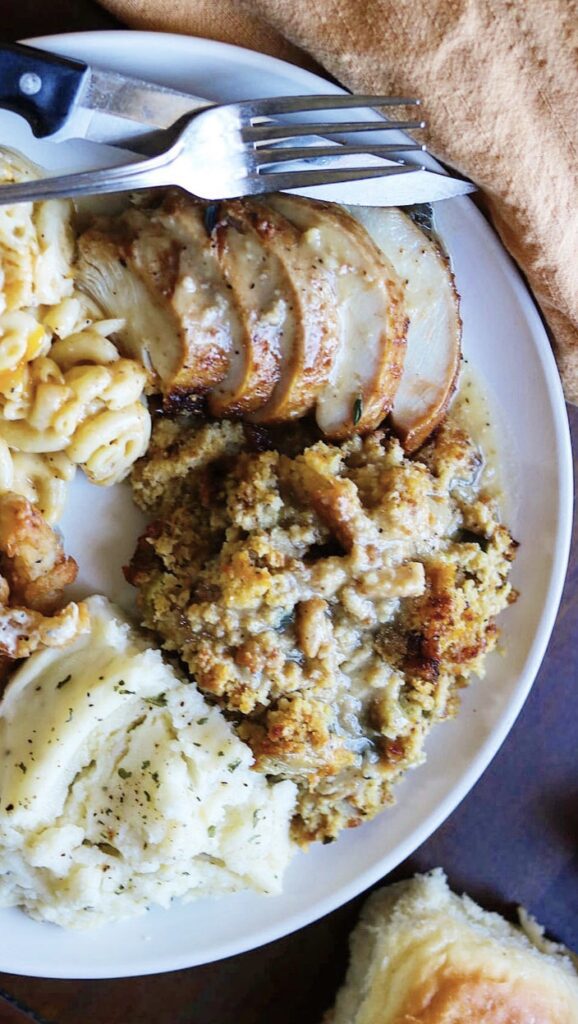
Honestly? How can you have Turkey and dressing and gravy without mashed potatoes? Our favorite way for Thanksgiving is just simple and loaded with butter. Yes, there is a lot of butter, but this is Thanksgiving and a special occasion calls for special side dishes. These are so delicious and so easy.
Everyone ask, what potatoes should I use? The answer is the Russet Potato. They are starchy, not waxy, they are dry and mealy, perfect for mashing. A great alternative is Yukon Gold Potato.
Another question is, what’s the best way to mash them? I use a potato ricer. You can also use a hand masher or a food mill if you have one. This is the kind I have: https://amzn.to/2YMBAmb. They are the best!

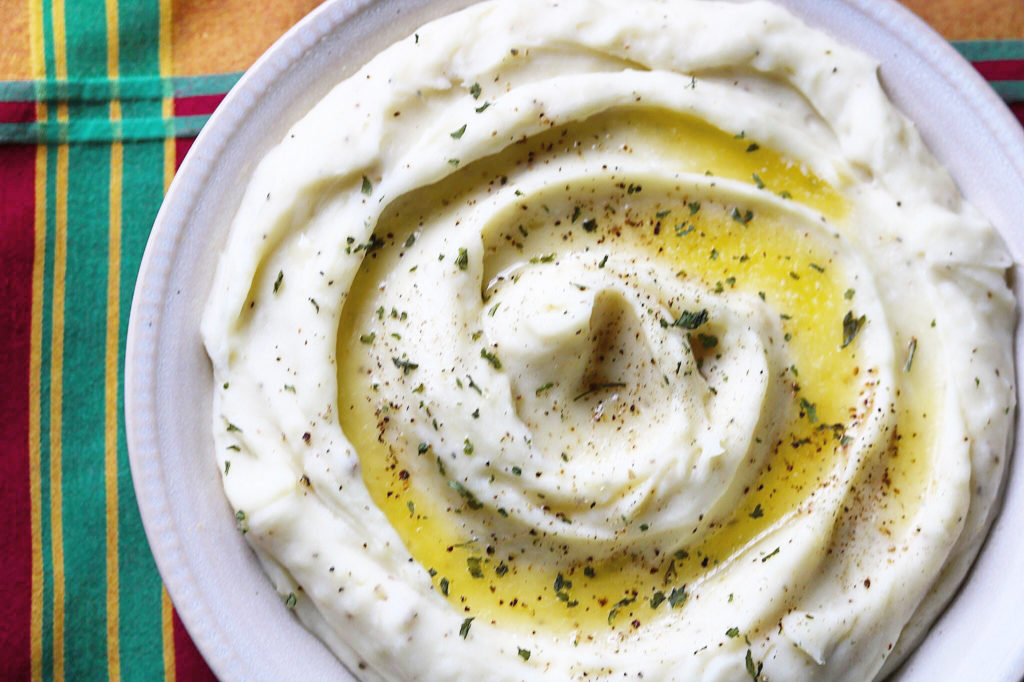
Delicious Buttery Mashed Potatoes

Here’s another mashed potato recipe I love! It has fried shallots on top! Yes! So delicious and a great presentation. Popular – Creamy and Buttery Mashed Potatoes with Fried Shallots

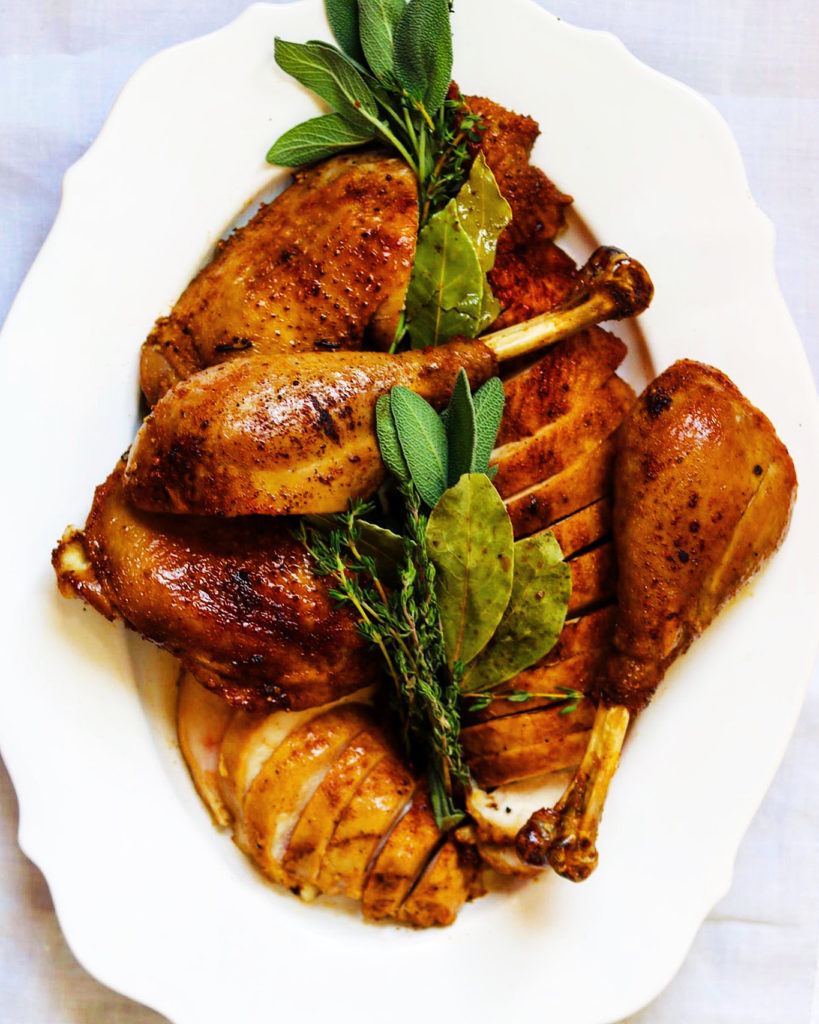
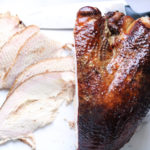
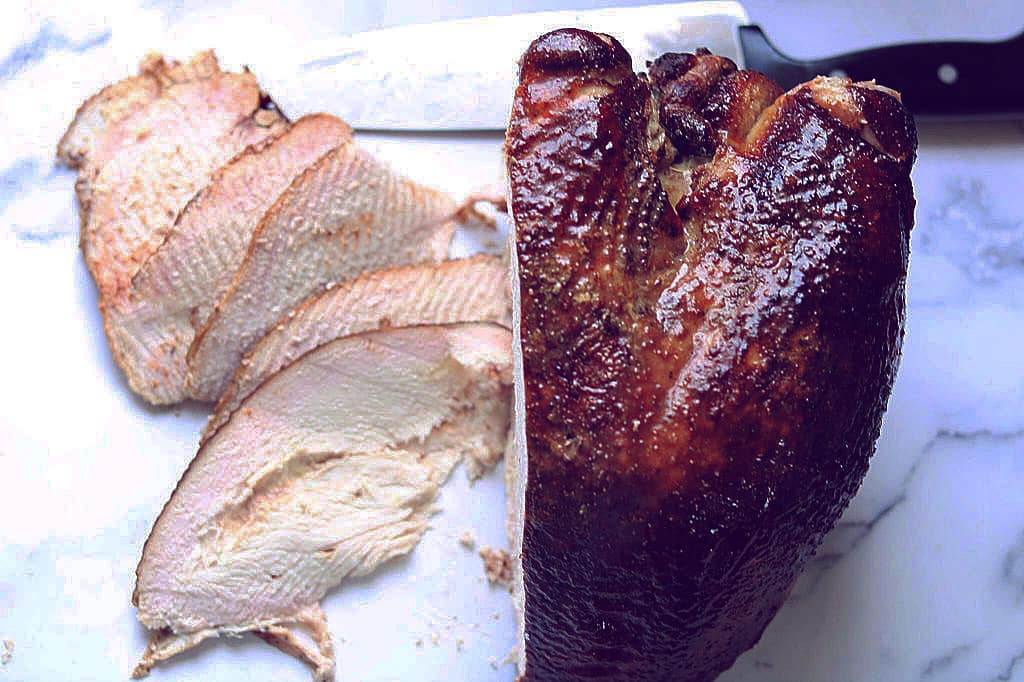
Serve these with my perfect Turkey and Dressing!https://the2spoons.com/the-best-southern-cornbread-dressing/ and https://the2spoons.com/beautiful-dry-brined-spiced-roast-turkey/. Best dressing and turkey recipe!
Hope you like this recipe!
Ingredients
- 4 or 5 lbs Russet potatoes
- 1-2 Tbsp Kosher Salt
- 1 1/2 stick unsalted butter, sliced
- 1/2 to 2 cup heavy cream or whole milk
- 2 tbsp melted butter for pouring over the finished mashed potatoes
- Chopped fresh parsley for garnish
Instructions
- Dice potatoes and cook in a pan of salted water until very tender, about 20 minutes, checking near the end with a fork for doneness. Try to have uniform pieces to allow even cooking. When done drain well in a colander. Rice the potatoes back into the pan, put them through a food mill or mash your favorite way. Add the butter and salt and pepper and stir. Check one more time for the seasoning. Add the potatoes to a serving bowl, pour the melted butter and add chopped parsley.
Notes