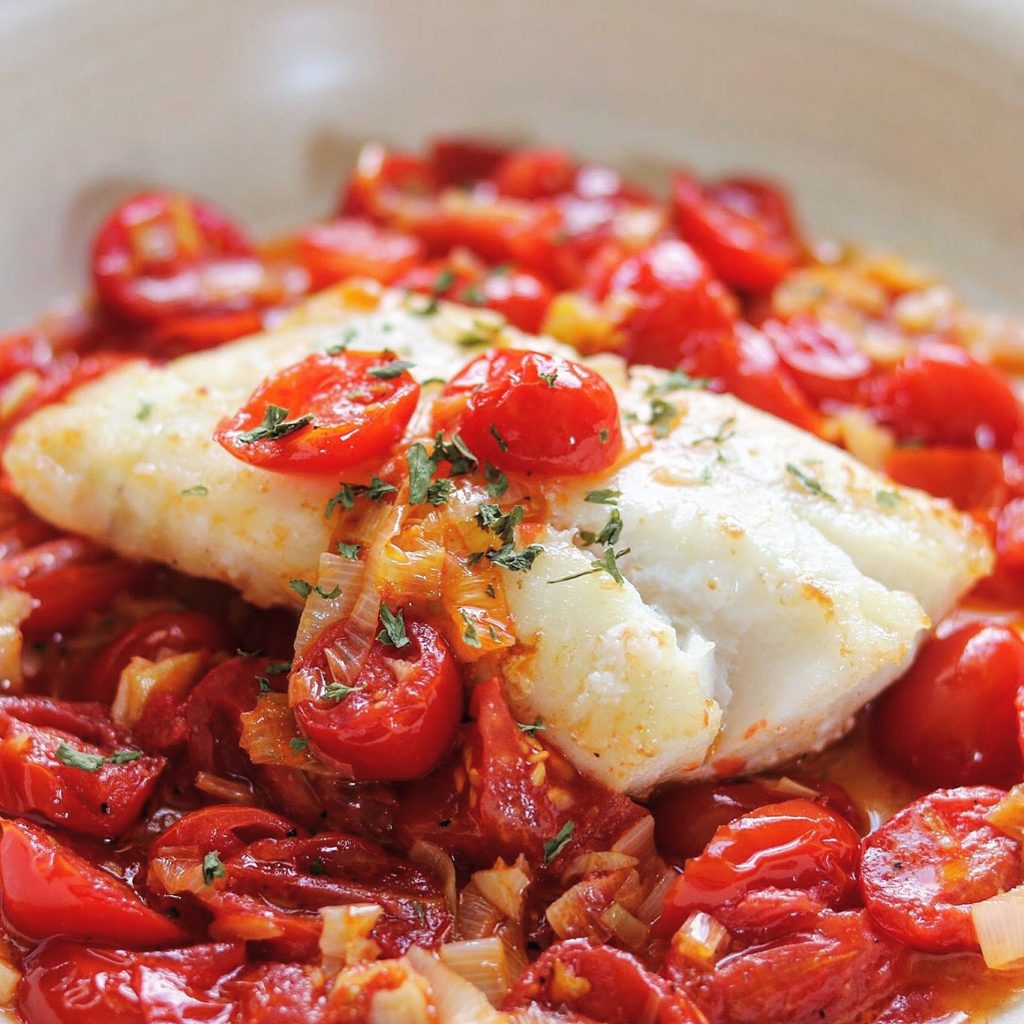

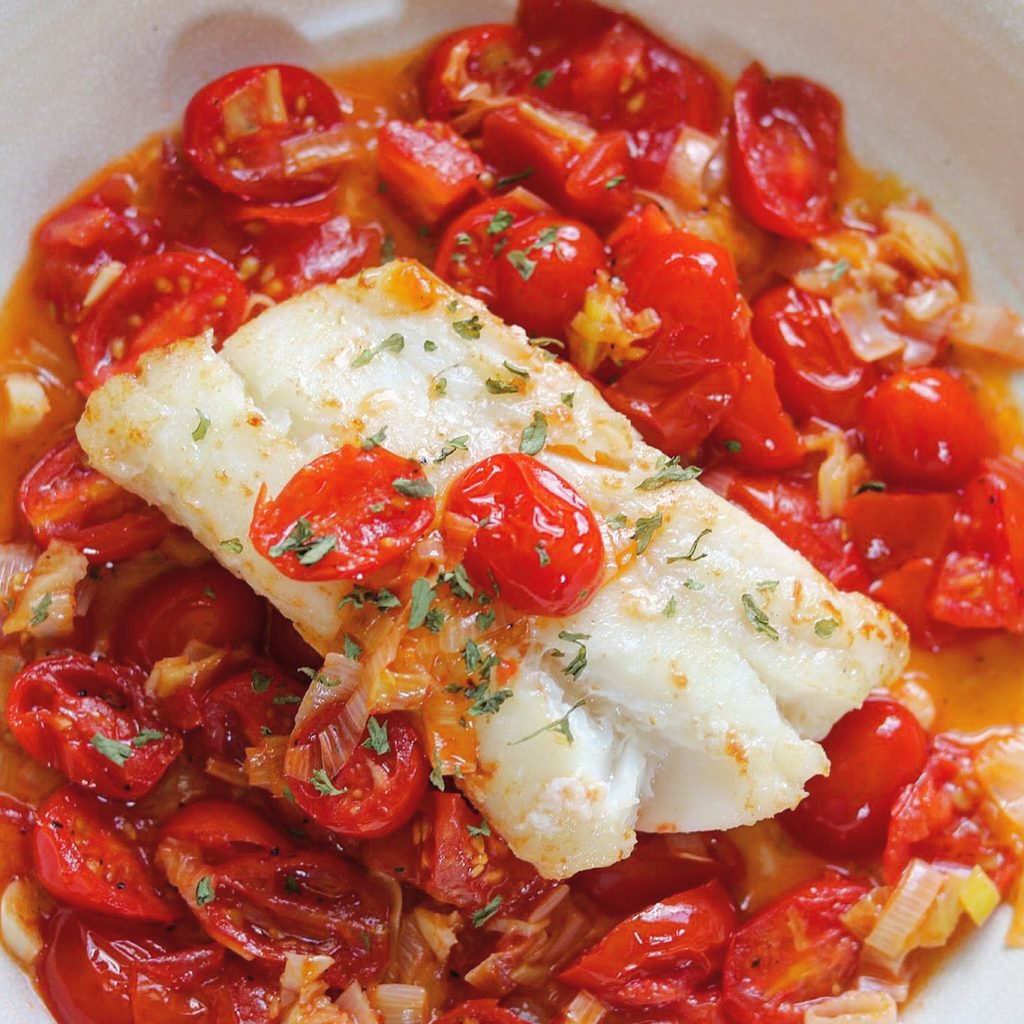
This Skillet Cod with Brown-Butter Tomato Sauce is absolutely delicious! It is a quick and easy weeknight dish! The brown-butter adds a nuttiness to the dish and is brightened with barely-cooked fresh tomatoes with a splash of white wine, then spooned over pan-seared cod. There’s a sweetness, then a little tartness from the fresh cherry tomatoes.
I love a dish like this. The entire time I was eating it I was thinking, this is so good! I wished I had made more cod because I could have eaten two pieces!
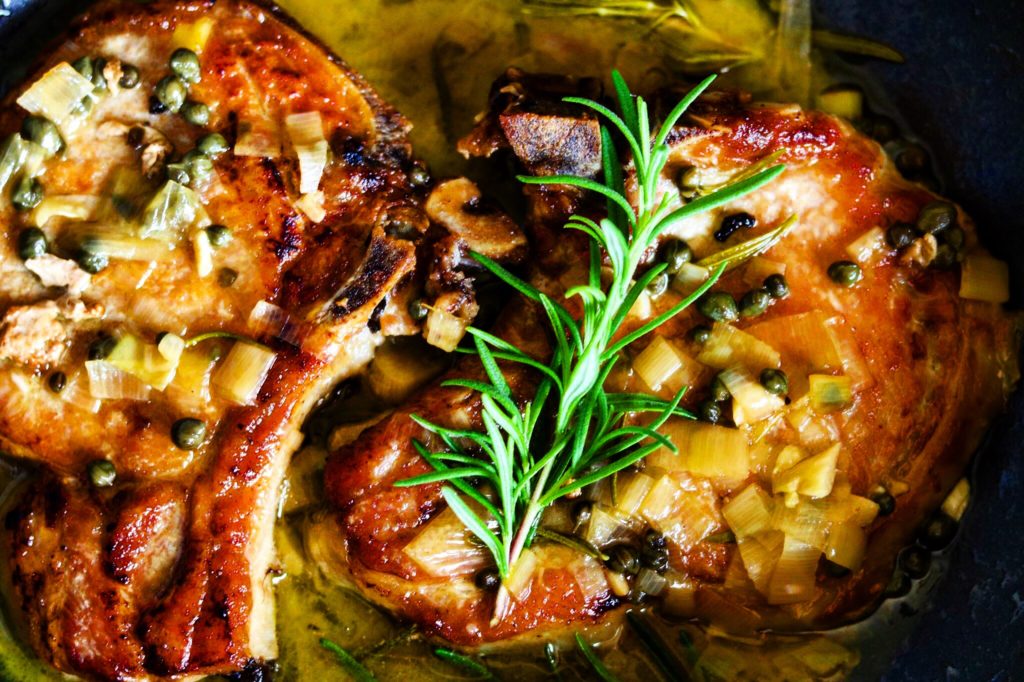
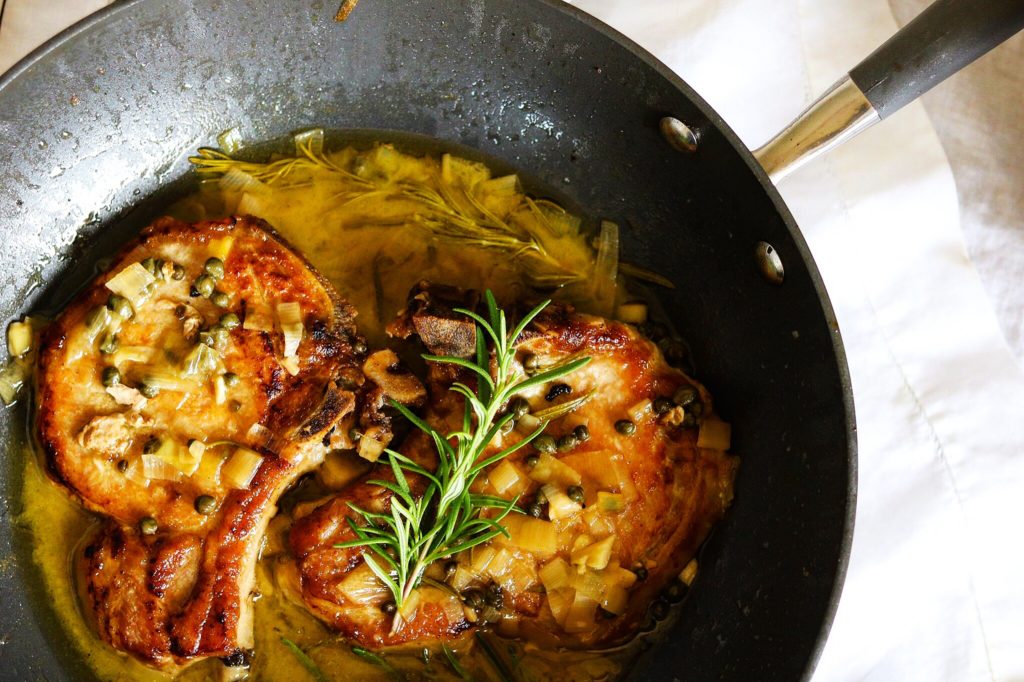
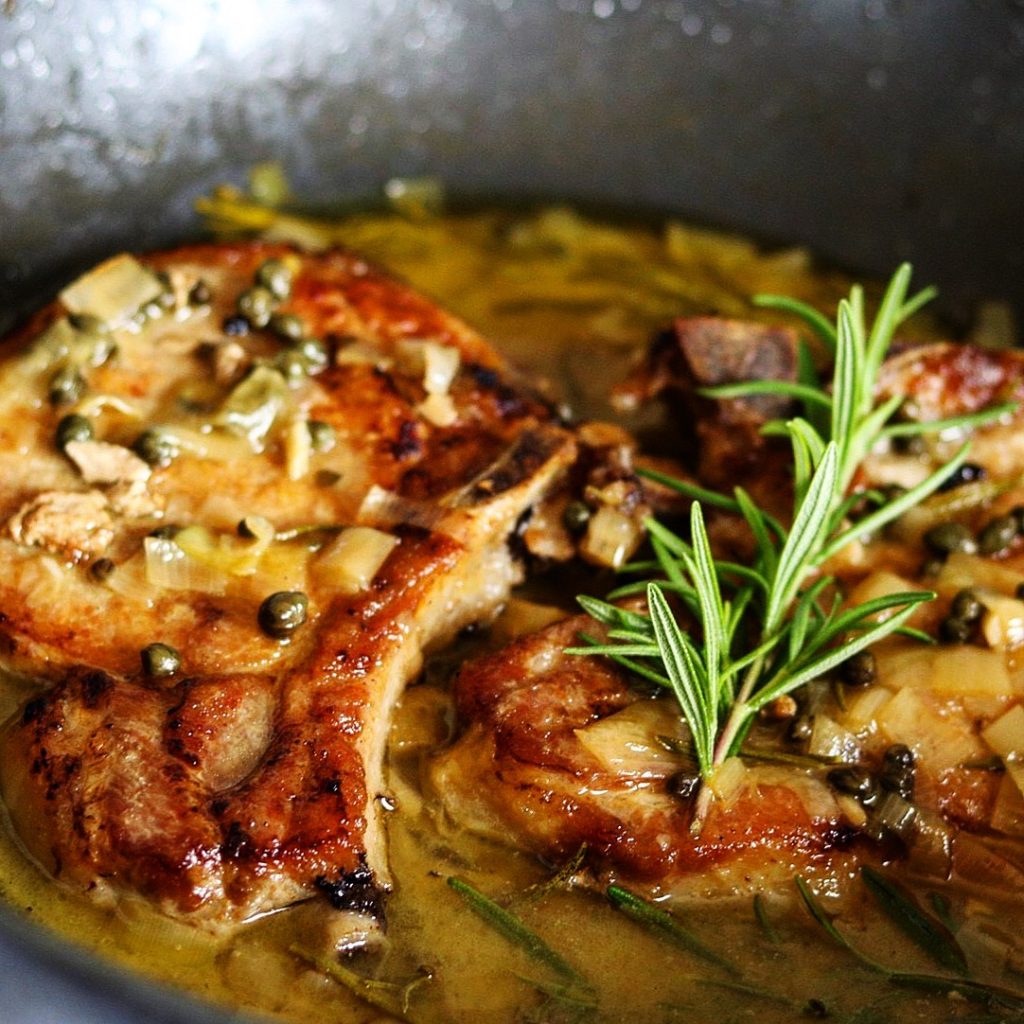
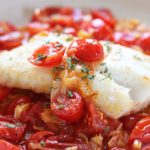
Perfectly Cooked – Skillet Cod with Brown-Butter Tomato Sauce
If you aren’t familiar with brown-butter I’m adding a tutorial just to give you an idea. You think you’ll be burning the butter….so hope this helps. http://dish.allrecipes.com/browning-butter/.
I saw this dish on Instagram that Saveur had posted and I just had to make it! I’m so glad I did.
I just feel like I’m eating so healthy! I try to add fish to our diets a couple of times a week. Just look at these health benefits cod offers: https://www.organicfacts.net/cod-fish.html.
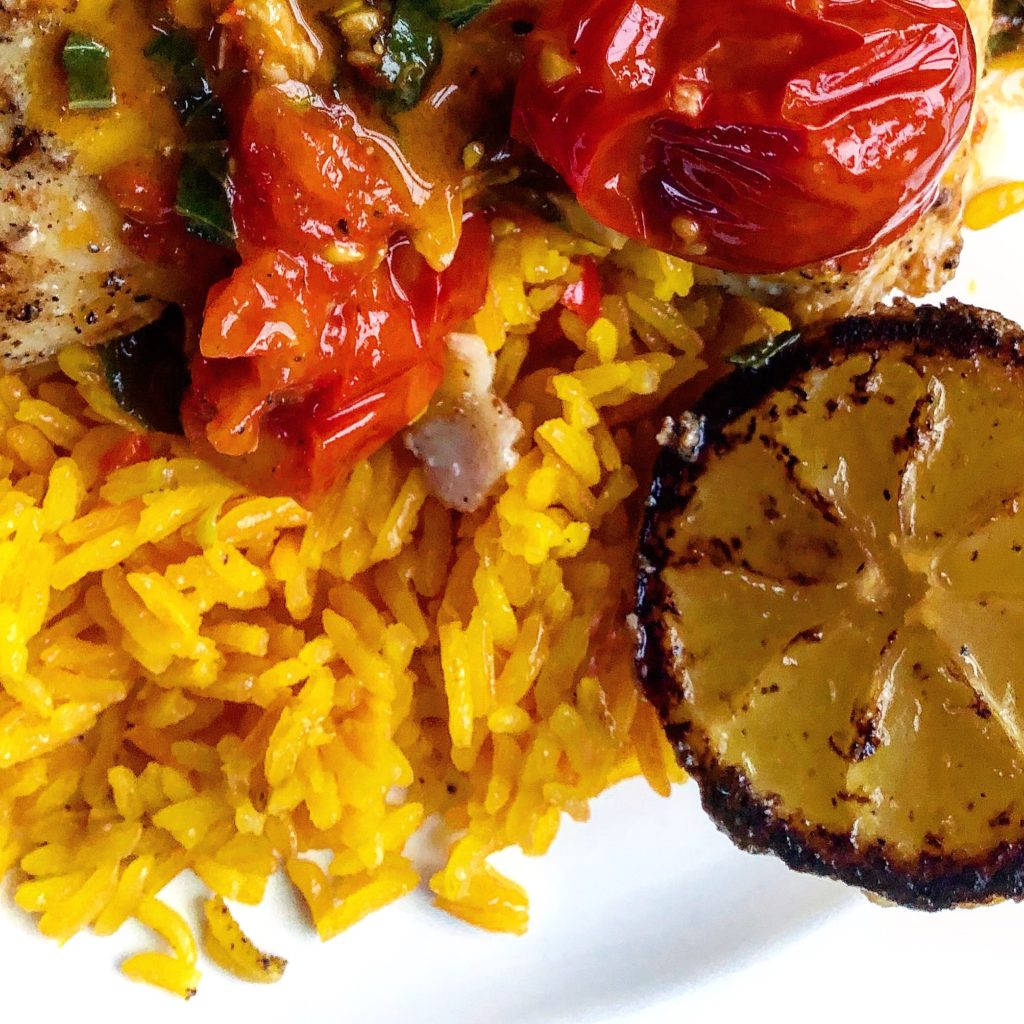
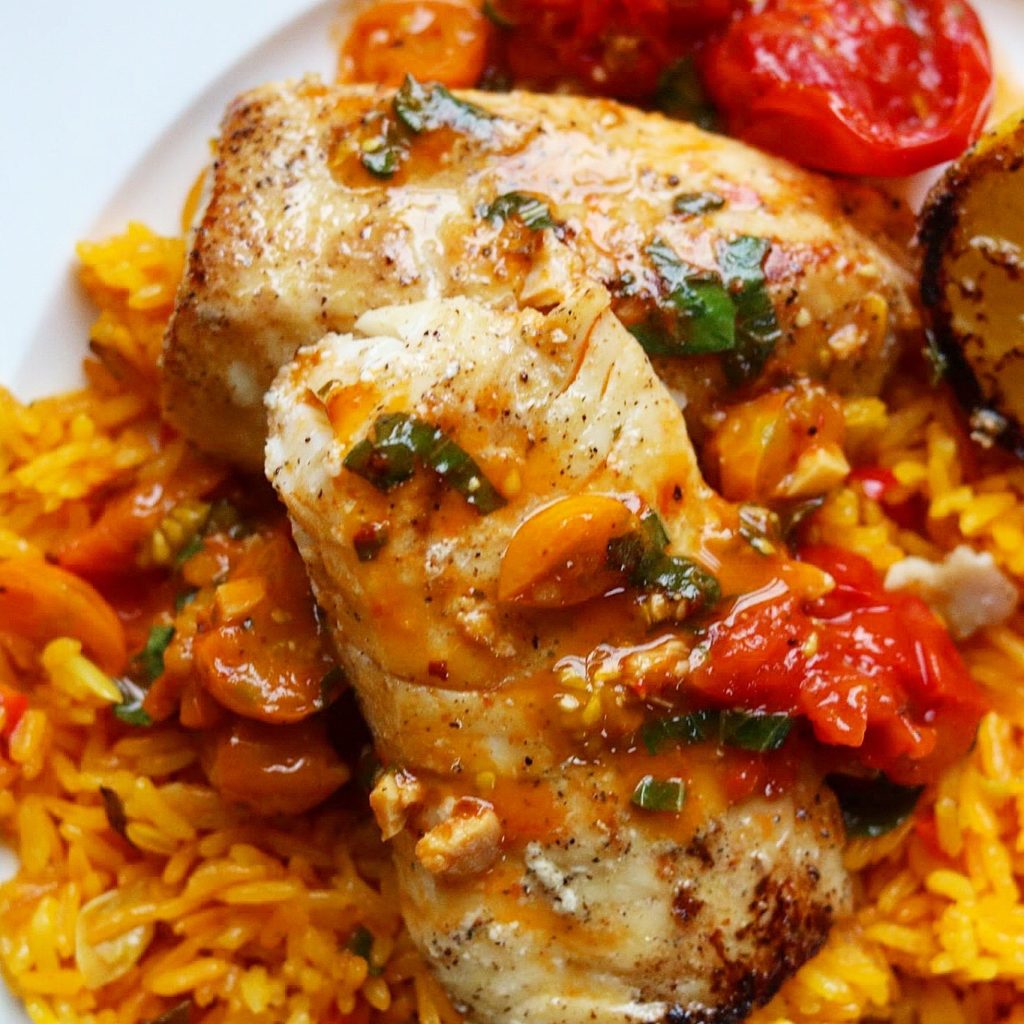
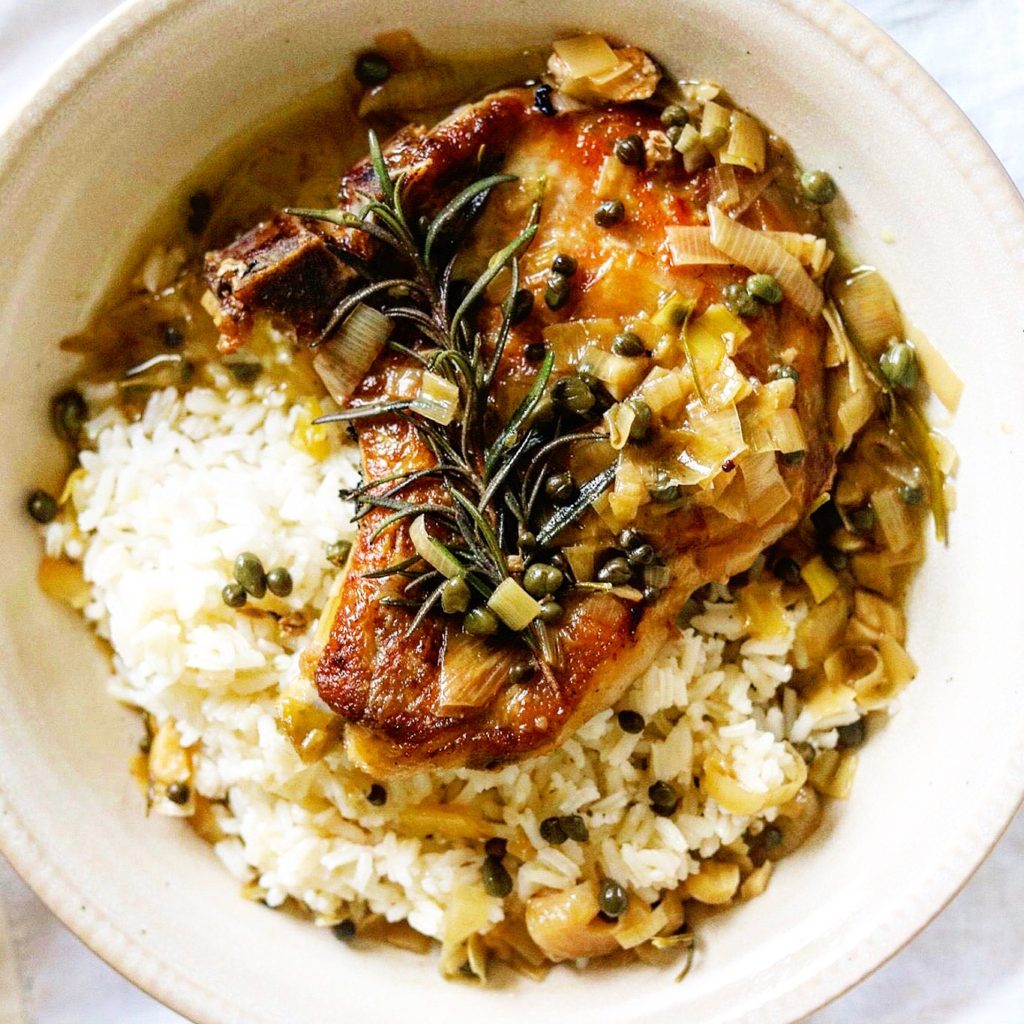
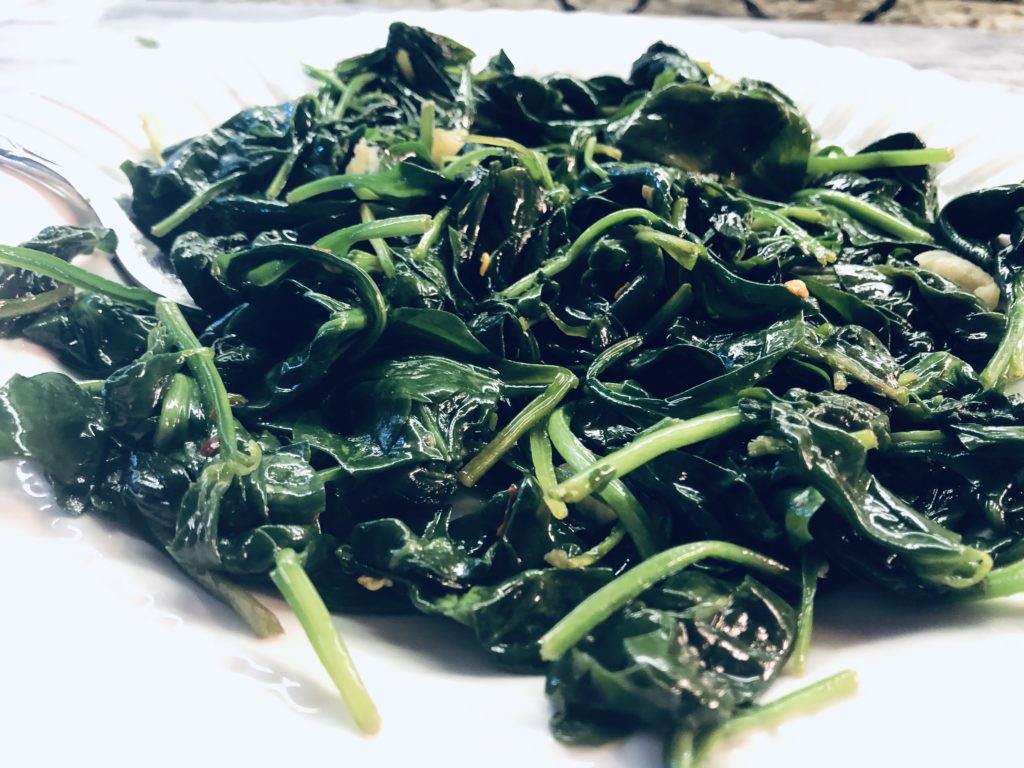
Sauteed spinach, kale, a nice salad would all be a great side dish. My rice pilaf would be perfect to serve alongside this to sop up all of the juices from the tomatoes. Here’s the link if you want to make the pilaf: https://the2spoons.com/yummy-rice-pilaf-perfect-side-dish/.
Make this recipe! I think there are so many other fish that would work. Catfish or Red Snapper would be delicious. Please make this dish for your children, your family. Please start cooking from scratch for your children.
Skillet Cod with Brown-Butter Tomato Sauce
Ingredients
- 2 6 oz. skinless cod fillets
- kosher salt
- freshly ground black pepper
- 1 tbsp. extra virgin olive oil
- 4 tbsp. unsalted butter, divided
- 1 medium shallot, thinly sliced (1/4 cup)
- 1 medium garlic clove, thinly sliced
- 7 oz. mixed cherry and grape tomatoes, halved
- 2 tbsp white wine
- 2 tsp. coarsley chopped flat leaf parsley for serving
Instructions
Pat the fillets dry with paper towels, then lightly season all over with salt and pepper; set by the stove. Hold a large, heatproof rimmed plate under hot running water to warm, then pat dry and set by the stove.
In a large stainless-steel skillet over medium-high, heat the oil with 1 tablespoon of the butter. When the foam begins to subside, add the fillets and cook without disturbing until the fish is lightly browned and turning white and opaque about ¼ of the way up from the skillet, 1–2 minutes. Using a wide, thin metal spatula, gently flip the fillets, then continue cooking until the other side is lightly browned and turning white and opaque about ¼ of the way up from the skillet, 1–2 minutes more. Carefully transfer to the warm plate, cover tightly with an inverted bowl or aluminum foil, and set aside in a warm place to steam while you make the sauce.- Return the skillet to medium-high heat, add the remaining 3 tablespoons butter, and swirl to melt. Cook, using a wooden spoon to scrape the bottom of the skillet frequently, until the foam completely subsides, the solid milk particles sink to the bottom and turn a deep golden brown, and the butter takes on a toasted fragrance, 2–3 minutes. Add the shallot and cook, stirring and shaking the skillet continuously, until it just begins to soften, about 1 minute. Add the garlic and cook until fragrant, 30 seconds. Add the tomatoes and cook, stirring gently without crushing them, until they are heated through and beginning to soften and turn jammy, and their juices are silky and slightly thickened, 4–5 minutes. Add the wine and continue cooking until the alcohol evaporates, 15–30 seconds more; remove from the heat. Uncover the fish (it should now be cooked through), and if desired, transfer to a large rimmed platter or a shallow bowl. Pour the sauce over the fish, top with parsley, and serve immediately.