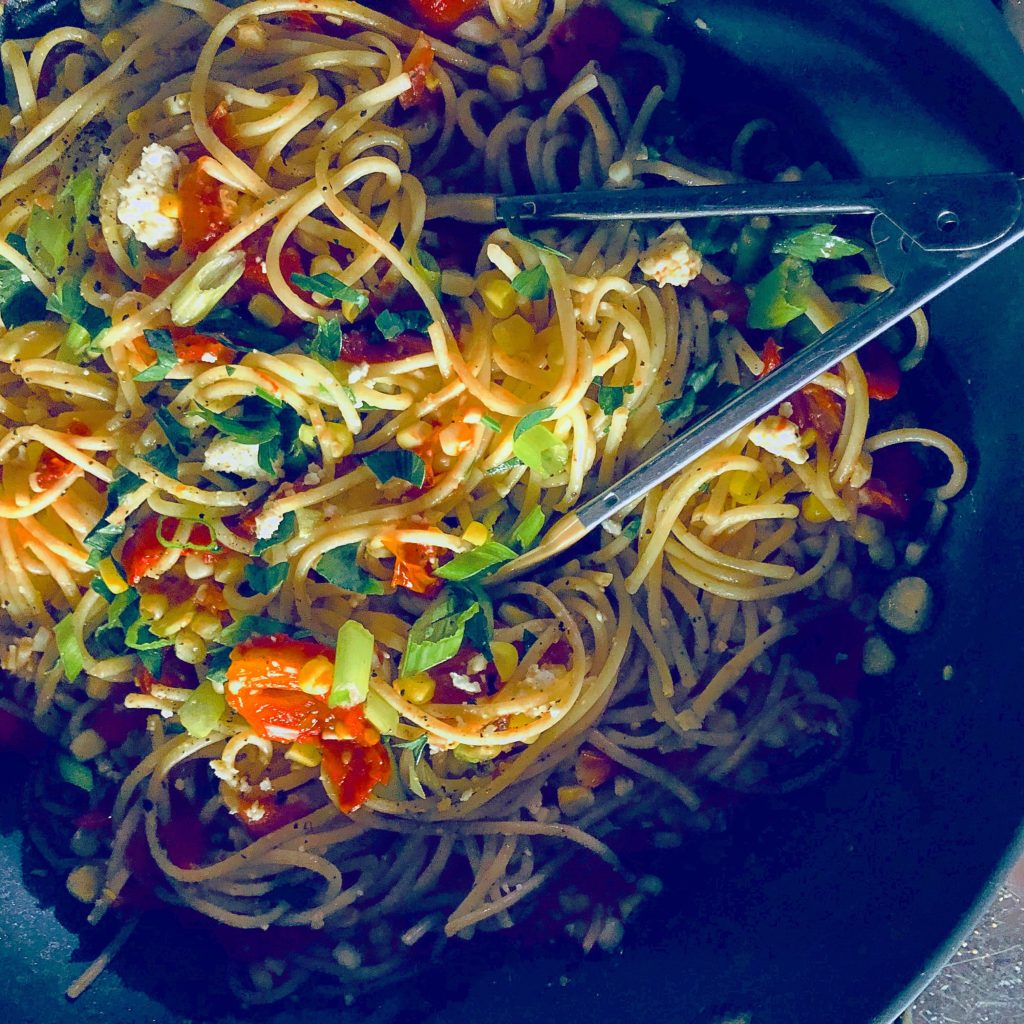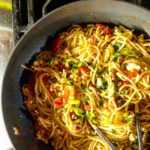
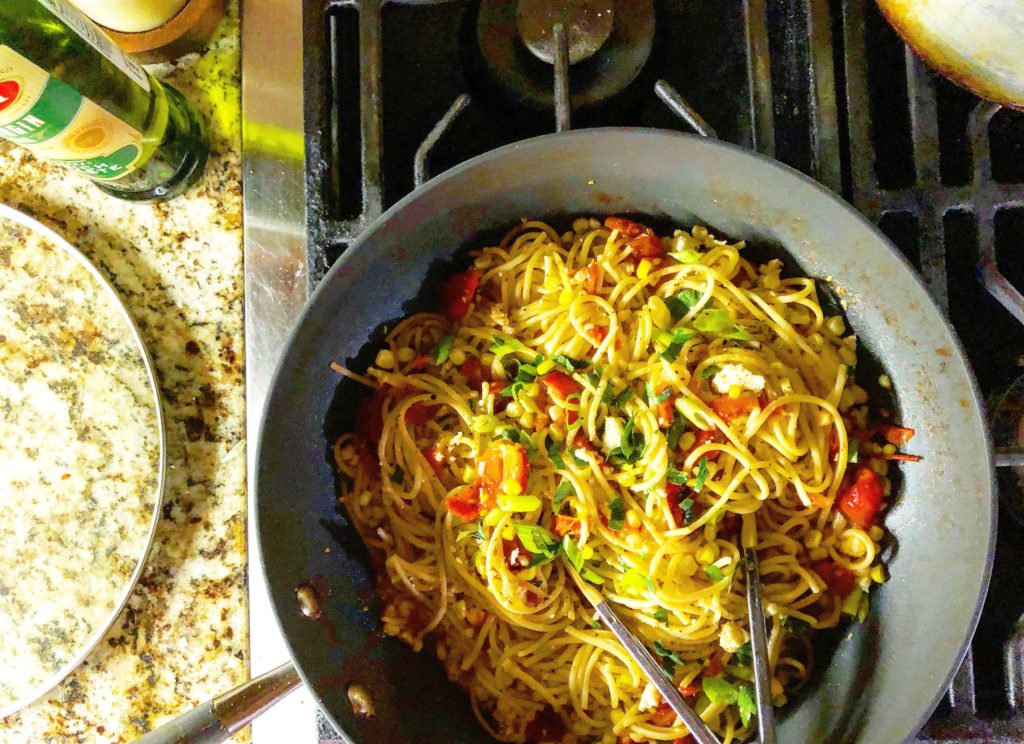
This Summer Pasta with Fresh Corn, Roasted Red Peppers, and Cherry Tomatoes literally came together in the time it took to boil the pasta! This is a perfect dish for your family when you need to throw together a fast meal. If you wanted to add protein, sliced grilled chicken breast added to the finished dish would be wonderful, or you could add Italian sausage at the beginning of cooking the dish by browning it before you add the garlic and red pepper flakes.
Loaded with fresh corn, roasted red pepper, ripe cherry tomatoes, green onions, lots of garlic and finished with cotija cheese, this pasta dish is absolutely delicious. Cotija Cheese may be a surprising addition but it is the Parmesan of Mexican Dairy. This aged cheese (grilled corn fame) is for sprinkling with abandon for a salty, creamy topping to salads, tostadas, enchiladas, pasta, and more. You know how good it is on grilled corn; it is equally exceptional with the fresh corn in this pasta recipe. I purchased the HEB brand of Queso Cotija https://www.heb.com/product-detail/h-e-b-queso-cotija/606238, however, there are many brands.
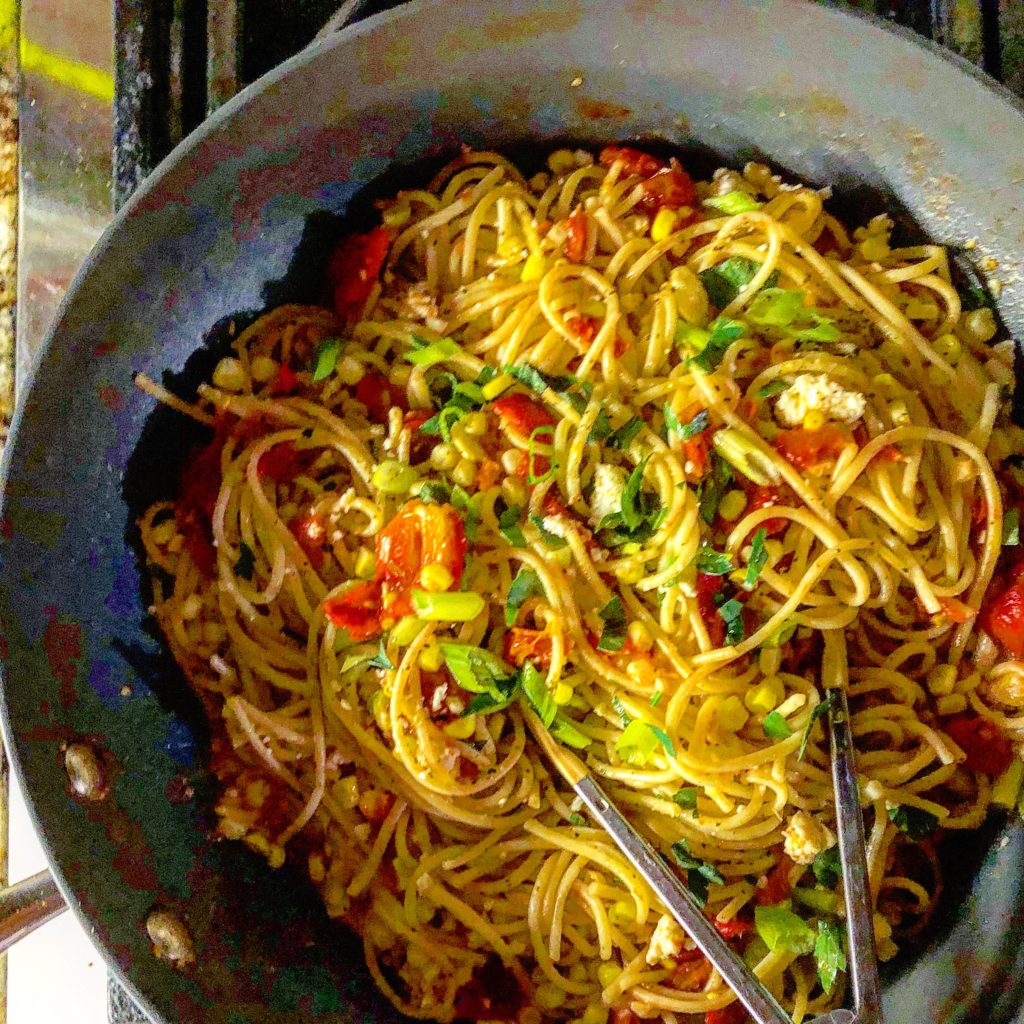
Summer Pasta with Fresh Corn, Roasted Red Peppers, and Cherry Tomatoes
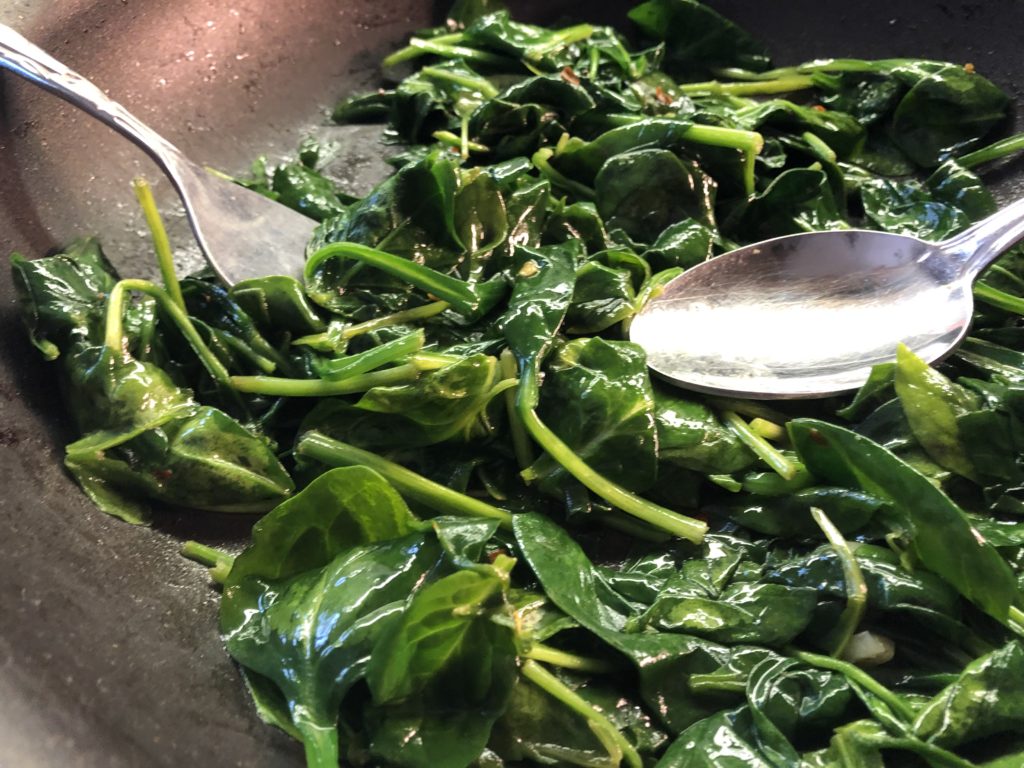
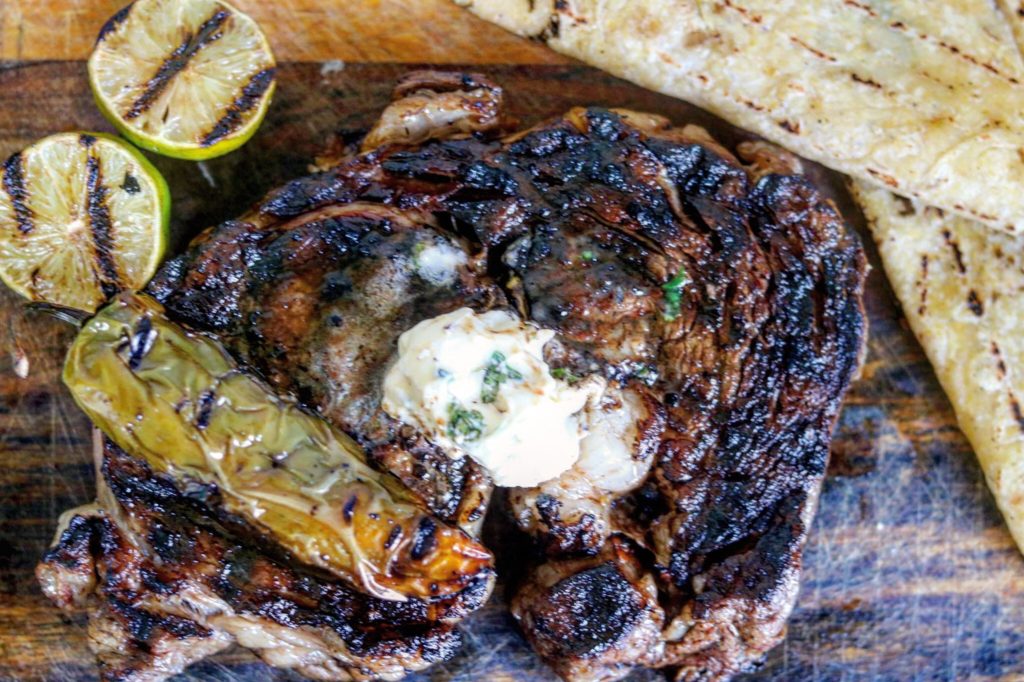
If you want to add a side dish my Sautéed Spinach would be a great addition! https://the2spoons.com/garlicky-sauteed-spinach-red-pepper-flakes/.
I hope you try this dish soon! Easy and so flavorful. I honestly couldn’t stop eating it was so good! Bon Appetite!
Summer Pasta
Ingredients
- 1/2 lb long pasta such as spaghetti or linguine
- extra virgin olive oil
- 5 large cloves of garlic, chopped
- 1 pint cherry tomatoes, halved
- 1/2 cup roasted red peppers (I used jarred Mezetta Roasted Bell Peppers)
- 2 ears fresh corn
- 3 green onions
- 1/3 cup Cotija cheese plus more for serving
- 1/2 tsp red pepper flakes (optional)
Instructions
- Bring a large pot of generously salted water to a boil.
- When the water comes to a boil add the corn and cook for 3 or 4 minutes . Remove and set aside.
- Add the pasta to the water and cook to your desired doneness. I like my pasta cooked for more time than al dente, so that is your personal choice.
- Trim the corn off the cob and slice the tomatoes in half. -While the pasta is cooking heat a large skillet and add a little olive oil to the pan.
- Add the garlic and red pepper flakes. Cook on medium until the garlic becomes aromatic. Add the tomatoes and cook until they have released their juices, about 5 minutes. Add the red pepper and combine. Add the corn that you trimmed from the cob and toss to combine.
- With tongs add the cooked pasta to the cooked vegetables adding additional pasta water to create a sauce. Add the cotija cheese and combine, heating through so that it becomes part of your sauce.
- Remove the pasta from the heat, top with the green onions and additional cheese for serving!