
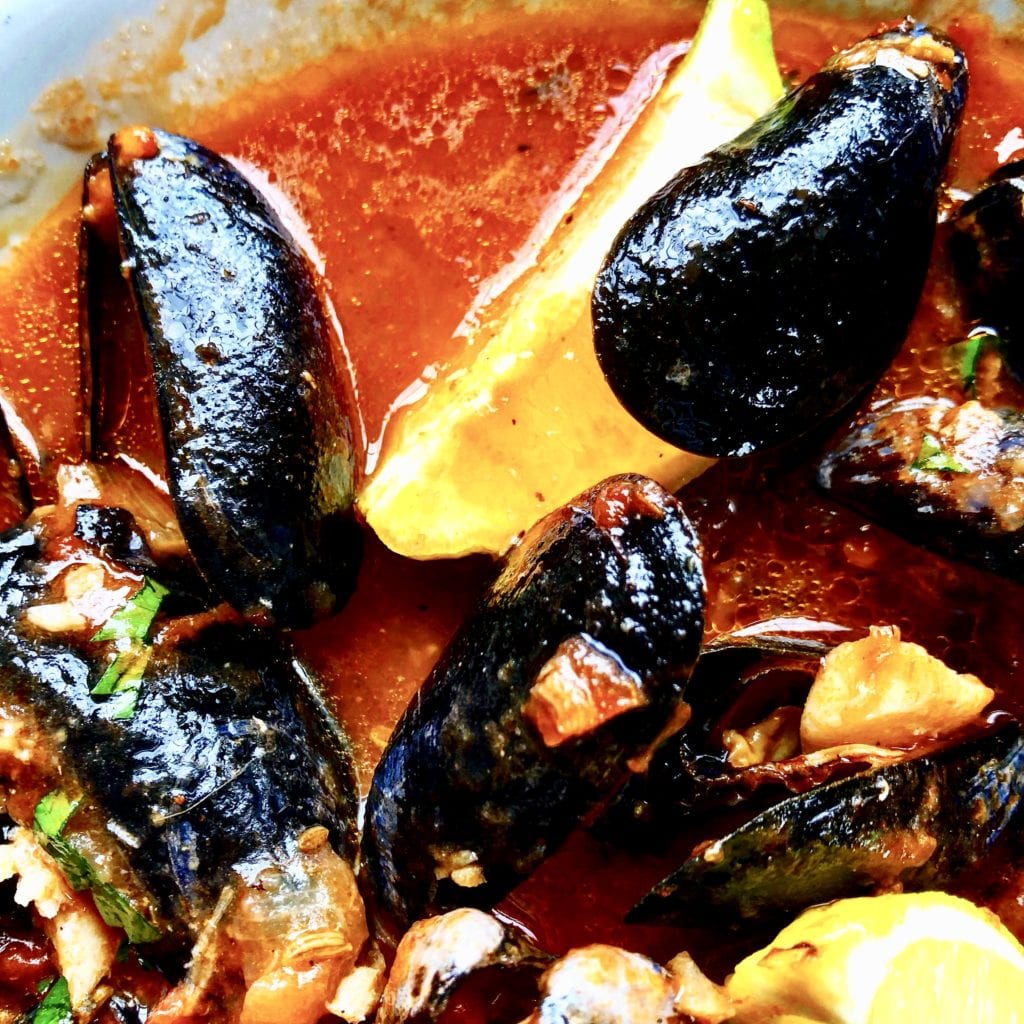
Fisherman’s Stew or Cioppino is a tomato-based seafood stew that was invented by the San Francisco Italian fishermen of North Beach in the late 1800s using whatever seafood was left over from the day’s catch. Often times it was with crab, shrimp, clams, and fish, which were then combined with onions, garlic
Fisherman’s Stew or Cioppino-Hearty & Robust
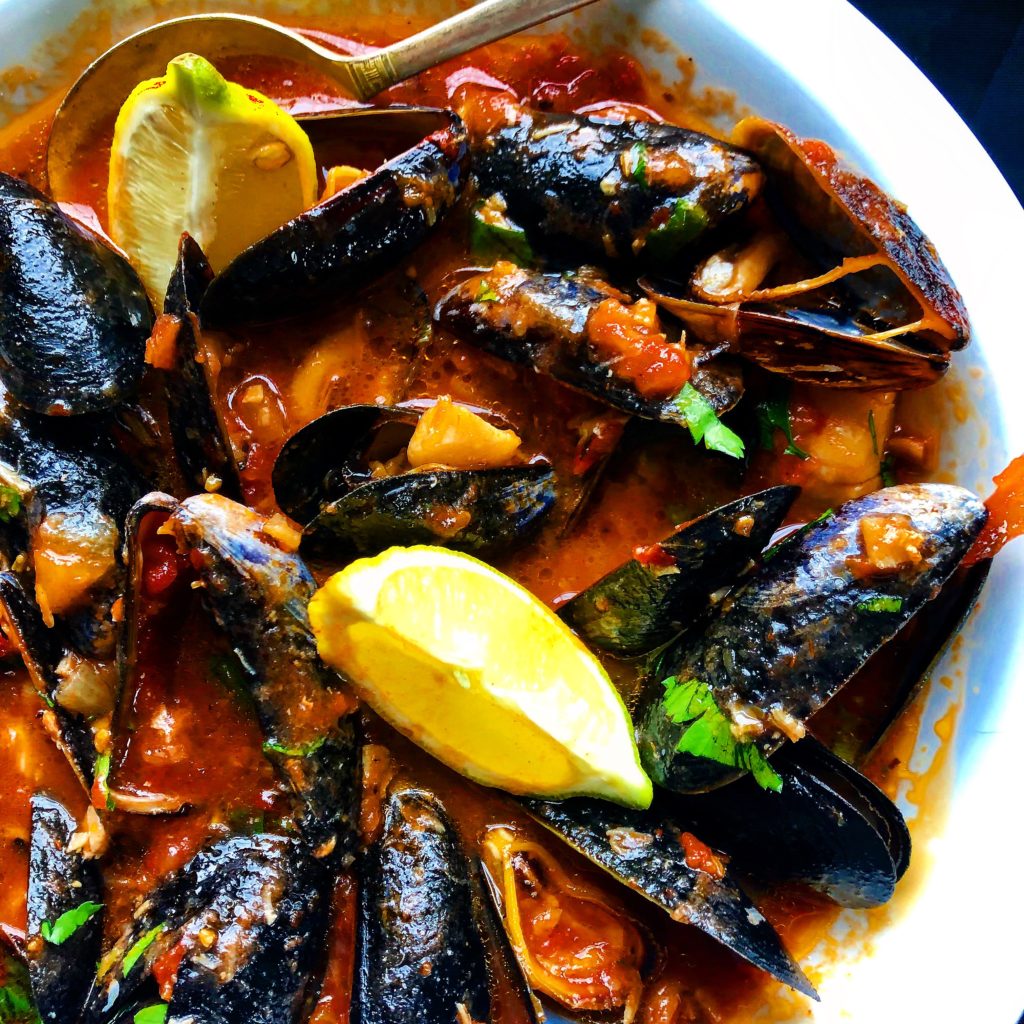
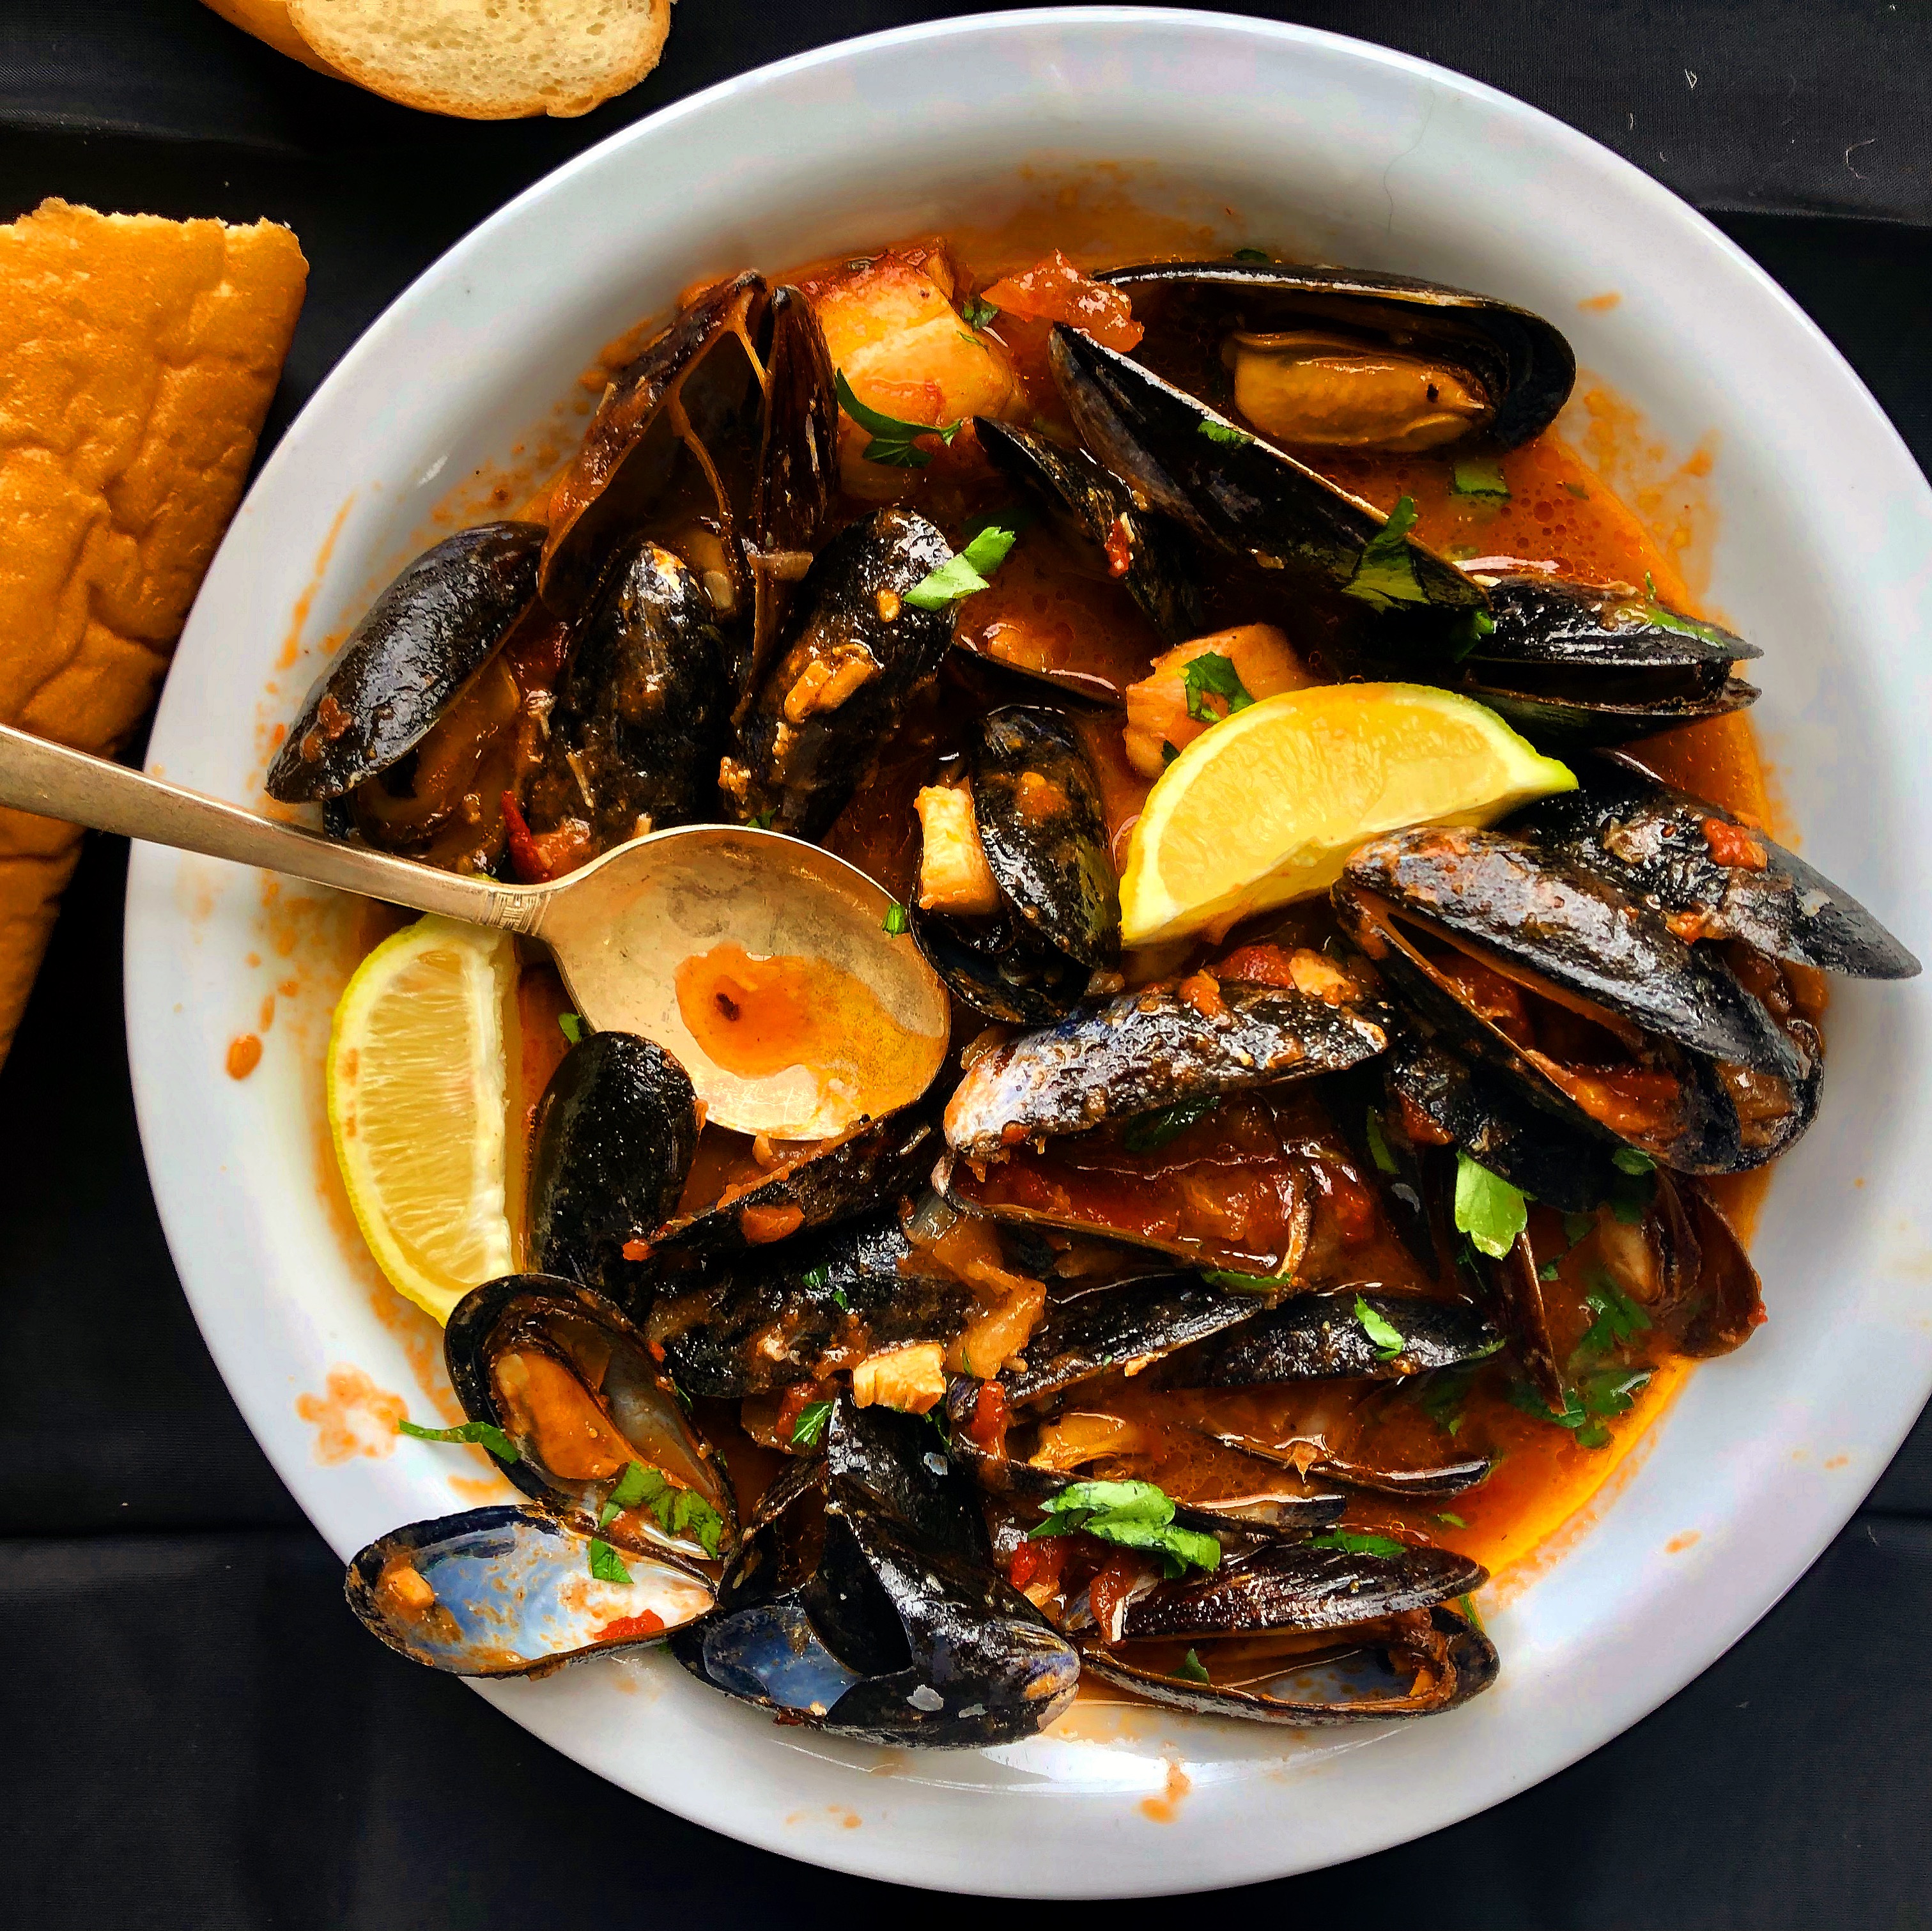
I honestly love seafood! When my grocer had mussels that they received that morning, some fresh scallops and cod, Fisherman’s Stew cane to mind! This Fisherman’s Stew is loaded with flavor! I made my own broth which can be made ahead and frozen.
This Fisherman Stew is perfect for any time of the year, lunch or dinner. Add a loaf of French Bread for sopping and you have the absolute perfect meal!
Fisherman’s Stew, or Cioppino, Hearty and Robust
Here’s the recipe! Pass the bread! I know you’ll love this! Here is the recipe for my stock: https://the2spoons.com/?p=4342)
Fisherman’s Stew, or Cioppino
Ingredients
Method
- Heat 1/4 cup olive oil in a large heavy pot or dutch oven over medium heat. Add the onions and saute for 10 minutes until tender. Stir in the garlic, fennel seeds, and red pepper flakes and cook for 2 minutes until fragrant. Add the tomatoes, stock, wine, salt, and pepper to taste. Bring to a boil, lower the heat and simmer uncovered 30 minutes.
- Add the cod first, the mussels. Do not stir. Bring to a simmer, lower the heat, cover and cook for about 4 minutes. At this time add the scallops and cover again and cook an additional 4 minutes. Turn off the heat, cover and set aside for 3 minutes for the flavors to blend. Discard any mussels that have not opened. Ladle into large shallow bowls, sprinkle with parsley and serve with garlic bread or just a loaf of french bread for sopping the juices.