• Skip to primary navigation
  • Skip to main content
  • Skip to primary sidebar

A cook named Rebecca

  • Home
  • Favorite Cookbooks
  • Recipes
  • Travel
You are here: Home / Home

love my best dinner rolls! a must have for Thanksgiving

November 15, 2023 by Becky Spoon

Dinner Rolls
Please follow and like us:
onpost_follow
fb-share-icon
Tweet
Jump to Recipe
Dinner Rolls
Dinner Rolls

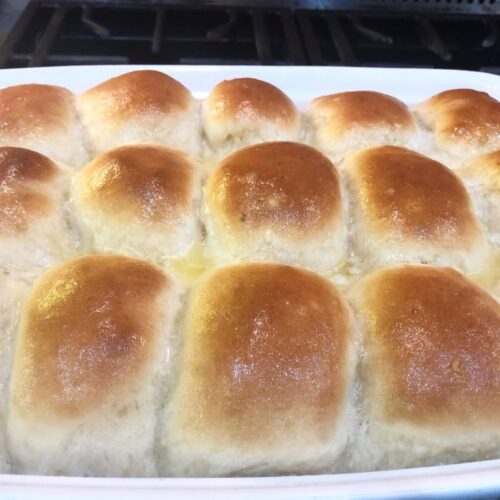
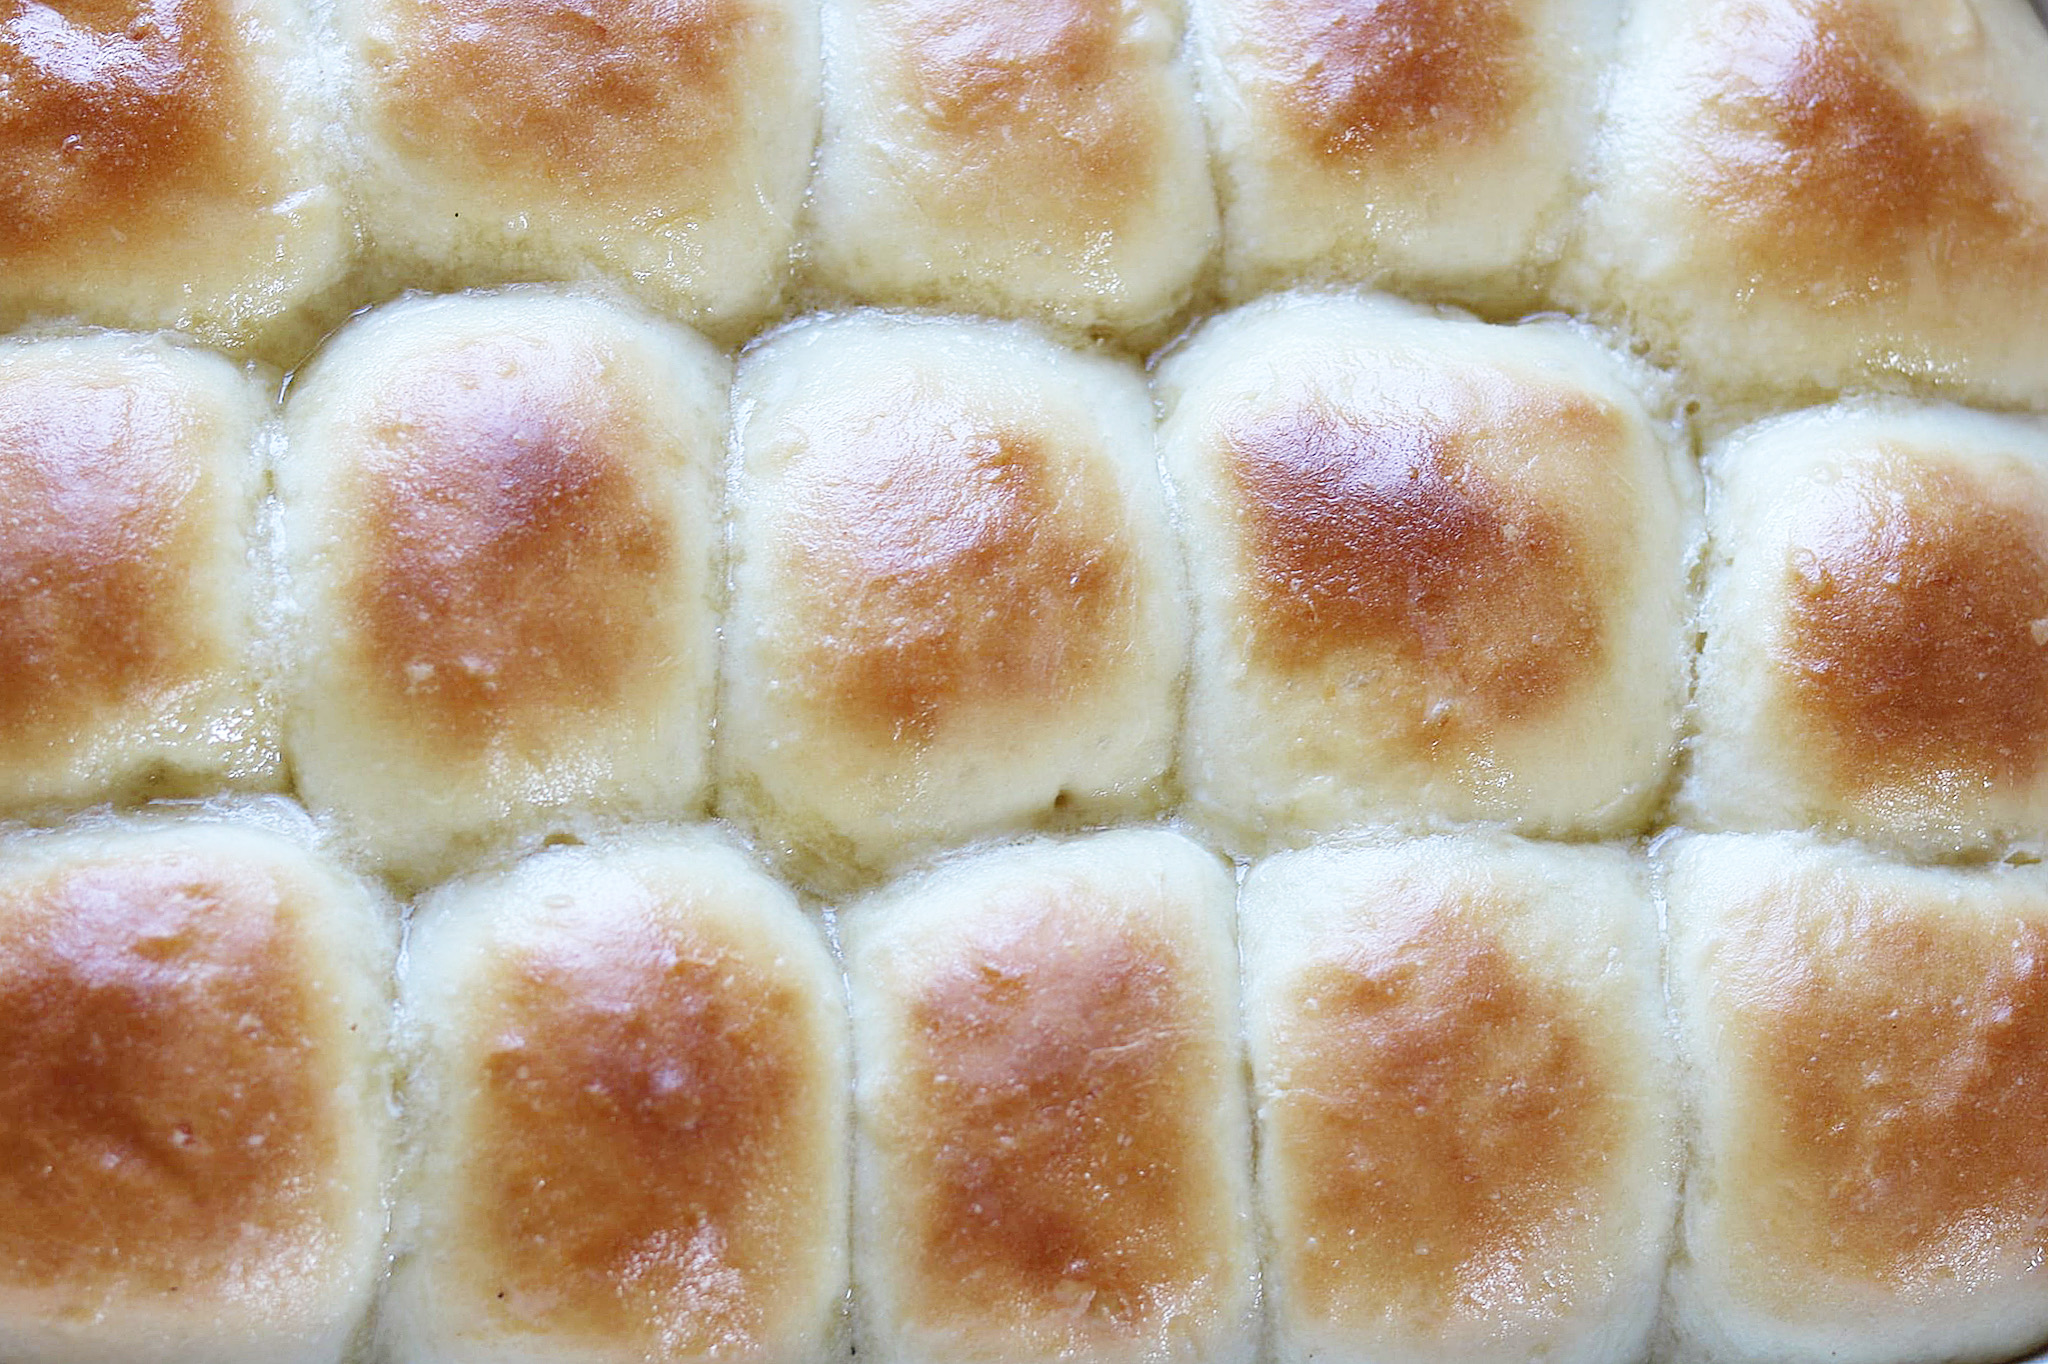
When I made these rolls last night, I had one, but I could have easily eaten six! They were steaming hot out of the oven, I slathered butter on my dinner roll, and relished every single bite. I dreamed about these dinner rolls! First thing I thought about when I woke up! That is how delicious these dinner rolls are! So what did I do? I made breakfast sandwiches on these dinner rolls!

I split the roll and toasted under the broiler just a little, added American cheese to the top and bottom, back under the broiler to melt, out of the oven I added a piece of cooked breakfast sausage, and two not quite hard fried eggs! Oh, my, goodness! Oh, I forgot, I topped it all off with Louisiana Hot Sauce!

My Best Dinner Rolls Yet!

I started making homemade bread many years ago, but I finally figured out that it is the consistency of your dough that makes your bread, or really any dough, whether it’s these dinner rolls, a loaf of bread, pizza dough, focaccia, tender and delicious. A tough dough will not rise into a light, airy dough, it will always be tough!
Dinner Rolls
Dinner Rolls

The dough for these are very soft, almost sticky. Don’t keep adding flour to the mixer. While your forming on your floured work surface add a little flour to make the dough manageable.

This is my adaptation of the Amish Dinner Rolls from King Arthur Flour. Here is their recipe, which has good notes also. I do add more yeast, I start my yeast before adding other ingredients and I don’t add all the ingredients at one, I add all the other ingredients then add the flour gradually. https://www.kingarthurflour.com/recipes/amish-dinner-rolls-recipe
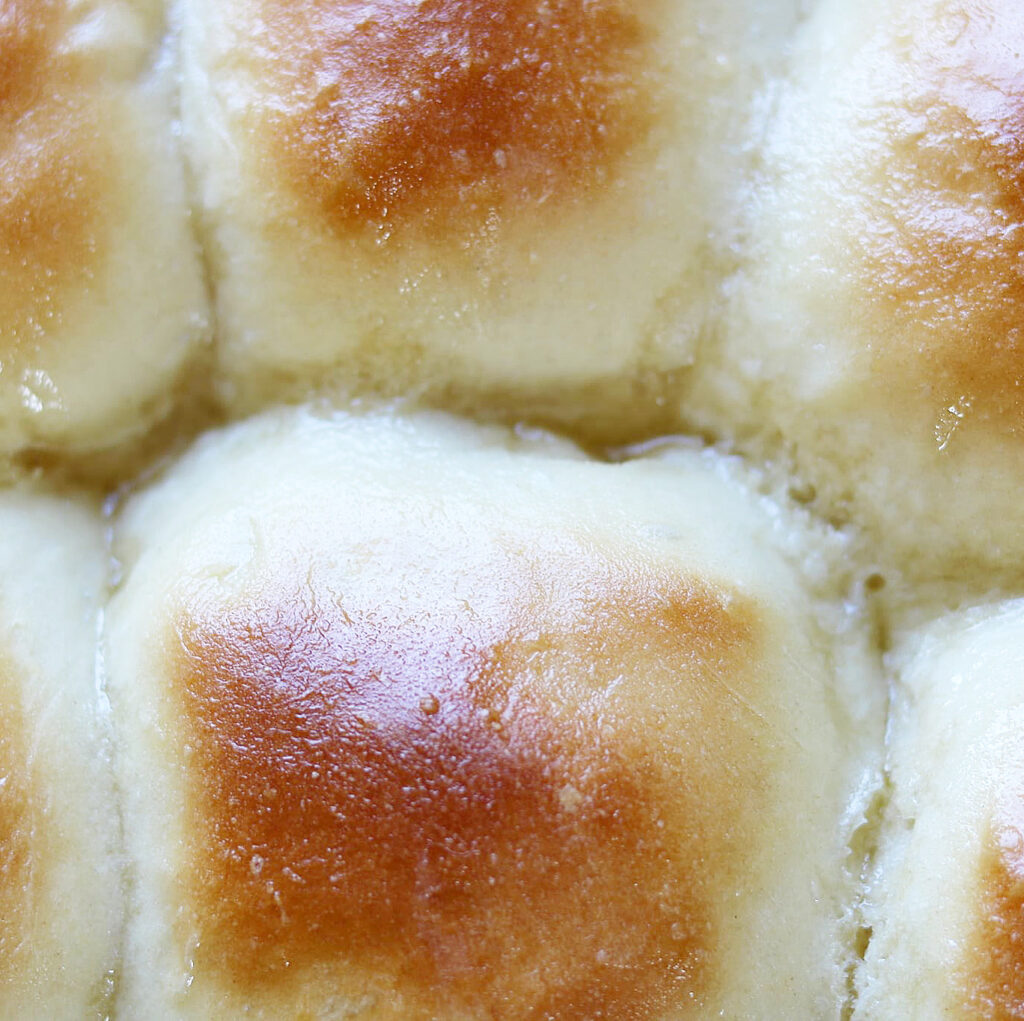
Dinner Rolls

These dinner rolls would be perfect with these recipes! https://the2spoons.com/finger-licking-southern-fried-chicken
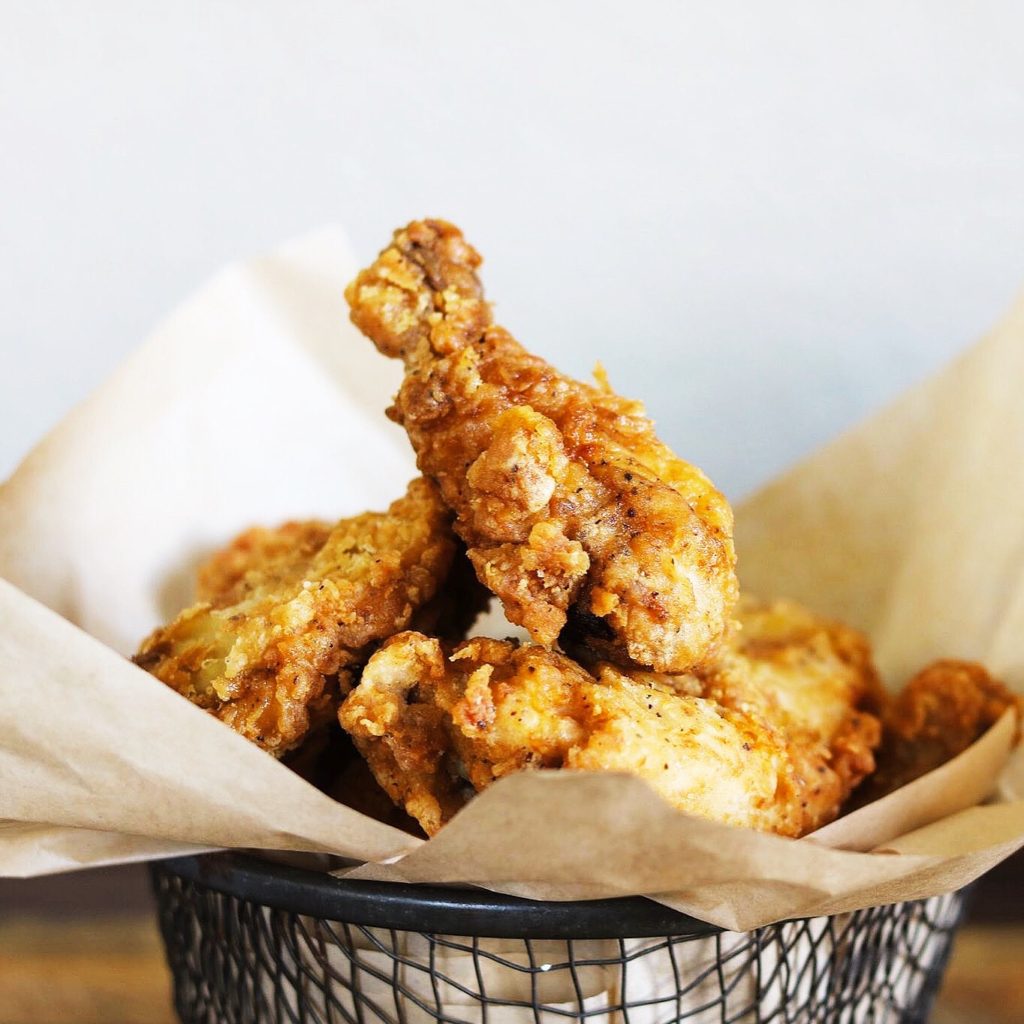
Southern Fried Chicken

Here’s the recipe! I promise you will not regret making these rolls!

My Best Dinner Rolls Yet!

Wow! Are these dinner rolls good! They are tender, light, they are the ultimate soft dinner rolls! 
Print Recipe Pin Recipe
Prep Time 20 minutes mins
Total Time 40 minutes mins
Cuisine American

Ingredients
  

  • 2 Large eggs
  • 1/8 Cup Sugar
  • 1 Tsp Salt
  • 6 Tbsp Softened butter
  • 1 Cup Mashed potatoes, unseasoned and lightly packed 1 medium to large baking potato will yield 8 ounces of mashed potatoes
  • 2 1/2 Tsps Active dry yeast or instant yeast (1 pkg)
  • 3/4 Cup Lukewarm water (water you boiled the potatoes in if possible)
  • 3 -4 1/2 Cups All purpose flour

Instructions
 

  • Before you start making the dough, boil your diced potatoes until very tender, then mash saving the water they were cooked in. Let your water come to lukewarm. 
  • In a stand mixer with a dough hook, add the yeast, the sugar and the 3/4 cup lukewarm water from boiling the potatoes. When your yeast becomes frothy it is ready to add the other ingredients. If it doesn’t, dump and start over, as the yeast has to activate. 
  • Add the eggs, the salt, the softened butter, the mashed potatoes and start combining with your dough hook on low. 
  • I never add all of the flour at once because it may not take the entire amount to reach the desired consistency. I start adding about 3 cups flour with the machine running. You want the dough to start leaving the sides to form a ball. This is a really soft dough and it will be really sticky. Continue adding flour until you have a manageable dough that comes together , but still a little pudding in the bottom. All the dough wil not leave the bottom and that’s fine. Then knead for about 7 minutes adding just a little flour at a time when needed or if needed. 
  • I usually put a little oil on my hands to help me remove this dough from the bowl and place it in a lightly greased bowl. 
  • Cover the bowl with plastic wrap and allow the dough to double in size. 
  • Gently deflate the dough, pour it onto a floured work surface and divide into 16 large balls or 24 small balls. I start with dividing my dough in half, then each half into half, then each piece into half, then half again ending up with 16 uniform pieces. I like the large rolls, but you can make the smaller. 
  • Smooth the rolls as much as you can, twisting and tucking the bottom. Place in a 9×13 lightly greased pan. I put about 3 a roll, about 1 inch apart. You want them to be tight because after they rise, they’ll be touching and you’ll have a pull apart roll. I use glass 9/13 casserole dishes because it prevents the bottoms from burning. Also, lightly oil with canola or cooking spray….butter will also make the bottoms burn.
  • Cover the pan with a light dish towel and let them double in size until they are quite puffy. 
  • When the rising is almost complete, preheat the oven to 350 degrees F. Bake the rolls for for 20 to 25 minutes until golden brown and feel set. Brush with melted butter. 
  • Serve warm or at room temperature. Store in zip lock bags for several days at room temperature or freeze for longer storage. 
Keyword rolls, dinner rolls
  • Click to share on Pinterest (Opens in new window) Pinterest
  • Click to share on Facebook (Opens in new window) Facebook
  • Click to email a link to a friend (Opens in new window) Email
  • Click to print (Opens in new window) Print
  • Click to share on X (Opens in new window) X
  • Click to share on Tumblr (Opens in new window) Tumblr
  • More
  • Click to share on Reddit (Opens in new window) Reddit

Filed Under: Bread Tagged With: Dinner rolls, homemade dinner rolls, soft dinner rolls

a most beautiful dry brined spiced roast turkey.

October 27, 2023 by Becky Spoon

Dry Brined Spiced Roast Turkey
Please follow and like us:
onpost_follow
fb-share-icon
Tweet
Jump to Recipe
Dry Brined Spiced Roast Turkey

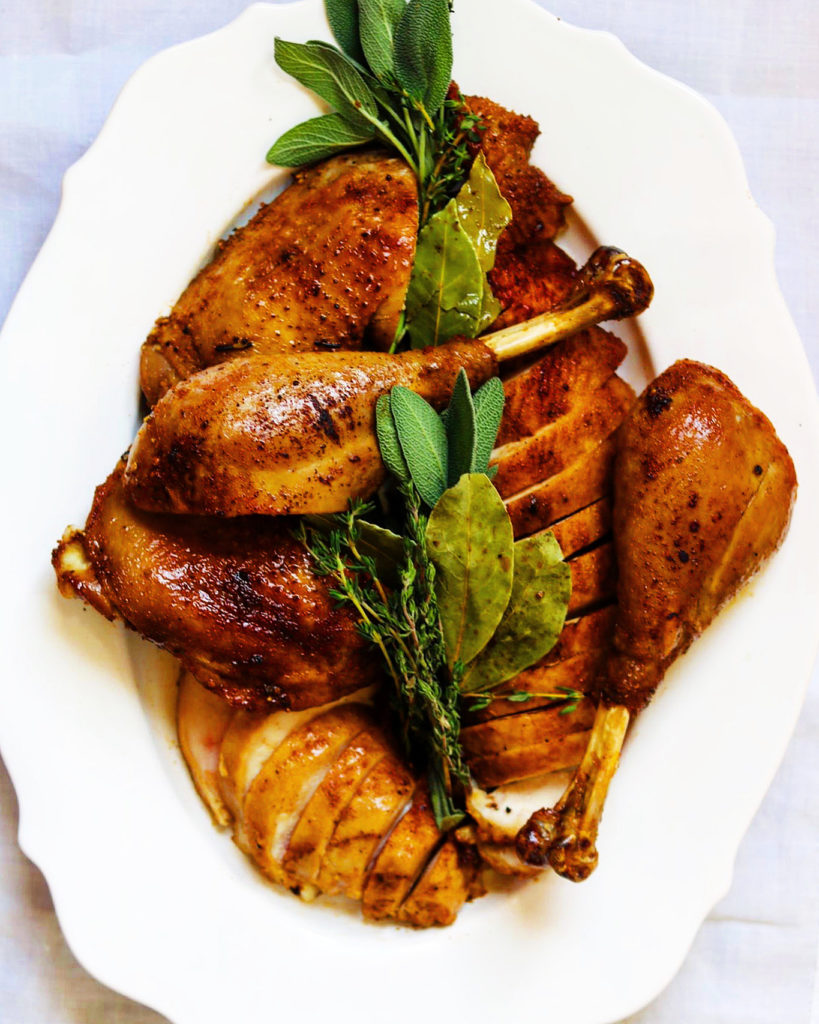
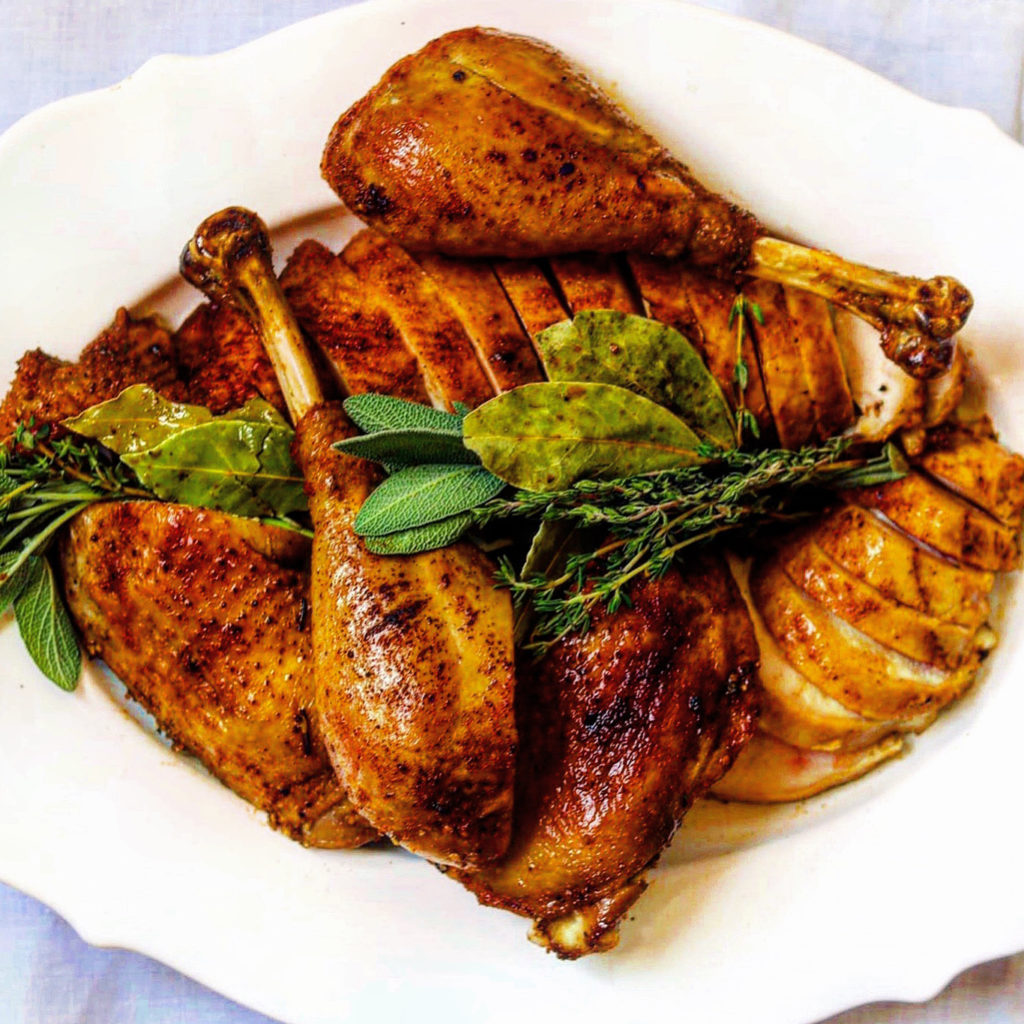
Roast Turkey is a must at Thanksgiving and this Dry Brined Spiced Roast Turkey really is beautiful. This recipe was on the cover of the November, 2019 Bon Appetit magazine and I wanted to try it. Happy I did! It turned out wonderful! Not only is this turkey dry brined for two days, but it is cut into pieces before roasting.

I’ve always wanted to try the cutting of the turkey into pieces before roasting. My son is an excellent trained chef and he always cuts his turkey into pieces before roasting. Not only does it cut down on the cook time, but you get a much more evenly roasted turkey.

Beautiful Dry Brined Spiced Roast Turkey

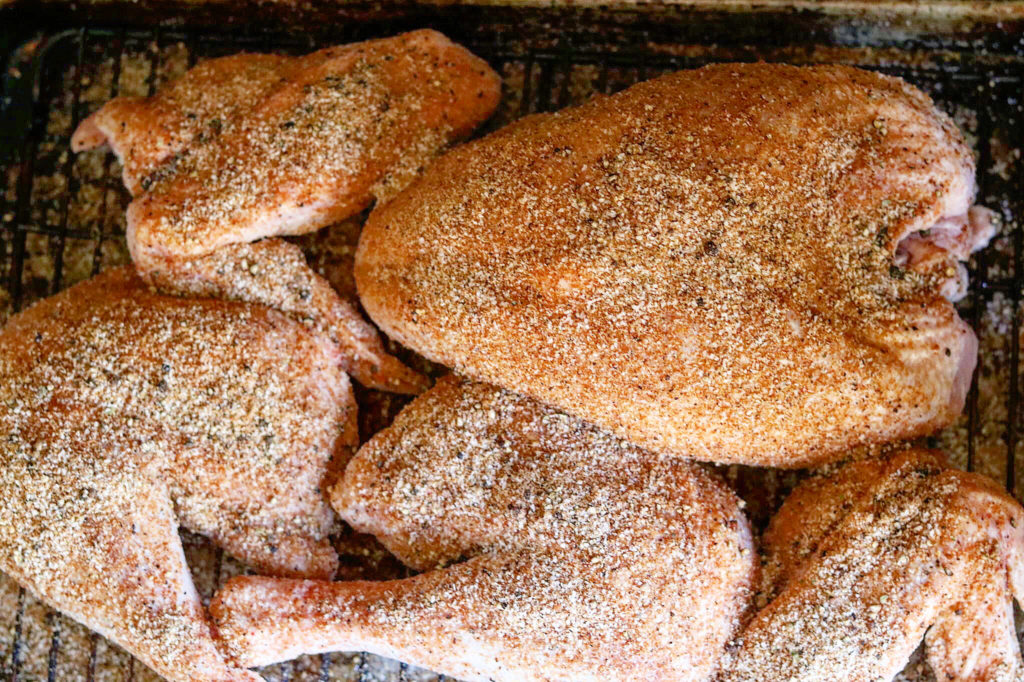
The spice rub has black and pink peppercorns, kosher salt, garlic powder, onion powder, smoked paprika, and light brown sugar. If you aren’t familiar with pink peppercorns, here’s a link: https://www.amazon.com/pink-peppercorns.

Viva Doria Brazilian Pink Peppercorn, Steam Sterilized Whole Pink Pepper, 8 Oz

There’s different brands and you may be able to find the pink peppercorns at your local grocery store.

There is a glaze with brown sugar, fresh herbs like sage, rosemary, bay leaves, and or thyme, garlic, orange zest, soy sauce and sherry or red wine vinegar.

Dry Brined Roast Turkey

Beautiful Dry Brined Spiced Roast Turkey

If you want to stick to the more traditional Thanksgiving Roasted Turkey, here is a link for that from my blog: https://the2spoons.com/thanksgiving-roasted-turkey/. I love them both!

Dry Brined Spiced Roast Turkey

Spiced and Glazed Roast Turkey

Print Recipe Pin Recipe
Course dinner, Main Course
Cuisine American

Ingredients
  

For the Turkey and Dry Rub Brine

  • 1 12-14 lb Turkey, neck and giblets removed
  • 6 tbsp natural oil like vegetable or canola for rubbing the turkey
  • 2 tbsp whole black peppercorns
  • 2 tbsp pink peppercorns (if you have, otherwise, substitute for more black)
  • 1/4 cup plus 1 1/2 tsp Morton Kosher Salt
  • 2 tbsp garlic powder
  • 1 tbsp onion powder
  • 1 tbsp smoked paprika
  • 1 tbsp brown sugar

For the Glaze

  • small handful of hardy herbs like sage, rosemary, bay leaves and/or thyme)
  • 4 garlic cloves, crushed
  • 2 2×1" strips orange zest
  • 1/3 cup low sodium soy sauce
  • 1/3 cup sherry vinegar or red wine vinegar
  • 1/3 cup packed light brown sugar

Instructions
 

  • Place turkey, breast side up, on a cutting board and pat dry. Grip a wing and pull it outward so you can see where it attaches to the body. Using a sharp boning or chef’s knife, cut though the joint to separate the wing from the breast (if you hit bone, you’re in the wrong spot; pull the wing out farther to help you get into the place where the joint meets the socket). Remove wing; repeat on the other side.
  • Cut through skin connecting 1 leg to carcass. Pull leg back until the ball joint pops out of its socket; cut through the joint to separate leg. Repeat on the other side.
  • Now for the breast: Position the turkey breast side down with the opening facing you. Using kitchen shears, cut along one side of backbone until you get all the way through the neck end, then turn the turkey 180° and cut through the other side to remove the backbone (save it for making stock).
  • Very finely grind black and pink peppercorns in a spice mill or mortar and pestle; transfer to a medium bowl. Add salt, garlic powder, onion powder, paprika, and 1 Tbsp. brown sugar and use your fingers to mix together.
  • Place turkey pieces, skin side up, on a wire rack set inside a rimmed baking sheet. Sprinkle salt mixture liberally all over turkey, patting to adhere. You may not need all of it, but it’s good to have extra since some will end up on the baking sheet. Chill bird, uncovered, at least 24 hours and up to 2 days.
  • Remove turkey from wire rack and rinse baking sheet and rack if needed (turkey will most likely release some liquid). Line baking sheet with 3 layers of foil to make cleanup easy and set rack back inside. Arrange turkey pieces on rack, skin side up, and let sit at room temperature 2–3 hours to help decrease the cooking time.
  • Meanwhile, cook herbs, garlic, orange zest, soy sauce, vinegar, and remaining ⅓ cup brown sugar in a small saucepan over medium heat, stirring occasionally, until sugar is dissolved and glaze thickens slightly (it should just barely coat a spoon), 10–12 minutes. Remove glaze from heat.
  • Place a rack in middle of oven; preheat to 425°. Rub turkey with oil and pour 1 cup water into baking sheet. Roast turkey, rotating baking sheet halfway through, until skin is mostly golden brown, 20–25 minutes. Reduce oven temperature to 300° and continue to roast turkey, brushing with glaze every 20 minutes and adding more water by ½-cupfuls as needed to maintain some liquid in baking sheet, until an instant-read thermometer inserted into the thickest part of breast registers 150°, and 170° when inserted into the thickest part of the thighs, 50–70 minutes longer (total cooking time will be 1–1½ hours). Skin should be deep golden brown and shiny. Transfer turkey to a cutting board; tent loosely with foil. Let rest 30–60 minutes before carving.
Keyword roasted turkey, thanksgiving, turkey

  • Click to share on Pinterest (Opens in new window) Pinterest
  • Click to share on Facebook (Opens in new window) Facebook
  • Click to email a link to a friend (Opens in new window) Email
  • Click to print (Opens in new window) Print
  • Click to share on X (Opens in new window) X
  • Click to share on Tumblr (Opens in new window) Tumblr
  • More
  • Click to share on Reddit (Opens in new window) Reddit

Filed Under: Poultry Tagged With: dry brine roast turkey, roast turkey, spiced roast turkey, thanksgiving food, turkey

A Favorite in Mexico, Simple Entomatadas with Fried Eggs

October 26, 2023 by Becky Spoon

Entomatadas with Fried Eggs
Please follow and like us:
onpost_follow
fb-share-icon
Tweet
Jump to Recipe
Entomatadas with Fried Eggs

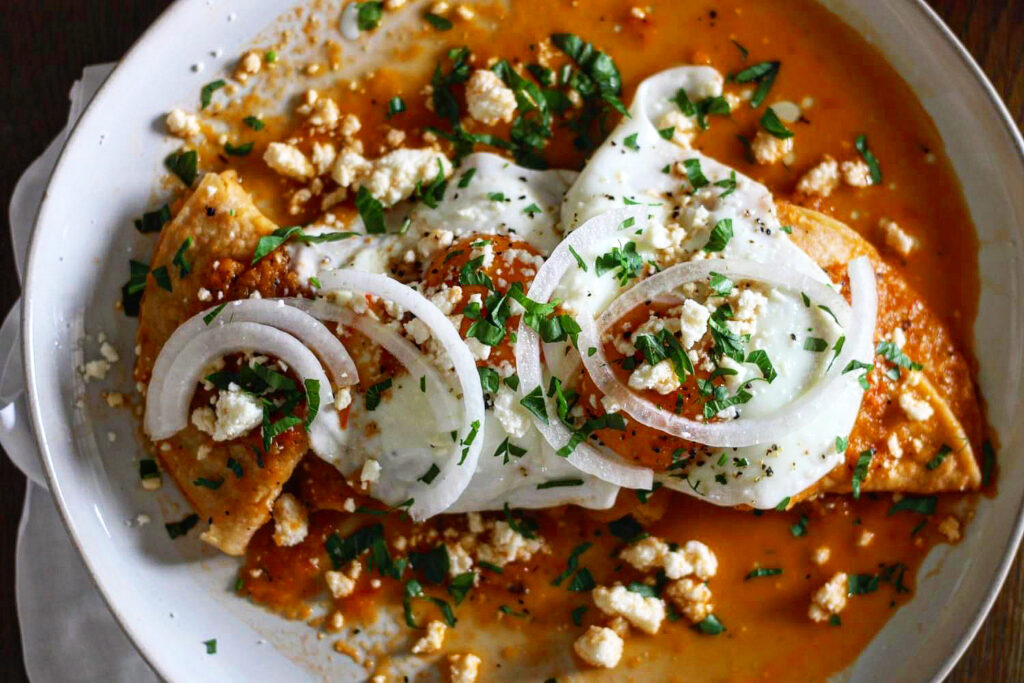
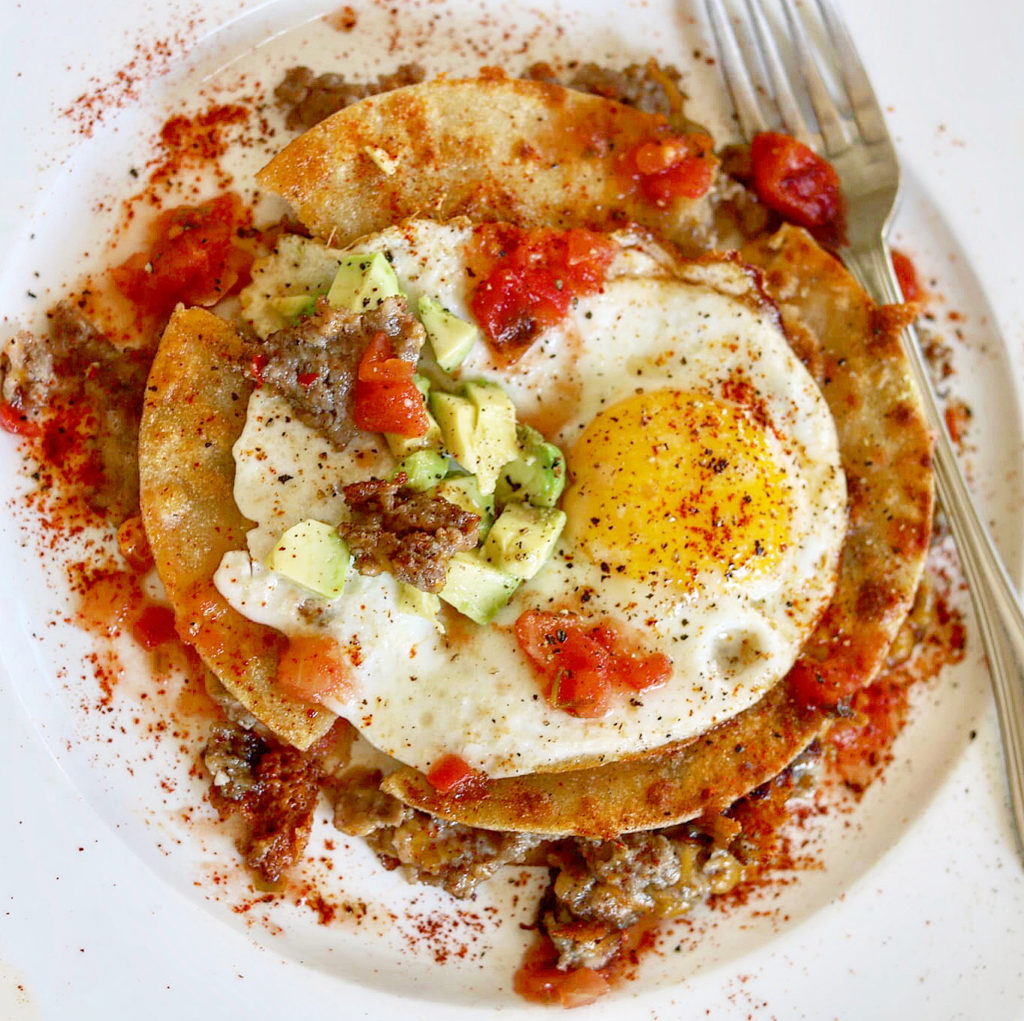
Entomatadas are tortillas bathed in a tomato sauce! They are very popular in Oaxaca, Mexico for breakfast. They are served with eggs or a jerky like meat from that region. I made them for breakfast today and I had forgotten how delicious they are. Literally, I had them made in less than 30 minutes. You could make the sauce the day before, double the recipe and freeze so that next time it’s a matter of heating and softening the tortillas in hot oil and folding.

I have made these before from a Youtube video. This recipe is from one of the very many cookbooks I have on the foods of Mexico. This book is Oaxaca al Gusto, An Infinite Gastronomy by Diana Kennedy. This book won the James Beard Foundation book of the year in 2014. I’ve just started reading and I’m ready to cook from it since I have spent a lot of time in Oaxaca, Puebla, Tlaxcala and surrounding towns, Mexico City, Baja California, the Caribbean areas like Tulum and other areas like Guadalajara. Here’s the link for the book: https://amzn.to/3MdNfzG

Entomatadas with Fried Eggs

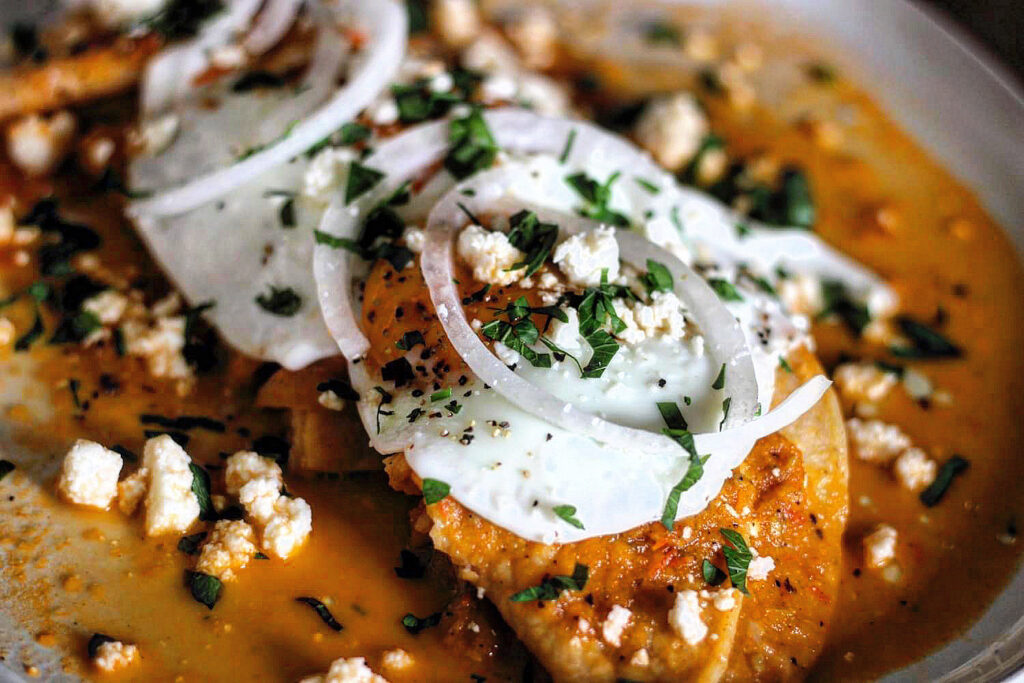
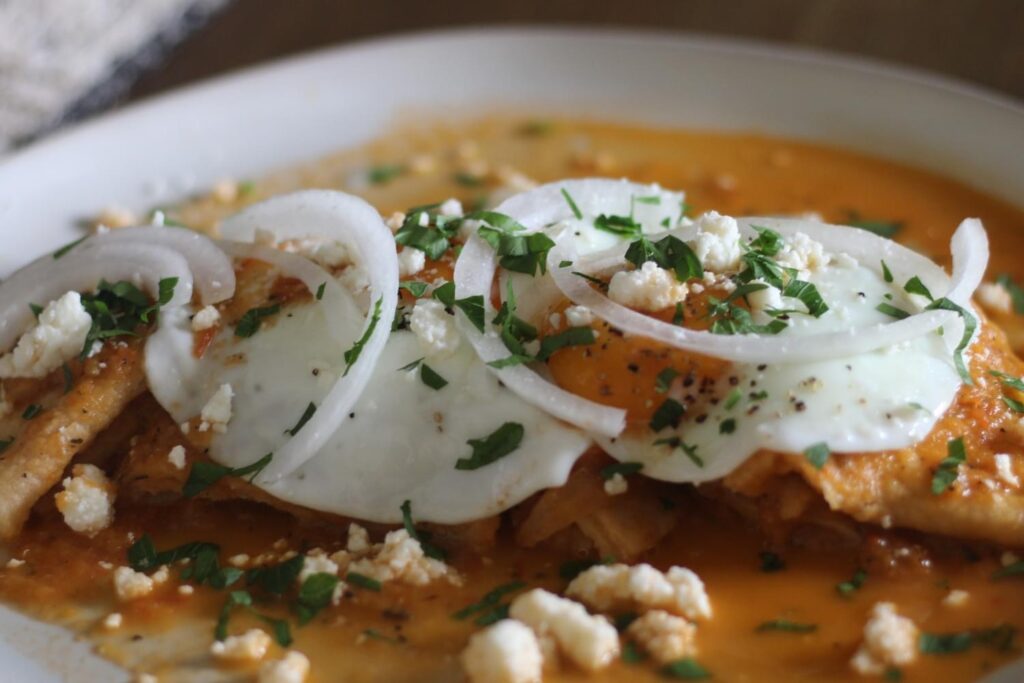
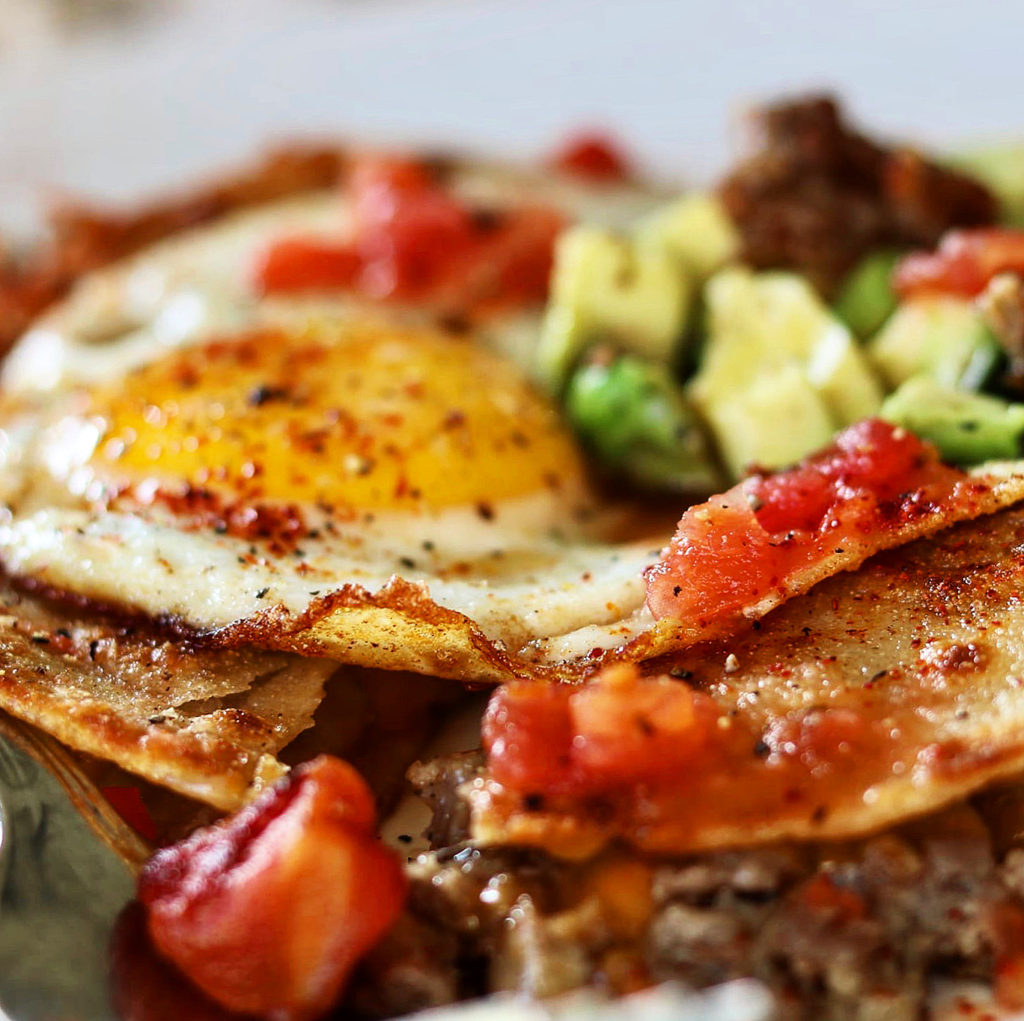
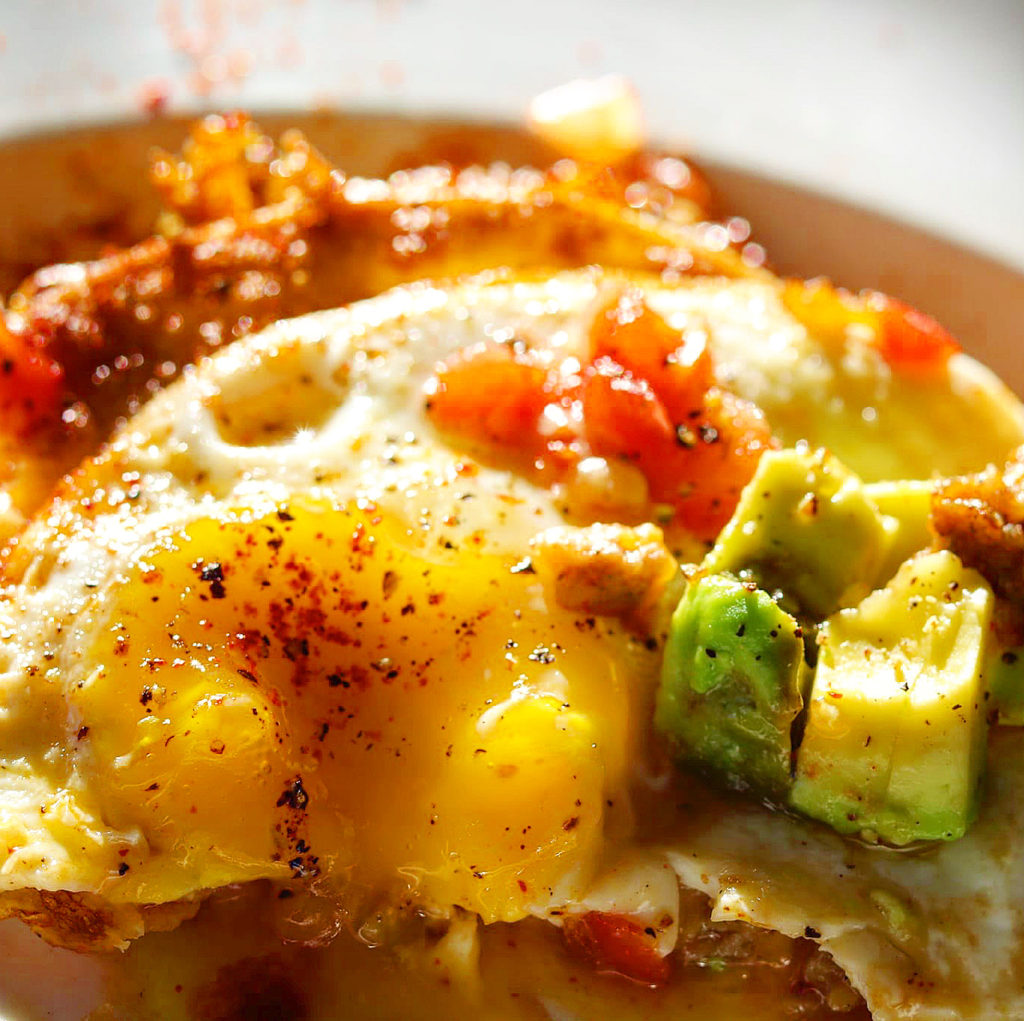
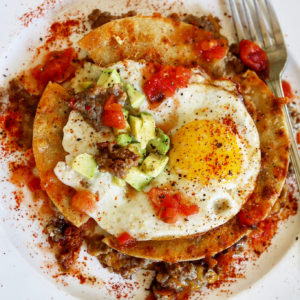
Just look at how delicious this dish looks. They are very easy too.

Entomatadas with Fried Eggs

This is what Diana Kennedy writes in her book about Entomatadas “Entomatadas, literally tortillas bathd in a tomato sauce, are a very popular breakfast dish in Oaxaca. They are either served alone, with eggs or with a piece of tasajo.” Sounds delicious, right? They are so good.

How to Make Entomatadas with Fried Eggs

To make heat a little of the oil in a skillet and fry the tortillas, one by one, lightly on both sides, they should not becove crisp around the edge. Drain on paper towels and proceed with frying the rest, adding more oil as necessary.

Then, dip the tortillas, one by one, into the hot tomato sauce, fold into four and place on a warm serving dish or on individual plates. Pour the remaining sauce over them and garnish with the onion, cheese and parsley. If you are toping with a fried egg, arrange the 4 tortillas fourths on a plate,

Here’s another breakfast dish I think you will love! love this breakfast quesadilla!

delicious breakfast quesadillas
Entomatadas with Fried Eggs

Entomatadas with Fried Eggs

Entomatadas are corn tortillas bathed in a tomato sauce! They are very popular in Oaxaca, Mexico for breakfast.
Print Recipe Pin Recipe
Course Breakfast, dinner, Main Course
Cuisine Mexican
Servings 6 servings

Ingredients
  

The Sauce

  • 2 tbsp vegetable oil
  • 1/2 medium white onion, thinly sliced
  • 2 small garlic cloves, peeled
  • 2 chiles de agua, toasted, skinned and seeded or substitute jalapenos, toasted only
  • 1 1/2 lbs. Roma tomatoes, quartered and cooked in very little water
  • 2 large sprigs epazote
  • salt to taste

Preparing the Entomatadas

  • 1/4 cup vegetable oil
  • 12 tortillas about 6 inches in diameter
  • 1 medium white onion, cut in thin half moons
  • 3/4 cup queso fresco or shredded quesillo
  • 1 small bunch flat-leaved parsley, torn into small pieces

Instructions
 

  • Heat a little of the oil in a skillet and fry the tortillas, one by one, lightly on both sides; they should not become crisp aground the edges, just soft. Drain on paper towels and proceed with frying the rest, adding more oil as necessary.
  • Dip the tortillas, one by one, into the hot tomato sauce, fold into four and place on a warm serving dish or on individual plates. Pour the remaining sauce over, If you are adding an egg or eggs, fry them to your liking and place on top of the entomatadas, then and garnish with the onion, cheese, and parsley.
Keyword authentic mexican food, corn tortillas, eggs, entomatadas, fresh tomato sauce, huevos, huevos rancheros, mexican, mexican food, Mexican food for breakfast, oaxaca, tortillas
  • Click to share on Pinterest (Opens in new window) Pinterest
  • Click to share on Facebook (Opens in new window) Facebook
  • Click to email a link to a friend (Opens in new window) Email
  • Click to print (Opens in new window) Print
  • Click to share on X (Opens in new window) X
  • Click to share on Tumblr (Opens in new window) Tumblr
  • More
  • Click to share on Reddit (Opens in new window) Reddit

Filed Under: Breakfast/Brunch Tagged With: authentic mexican food, breakfast, brunch, chile agua, dinner, easy, eggs, espazote, huevos, jalapeno, mexican food, oaxaca, Tomato, tomato sauce

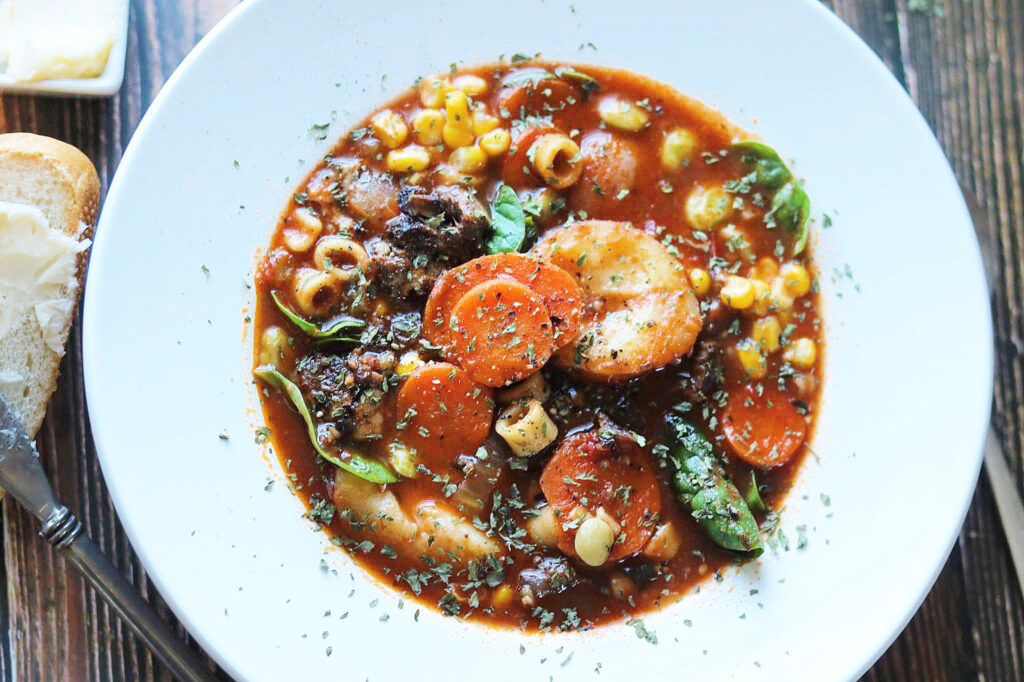
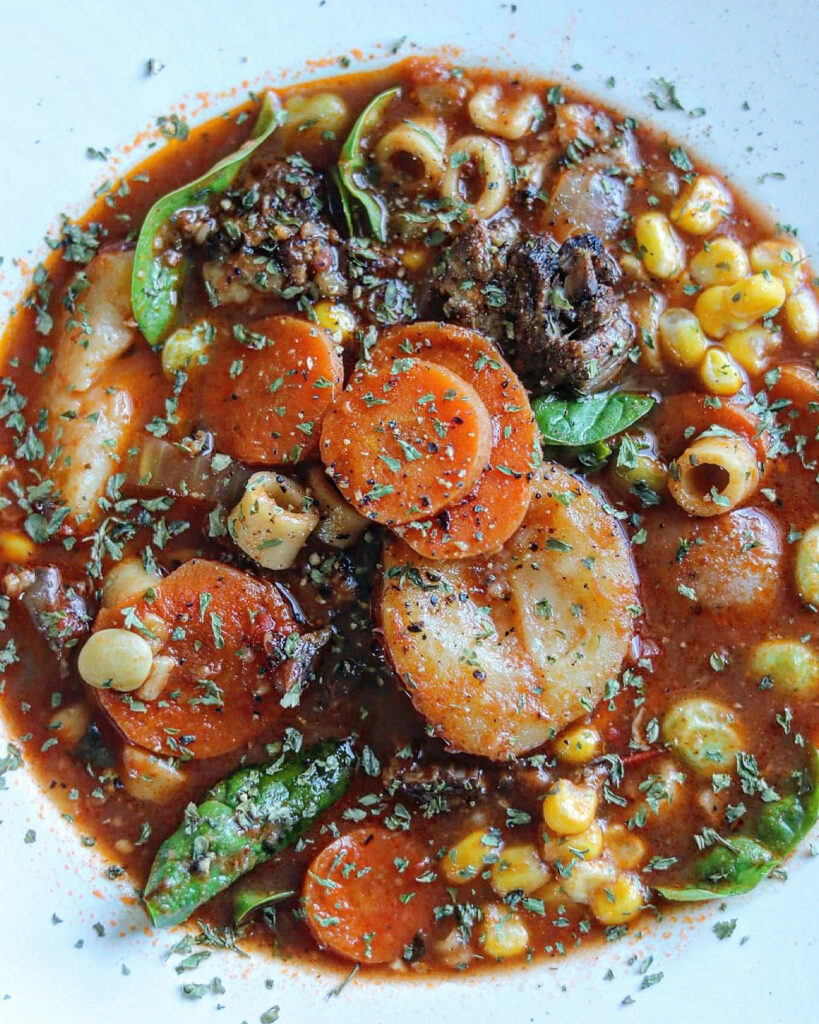
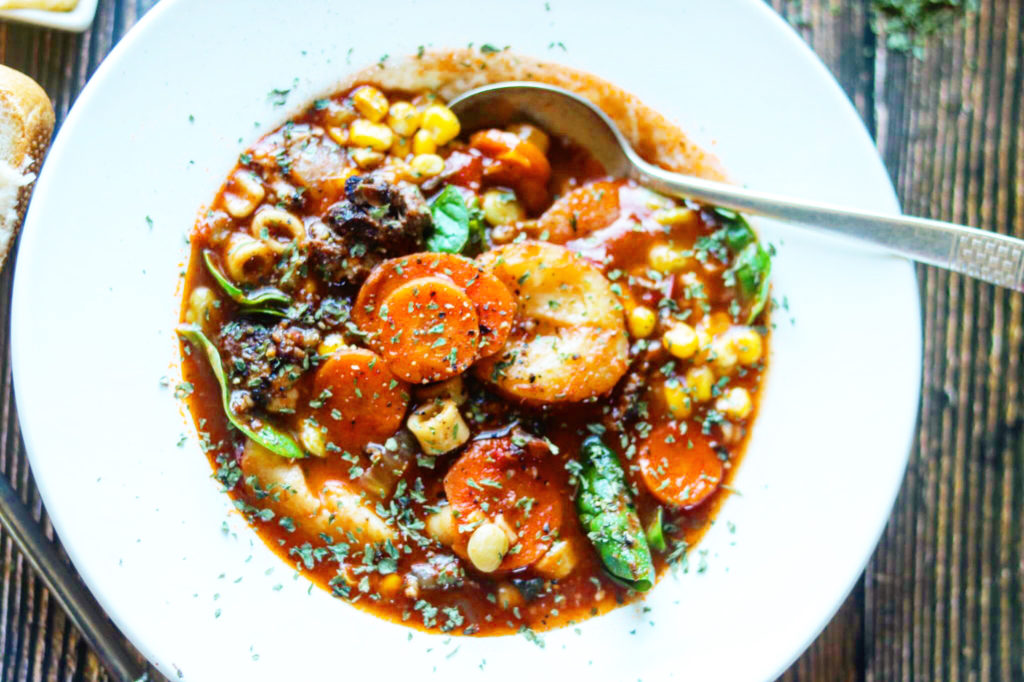
Comforting, EASY Homemade Vegetable Beef Soup

October 24, 2023 by Becky Spoon

Homemade Vegetable Beef Soup
Please follow and like us:
onpost_follow
fb-share-icon
Tweet
Jump to Recipe
Homemade Vegetable Beef Soup

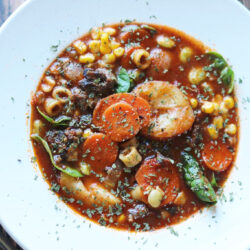
Who doesn’t love Homemade Vegetable Beef Soup? Comfort food at it’s best! This soup is loaded with carrots, potatoes, tomatoes, rice macaroni, lentils, frozen beans, corn and fresh spinach.

I used my homemade Beef Broth which was delicious by itself. Here’s the link for the beef Broth: https://the2spoons.com/essential-easy-homemade-beef-bone-stock/. This beef broth was made from roasting bones along with onions, carrots and garlic. I dumped those ingredients into a stick pot, covered with water and cooked for hours.

Homemade Vegetable Beef Soup

When I was making the beef broth, I set the Instant Pot for 2 hours. After the 2 hours I quick released the steam and removed the bones. When they were cool enough to handle, I removed the meat from the bones to use in the soup and returned the bones to cook for an additional 4 hours.

Comforting, EASY Homemade Vegetable Beef Soup

Homemade Vegetable Beef Soup

I used Mutti tomatoes because they are a great product. Here’s a link if you aren’t familiar. https://amzn.to/2U2h7Fg. These tins of tomatoes are pure tomatoes, with a wonderful flavor. They are actually from Italy. I can find them at my local HEB, but I don’t see them at all grocery stores. They are a little more expensive, but not expensive as other Italian tomatoes I’ve seen.

Comforting, EASY Homemade Vegetable Beef Soup

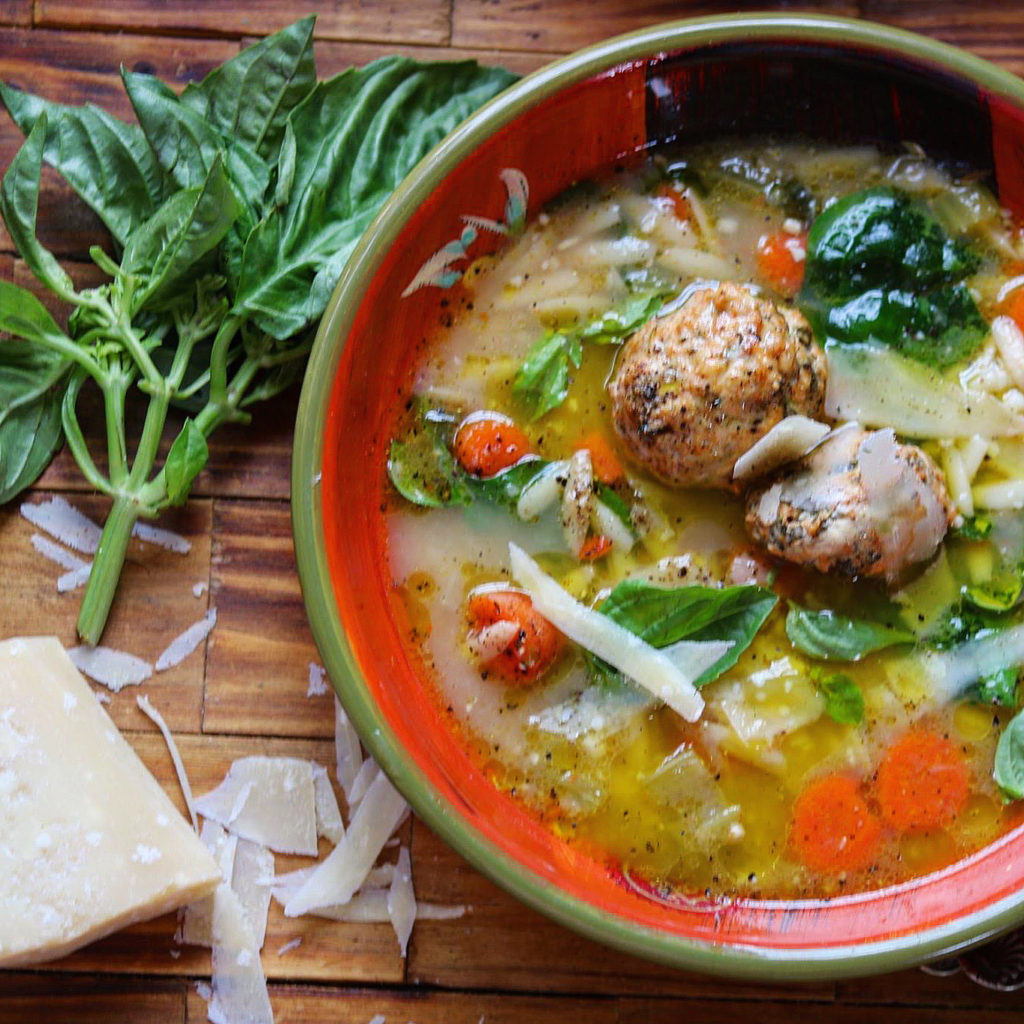
Here’s another soup recipe I have on the blog, Italian Wedding Soup is delicious! https://the2spoons.com/beautiful-italian-wedding-soup/.

Italian Wedding Soup

Here’s the recipe for this vegetable beef soup! Enjoy

Homemade Vegetable Beef Soup

Vegetable Beef Soup in the Instant Pot

Print Recipe Pin Recipe
Course dinner, Lunch, Main Course
Cuisine American
Servings 6 Servings

Equipment

  • Instant Pot

Ingredients
  

  • 2 tsp beef fat, olive oil or canola oil
  • 1/2 onion, unpeeled and quartered
  • 2 stalks celery, roughly chopped
  • 2 carrots, unpeeled and roughly chopped
  • salt and pepper
  • Beef from a pound or so of beef bones that had been used for making beef broth or leftover short ribs meat or chuck roast
  • 1 1/2 cups Diced tomatoes
  • 6-8 cups beef broth (I used homemade) See the link in my blog
  • 2 medium or 1 large Russet potatoes , diced ( or your choice of potatoes)
  • 1/4 cup long grain or wild rice
  • 1/4 cup small macaroni
  • Handfull of lentils ( optional)
  • 1/2 – 1 cup frozen Lima Beans
  • 1/2 – 1 frozen whole kernel corn or canned
  • 1-2 bay leaf
  • cayenne pepper, optional
  • dash of chili powder, optional
  • couple of hands-full of fresh spinach, optional

Instructions
 

  • Set the Instant Pot to the Saute mode or heat a large stock pot.
  • Add your oil, the onion, celery, carrot and garlic and saute for a few minutes.
  • Add the remaining ingredients, stir to combine and check for salt and pepper.
  • Set the pot back into the Beef/Stew mode and set for 15 minutes. When complete quick release the steam. Adjust seasonings, add the spinach, combine and serve with crackers or your favorite cornbread!
    If you were using a stock pot, cook until your potatoes and carrots are tender, along with the rice, lentils if you are using and the macaroni. ————
Keyword dinner, lunch, soup, vegetable beef soup
  • Click to share on Pinterest (Opens in new window) Pinterest
  • Click to share on Facebook (Opens in new window) Facebook
  • Click to email a link to a friend (Opens in new window) Email
  • Click to print (Opens in new window) Print
  • Click to share on X (Opens in new window) X
  • Click to share on Tumblr (Opens in new window) Tumblr
  • More
  • Click to share on Reddit (Opens in new window) Reddit

Filed Under: Soups/Stews/Gumbo//Chili Tagged With: homemade beef broth, homemade vegetable beef soup, instant Pot vegetable beef soup, soup

The Best 10 Minute Breakfast – Fried Egg Quesadilla

October 14, 2023 by Becky Spoon

Fried Egg Quesadilla
Please follow and like us:
onpost_follow
fb-share-icon
Tweet
Fried Egg Quesadilla

This breakfast “Fried Egg Quesadilla” is delicious and it really did only take about 10 minutes to make. All I did was brown some breakfast sausage and set it aside. I then added a little butter to an iron skillet and a corn tortilla. I let it brown a little, flipped and added cheese, sausage and salsa, another corn tortilla and flipped again, cooking to a beautifully crisp corn tortilla!!

Fried Egg Quesadilla

The Best 10 Minute Breakfast – Fried Egg Quesadilla

I was hesitant to make this with corn tortillas because traditionally a quesadilla is with a flour tortilla, but the corn is perfect for this breakfast quesadilla. Just a little butter creates a crispy and crunchy corn tortilla that just melts into all the other ingredients as you eat it!! It’s like eating a crunchy taco with the cheese melted with an egg on it! Oh, yum!

Fried Egg Quesadilla

I like to use white corn tortillas and I’m kind of picky about the brand I get. Mission has a good white corn tortilla and Guerrero is a good brand. These are Guerrero and here’s a link for them. http://www.pasionguerrero.com/en.

I have many similar breakfast on my blog. Here is another you may like: https://the2spoons.com/breakfast-tacos-with-chorizo-hatch-green-chile/.

Here’s the recipe! Enjoy!

Fried Egg Quesadilla

The Best 10 Minute Breakfast – Fried Egg Quesadilla

Print Recipe Pin Recipe
Course Breakfast, brunch, Main Course
Cuisine Mexican
Servings 2 servings

Ingredients
  

  • 4 corn tortillas
  • 2 tbsp butter
  • 2 slices of breakfast sausage for two portions, crumbled and browned, or a couple of strips of bacon cooked
  • cheddar cheese
  • Salsa of your choice
  • 2-4 eggs for frying
  • cilantro (optional)

Instructions
 

  • Melt some butter in a pan and gently cook a corn tortilla in it. Flip and top the tortilla with grated cheddar cheese, the crumbled sausage or bacon and some salsa of you choice. Add a little cilantro if you like. Add a little more cheese and top with another corn tortilla. Cook, flipping the quesadilla a few times, until it is crisp and golden and the cheese has melted into lace at the sides. Place on a cutting board to rest. Fry an egg in the empty pan with a little more butter, then cut the quesadilla into quarters, placing the egg on top. Top with cilantro and hot sauce or salsa. I sprinkle with New Mexico red chile powder (mild to medium)
Keyword breakfast, fried egg, fried egg quesadilla, quesadilla, quesadillas
  • Click to share on Pinterest (Opens in new window) Pinterest
  • Click to share on Facebook (Opens in new window) Facebook
  • Click to email a link to a friend (Opens in new window) Email
  • Click to print (Opens in new window) Print
  • Click to share on X (Opens in new window) X
  • Click to share on Tumblr (Opens in new window) Tumblr
  • More
  • Click to share on Reddit (Opens in new window) Reddit

Filed Under: Breakfast/Brunch Tagged With: breakfast, brunch, eggs, quesadilla, Quesadillas

you gotta try these easy homemade sloppy joes!

October 2, 2023 by Becky Spoon

Sloppy Joes
Please follow and like us:
onpost_follow
fb-share-icon
Tweet
Jump to Recipe
Sloppy Joe Grilled Cheese

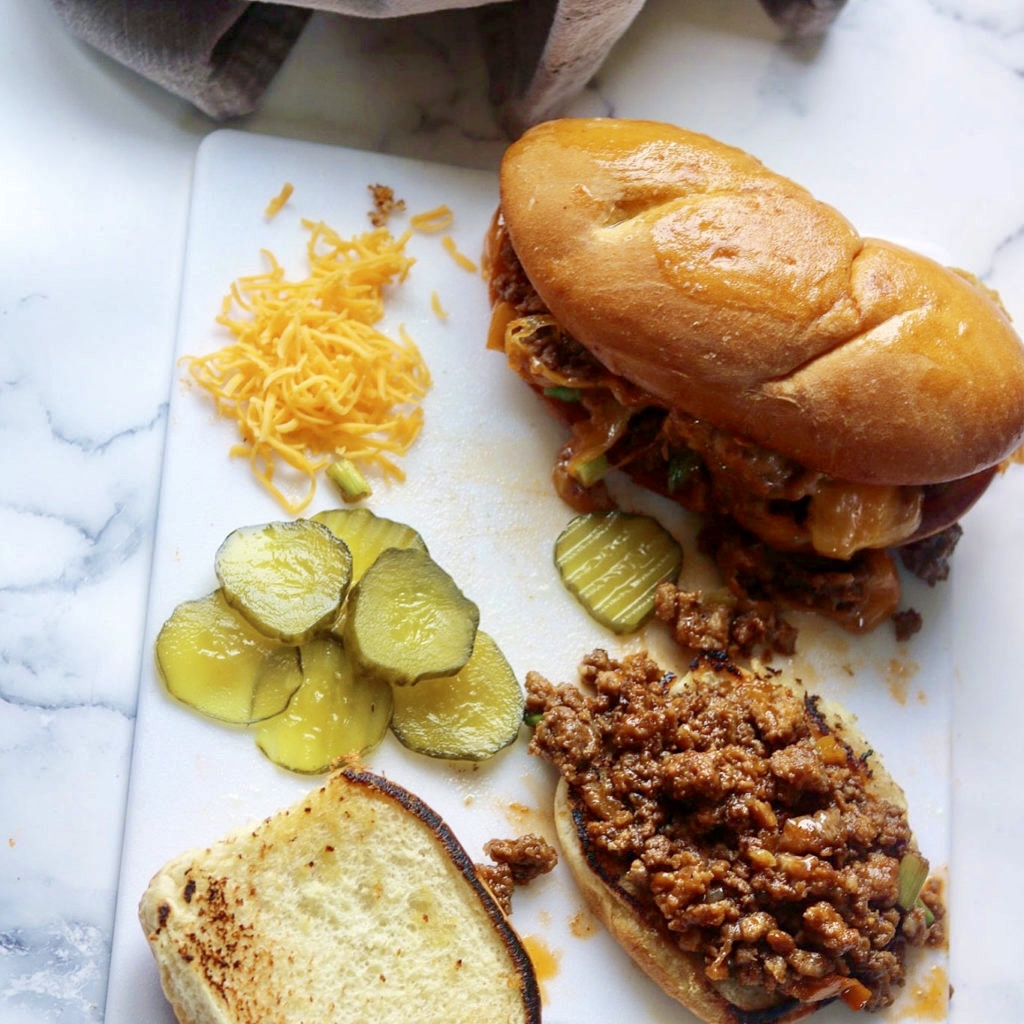
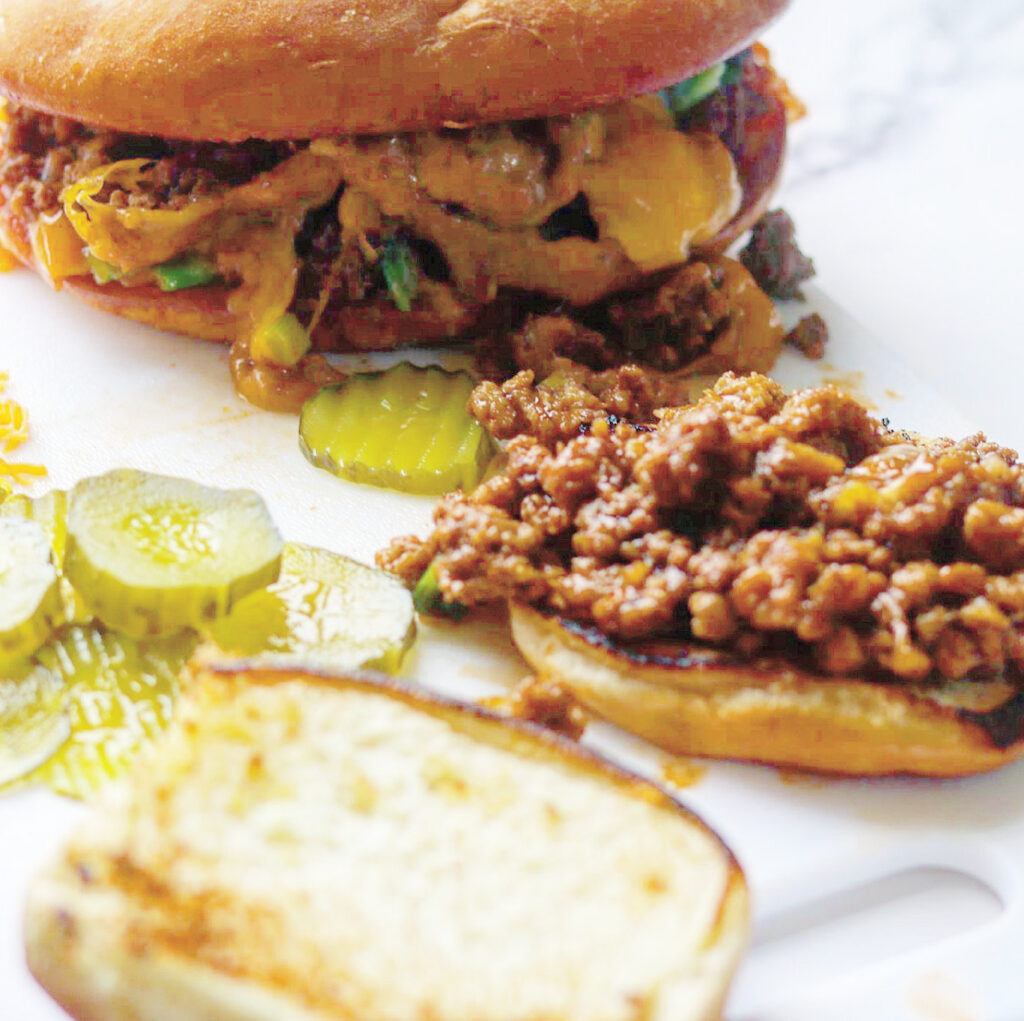
Who doesn’t love Sloppy Joes? Well, I do and these are delicious! Easy to make with ingredients you most likely have on hand in your refrigerator and pantry! You can make these spicy or cut back on the spice, depending on your heat level tolerance. I like a little spicy.

Sloppy Joe Grilled Cheese

This makes a great weeknight meal or a great meal to feed a crowd. What about after your kids sports activities when they all head over to your house? This is one of those recipes that is even better the next day. Also, this would freeze well. Make a big batch on the weekend, stick in the freezer and let it defrost in your refrigerator for dinner that night.

Delicious Sloppy Joes!

I like to serve these on hoagie buns or on hamburger buns. Both work well. In a pinch, they are delicious on your favorite sandwich bread. The bread just doesn’t hold up as well as a bun, but just as tasty. This is a perfect ingredient for sliders for a party.

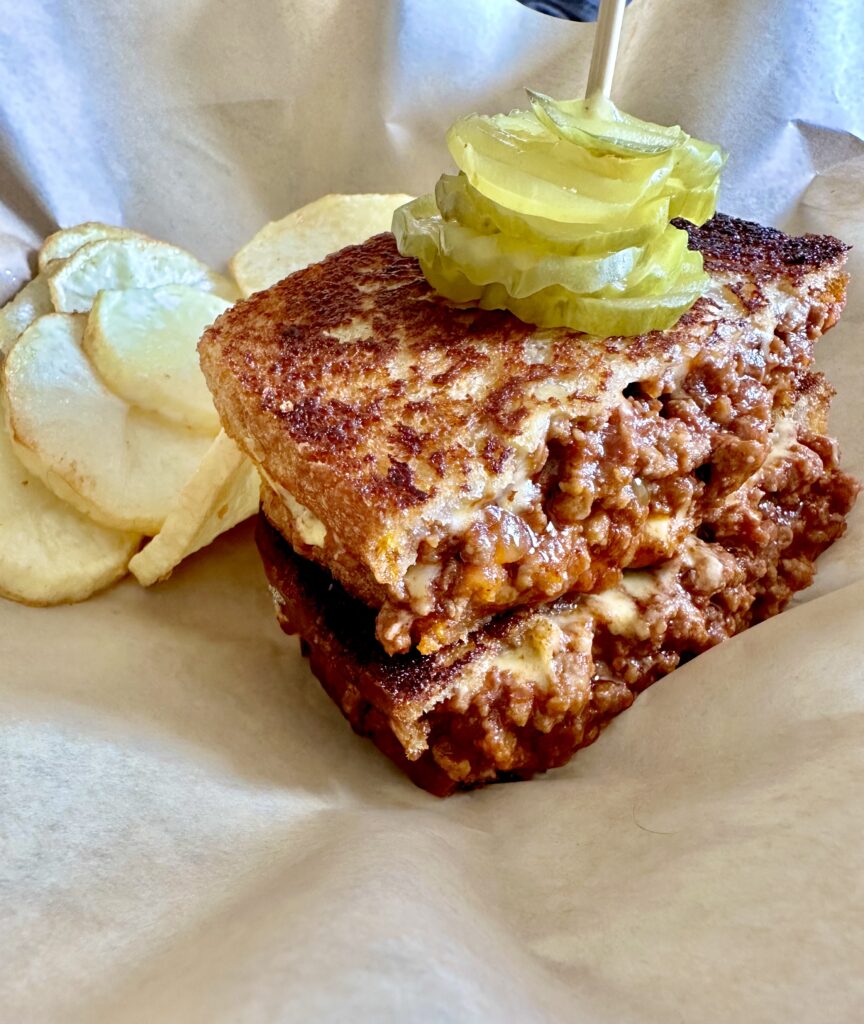
Don’t want a big hoagie bun? Make a sloppy Joe Grilled Cheese. You will not regret that!

Sloppy Joe Grilled Cheese

Unlike most sloppy joe recipes that call for tomato sauce, these use a barbecue sauce. I make my own barbecue sauce which is Aaron Franklin’s barbecue sauce. I love it and it’s the best! If you don’t want to make it buy his bottled sauce or use your favorite barbecue sauce. If you can’t find Aaron’s barbecue sauces here’s a link for the sauce:https://amzn.to/2upieEn.

I use the Texas Style when I purchase, but I’ll include the recipe.

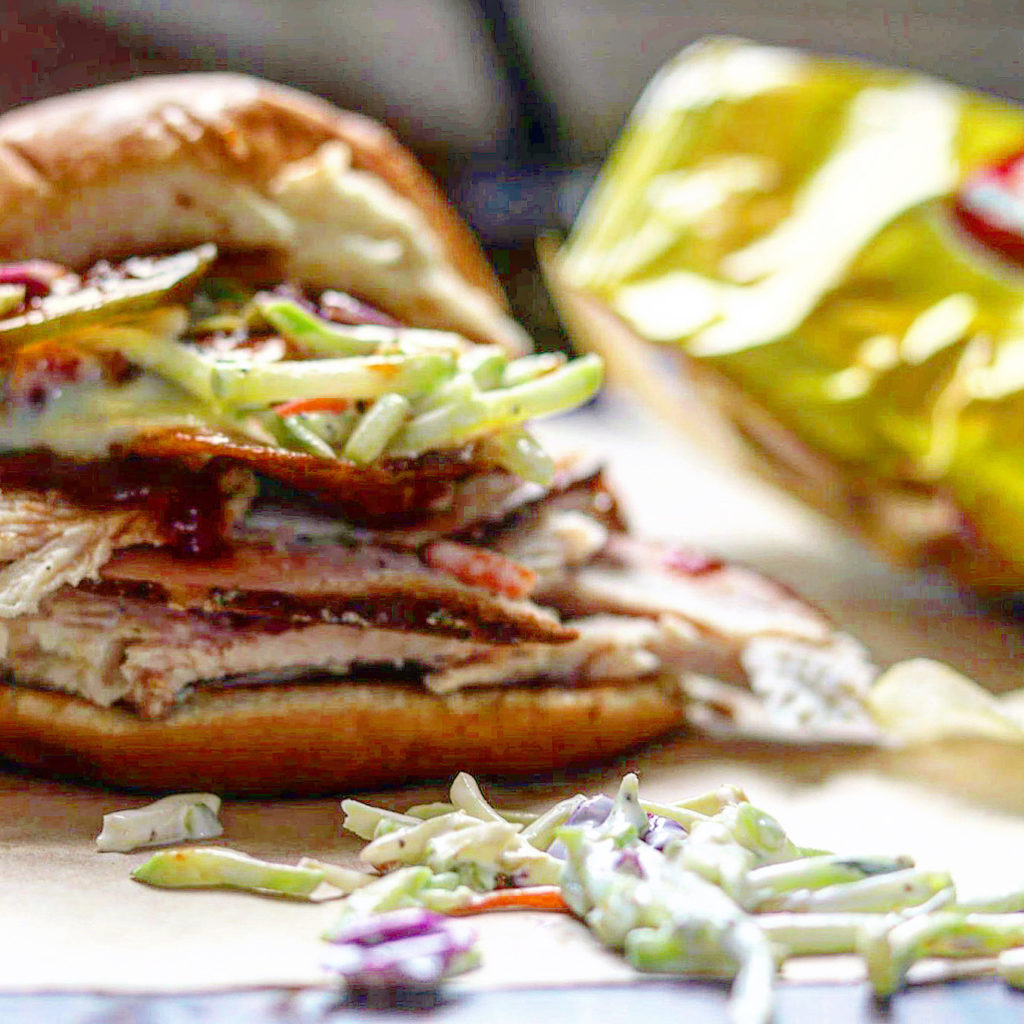
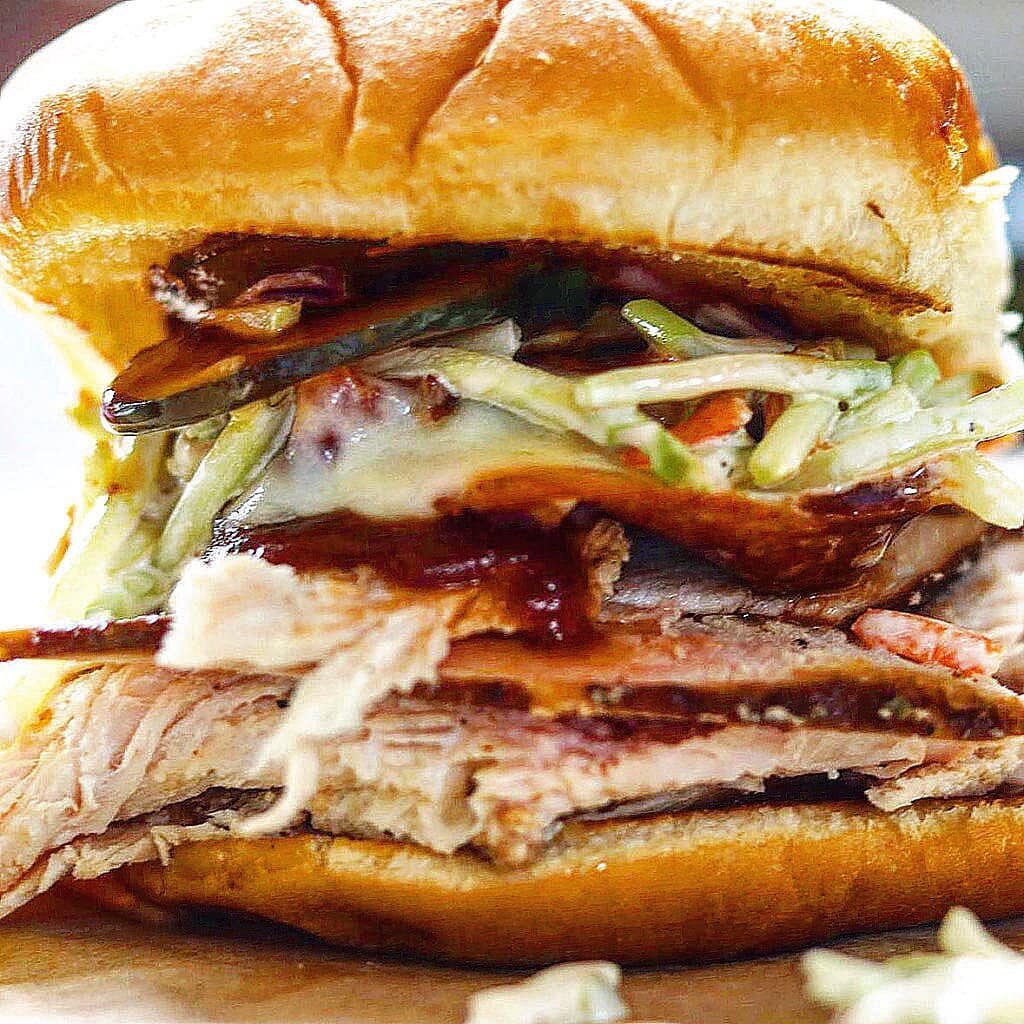
Here’s my smoked turkey sandwich that I use the same barbecue sauce, and I use it on brisket. It definitely is work making or the purchase. It will not disappoint. Here is the link for my Smoked Turkey Sandwich: https://the2spoons.com/amazing-the-best-ever-smoked-turkey-sandwiches/.

Smoked Turkey Sandwich
Leftover Smoked Turkey Sandwich

Delicious Sloppy Joes!

Here’s the recipe for the best Sloppy Joes! Enjoy

Sloppy Joes

Print Recipe
Course dinner, Lunch, Main Course
Cuisine American
Servings 8 servings

Ingredients
  

For the Homemade Barbecue Sauce

  • 1 3/4 cups ketchup
  • 1/2 cup plus 2 tablespoons water
  • 1/4 cup plus 1 tablespoon cider vinegar
  • 1/4 cup plus 1 tablespoon white vinegar
  • 1/4 cup plus 1 1/2 teaspoons brown sugar
  • 2 tbsp plus 1 1/2 teaspoons Worcestershire sauce
  • 1 tbsp chile powder
  • 1 tbsp ground cumin
  • 1 1/2 tsp kosher salt
  • 1 1/2 tsp coarse black pepper

For the Sloppy Joes

  • 1 lb Ground Beef
  • 1 lb ground pork
  • 3 tbsp Worcestershire sauce
  • 1/2 large onion, coarsely chopped
  • 1/2 red bell pepper, coarsely chopped
  • 1/2 yellow pepper, coarsely chopped
  • 1/2 orange pepper, coarsely chopped
  • 1/2 green peppers, coarsely chopped
  • salt
  • 1/2 tsp dried oregano
  • 1 tsp minced garlic
  • 2 cups barbecue sauce, homemade or store bought
  • 2 tbsp olive oil
  • 3 sweet or spicy Italian pork sausages, casings removed
  • 8 fresh hamburger buns or hoagie buns.
  • slices of cheese (optional)

Instructions
 

For the Barbecue Sauce

  • Combine all of the ingredients in a saucepan and warm gently over medium heat, stirring occasionally. There is no need to bring the mixture to a boil, as the idea is just to warm it enough to melt and integrate the ingredients. Once you have done that, remove from the heat and let cool. Transfer to a jar, bottle, squeeze bottle, or however you want to store it. Store in the refrigerator for up to 1 month.

For the Sloppy Joes

  • Brown the meat for 3-5 minutes under a high flame. Drain most of the fat, leaving a little in for seasoning. Add the Worcestershire Sauce and mix well. Add the onions and pepper, add salt and crush the oregano and add to the pot. Add the garlic and stir everything together. Coop for 3 to 5 minutes. Add the barbecue sauce , cover and simmer over low heat for 30 minutes.

  • Heat the olive oil in 2 large frying pans, add the sausage that the casings have been removed and cook for about 5 to 8 minutes, until no longer pink. Drain any fat from the sausages. Add the sausages to the pot of barbecue meat mixture, and continue cooking, stirring occasionally, for about an hour.
  • I like to toast the buns but you can just serve on fresh hamburger buns. If you toast, butter the bun and toast on a hot griddle or in a skillet. Add Cheese if you like. Enjoy!
Keyword dinner, lunch, main course, sandwiches, sloppy joe, sloppy joes
  • Click to share on Pinterest (Opens in new window) Pinterest
  • Click to share on Facebook (Opens in new window) Facebook
  • Click to email a link to a friend (Opens in new window) Email
  • Click to print (Opens in new window) Print
  • Click to share on X (Opens in new window) X
  • Click to share on Tumblr (Opens in new window) Tumblr
  • More
  • Click to share on Reddit (Opens in new window) Reddit

Filed Under: Sandwiches/Burgers/Hot Dogs Tagged With: easy, lunch, sloppy joe, sloppy joe sandwiches, sloppy joes

  • « Go to Previous Page
  • Page 1
  • Interim pages omitted …
  • Page 6
  • Page 7
  • Page 8
  • Page 9
  • Page 10
  • Interim pages omitted …
  • Page 67
  • Go to Next Page »

Primary Sidebar

Categories

  • Appetizer
  • Beans, Lentils, Grains, Rice
  • Beef
  • Bread
  • Breakfast/Brunch
  • Cocktails
  • Dessert
  • Dishes of Mexico, Tex Mex and New Mexico Red and Green Chile
  • Fish/Seafood
  • Ice Cream
  • Pasta
  • Pizza
  • Pork
  • Poultry
  • Salad Dressings
  • Salads
  • Salsas
  • Sandwiches/Burgers/Hot Dogs
  • Sauces, Compound Butters, Condiments
  • Side dish
  • Soups/Stews/Gumbo//Chili
  • Stocks, Broths, Gravies
  • Vegetables

Copyright © 2025 The 2 Spoons on the Foodie Pro Theme

Manage Cookie Consent
We use cookies to optimize our website and our service.
Functional Always active
The technical storage or access is strictly necessary for the legitimate purpose of enabling the use of a specific service explicitly requested by the subscriber or user, or for the sole purpose of carrying out the transmission of a communication over an electronic communications network.
Preferences
The technical storage or access is necessary for the legitimate purpose of storing preferences that are not requested by the subscriber or user.
Statistics
The technical storage or access that is used exclusively for statistical purposes. The technical storage or access that is used exclusively for anonymous statistical purposes. Without a subpoena, voluntary compliance on the part of your Internet Service Provider, or additional records from a third party, information stored or retrieved for this purpose alone cannot usually be used to identify you.
Marketing
The technical storage or access is required to create user profiles to send advertising, or to track the user on a website or across several websites for similar marketing purposes.
Manage options Manage services Manage {vendor_count} vendors Read more about these purposes
Preferences
{title} {title} {title}