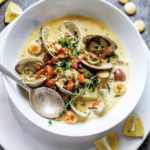
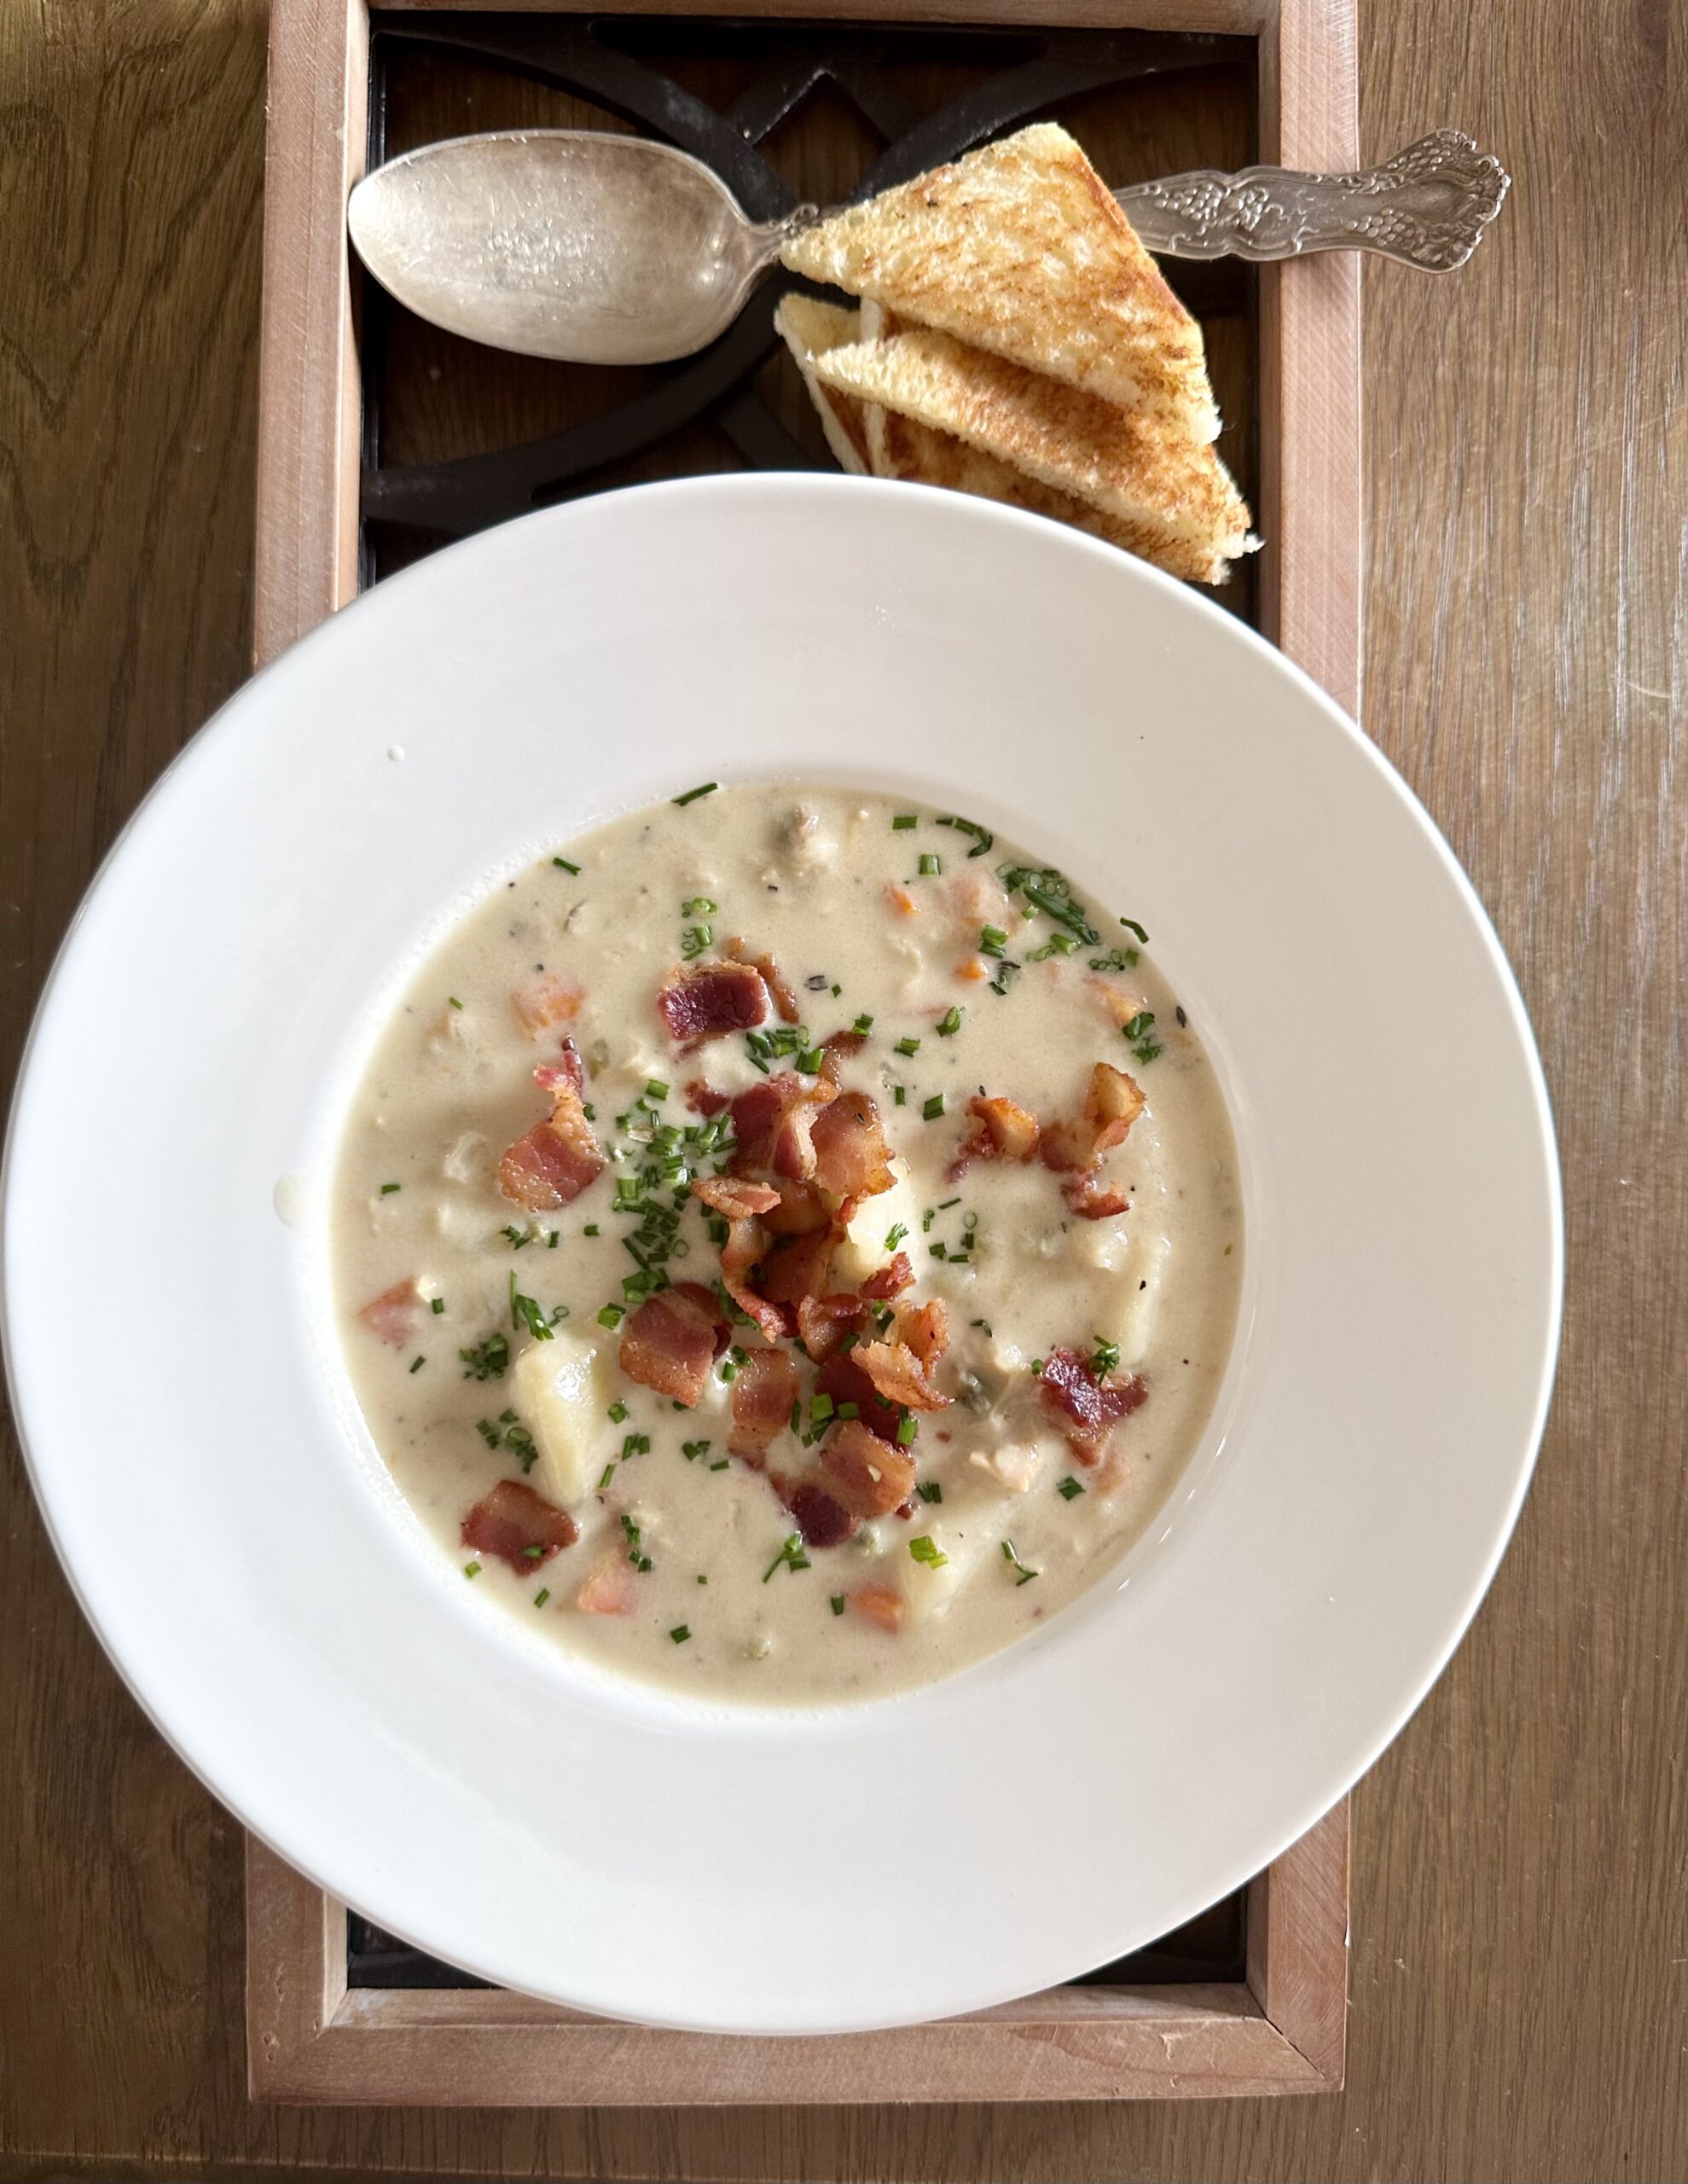
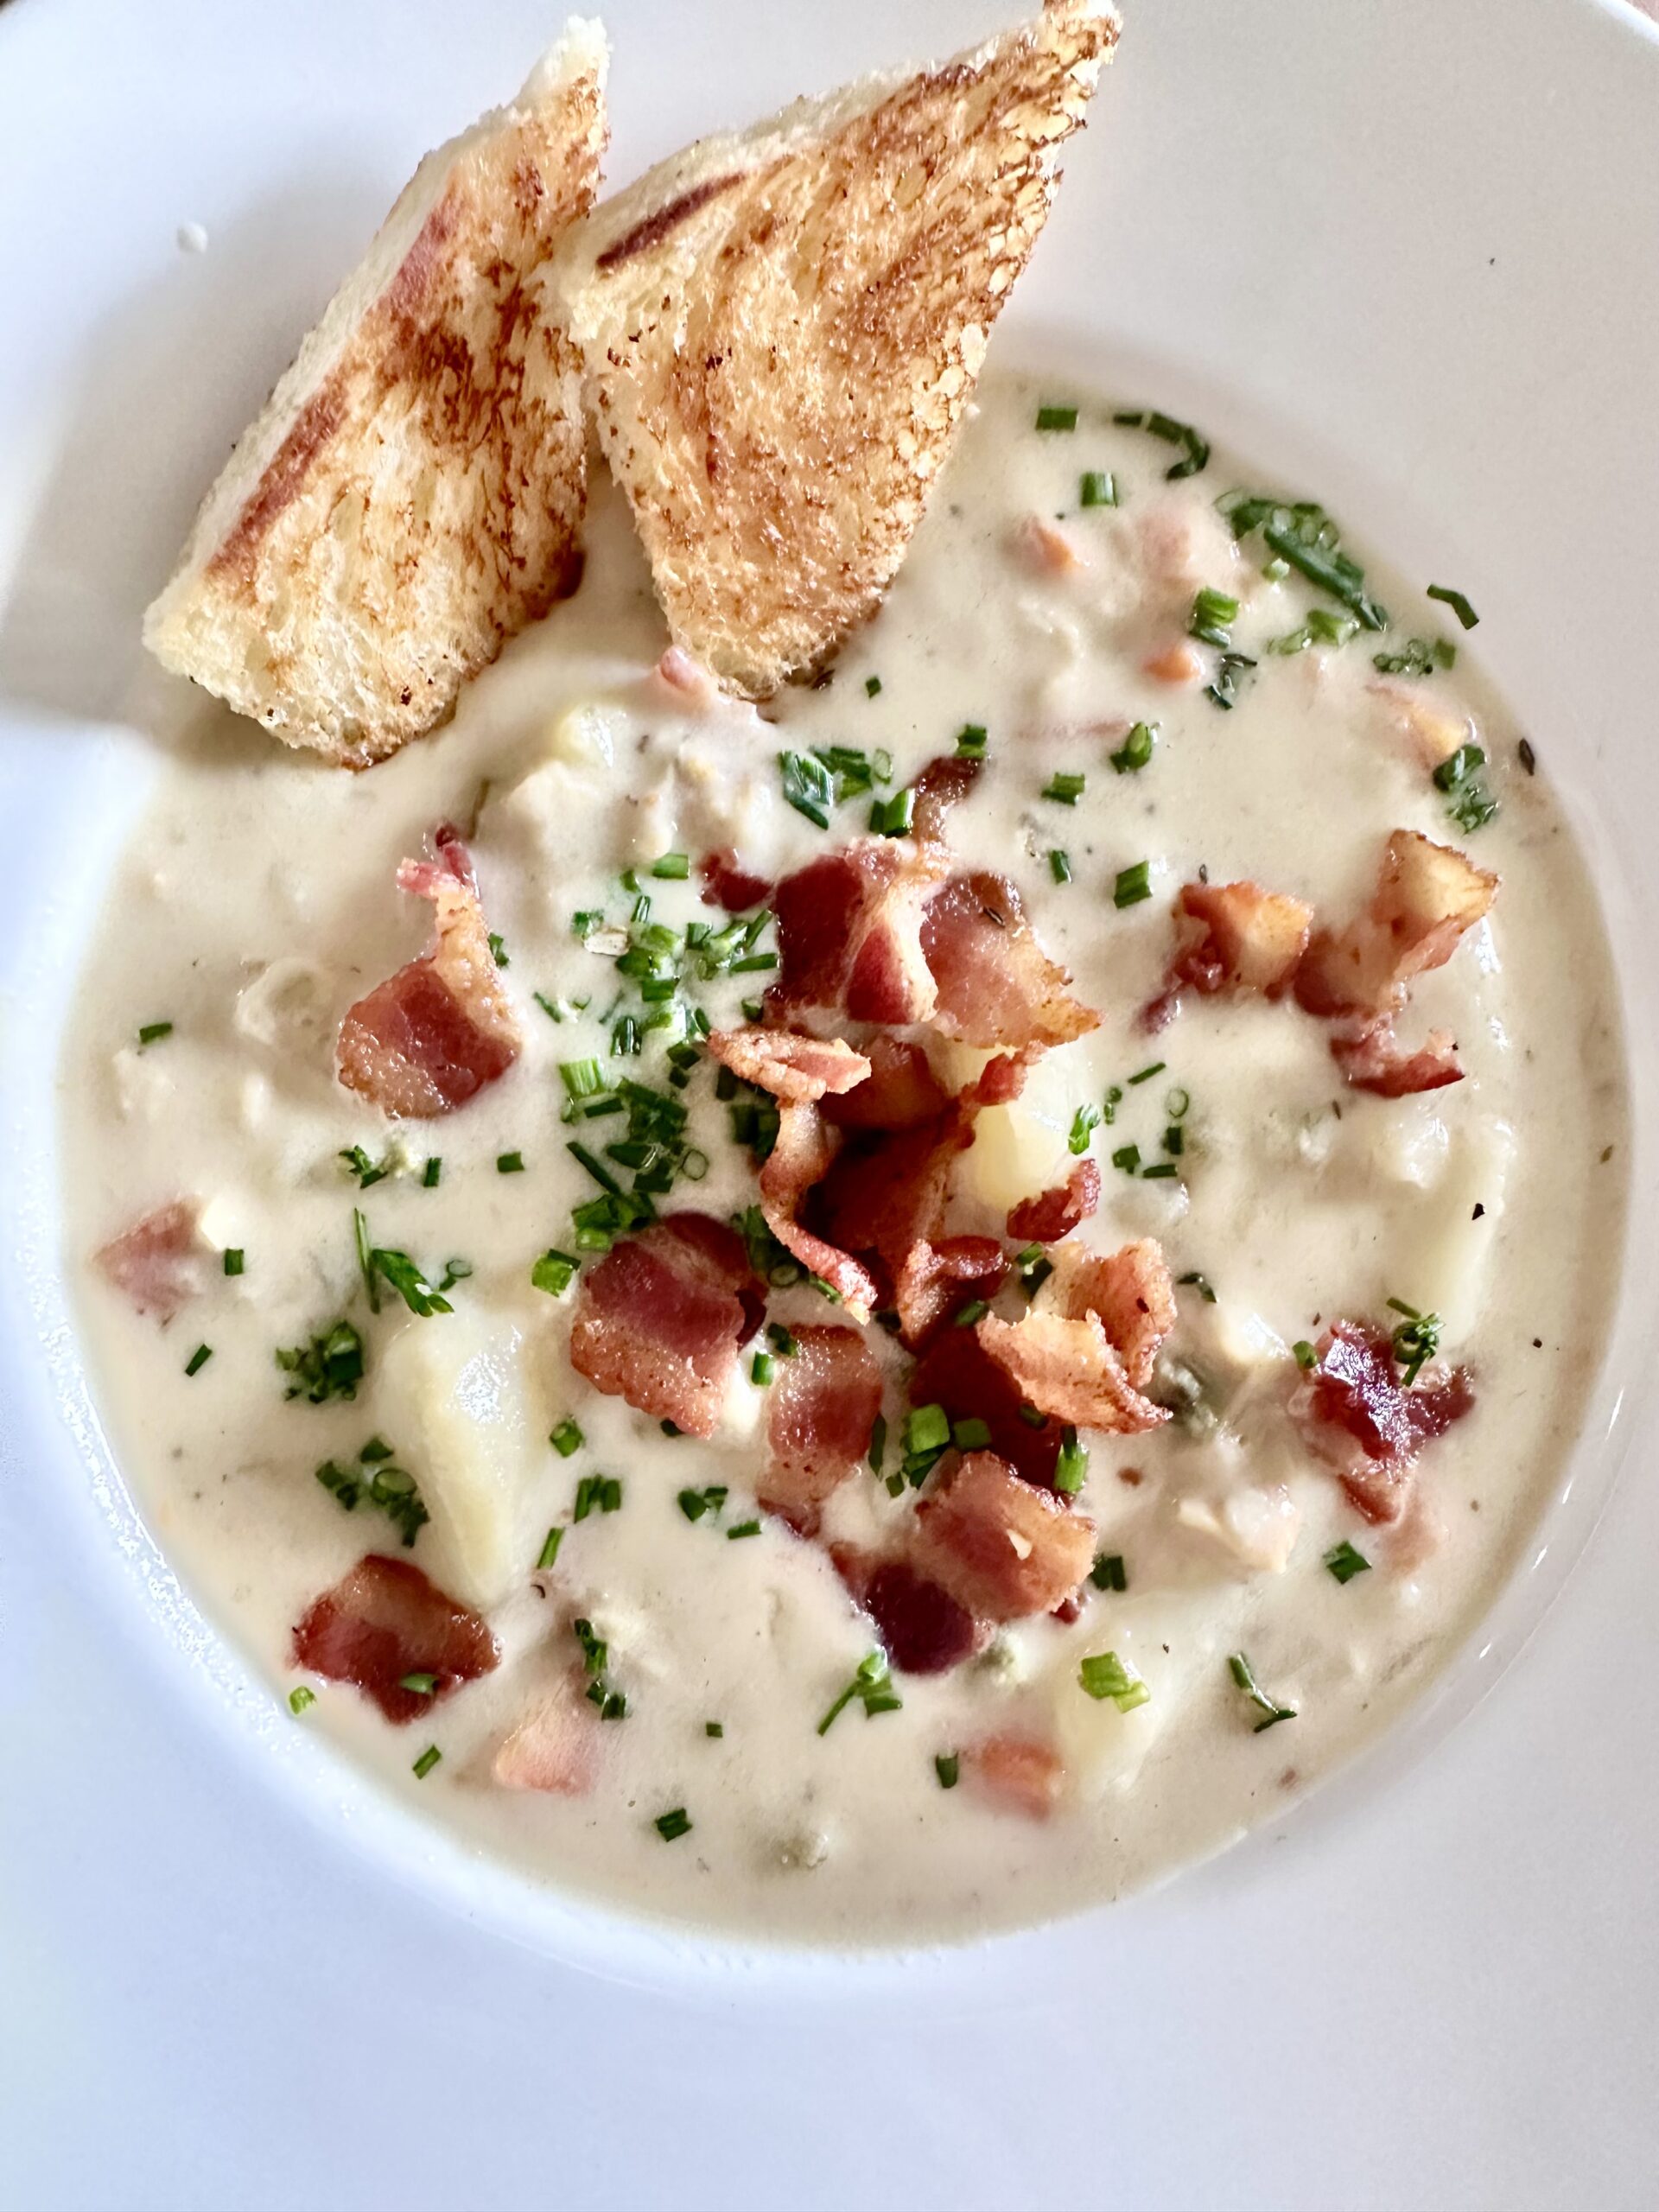
I really do love clam chowder!! Butter, bacon, cream, seasonings, clams? What is there not to love? A loaf of French bread for sopping is the only addition you need, or some saltines. Seriously. Clam Chowder is great for game day, Christmas holidays, or just at home by the fire or at the beach!
Other than a terrific clam chowder I love fried clams. My parents lived in Seattle for a while. When they returned to Texas, every Christmas eve they would have the most delicious clam chowder, fried oysters, likely fried catfish, a southern favorite in Texas, along with lots of boiled shrimp with a delicious red sauce. It’s fascinating how so many of my memories relate to food.
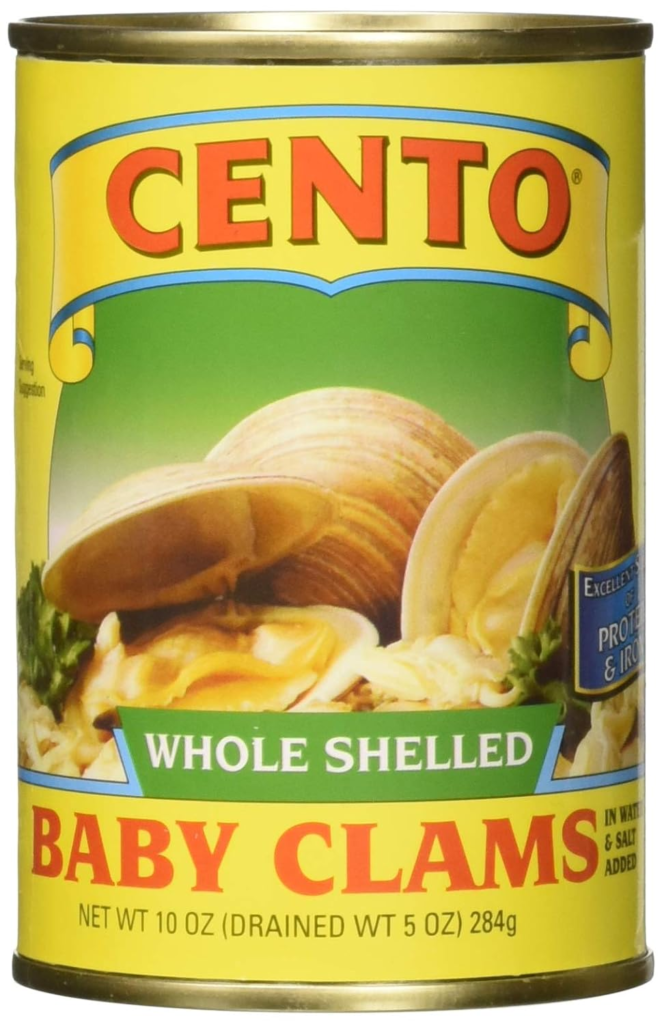
For clam chowder, I usually use a high quality canned clam and purchased clam juice. When I can get fresh clams I will make the chowder with them. This Cento is a favorite of mine. There are may good brands.https://amzn.to/46BOEaP
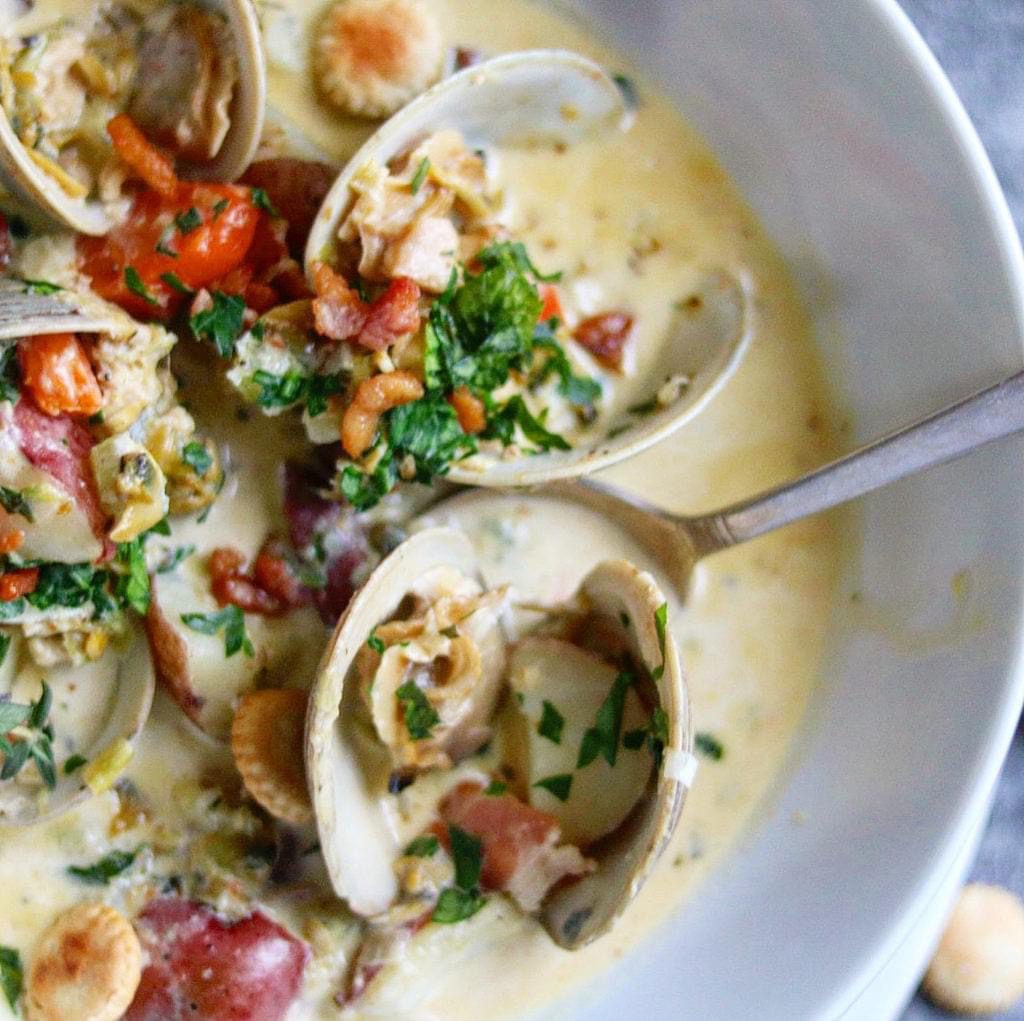
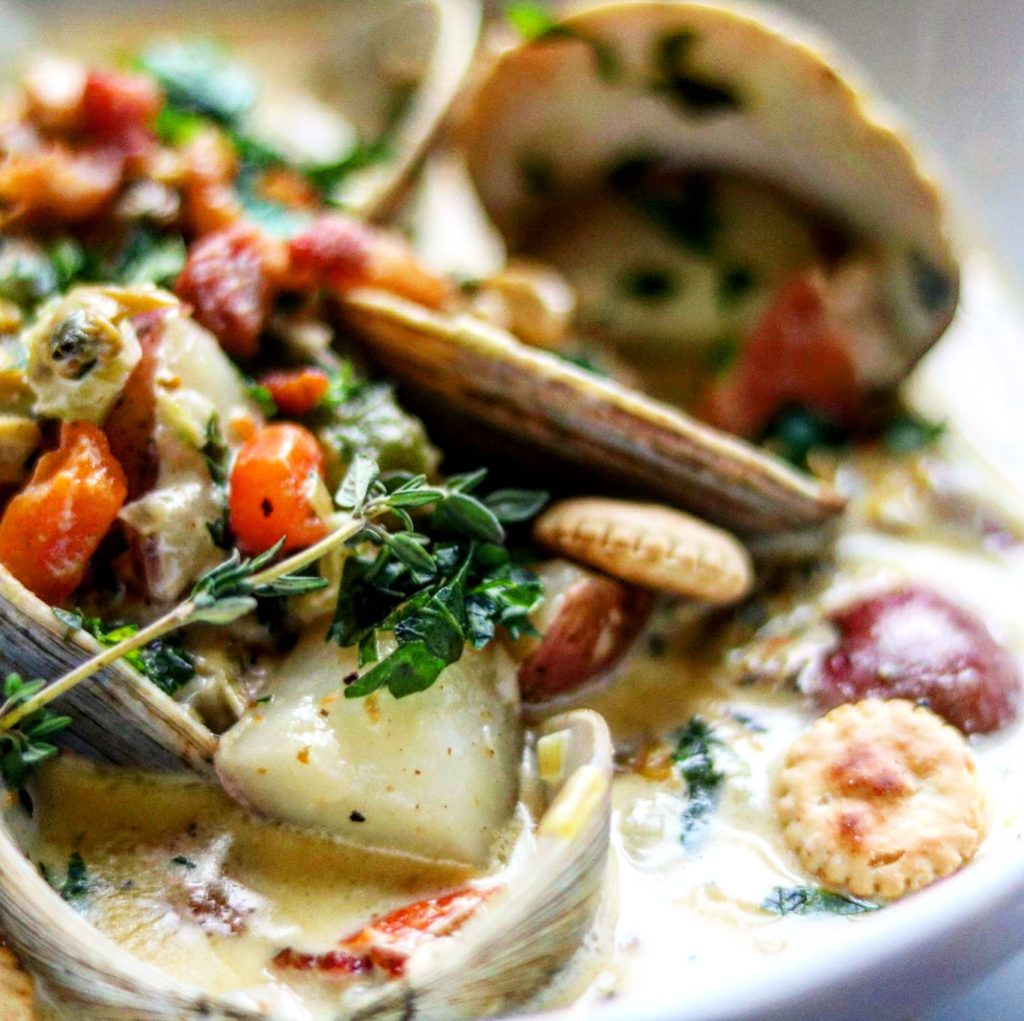
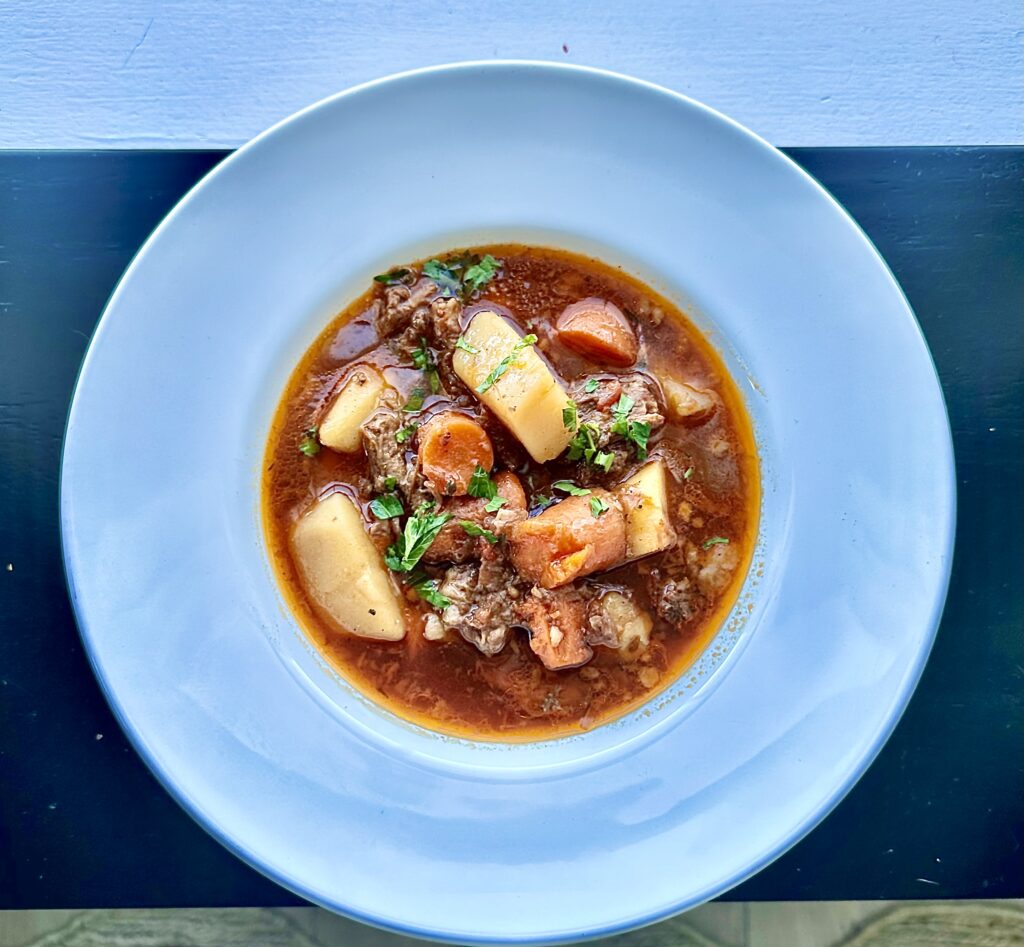
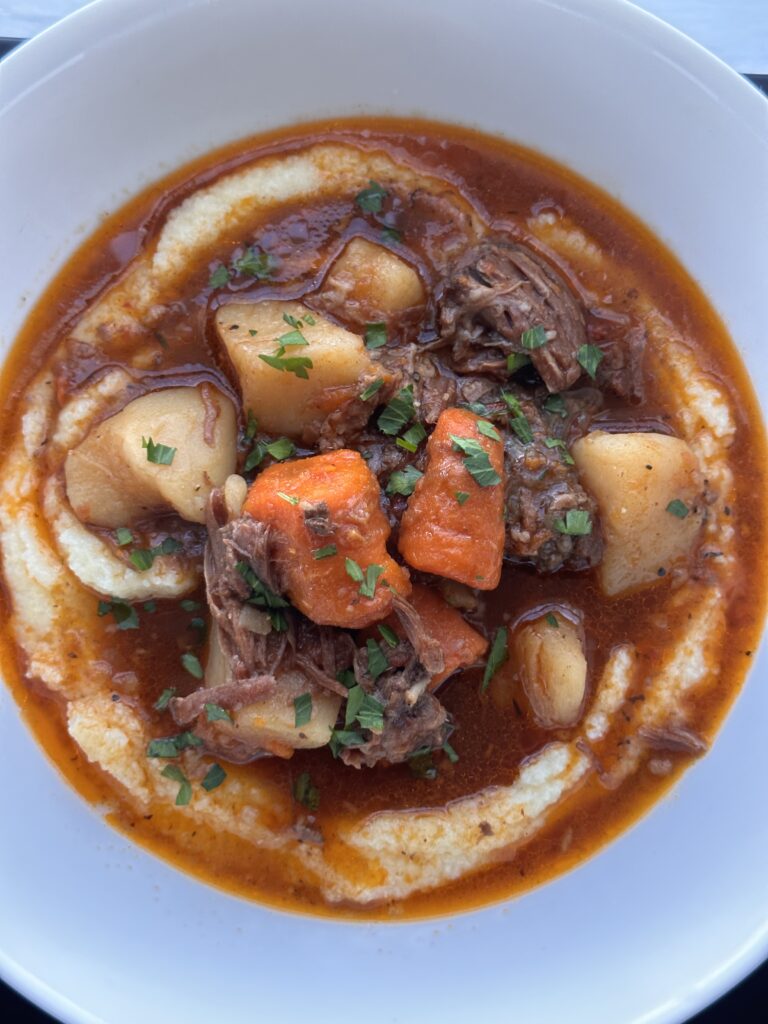
The above photos were made with fresh clams. It is delicious either way.
What is clam chowder….
According to Wiki, “Clam chowder is any of several chowder soups containing clams and broth. In addition to clams, common ingredients include diced potatoes, onions, and celery. Other vegetables are not typically used, but small carrot strips or a garnish of parsley might occasionally be added primarily for color. A garnish of bay leaves would add both color and flavor, I used fresh thyme which works beautifully in this chowder.
It is believed that clams were used in chowder because of the relative ease of harvesting them. Clam chowder is usually served with saltine crackers or small, hexagonal oyster crackers.
what are the ingredients?
what are the ingredients?
- 6 ounces good quality smoked bacon, cut into 1/2 inch wide pieces
- 6 tbsp butter, divided
- 2 cups diced carrots
- 2 cups chopped, yellow onions
- 2 cups diced celery
- 4 cups peeled and diced potatoes (I used Yukon gold, new potatoes would be good also)
- 2 tbsp fresh thyme leaves or dried (I used both)
- salt and pepper to taste
- 1/2 cup flour
- 1 quart clam juice
- 2 cups milk or 1 cup milk, 1 cup heavy cream
- 3 cups chopped clams
- Salt pork that has been diced and fried crispy for garnishing or some of the crispy bacon
- chopped chives
more game day recipes?
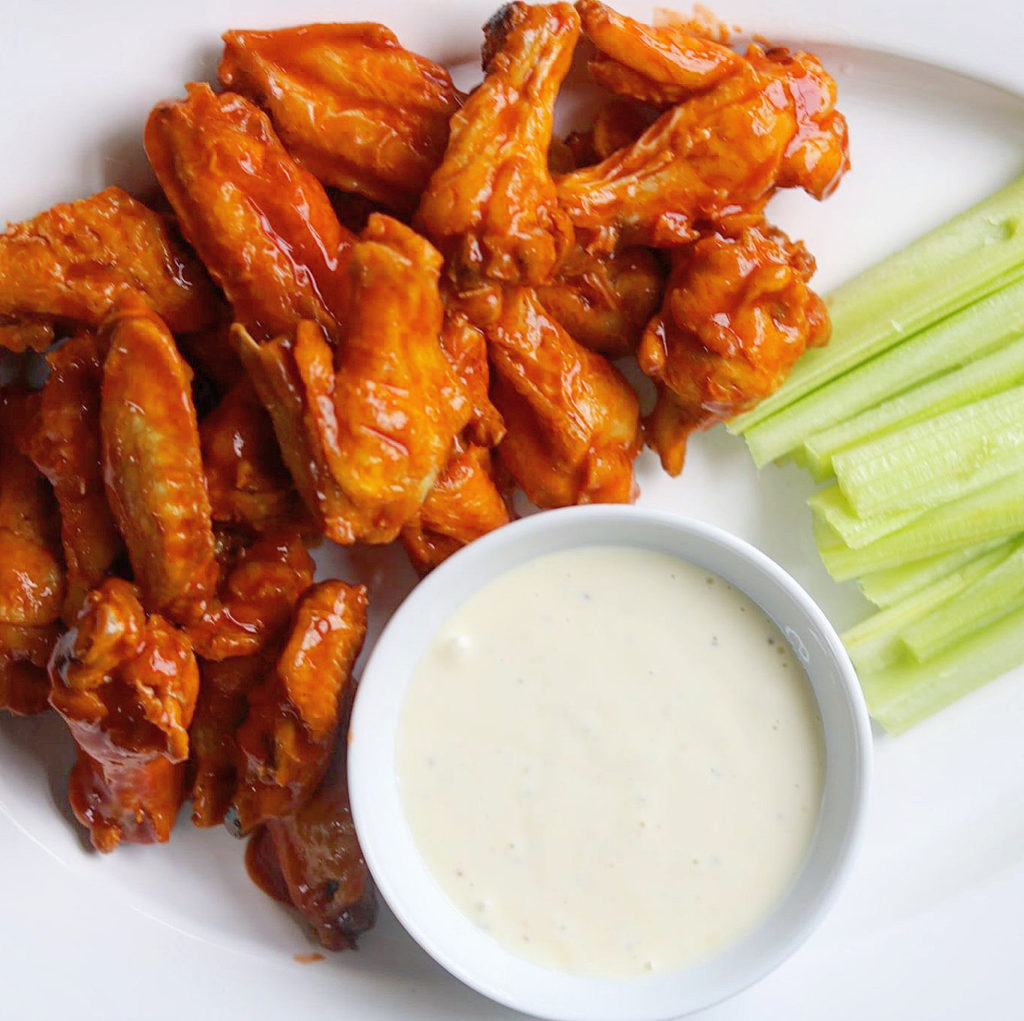
Want more game day recipes? Here’s a couple for you! Game Day! The Best Frank’s RedHot Buffalo Wings https://the2spoons.com/game-day-the-best-franks-redhot-buffalo-wings/.
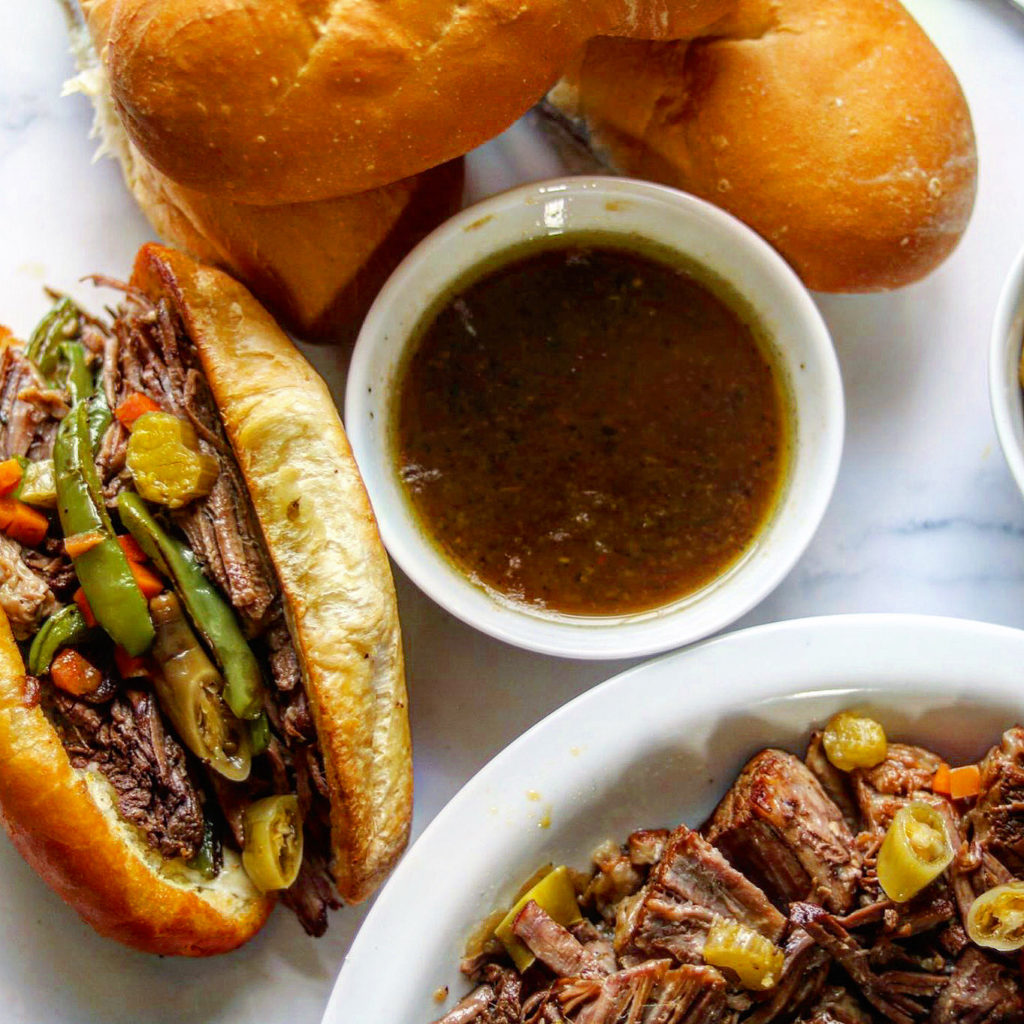
Game Day Chicago Italian Beef sandwiches: https://the2spoons.com/game-day-chicago-italian-beef/.
There’s several more on my blog, just look under the Category “Game Day” or Appetizers.
i love this clam chowder.
Here’s the recipe for this delicious chowder! Enjoy!

Clam Chowder
Ingredients
- 6 ounces good quality smoked bacon, cut into 1/2 inch wide pieces
- 6 tbsp butter, divided
- 2 cups diced carrots
- 2 cups chopped, yellow onions
- 2 cups diced celery
- 4 cups peeled and diced potatoes (I used Yukon gold, new potatoes would be good also)
- 2 tbsp fresh thyme leaves or dried (I used both)
- salt and pepper to taste
- 1/2 cup flour
- 1 quart clam juice
- 2 cups milk or 1 cup milk, 1 cup heavy cream
- 3 cups chopped clams
- Salt pork that has been diced and fried crispy for garnishing or some of the crispy bacon
- chopped chives
Instructions
- If you are using canned clams, drain them, reserving the clam juice and set aside both.
- Add the bacon and cook slowly so the fat renders and the bacon becomes crispy. Remove the bacon from the skillet, reserving the bacon fat. If there is too much bacon fat, pour off all but maybe 2 or 3 tablespoons. Add the butter.
- When the butter has melted, add the carrot, celery and onions, the thyme and a little salt and pepper. Cook about 10 minutes. Add the flour and cook stirring so that it doesn't burn.
- Add the clam juice and cook on medium low until the vegetables are tender and the broth has thickened. Add the milk and the heavy cream if using.
- Add your clams and just heat gently for just a few minutes. Check for salt and pepper.
- Serve in bowls and top with some of the crumbled bacon. Enjoy!