
• Skip to primary navigation
  • Skip to main content
  • Skip to primary sidebar

A cook named Rebecca

  • Home
  • Favorite Cookbooks
  • Recipes
  • Travel
You are here: Home / Home

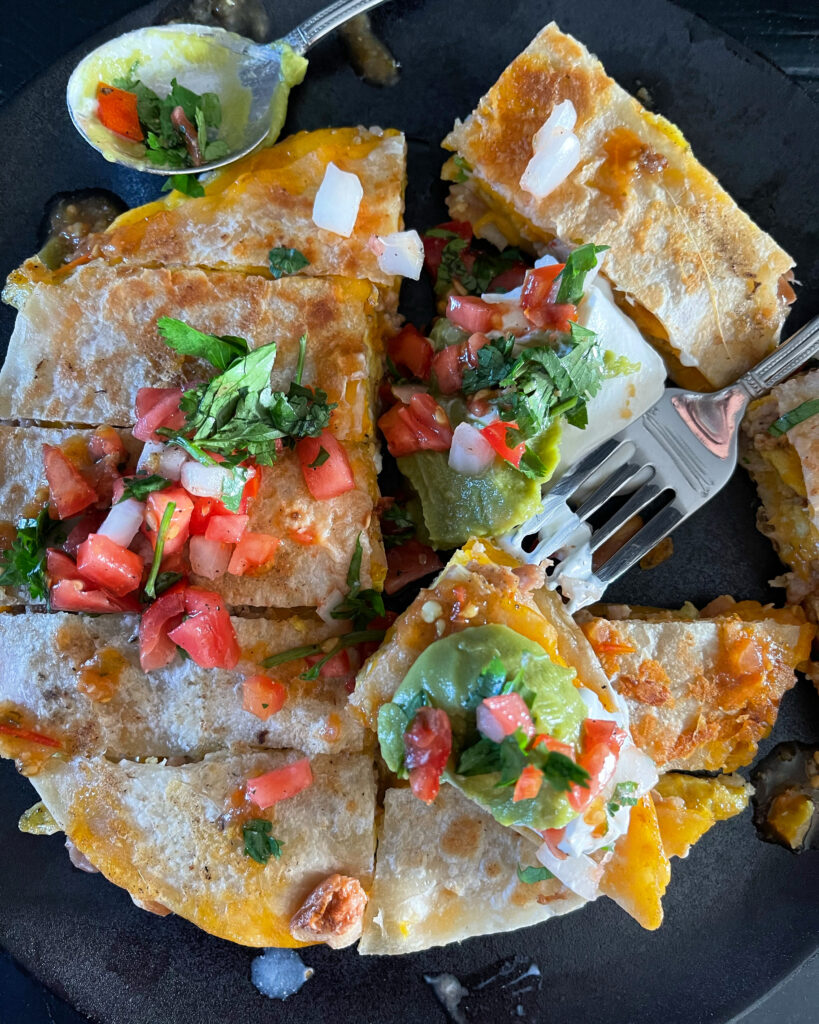
love these easy and delicious breakfast quesadillas!

August 2, 2023 by Becky Spoon

delicious breakfast quesadillasJump to Recipe
delicious breakfast quesadillas

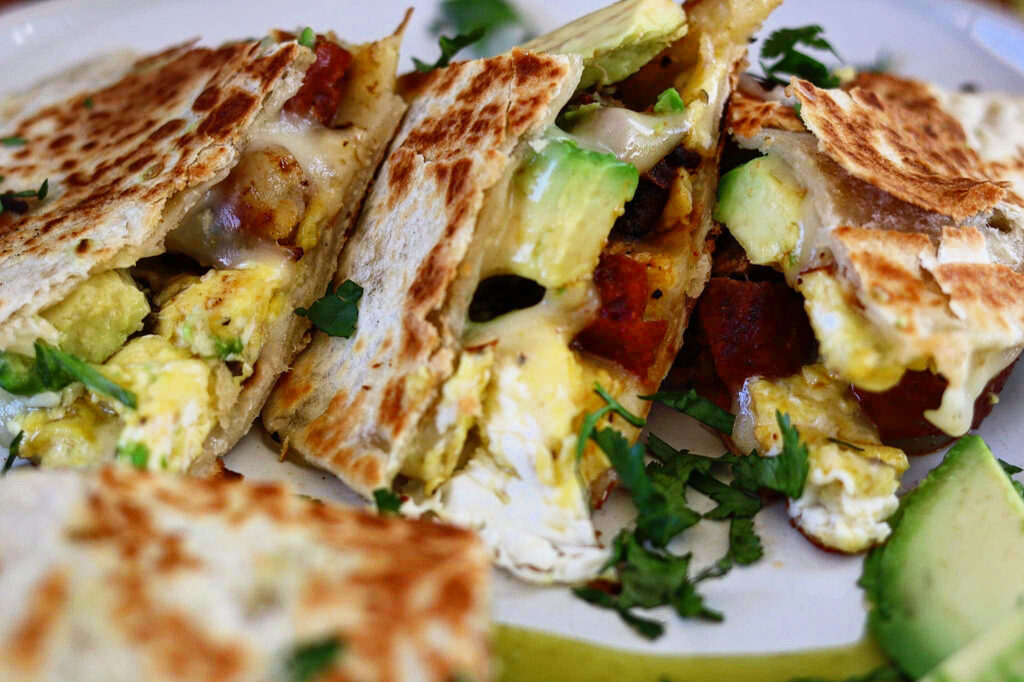
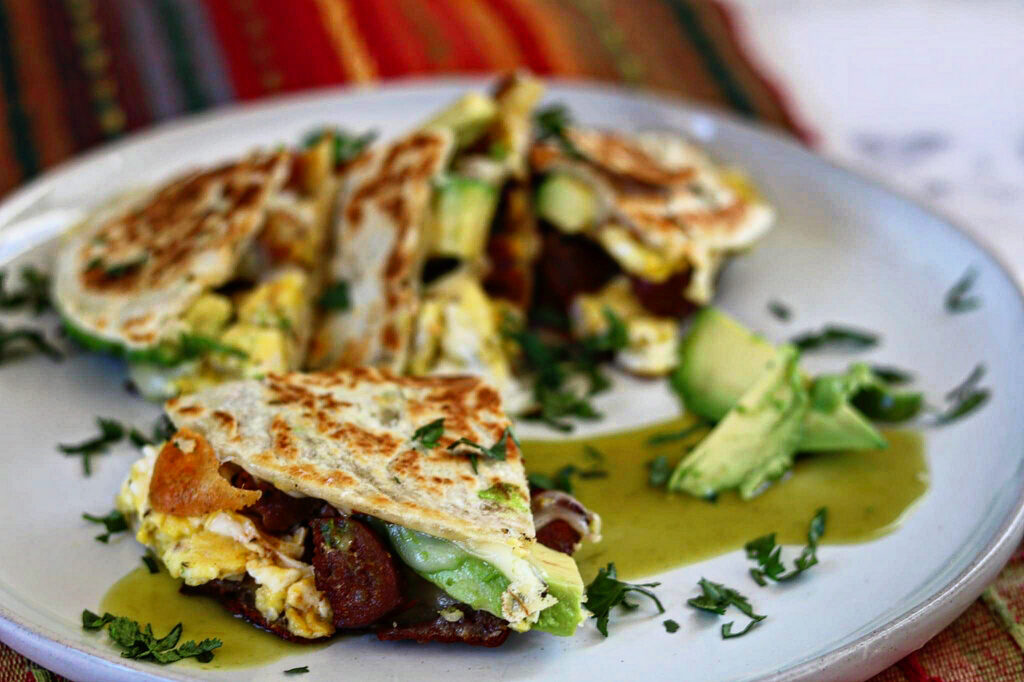
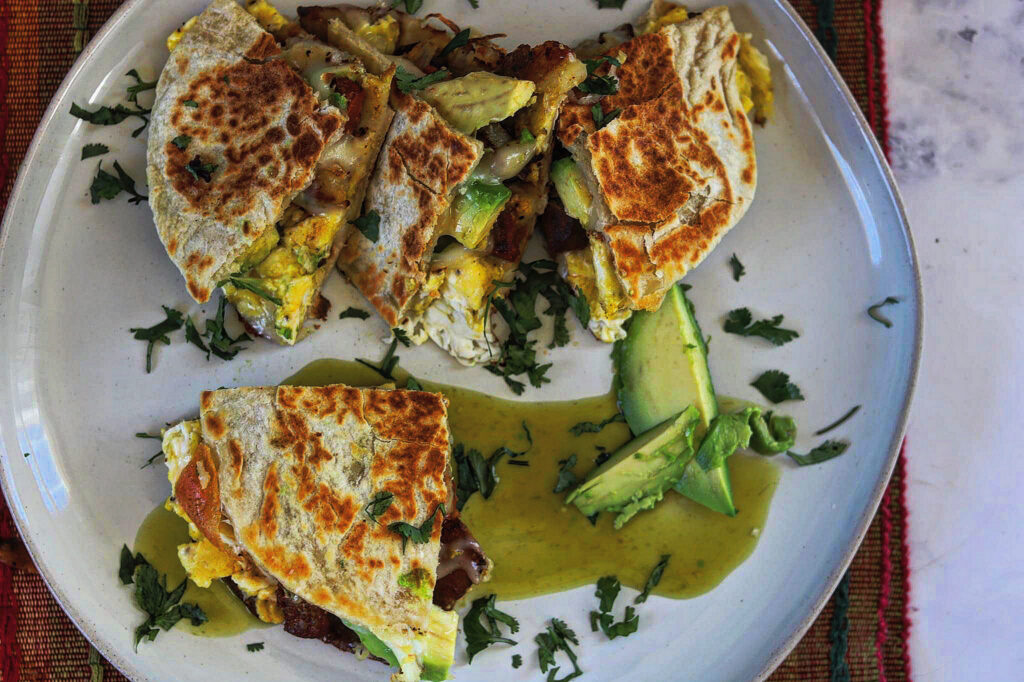
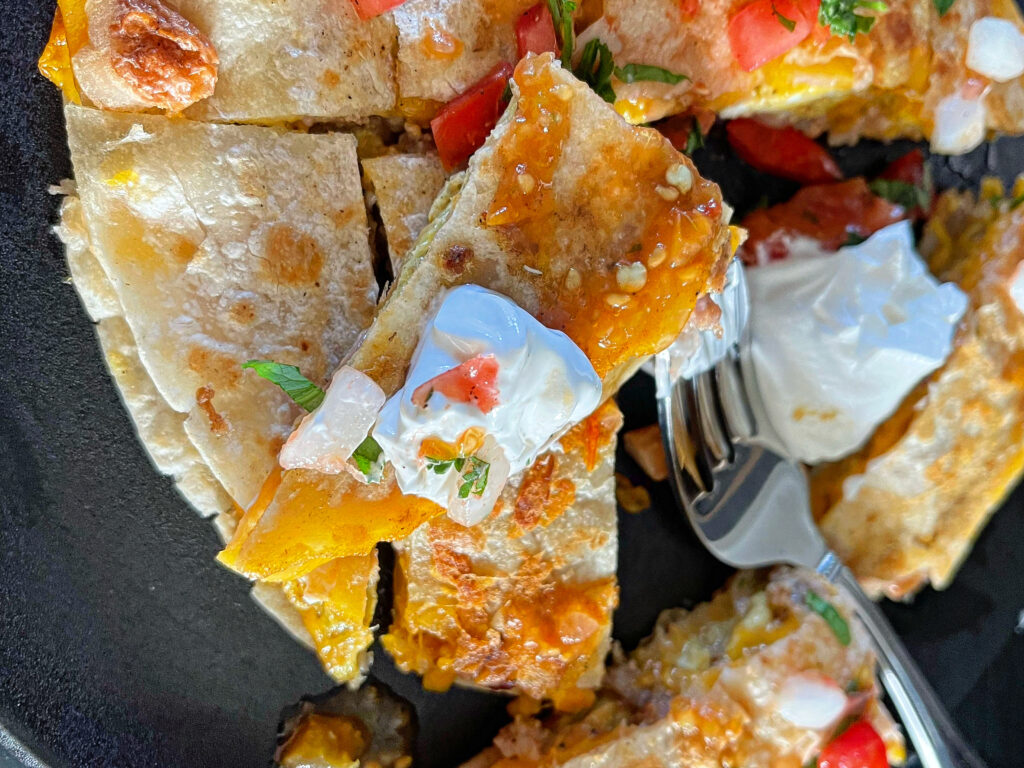
I woke up this morning craving delicious breakfast quesadillas! You know, the ones with scrambled eggs, cheese, meats and whatever you like! These are truly delicious. The flour tortillas are thin allowing them to get crispy on the outside, which I really like in a quesadilla. You know how some flour tortillas are thick? These aren’t and they make a difference in the outcome. I like mine with a little “char” here and there” however, you crisp yours how you like. Isn’t that what recipes are about…following your likes and dislikes, substituting, adding on, switching it up a little?
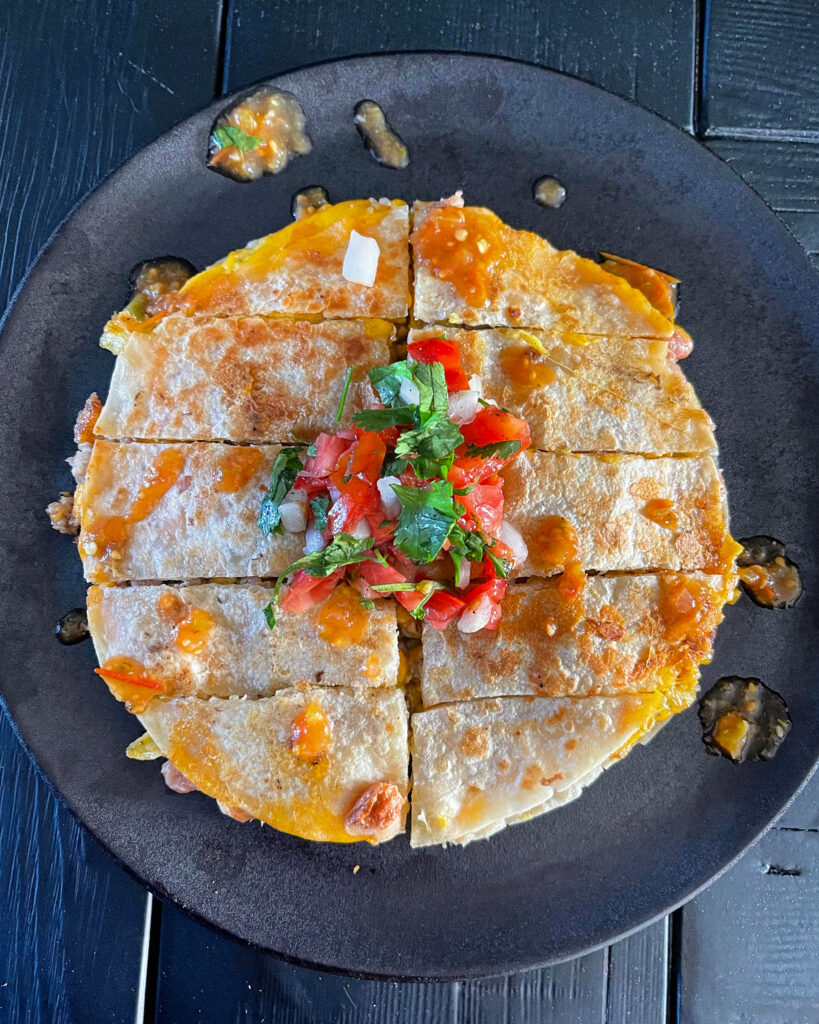
delicious breakfast quesadillas

I love these easy and delicious breakfast quesadillas!

Let’s talk about the flour tortillas. To get the result I wanted I use the uncooked flour tortillas I get in the refrigerated section of my grocery store or there are some that are not cooked in the section where all tortillas are placed. These are what I use:
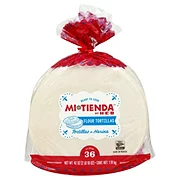
These are from HEB in the refrigerated section. They are ready to cook. Or these are really good too.
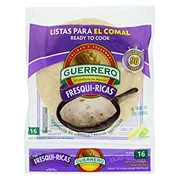
How to cook flour tortillas

Here is a video of actually making flour tortillas from scratch. If you buy the prepared ready to cook flour tortillas I mentioned…..watch the video to see how to cook them. https://youtu.be/QFQzYRF36og. Because you are cooking these flour tortillas twice if using the “ready to cook”, after the puff and lightly browned, I remove from the griddle, build my quesadilla, then place back on the griddle to brown on both sides and melt the yummy cheese!
delicious breakfast quesadillas

Let’s talk about fillings

Here are some great cheeses to use in quesadillas:

  • Pepper jack
  • Colby Jack
  • Asadero
  • Cheddar cheese 
  • Chihuahua Cheese
  • Pepper Jack Cheese
  • Fresh Mozzarella
  • Queso Fresco
  • Cotija Cheese
  • Colby Jack Cheese

Here are some great meat fillings:

  • Chorizo
  • Pork sausage
  • Bacon
  • Shredded chicken
  • Link sausage thinly sliced

Additional ingredients to enhance your quesadilla:

  • Roasted corn
  • Refried Beans
  • Black Beans
  • Sautéed red, yellow, green peppers
  • Hatch Green chile
  • Thinly sliced jalapeno

What should I serve with the Quesadillas?

A quesadilla is a mean in itself! However, I like to serve them with sliced avocado or guacamole. Salsa is a must in my opinion! I have to have sour cream too!

More recipes?

Need another quesadilla recipe? These fried egg quesadillas are wonderful! That crispy tortilla just changes it up completely and takes it to a new level. Here’s the link: The Best 10 Minute Breakfast – Fried Egg Quesadilla
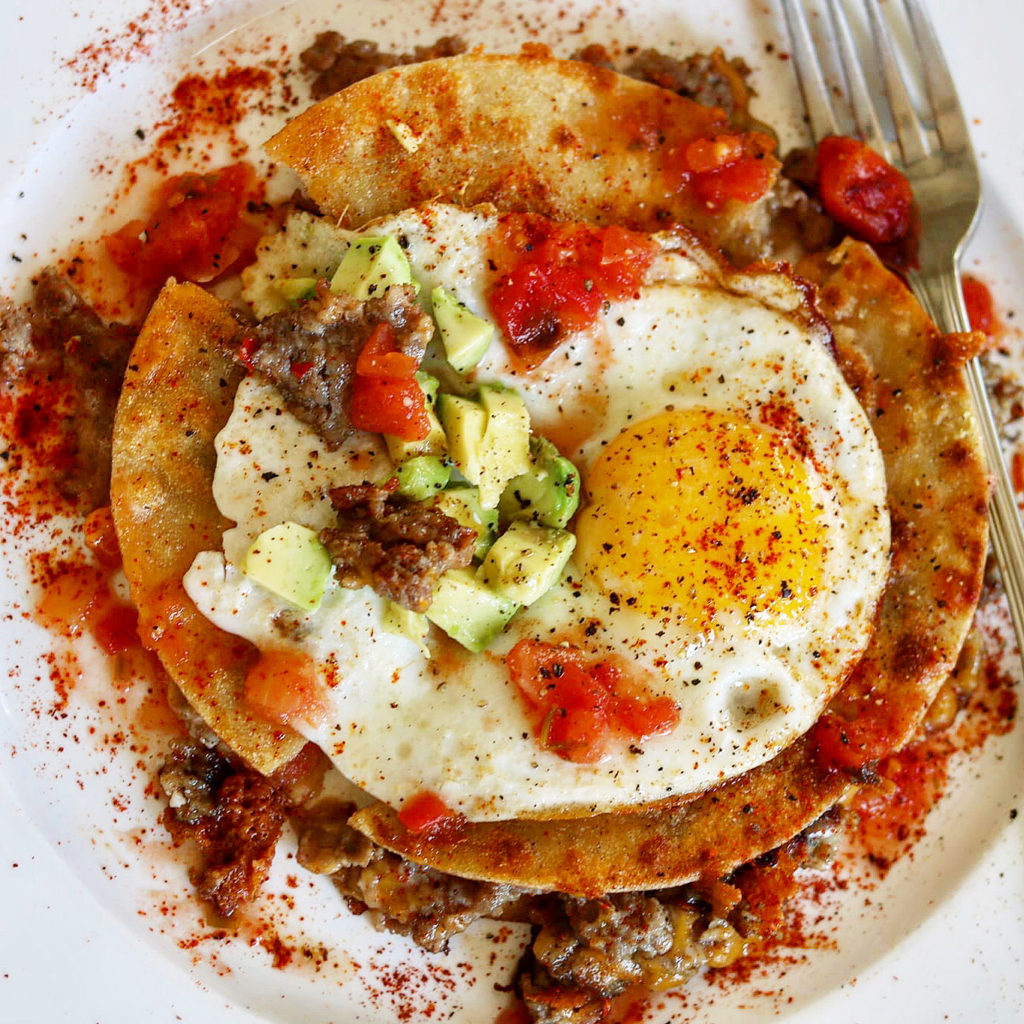
Fried Egg Quesadilla

Here’s the recipe for these delicious quesadillas. Enjoy!

Condiments:

Here is a quick pico de gallo recipe I like to top the quesadillas: http://pico de gallo
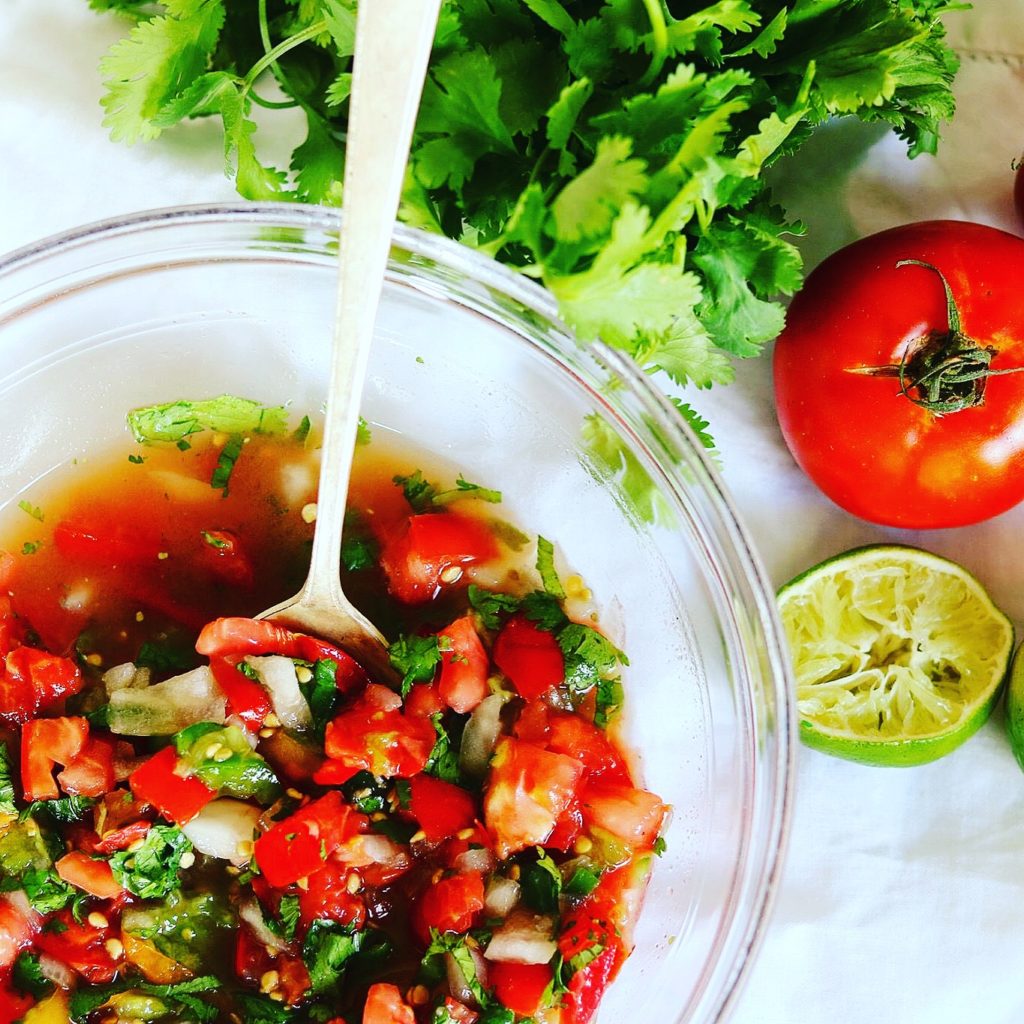
Pico de Gallo
Pico de Gallo

Guacamole#1 – delicious guacamole!
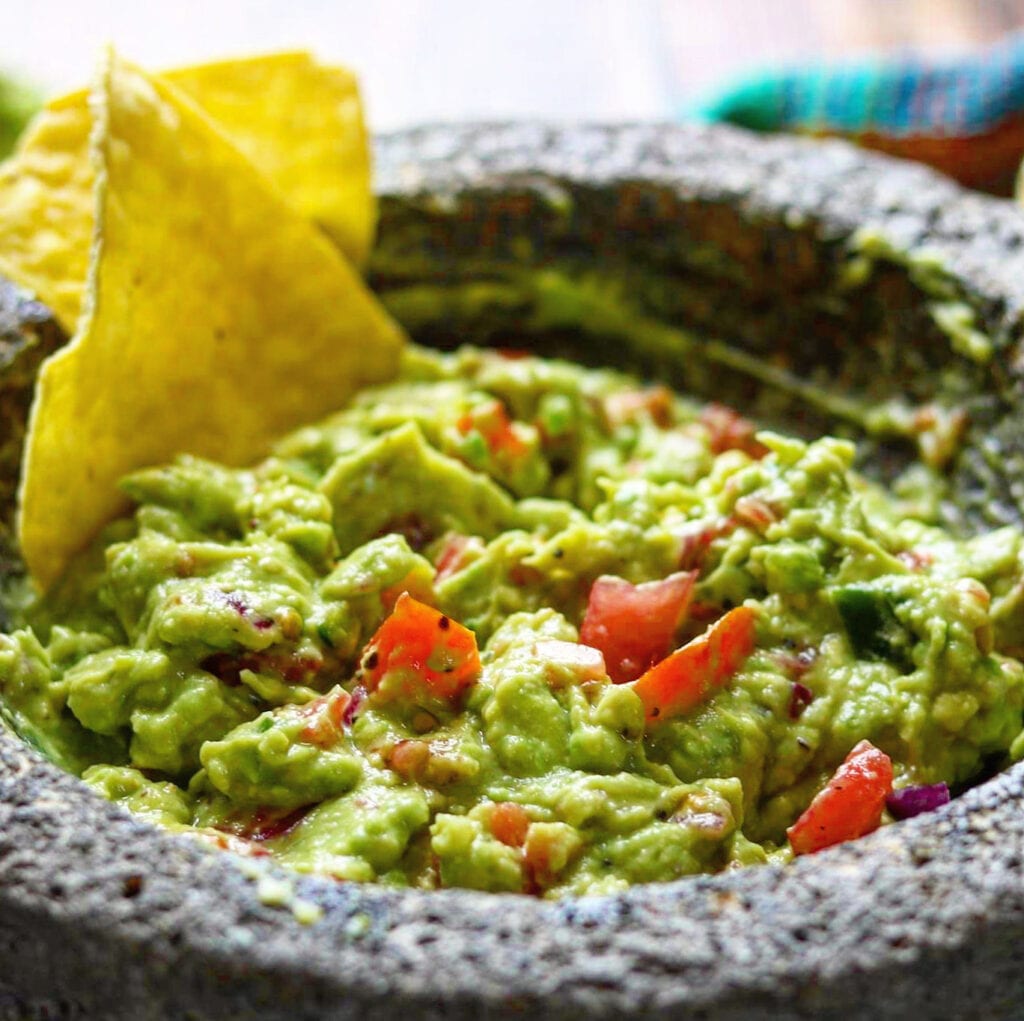
Guacamole
Guacamole

I hope you try these recipes soon!

Breakfast Quesadillas

Fresh flour tortillas, crisped on the outside, willed with eggs, cheese and meats of your choice
Print Recipe
CourseBreakfast, brunch, dinner, Lunch, Main Course
CuisineMexican
Keywordbreakfast, breakfast quesadilla, cheese, cheesy, delicious, Easy, eggs, flour tortillas, quesadila, sausage, tortillas
Servings2

Equipment

  • griddle, iron skillet, Camal

Ingredients

  • 4 Flour tortillas, thin preferably uncooked
  • 4 large or extra large eggs
  • 1 tbsp butter
  • 1/2 red bell pepper, diced (other vegetable of your choice)
  • 1/2 green bell pepper, diced
  • 1/2 small white onion (you can use green onions; if your onions are large 1/4 is adequate)
  • 1/4 lb. sausage, bacon or meat of your choice
  • 1/4 lb. or the amount you desire grated cheese of your choice; I used cheddar)
  • olive oil for sauteing your vegetables
  • salt and pepper

Instructions

  • If you are using fresh made flour tortillas as I described in the content of the post, cook them according to the package instruction. After they puff, and they have lightly toasted on each side, remove them and set them aside to be used to build your quesadilla.
    If you are using already cooked flour tortillas, place them on the griddle and lightly toast them on one side that you will build your quesadilla on. You'll lightly cook them to just brown a little so that the inside is not a raw tortilla. You can finish the browning on the outside after you have filled your quesadilla.
    Grate your cheese and set aside.
    Add 4 eggs to a dish and beat with a whisk, or fork until well mixed
    In a skillet add about a tablespoon of oil and the table spoon of butter. Sauté the onions, peppers and any other vegetable you are using until the onions are translucent. Lightly season with a little salt and black pepper. Remove from the skillet and set aside.
    Add your sausage to the same skillet, breaking it up with a spoon or spatula. Add to the vegetable mixture and combine.
    Wipe your skillet out and add a tablespoon of butter. Cook your eggs to a soft scramble. You do not want to overcook because they will continue to cook while you are finishing the quesadilla on your griddle, Comal or skillet.
    On a clean flat surface, lay 2 tortillas down with the browned side up. Add half of the grated cheese to the bottom tortilla, spreading to the edges. Add the vegetable and meat mixture, the scrambled eggs, all going to the edge of the tortilla. Top with the remaining cheese, then top with the final tortillas with the browned side in.
    Heat your Comal, skillet or griddle to medium high. Carefully so that your ingredients don't fall out, move to your heated griddle. Allow the quesadilla to cook on one side until golden brown, gently turn and cook on the other side until golden brown and your cheese has melted. Alternatively, if you want to have your griddle heated to a low heat, you can build your quesadilla on the griddle itself. I like to do it off because I don't want that first side to brown too fast, but do what works for you. If you do build it on a lightly heated griddle, once you have completed with the final tortilla on top, increase your heat to medium to medium high, being careful not to burn the tortilla.
    When both sides are golden brown, your cheese is melted, remove to a cutting board and slice into the number of pieces you like. Serve with your choice of salsa, Pico de Gallo, sour cream or Mexican Crema, and guacamole or sliced avocado.
    Enjoy!

Breakfast Quesadillas

Filed Under: Breakfast/Brunch Tagged With: breakfast, breakfast for dinner, breakfast for lunch, Breakfast quesadillas, delicious quesadillas, easy, easy breakfast recipe, eggs, guacamole, mexican food, Pico de Gallo, quesadilla

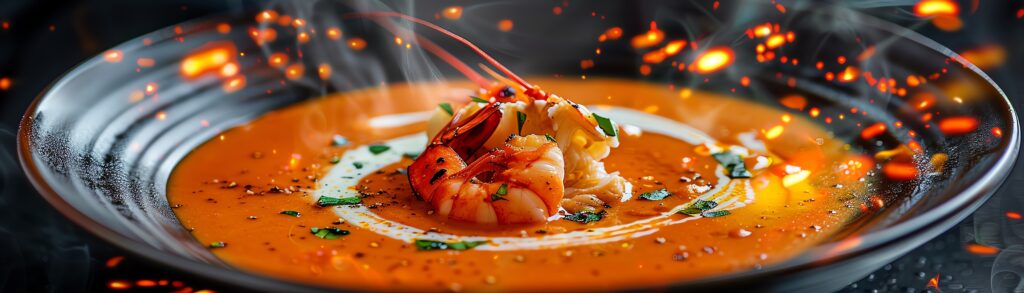
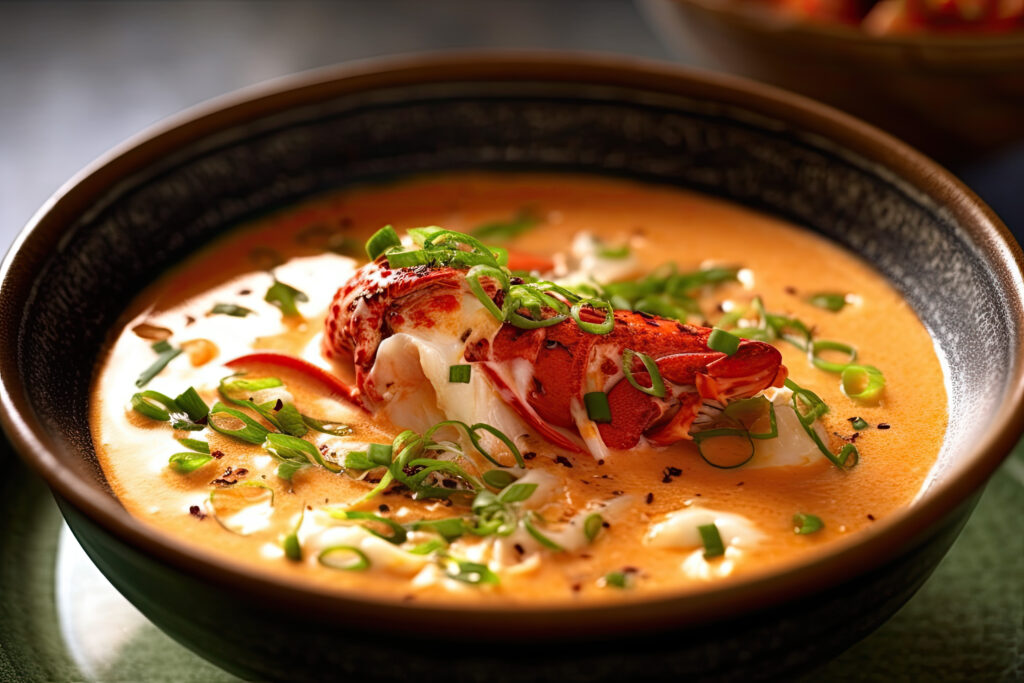
wow! you’ll love this lobster bisque

April 9, 2022 by Becky Spoon

Lobster Bisque
Lobster Bisque
Lobster Bisque

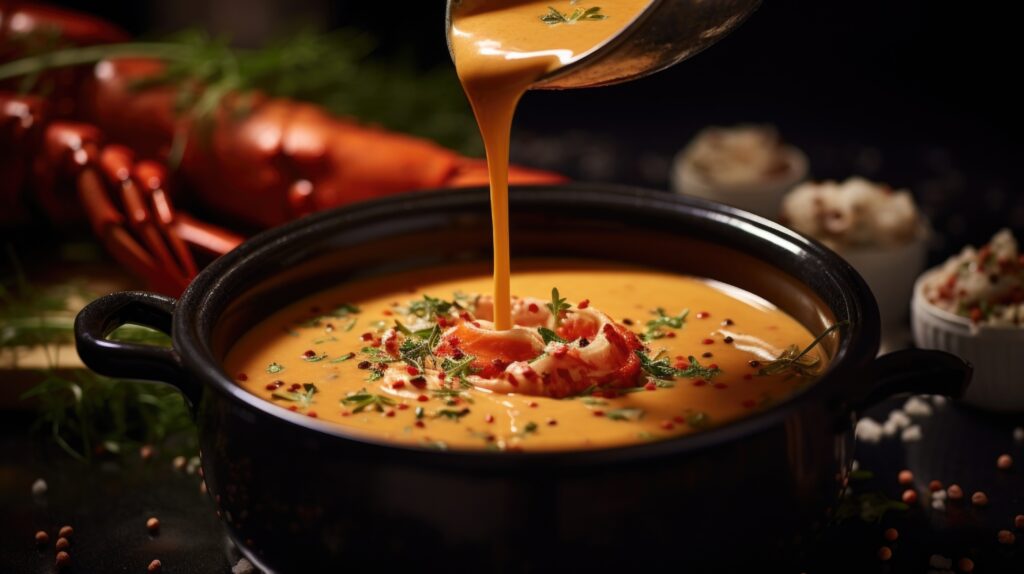
The tomato-based sauce of this lobster bisque is enriched with homemade lobster stock, providing a delightful flavor. It features generous portions of lobster, complemented by a finishing touch of rich heavy cream.

Lobster Bisque
Lobster Bisque

how to make the lobster stock for this lobster bisque.

A homemade lobster stock is the key to a fantastic bisque. To make the stock I use the shells of cooked lobster with the ingredients listed later in the post. Many times I will cook the lobsters, remove the meat and make a salad for amazing lobster rolls. So amazingly delicious.

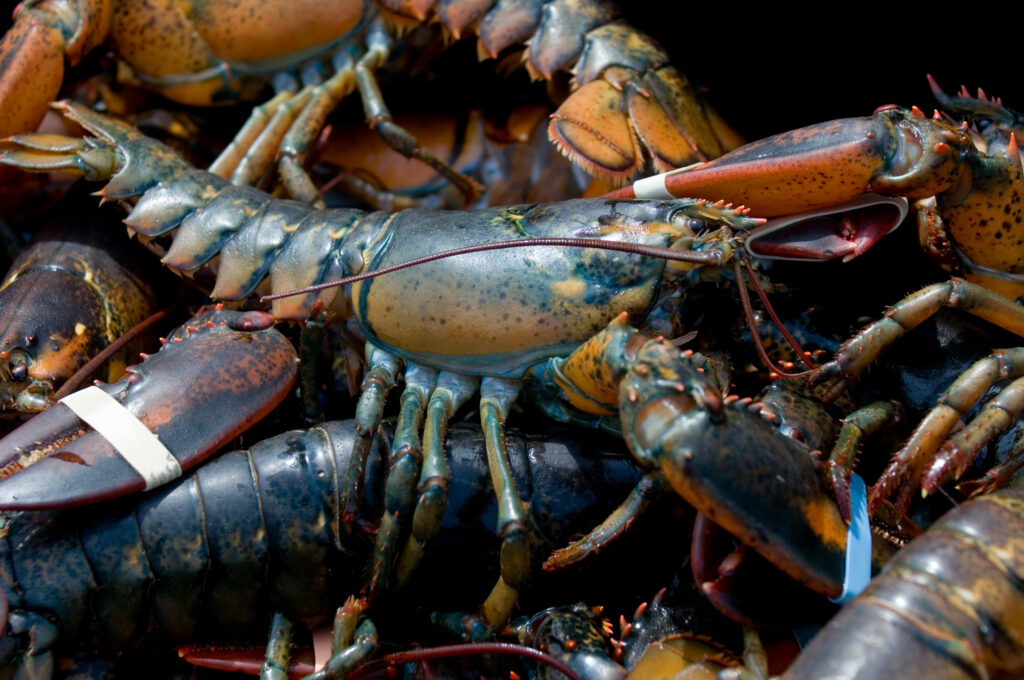
Live Lobster
Live Lobster
  • Bring a large pot of water to a boil. Add 1 tablespoon of salt per gallon of water.
  • Place the lobsters head first into the boiling water. Cook the lobsters for 9 minutes or until shells are bright red and the meat is cooked through.
  • Remove the lobsters from the boiling water reserving the water.
  • Allow them to cool enough to handle.

You can remove the meat two ways:

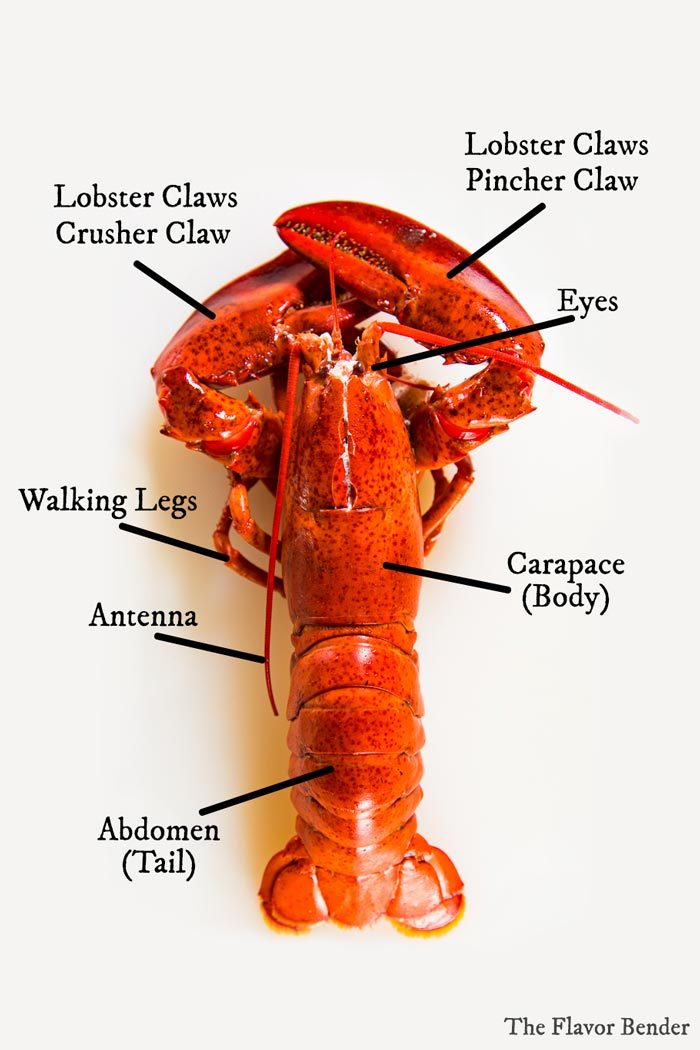
  • If you cooked a whole lobster like I did, cut or gently twisht it off. Loosen the meat from the shell with your fingers and pull the meat out from the shell and set aside. remove the it from the meat, opening the meat away from the shell side walls. Pull the meat up from the bottom of the shell to seperate the shell from the meat underneath it.
  • Alternatively, use both hands to press down on tail to crack shell. Hold tail, shell facing down, and pull back on both sides of shell to crack open and remove meat.
  • Remove the claws, crack them and gently remove the meat. I like to keep the claw meat as whole as possible.
  • Keep all of the shells to use in your broth, along with the water you boiled your lobster.
How to Cook Lobster Perfectly - The Flavor Bender

To make the stock in a dutch oven melt butter, add a little olive oil, then add onion, celery and carrots, leftover lobster shells, garlic, and fresh tomatoes and cook for about an hour. After that you will be ready to start on your bisque!

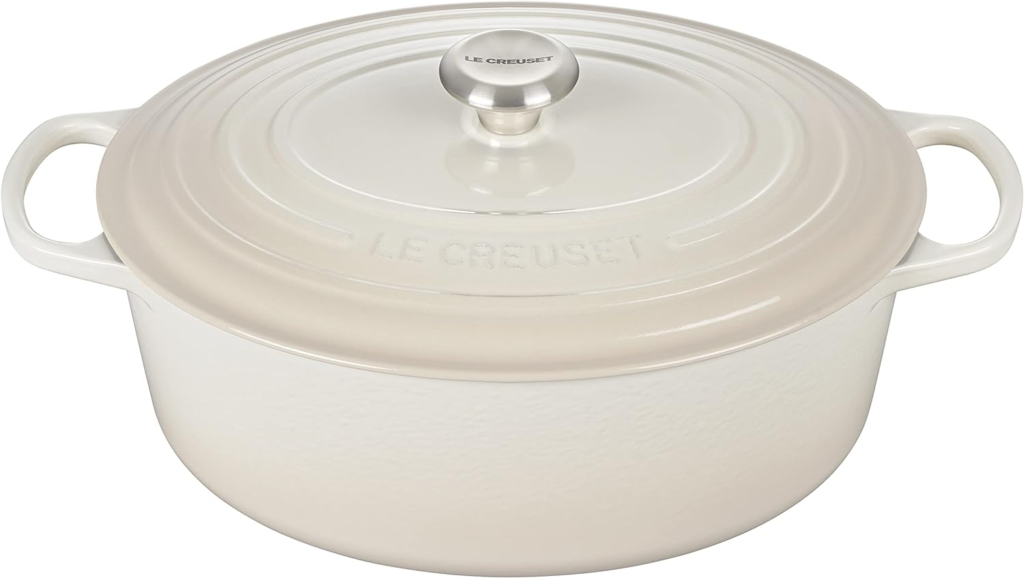
If you don’t have a dutch oven, this is a good one.

what ingredients do you need for this lobster bisque?

  • lobster meat
  • lobster stock
  • onions
  • tomato paste
  • garlic
  • salt and pepper
  • celery
  • carrots
  • Brandy, Pinot Grigio, Sauv Blanc or Chardonnay
Lobster Bisque
Lobster Bisque

other soups I think you will love.

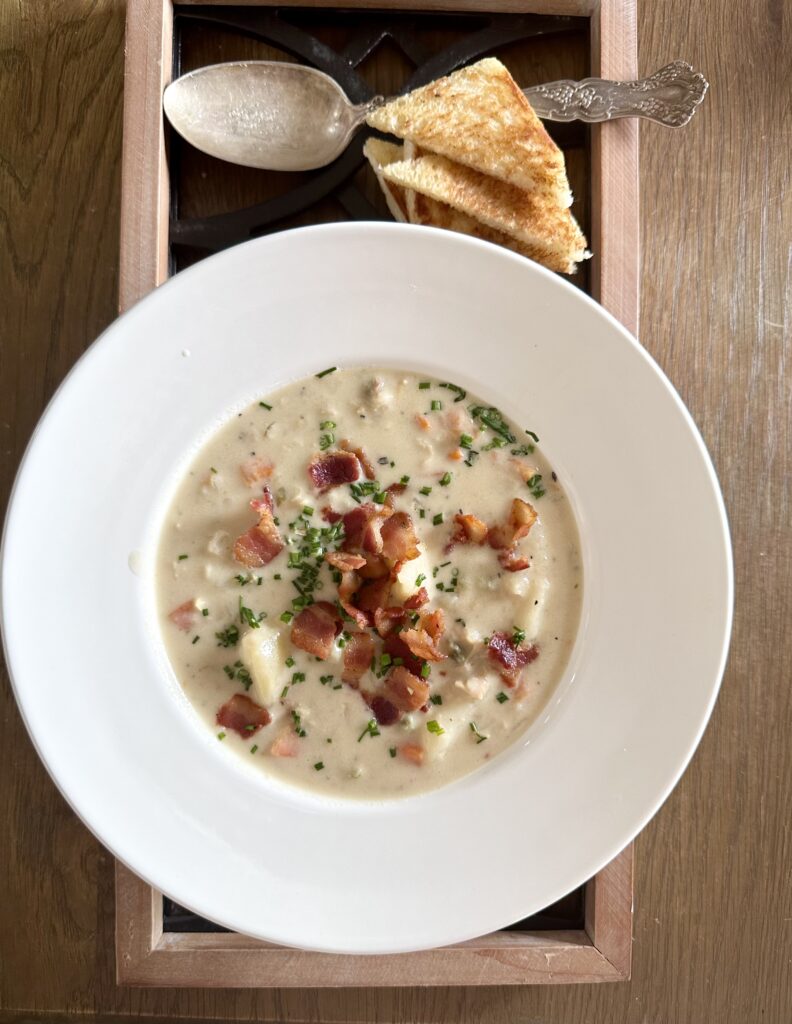
Want another seafood soup? This clam chowder is so simple and absolutely delicious! Here’s the link! i love this clam chowder.

Clam Chowder
Clam Chowder

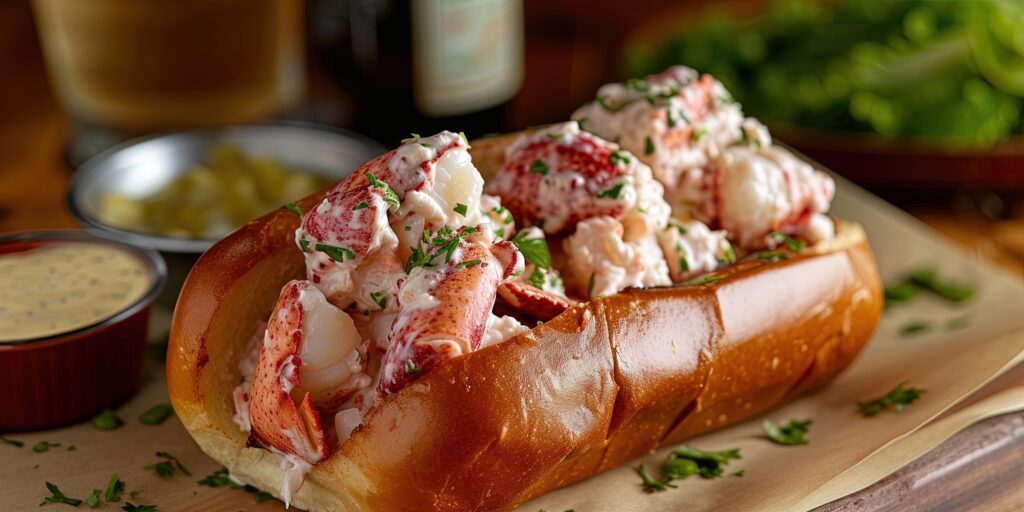
Have some lobster meat leftover? Make some amazing lobster rolls.

Classic Lobster Rolls

Here’s the recipe for the lobster bisque. I hope you enjoy this recipe! Let me know!

Lobster Bisque

Lobster Bisque

Print Recipe
CourseSoup
CuisineAmerican
Keywordbisque, lobster, lobster bisque, seafood, seafood soups, soup, soups
Servings4 servings

Equipment

  • Dutch Oven

Ingredients

For Cooking the Lobster

  • 1 1 1/2-2 lb live lobster or 2 lobster tails
  • pot of water
  • 1 tbsp salt per gallon water

For Making the Stock

  • 1/2 onion, diced reserving the other half for the soup
  • 1 carrot, diced
  • 1 stalk celery, diced
  • 2 tbsp butter
  • 1 tbsp olive ouk
  • reserved lobster shells
  • enough reserved cooking water from lobsters to cover the ingredients by about an inch
  • 3 cloves garlic
  • 2 ripe tomatoes, quartered

For the Bisque

  • 1 tbsp extra virgin olive oil
  • 1 tbsp butter
  • 1/2 onion, diced
  • 2 garlic cloves, chopped
  • 1/2 6 z can tomato paste
  • 1 stalk celery, diced
  • 1 carrot, diced
  • 1/2 tsp salt
  • 1/2 tsp pepper
  • a splsh brandy or other alcohol to deglaze like vodka or gin, or a fruity white wine
  • lobster stock
  • 2 tbsp flour for your slurry
  • lemon juice
  • heavy cream
  • the chopped lobster meat

Instructions

To Cook the Lobster

  • Bring a large pot of water to a boil. Add 1 tablespoon of salt per gallon of water.Place the lobsters head first into the boiling water. Cook the lobsters for 9 minutes or until shells are bright red and the meat is cooked through.Remove the lobsters from the boiling water reserving the water.Allow them to cool enough to handle.

To Make the Lobster Stock

  • To make the stock in a dutch oven melt butter, add a little olive oil, then add onion, celery and carrots, leftover lobster shells, garlic, and fresh tomatoes and cook for about an hour. After that you will be ready to start on your bisque!

To Finish the Bisque

  • In a dutch oven, add the olive oil and butter, heat on medium until the buter has melted and sizzling a little. Add the chopped onion and saute until translucent, add the garlic and cook about one minute. Add the tomato paste and cook until it carmalizes a little or to develop flavors.
    Add the carrots, the celery, and declaze with the brandy or other alcohol and cook down. Add the lobster stock to hyour tomato mixture. Then, using an emersion blender or a blender, puree to a smothe consistency. Add the flour to a bowl. Then add a couple of ladles of the stock to your flour and combine. Then while whisking, add the slurry to your soup and continue to whisk until there are no lumps. Lower the heat to a simmer. Add salt to taste and add your lemon juice. Add your heavy cream.
    Divide the lobster meat evenly among your bowls. Ladle the soup over the lobster meat. Add a little drizzle of heavy cream if you like.
    Note: If you have enough lobster claws for all of the serving bowls, saute them in a little butter and serve them whole on top of the soup! Bon Appetit.

Filed Under: Soups/Stews/Gumbo//Chili Tagged With: bisque, lobster, lobster bisque, seafood, seafood soup, soup

love this breakfast quesadilla!

March 15, 2022 by Becky Spoon

Breakfast Quesadilla
Jump to Recipe

What’s better than Mexican chorizo, seasoned panfried potatoes, lucious soft scrambled eggs cooked low and slow, melted Oxaca cheese, and avocado between two freshly made flour tortillas? The crispness of the toasted tortillas, the perfectly melted cheese with the avocado, it’s just so delicious.

I’ve seen quesadillas cooked in the oven or on a griddle or skillet. For years I’ve cooked them in a large seasoned well iron skillet. I recently purchased a comal from Masineda https://masienda.com/.

Breakfast Quesadilla

This comal is amazing. It is carbon steel which withstands high heat. You don’t need heat that high for these quesadillas, maybe a medium high. You want just enough heat to brown the outside of your flour tortillas while melting the cheese hoping it will ooze out onto the cooking surface and become crispy! Here’s a nice comal thats not as expensive and is good.

what you need to make these?

  • flour tortillas (I use freshly made flour tortillas that I get from my local HEB_’
  • chorizo
  • cheese of your choice ( I Oxaca which is a Mexican melting cheese)
  • avocado
  • potatoes
  • eggs
Breakfast Quesadilla

what to serve with a breakfast quesadilla?

  • #1 – delicious guacamole!
  • Easy, Fresh Pico de Gallo
  • Salsa of your choice
  • Sour Cream or Mexican Crema

Hope you make these soon..perfect for lunch or dinner too! Enjoy!

Breakfast Quesadilla

Breakfast Quesadillas

Print Recipe
CourseAppetizer, Breakfast, brunch, dinner, Lunch, Main Course
CuisineMexican, Texmex
Keywordbreakfast quesadilla, guacamole, mexican, pico de gallo, quesadillas, texmex, tortillas
Servings4 Servings

Ingredients

  • 1/2-3/4 Lb chorizo
  • 6 Eggs, beaten
  • 2 Tbsp Butter for scrambling the eggs
  • 1 large potato or 2 medium diced
  • extra virgin olive oil
  • 2 avocados sliced
  • salt and pepper
  • grated cheese of your choice (Monterrey Jack or Oaxaca melts well)
  • 8 flour tortillas

Instructions

  • Heat a large skillet and add the chorizo, breaking it up as it cooks. Drain on paper towels.
  • Wipe out the skillet add a little olive oil to the bottom of the pan. I use non stick because it will take very little oil. Heat to medium high and add the diced potatoes. Add salt and pepper. Brown on both sides, then cover, reduce heat and cook until tender. Remove the lid, increase the heat and continue until they’re a little crisp. Drain on paper towels.
  • Slice your avocado and grate your cheese.
  • Start hearing your comal or griddle.
  • Pour the oil from the skillet and add your butter. Beat your eggs and add a little salt and pepper. Scramble your eggs to a soft scramble. Don’t overcook.
  • Place 4 tortillas on the griddle and allow them to puff up and start to brown. Remove them from the griddle with cooked side up. Place cheese on the bottom, then chorizo, potatoes, eggs, avocado, then more cheese.
  • prepare the remaining 4 tortillas as you did the first 4 and place them cooked side down on top of each layered tortilla.
  • Place back on the comal or griddle and brown each side turning back and forth. Cut into fourths and serve with guacamole, sour cream, your favorite salsa or pico de Gallo. Enjoy!
Filed Under: Breakfast/Brunch Tagged With: breakfast, Breakfast quesadillas, easy Quesedillas, Quesedillas

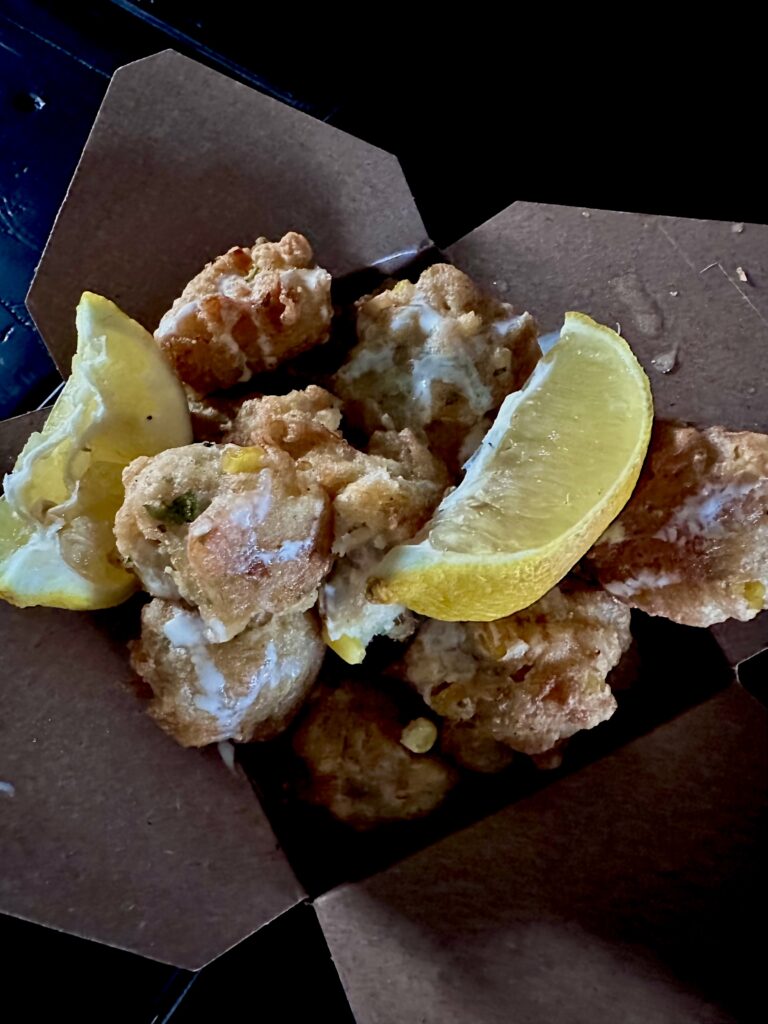
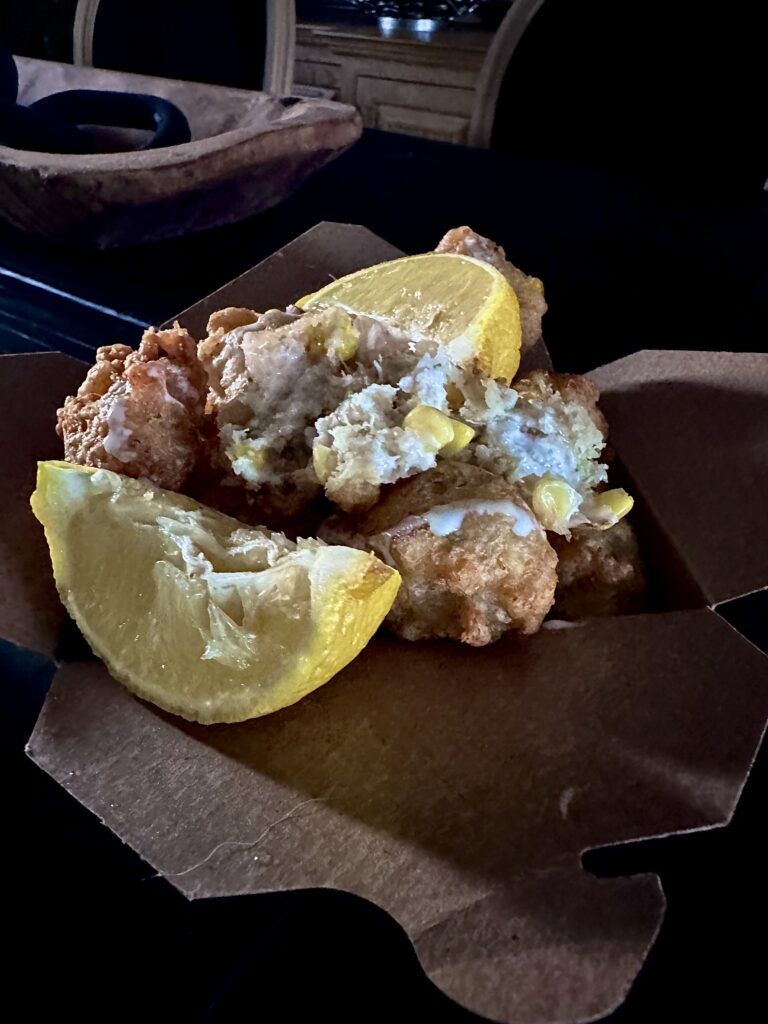
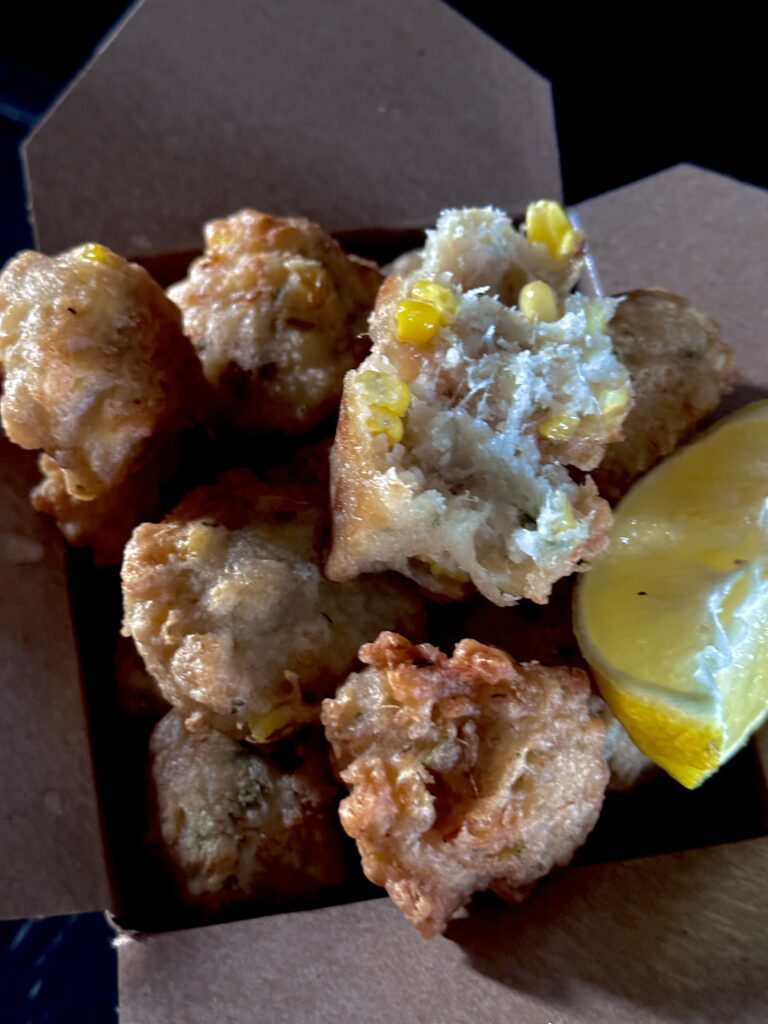
the best fresh corn and shrimp beignets.

February 13, 2022 by Becky Spoon

corn and shrimp beignetsJump to Recipe
corn and shrimp beignets

Savory Beignets? Yes! These Corn and Shrimp Beignets are delicious. They are so light! Just like a cloud! This is that dish you can’t stop eating and everyone loves.

corn and shrimp beignets

Easy fresh off the cob Corn and Shrimp Beignets

Here’s a few tips when making these delicious little pastries!

  • Don’t overmix the batter. Overmixing will make the beignets tough.
  • Use a pan that is larger than you think you will need. I find a 2-quart saucepan to be the perfect size for this small batch corn and shrimp beignets recipe.
  • Don’t overcrowd the saucepan when frying the beignets. Fry 2-3 at a time. Adding the batter to the pan will cause the temperature of the oil to drop which will cause the beignets to take longer to cook, resulting in them being undercooked on the insides.
  • Try to maintain a constant temperature of 350 degrees. You will need a thermometer to make sure the oil is always at the correct temperature. Make sure that the tip of the thermometer is not touching the bottom of the pan.
  • Allow the fried beignets to drain on a wire rack. Draining them on paper towels will cause them to get soggy.

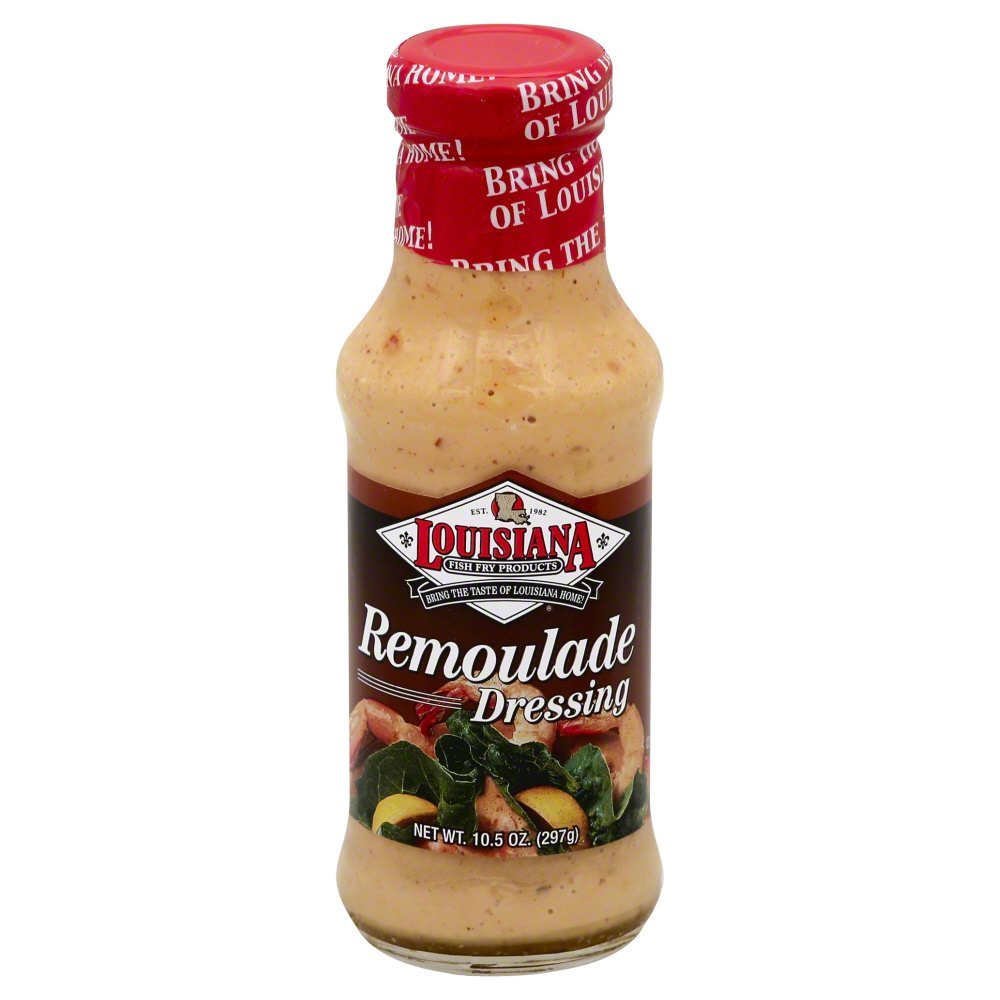
Serve these as an appetizer or snack or as a side dish with gumbo! Serve them with a spicy chile sauce or remoulade. This is a good remoulade sauce one can find at most stores. https://amzn.to/3jmGlcv.

Easy fresh off the cob Corn and Shrimp Beignets

corn and shrimp beignets

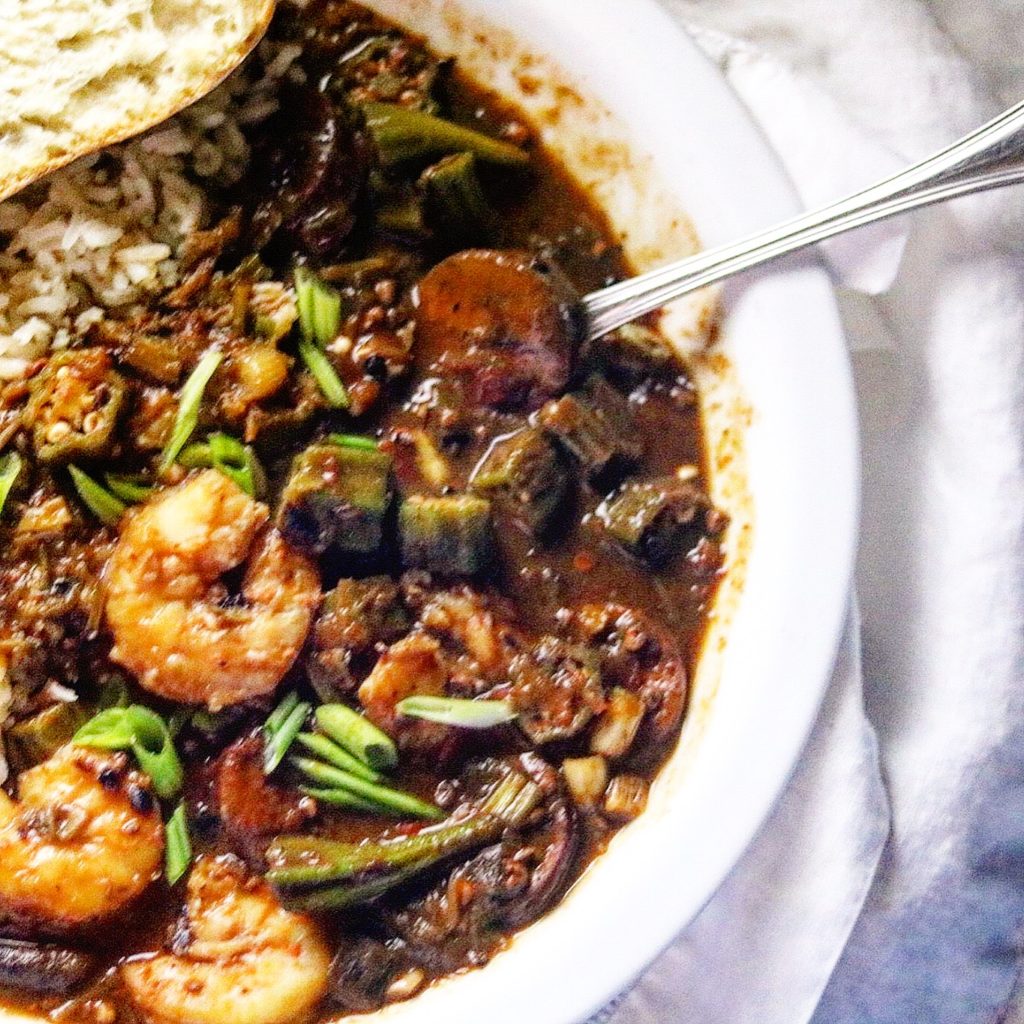
As is said previously, this is a side dish for gumbo. Here ‘s my gumbo recipe if you deecide to ,make it. I personally love gumbo! Love Gumbo! This Super Shrimp, Okra and Andouille Smoked Sausage Gumbo is Over the Top.

Shrimp, Okra and Andouille Smoked Sausage Gumbo

Here’s the recipe for the beignets!

Corn and Shrimp Beignets

Print Recipe
CourseAppetizer, easy side dish, Side Dish
Cuisinecajun
Keywordbrignets, cajun, corn, corn and shrimp beignets, louisiana, shrimp
Servings24 beignets

Ingredients

  • vegetable oil for frying
  • 2 cups all purpose flour
  • 1/2 tsp cayenne pepper
  • 1 tsp baking powder
  • 1/4 tsp baking soda
  • 1/2 tsp kosher salt
  • 1 whole lemon
  • 1/4 cup thinly sliced chives
  • 1 cup fresh corn kernels (2 ears corn)
  • 6 ounces peeled and deveined shrimp, coarsley chopped
  • 1 1/4 cups seltzer water or club soda
  • 1/4 cup sour cream
  • sweet red chile sauce for serving or remoulade

Instructions

  • Line a sheet pan with a wire rack. , Fill a deep, medium saucepan with oil to a depth of 2 inches. Heat over medium-high to 350 degrees.
  • While the oil heats, whisk the flour, ground cayenne, baking powder, baking soda and salt in a medium bowl. Zest the lemon right into the bowl; slice the lemon into wedges and set aside for serving. To the bowl, add the chives, corn and shrimp. Stir to combine. Pour in the seltzer and stir until just combined. Fold in the sour cream until just incorporated.
  • Once a deep-fry or candy thermometer reads 350 degrees, the oil is ready. If you don’t have a deep-fry thermometer, you also can see if the oil is hot enough by dropping a tiny dollop of the batter into the pot: Bubbles should form around the batter immediately and the dollop should float to the surface. Working in batches to avoid crowding the pan, carefully drop tablespoons of the batter into the hot oil and fry, turning frequently, until golden brown, about 5 minutes. Maintain the temperature.
  • Transfer the beignets to the rack using a slotted spoon or tongs. Repeat the frying process with the remaining batter.
  • Serve the beignets warm, with lemon wedges for squeezing and with sweet chile sauce for dipping, if using. Sprinkle the beignets with a little salt, if you like.

Filed Under: Appetizer

Still a Favorite – Retro Pigs In A Blanket

February 9, 2022 by Becky Spoon

Retro Pigs In A BlanketJump to Recipe
Retro Pigs In A Blanket

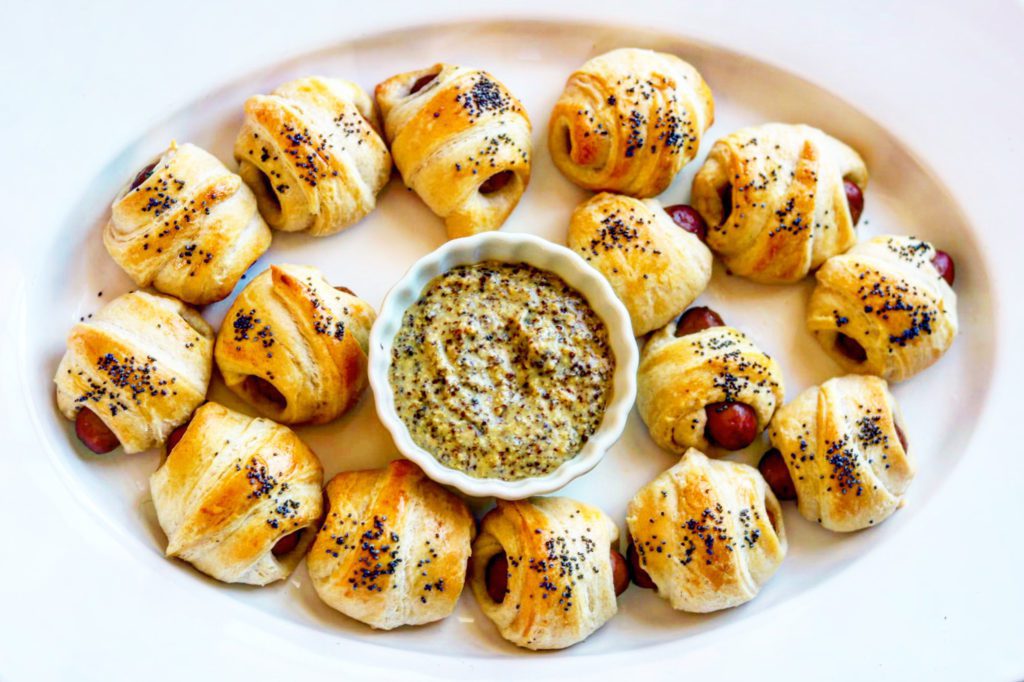
These Retro Pigs In A Blanket continue to be on the list of most popular appetizers! Simple is the word to use describing them, just two ingredients, yet so delicious and everyone wants them!

Retro Pigs In A Blanket

I served these with Zatarain’s Creole Mustard, but you can use any mustard.

Other sauces that would be delicious are:

  • BBQ Sauce
  • Cheese Sauce
  • Ranch Dressing
  • Spicy Mayo
  • Maple Dijon
  • Ketchup
  • Chile Cheese Sauce

how do we make these?

Retro Pigs In A Blanket

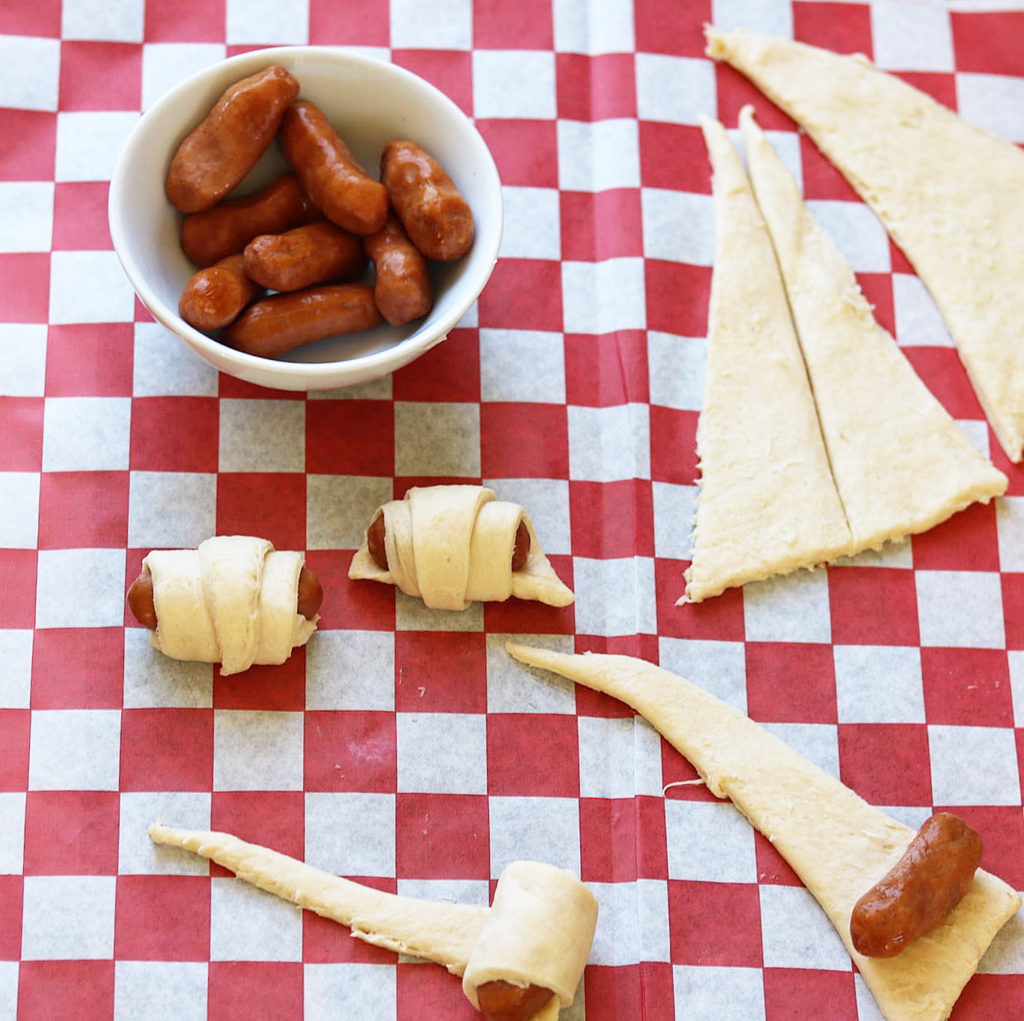
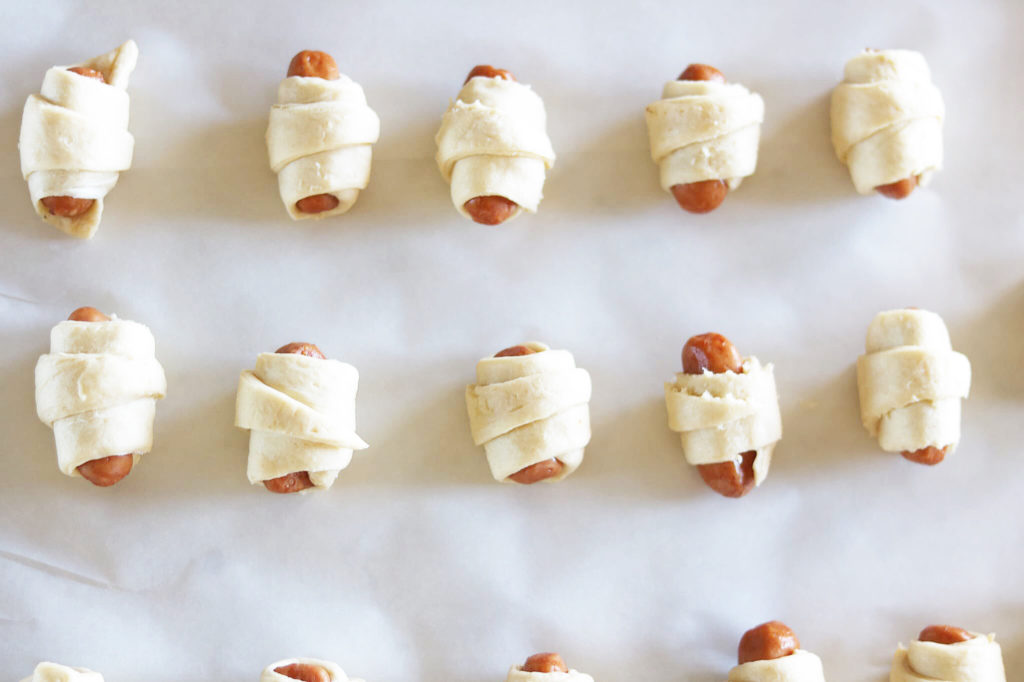
I just use the Li’l Smokies for this recipe and a can of crescent rolls that I slice in half, making 16 triangles. Starting at the fat end I just roll up. When they’ve all been rolled up, I brush them with an egg wash and for these I sprinkled with Poppy Seeds. Sesame seeds would be great or the Everything Bagel seasoning would be delicious too! I cook them on a sheet pan lined with parchment to prevent burning the bottoms until they are golden brown.

Retro Pigs In A Blanket

This the perfect game day appetizer. This will be the first thing to go and you will wish you had made more!

what other sausages can be used?

  • hot dogs
  • smoked sausage
  • chicken sausage links
  • andouille

need another game day recipe?

Try these delicious hot wing recipes!

Frank’s RedHot Buffalo Wings

Here’s the recipe: Game Day – The Best – Frank’s RedHot Buffalo Wings!

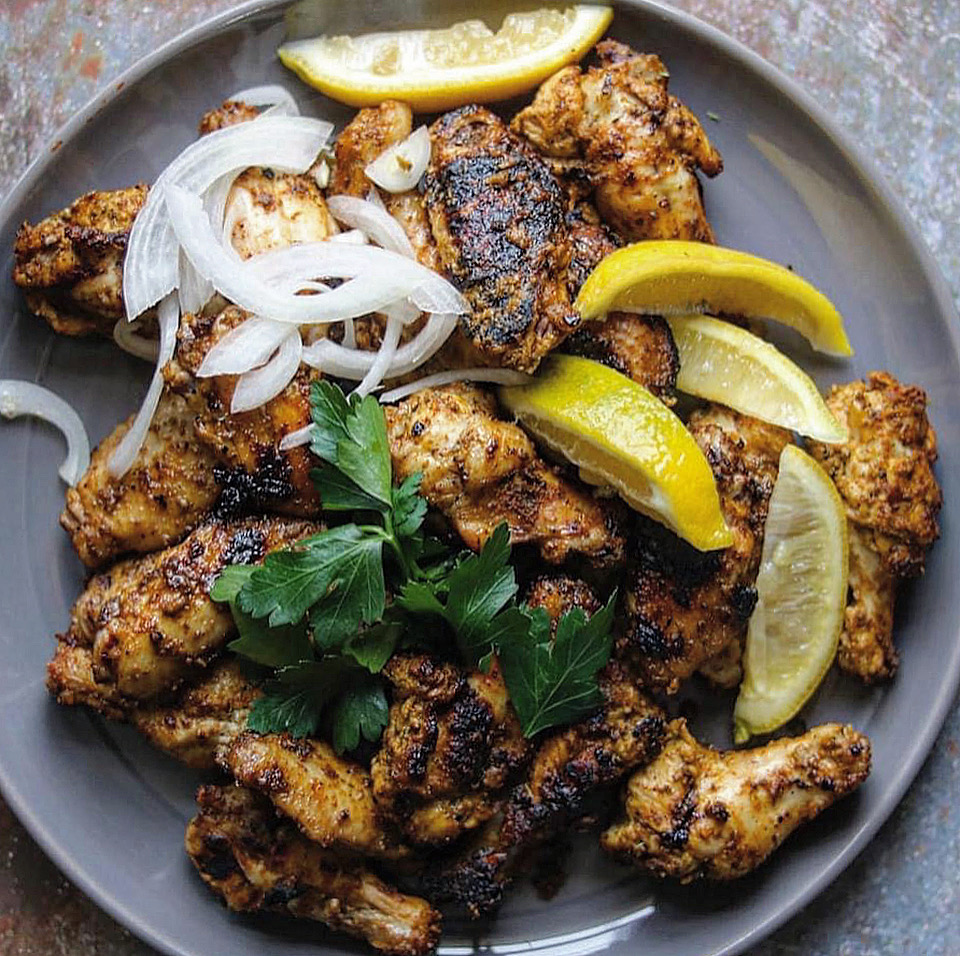
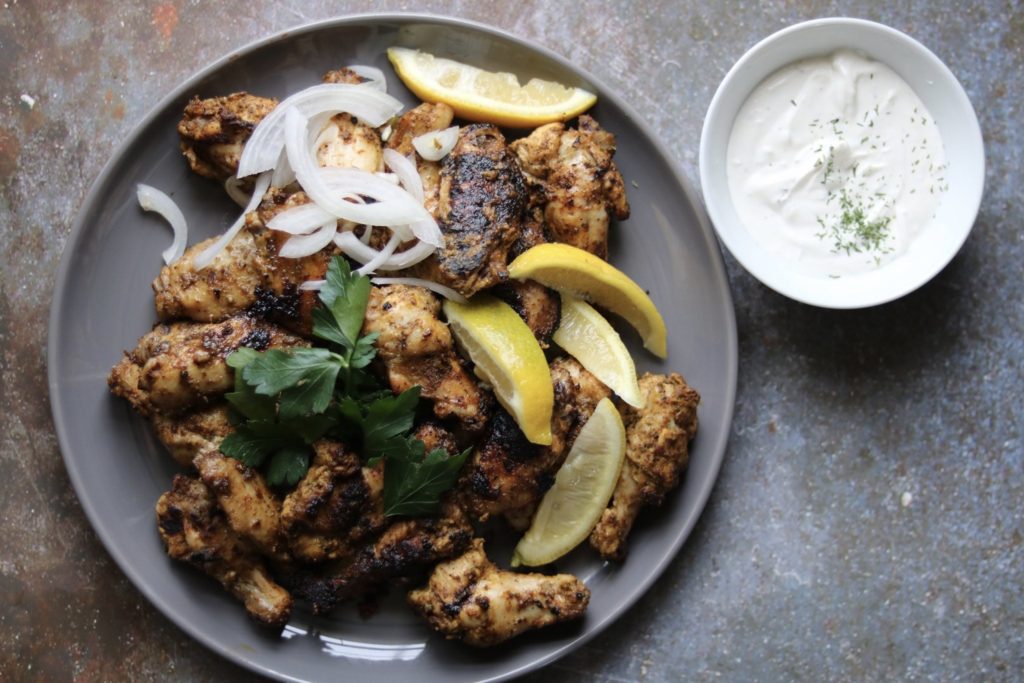
Here’s the recipe for the Tandoori wings: these are perfect for game day! easy tandoori chicken wings.

Hope you try these recipes! Enjoy!
Retro Pigs In A Blanket

Retro Pigs In A Blanket

Print Recipe
CourseAppetizer
CuisineAmerican
Keywordappetizer, holidays, party, pigs in a blanket

Ingredients

  • 16 Li’l Smokies
  • 1 Can Crescent Rolls
  • 1 Egg for Egg Wash
  • 1 Tsp water for egg wash
  • Sesame seeds, poppy seeds, or everything bagel seasoning
  • Mustard, ketchup, spicy ketchup, cheese or Chile cheese dip for serving. I served with a simple Zatarains Creole mustard.

Instructions

  • Unroll the crescent rolls from the can and cut each triangle in half. Place a li’l smokie on the fat end of each triangle and roll up. Place on a parchment lined cookie sheet.
  • Beat the egg and water together. Brush each roll with the egg wash and add poppy seeds, sesame seeds or everything bagel seasoning.
  • Preaheat oven time 350 degrees F. Bake until golden brown. Serve with your favorite mustard, ketchup, spiced ketchup, or a cheese dip!

Filed Under: Appetizer Tagged With: crescent rolls, li’l smokies, retro

Game Day – The Best – Frank’s RedHot Buffalo Wings!

February 5, 2022 by Becky Spoon

Frank’s RedHot Buffalo WingsJump to Recipe
Frank’s RedHot Buffalo Wings

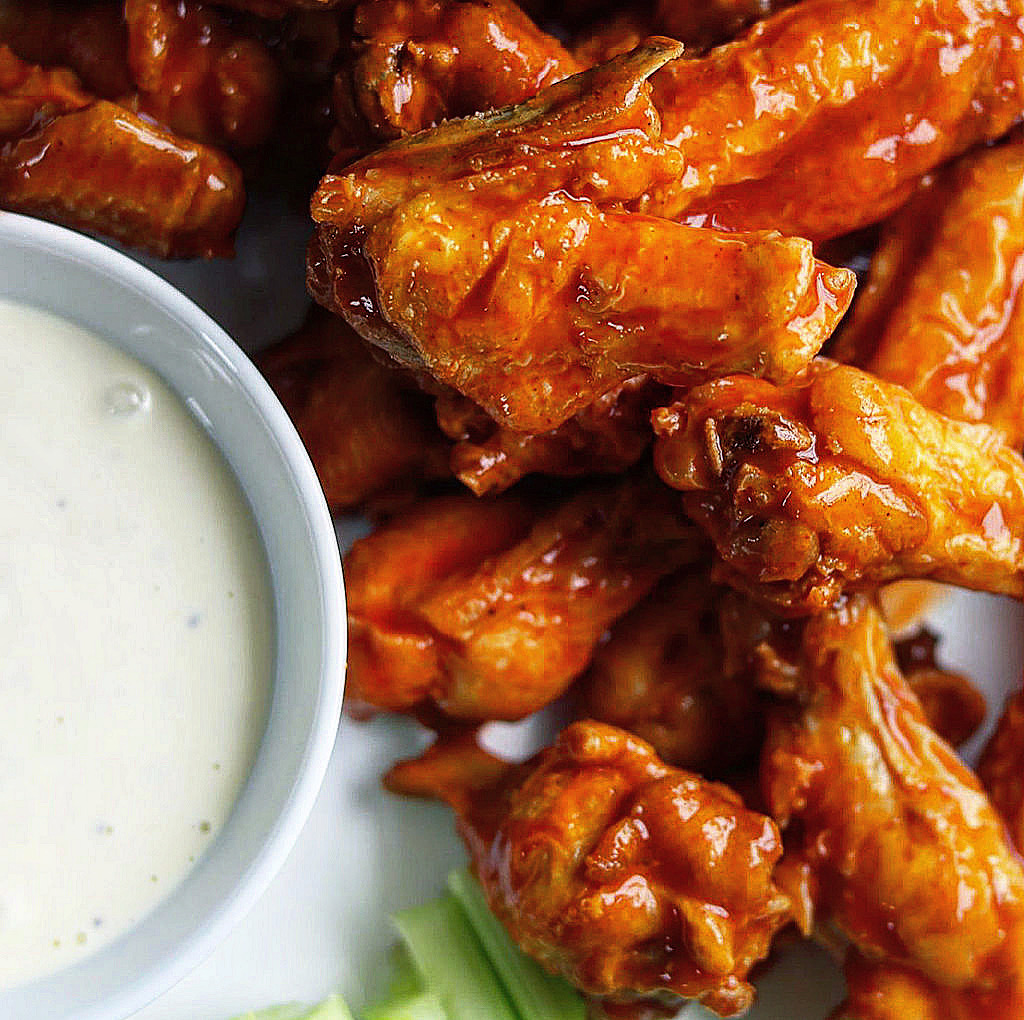
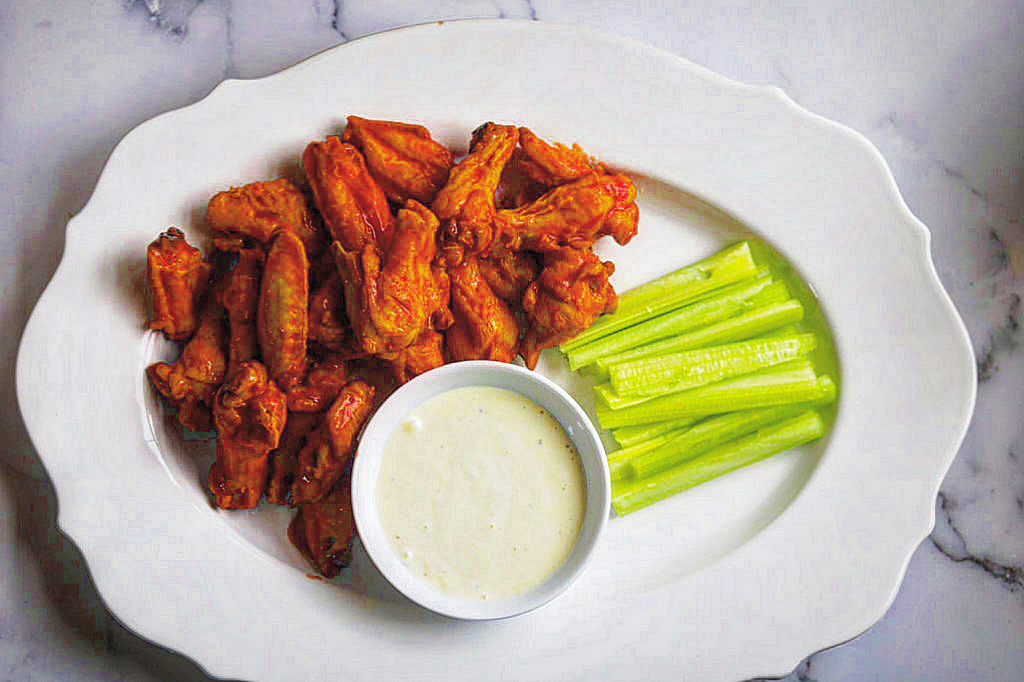
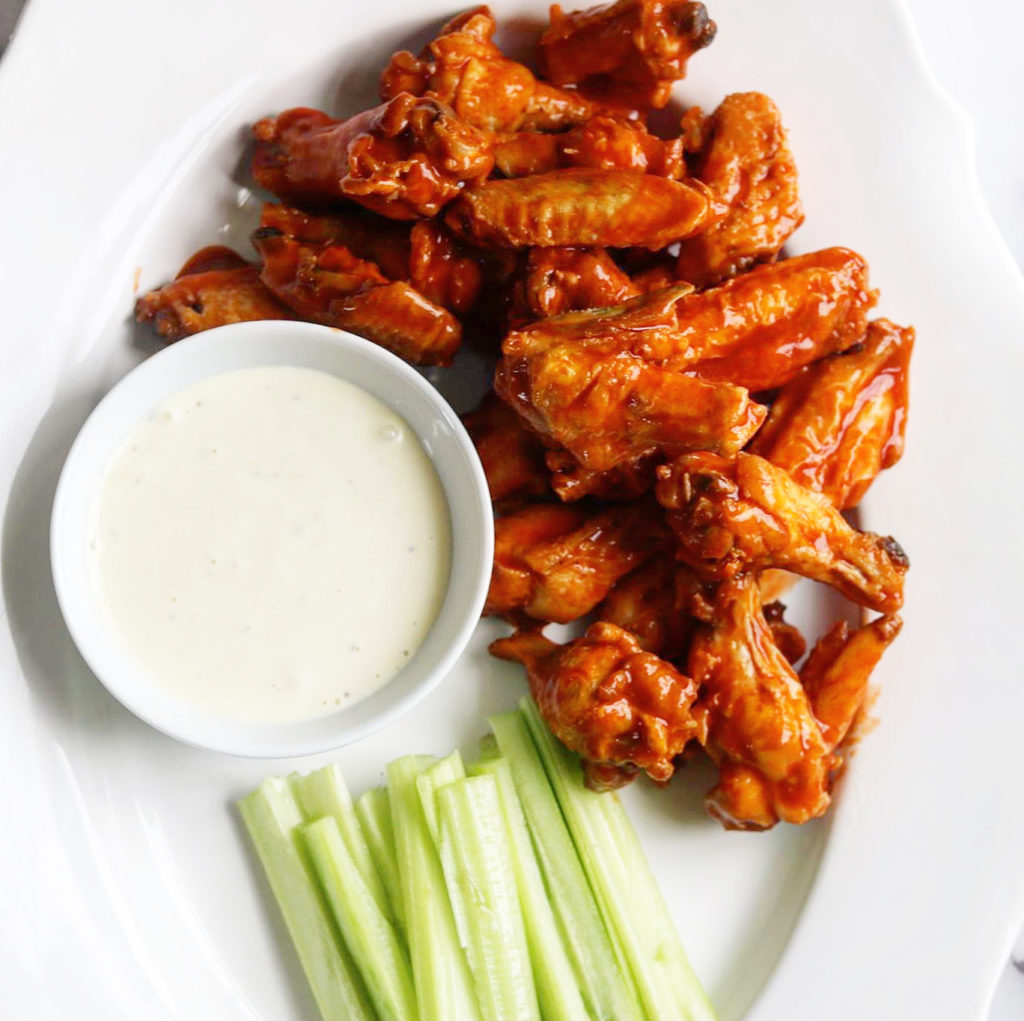
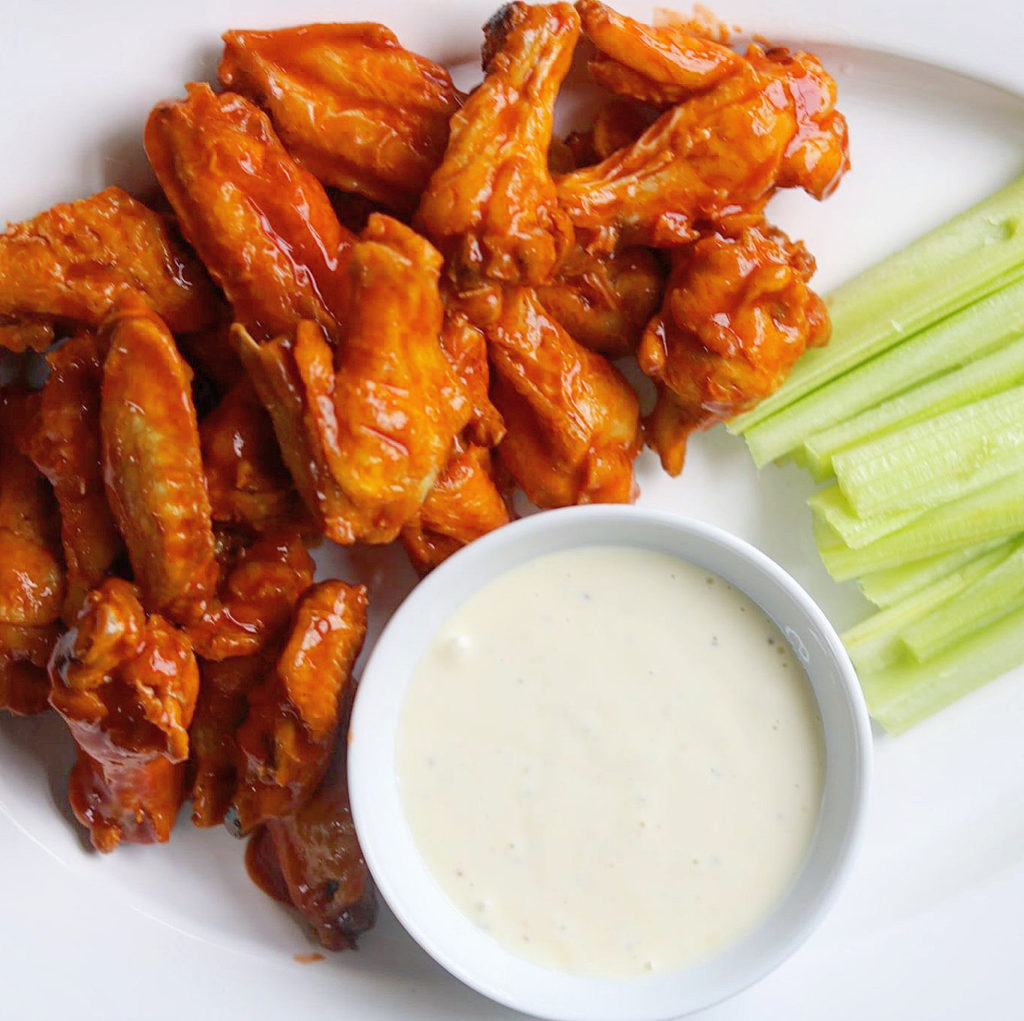
I love the Frank’s RedHot Buffalo Wings because I love their sauce! The Original Hot Wings, before hot wings became exotic, are still delicious! I made them for years with melting a lot of butter, adding Tabasco, frying my wings and tossing! This is the simplest recipe ever! Chicken wings and Frank’s Red Hot Sauce! That easy!

Here’s an article from Time Magazine about the Buffalo Wing history. Here’s the link: https://time.com/3957370/buffalo-wings/. The story reads:

Frank’s RedHot Buffalo Wings

“A good sports bar needs three things: beer on tap, a television on the wall and a menu that offers Buffalo wings. Wings can be found at nearly every Super Bowl party and barbecue outing in the country, and they are the favored excuse of businessmen who want to visit Hooters. Yet the greasy, finger-staining bar-food staple is only 45 years old. The Buffalo wing was invented in 1964, which makes it younger than Demi Moore, Johnny Depp — and even Barack Obama. On Sept. 5, Buffalo, N.Y., will hold its fourth annual National Buffalo Wing Festival, a two-day celebration for all things wing. But how did the spicy snack come about? And why is it served with celery?

There are at least two different versions of the Buffalo wing’s origin, although they contain the same basic facts. The first plate of wings was served in 1964 at a family-owned establishment in Buffalo called the Anchor Bar. The wings were the brainchild of Teressa Bellissimo, who covered them in her own special sauce and served them with a side of blue cheese and celery because that’s what she had available. Except for the occasional naysayer who claims to be the true inventor, these facts are reasonably undisputed. The rest of the story is anybody’s guess.”

There you go…..the history of Buffalo Wings!!

Frank’s RedHot Buffalo Wings

Game Day – Simple Frank’s RedHot Buffalo Wings!

Frank’s RedHot Buffalo Wings

I serve these with just blue cheese dressing and celery sticks. You can make your own blue cheese or use your favorite. My favorite Blue Cheese dressing is Lite House Chunky Blue Cheese. I keep it on hand when I’m not making my own. It is really good. Here’s a link for that dressing: https://www.samsclub.com/p/litehouse-premium-blue-cheese-dressing-dip-32-fl-oz/prod22761221?sr=Lite+House+blue+cheese.

Game Day – Simple Frank’s RedHot Buffalo Wings!

These are so easy, you really can’t call it a recipe! Simple! Want a few other game day appetizers? Here’s my Tandoori Chicken Wings recipe: https://the2spoons.com/perfect-for-game-day-tandoori-chicken-wings/.

Tandoori Chicken Wings

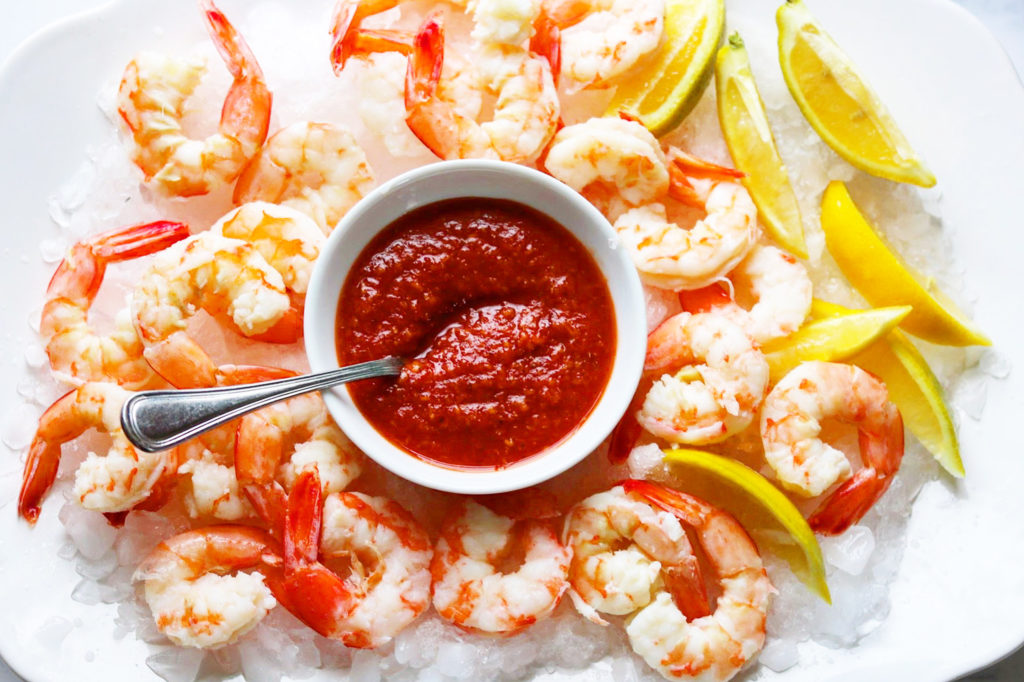
Here’s my classic Shrimp Cocktail: https://the2spoons.com/super-bowl-game-day-food-classic-shrimp-cocktail/.

Classic Shrimp Cocktail

Another favorite: Italian Beef Sandwiches: https://the2spoons.com/game-day-chicago-italian-beef/.

Game Day – Simple Frank’s RedHot Buffalo Wings!

Here’s my Buffalo Wing recipe!

Frank’s RedHot Buffalo Wings

Game Day – Simple Frank’s RedHot Buffalo Wings!

I love the Frank's RedHot Buffalo Wings because I love their sauce! The Original Hot Wings, before hot wings became exotic, are still delicious! I made them for years with melting a lot of butter, adding Tabasco, frying my wings and tossing! This is the simplest recipe ever! Chicken wings and Frank's Red Hot Sauce! That easy!
Print Recipe
CourseAppetizer
CuisineAmerican
Keywordappetizers, blue cheese dressing, Buffalo Wings, Game Day, game day food, hot wings

Ingredients

  • 2 1/2 LBS Chicken Wing Pieces
  • 3/4 cup Frank's RedHot Hot Sauce
  • 1/2 cu butter

Instructions

  • PREHEAT oven to 450F. Mix butter and Red-hot Sauce in medium bowl; set aside.
    ARRANGE wings on large foil-lined pan. Bake on lowest oven rack for 30 minutes or until crispy, turning once.
    TOSS wings in sauce mixture until well coated. Serve with blue cheese and celery, if desired.
  • Alternatively and how some prefer is to fry in a deep fryer with peanut oil at 350 degrees until golden brown. Remove and drain on a wire rack, toss in the sauce and butter mixture.

Filed Under: Appetizer Tagged With: buffalo wings, Game Day, hot wings

  • « Go to Previous Page
  • Page 1
  • Interim pages omitted …
  • Page 9
  • Page 10
  • Page 11
  • Page 12
  • Page 13
  • Interim pages omitted …
  • Page 65
  • Go to Next Page »

Primary Sidebar

Categories

  • Appetizer
  • Beans, Lentils, Grains, Rice
  • Beef
  • Bread
  • Breakfast/Brunch
  • Cocktails
  • Dessert
  • Dishes of Mexico, Tex Mex and New Mexico Red and Green Chile
  • Fish/Seafood
  • Ice Cream
  • Pasta
  • Pizza
  • Pork
  • Poultry
  • Salad Dressings
  • Salads
  • Salsas
  • Sandwiches/Burgers/Hot Dogs
  • Sauces, Compound Butters, Condiments
  • Side dish
  • Soups/Stews/Gumbo//Chili
  • Stocks, Broths, Gravies
  • Vegetables

Copyright © 2026 The 2 Spoons on the Foodie Pro Theme

Rate This Recipe

Your vote:


A rating is required
A name is required
An email is required