
New Mexico Hatch Green Chile Beef Enchiladas are a favorite in our home and it is no secret that the 2 Spoons love Mexican food whether it be our beloved Tex-Mex or New Mexico style which is different when it comes to the sauces. New Mexico style uses a green enchilada sauce and a red enchilada sauce. Both sauces have additional uses and they both are made from the Hatch Chile.

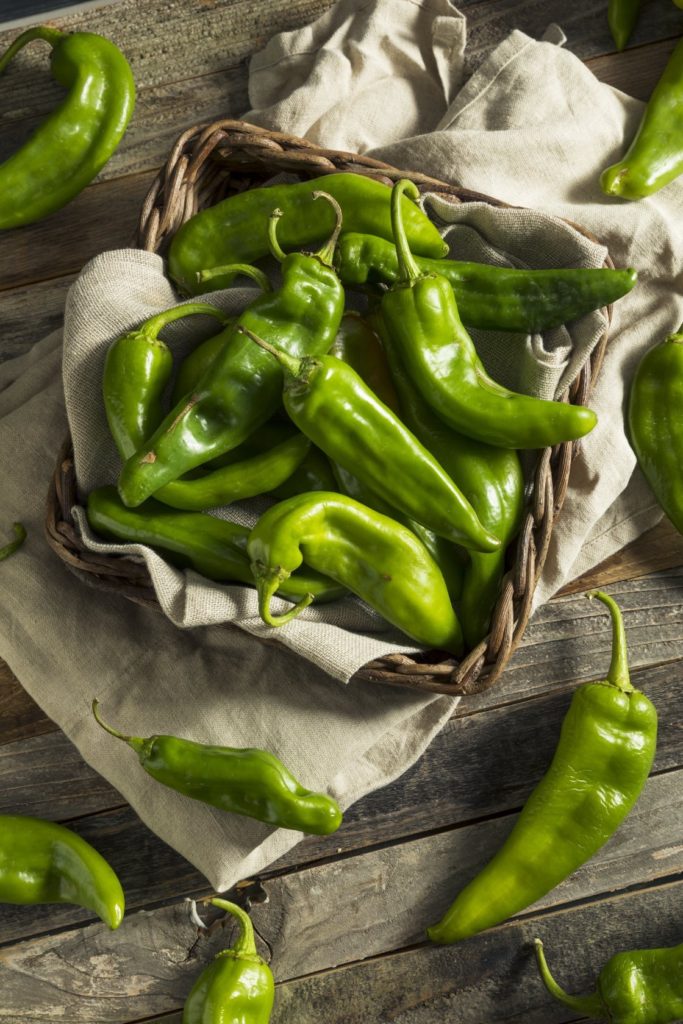
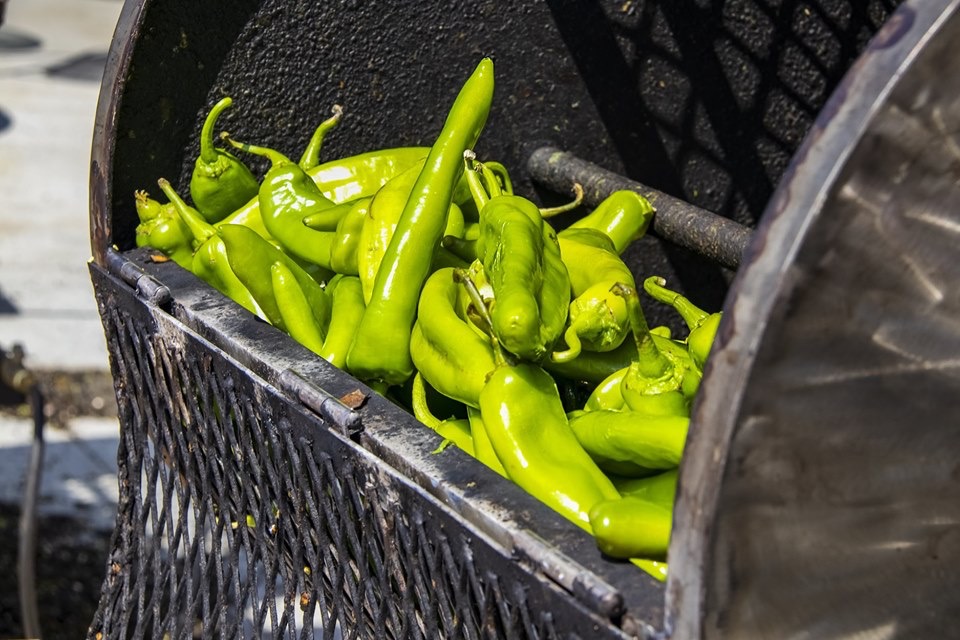
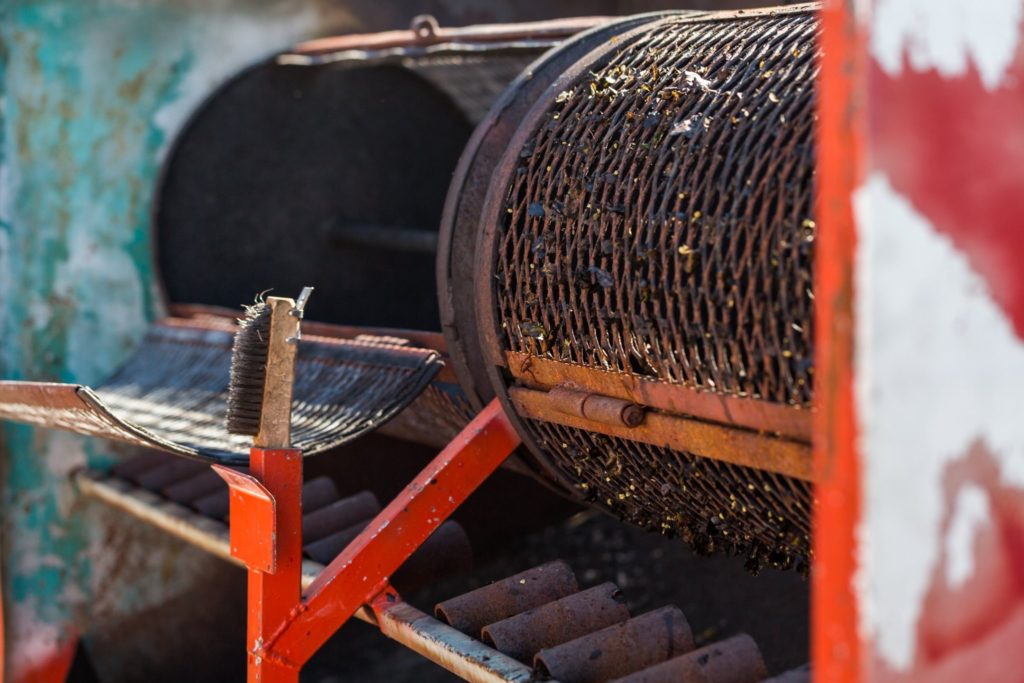
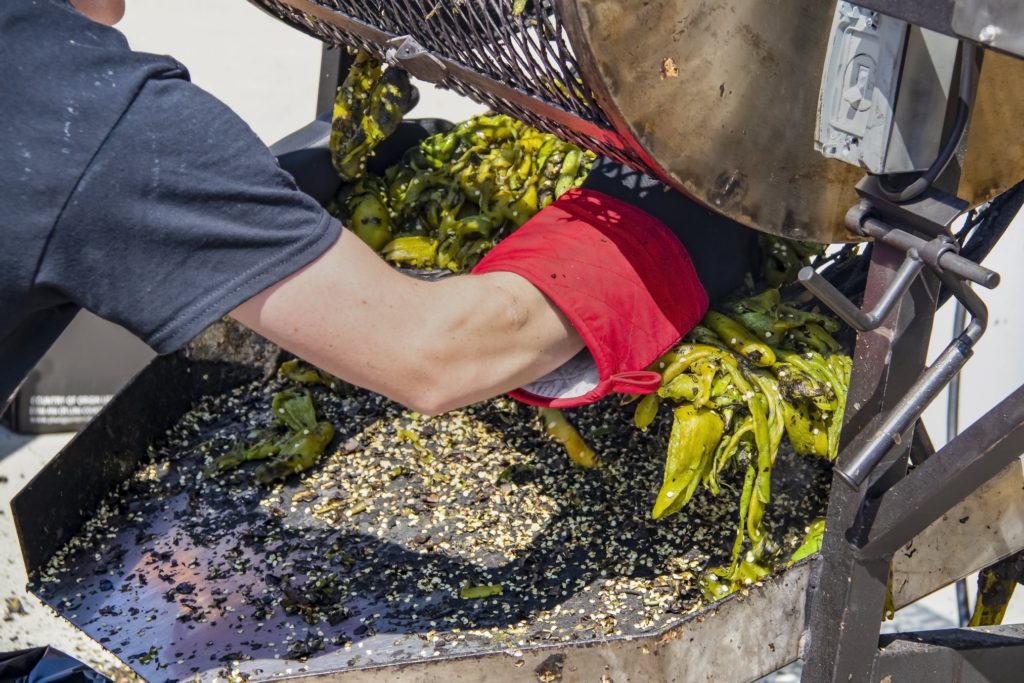
Green chile sauce is made from roasting fresh Hatch green chiles. The Red sauce is from Hatch green chile that has been allowed to ripen, turn red and then dried. They are grown in Hatch New Mexico and you can’t duplicate these growing them anywhere else. Here’s a link for the village of Hatch which is considered the Chile Capital of the World! http://www.villageofhatch.org.
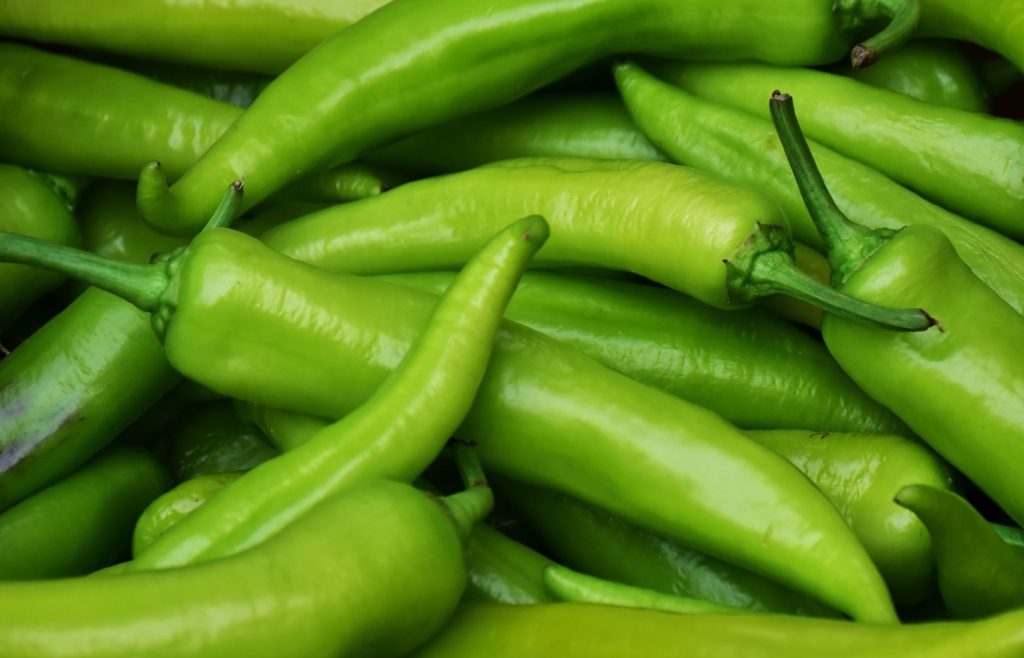
We love both. The green and red chile both come in mild, medium and hot. You kind of
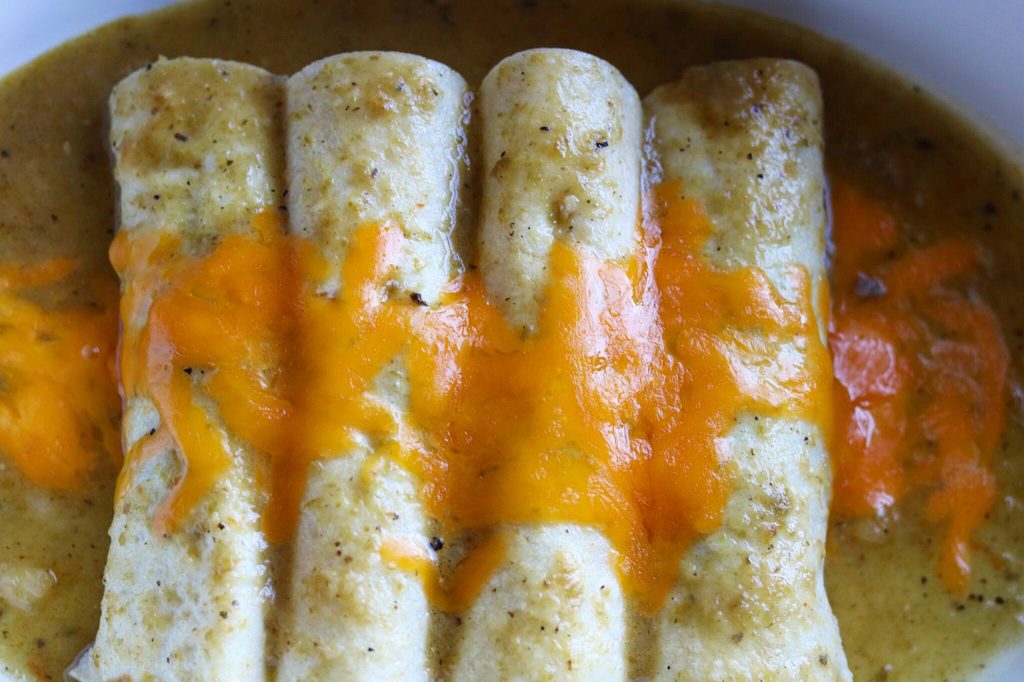
We Love New Mexico Hatch Green Chile Beef Enchiladas
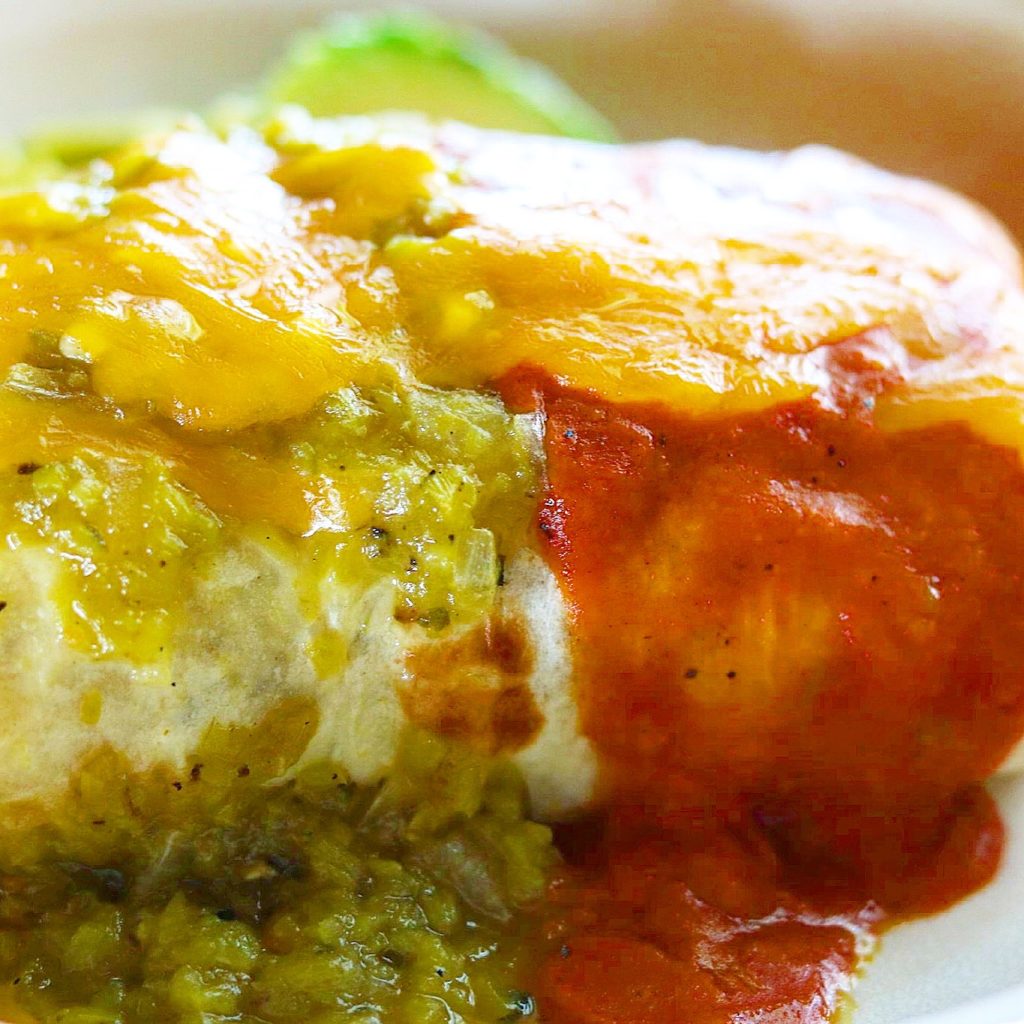
The recipe for these beef enchiladas with Hatch green chile uses my green chile sauce from a previous post. Here’s the link for that post: https://the2spoons.com/a-favorite-new-mexico-hatch-green-chile-sauce/. Sometimes we make beef enchiladas with a red and green sauce which is called Christmas in restaurants in New Mexico. That’s usually what I order because I want a little taste of both! Yum! So delicious are they both! I’ll be posting a new recipe for the red chile soon so you too can make Christmas Enchiladas. Sometimes we like to do the green chile enchiladas with chicken, but beef is our favorite.

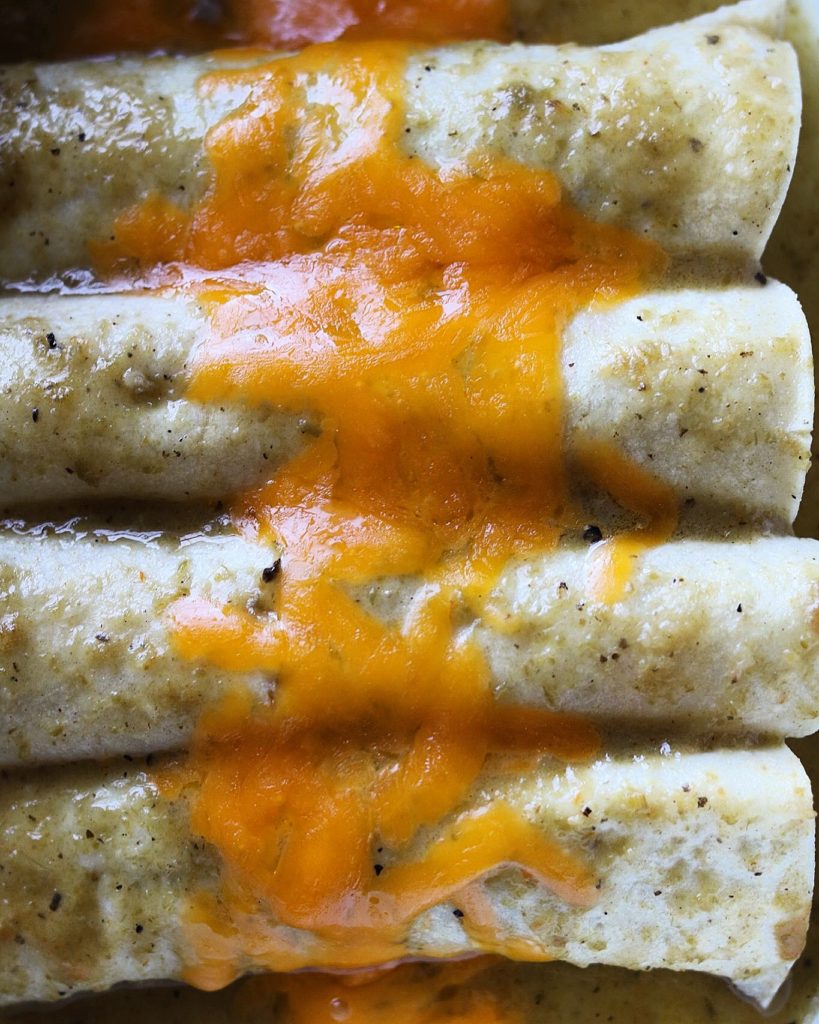
We love New Mexico Hatch Green Chile Beef Enchiladas
Cannot wait for you to try this recipe. I think you will love it. I make up large batches of the green and red sauces and freeze them so that when I want New Mexico food, I have it already prepared.
New Mexico Hatch Green Chile Beef Enchiladas
Ingredients
- 2 tbsp vegetable oil
- 1/2 to 1 medium onion, finely chopped
- 2-3 garlic cloves minced or grated
- 1 tbsp all purpose flour
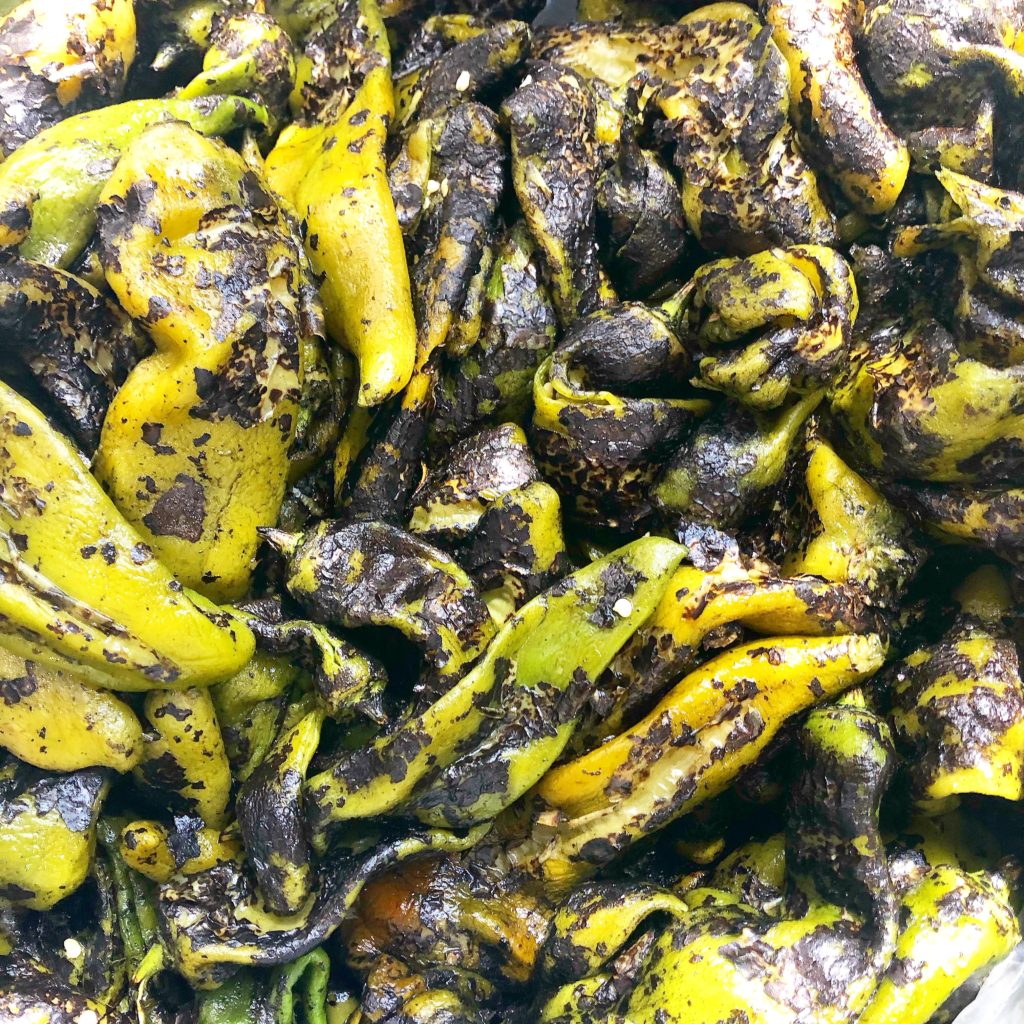
- 2 cups pureed green chile, mild, medium-hot from fresh roasted chile that the seeds have been removed, the stems and the outside char has been romoved.
- 2 cups water
- 1/4 tsp cumin
- 1/4 tsp dried Mexican oregano
- 1/2 tsp salt or to taste
For the filling and assembly
- 1 lb ground beef
- 1/2 white onion, finely chopped
- 12 corn tortillas
- oil for frying the corn tortillas
- 1/2-1 lb cheddar cheese grated or a combination of cheddar and monterey jack (the amoun djust depends on how much cheese you want…some for stuffing and some for topping).
- salt and pepper to season the ground beef
- Prepared Green Chile Sauce
Instructions
For the Green Chile Sauce
- Warm the oil in a heavy saucepan over medium heat. Add the onion and garlic and sauté until the onion is soft and translucent, about 5 minutes.Stir in the flour and continue cooking for another 1 or 2 minutes.Mix in the chile. Immediately begin pouring in the water or stock, stirring as you go, then add the salt. Add the cumin and oregano if adding. Bring the mixture to a boil. Reduce the heat to a low simmer and cook for about 15 minutes, until thickened but still very pourable. Use warm or refrigerate for later use.For an extra smooth sauce, I like to strain pushing the solids as much as you can through with the back of your spoon. You won't get all the solids, but you will definitely get the amazing flavors.
For the filling and assembly
- Heat a large skillet with a little oil. When sizzling, place a corn tortilla in the oil for just a second to soften and remove to a paper towel. I place one side of the tortilla in oil, place the not oiled side up, repeat the process and put the oil side onto the unoiled previous tortilla. Sounds complicated, but not turning in the skillet and letting both sides into the oil helps with the tortillas holding together and to not fall apart…so basically your first tortilla is oil on the bottom, none on top but you'll top that with the oiled one, on and on. Set the tortillas aside.
- Grate your cheese and chop your onions.
- Cook your meat in a skillet with salt and pepper just until lightly browned.
- Preheat your oven to 450 degrees. Get a large baking dish or individual plates if you prefer. Line up all your ingredients so easy folding.
- place a tortilla down on a flat surface. Add your desired amount of beef, onion and cheese. Roll the tortilla with the seam side down and place in the baking dish or in a plate. Continue until all the tortillas have been used. You want to kind of eye the filling to make sue you have enough to the last tortilla or that you have used all of it by the last tortilla.
- Ladle some of the sauce over the enchiladas, insuring the ends have sauce and the entire enchilada is covered in a little sauce. Add cheese down the middle of your enchiladas. You can cover if you really like them cheesy, but remember ou have cheese in the filling.
- Place the enchiladas in the hot oven and cook just until your cheese has melted.
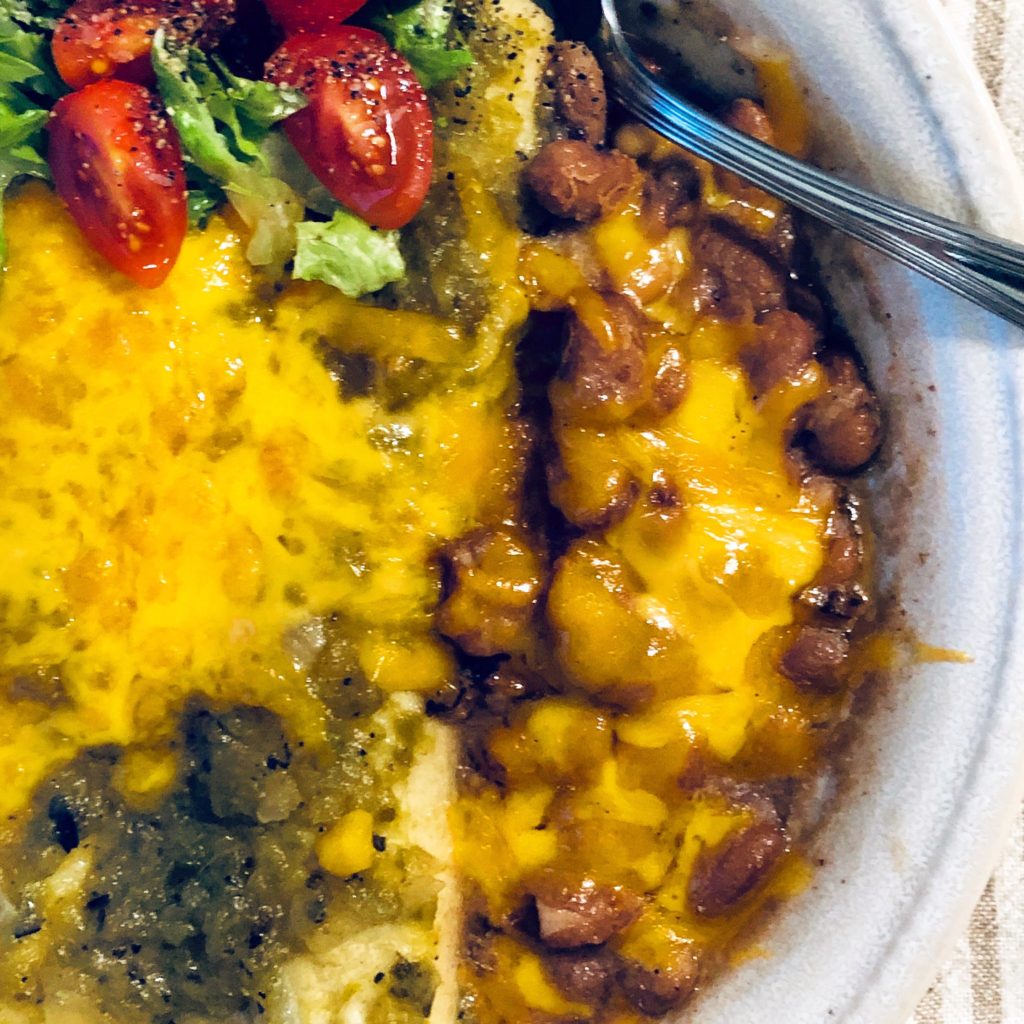
- I serve these with Mexican rice and pinto beans! Yum! Delicious!