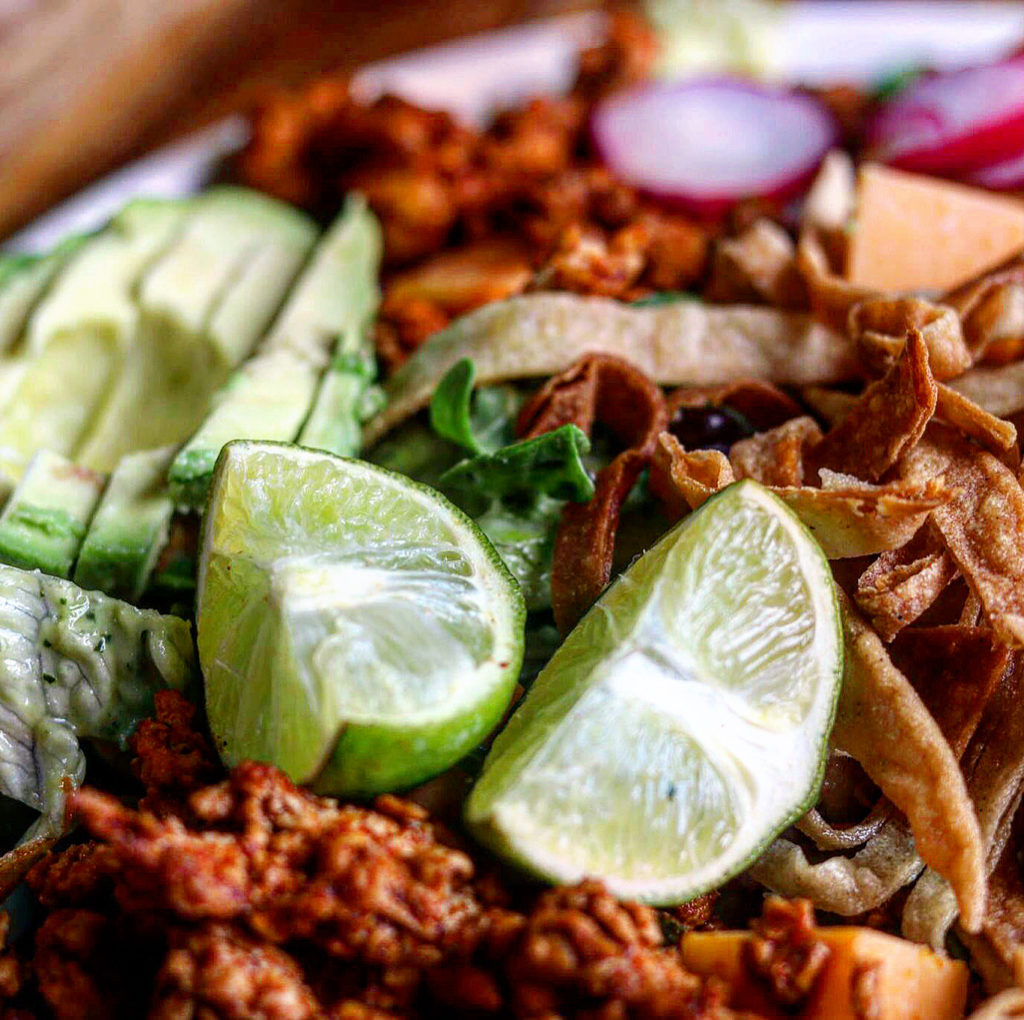
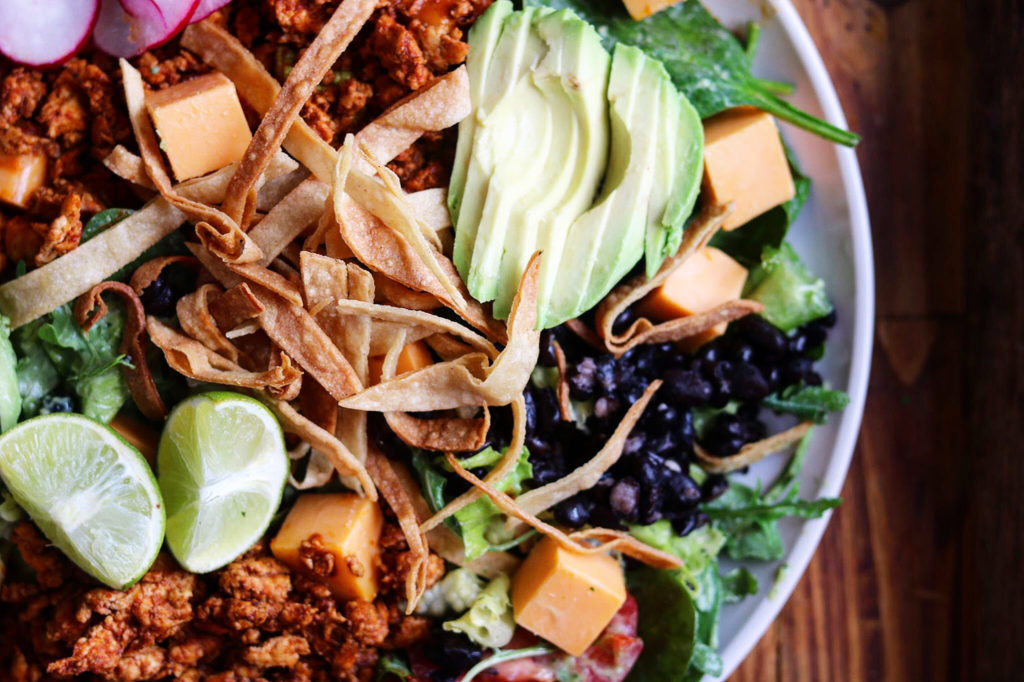
Still on that “healthyish” train, I made this Chicken Taco Salad and it is better than the taco salad I’ve been used to having. You know the one with loads of ground beef, Doritos, the Catalina dressing? Don’t get me wrong it is delicious! But you know January is a time we kind of want to cut back on a little fat.
Enter the ground chicken taco salad. No greasy residue, this salad is just loaded with flavors like the spicy ground chicken, black beans, power greens, cheese, avocado, just to name a few! This is beautiful, delicious and it is still what I was trying to achieve, a little healthyish, all at the same time!
And if you follow me, you know we eat a lot of tacos! And Mexican Food! We love it! The best thing ever. And those ground beef tacos loaded with salad, guacamole, sour cream, salsa, cheese are to die for! But why not lighten them up with spicy ground chicken or turkey and have them on a soft corn tortilla rather than a crispy taco or a flour tortilla. Well, that’s another post, but you get what I’m saying. you can still have those amazing flavors and favorite dishes if you just lighten them up a little and make them a little more “healthyish”.
When I make a dish that I have cut back on this or that or added more greens, chicken or turkey in place of ground beef, I am so worried my husband won’t like it. Well, not in this case at all. he loved this!
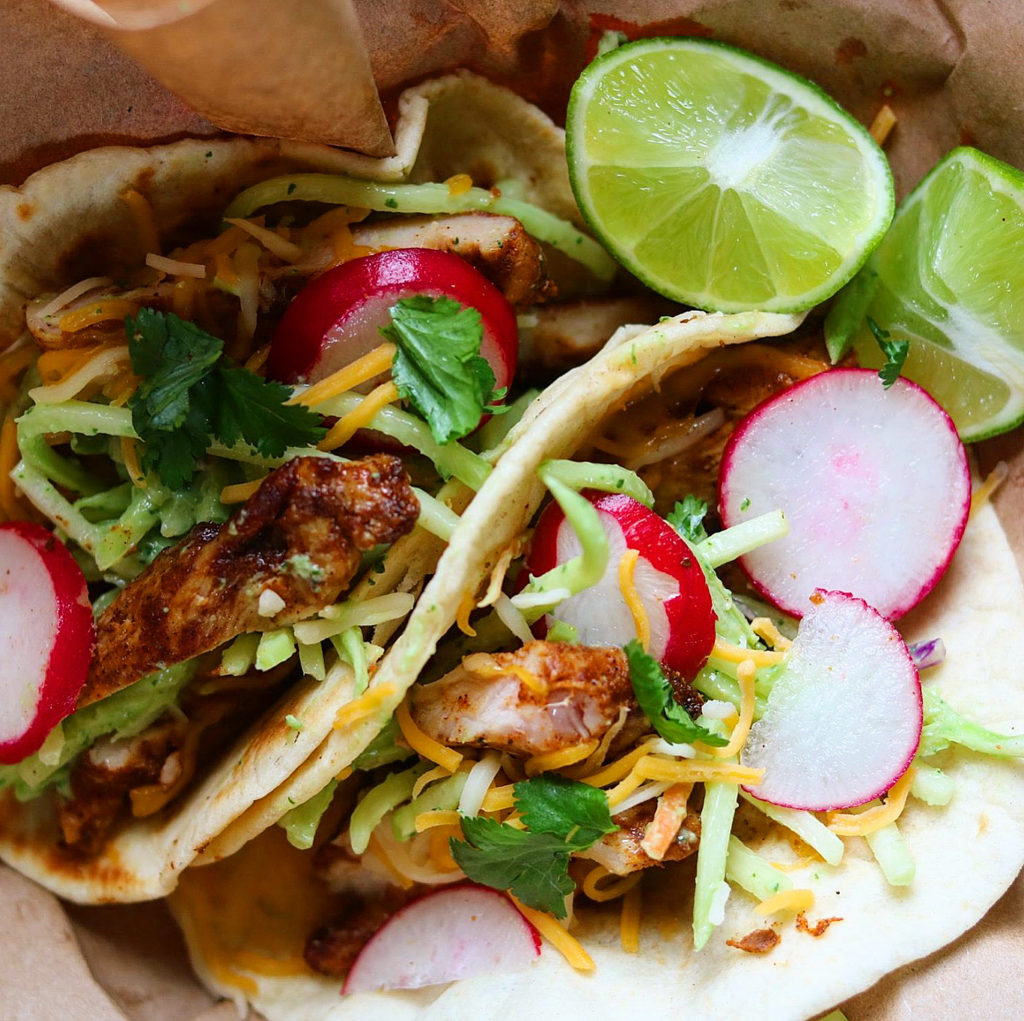
I used the same Avocado Ranch Dressing that I used on the Spicy Chicken Tacos with Broccoli Slaw from the post the other day. You need to try that recipe too! Here’s the link for both: https://the2spoons.com/spicy-chicken-tacos-with-broccoli-slaw/.
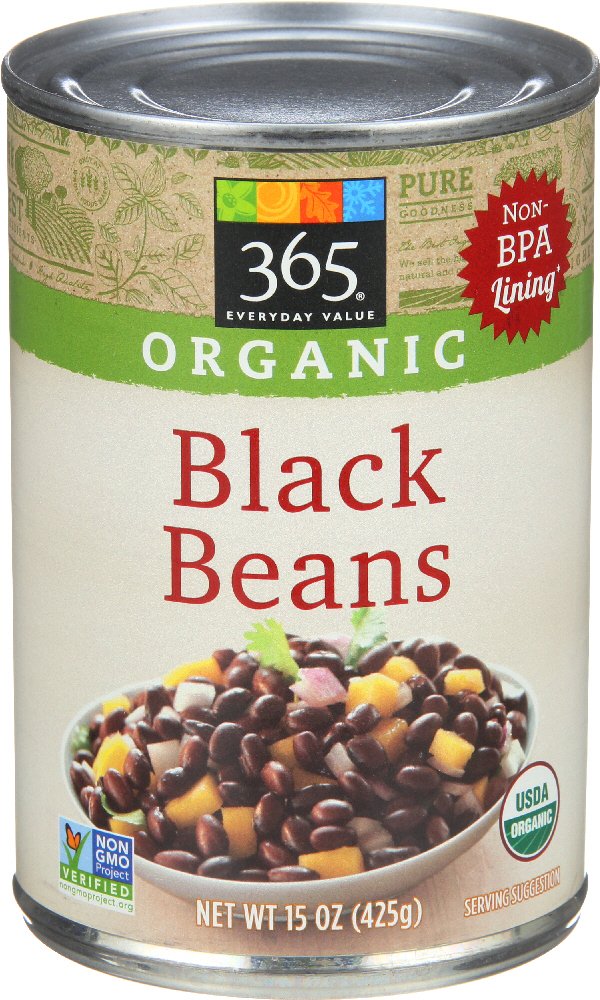
The black beans I used were some I had leftover. I just put them in a colander and rinsed them. You can use canned if you don’t want to make homemade. These are a good brand that you can get from HEB, Whole Foods or even Amazon: https://amzn.to/2tXnM8m.
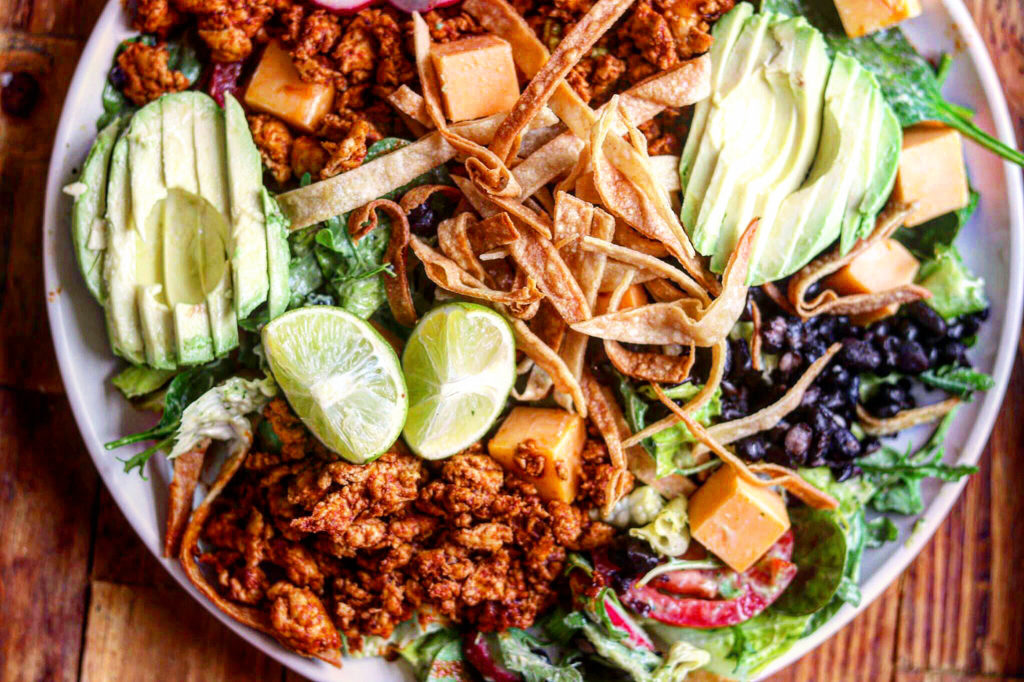
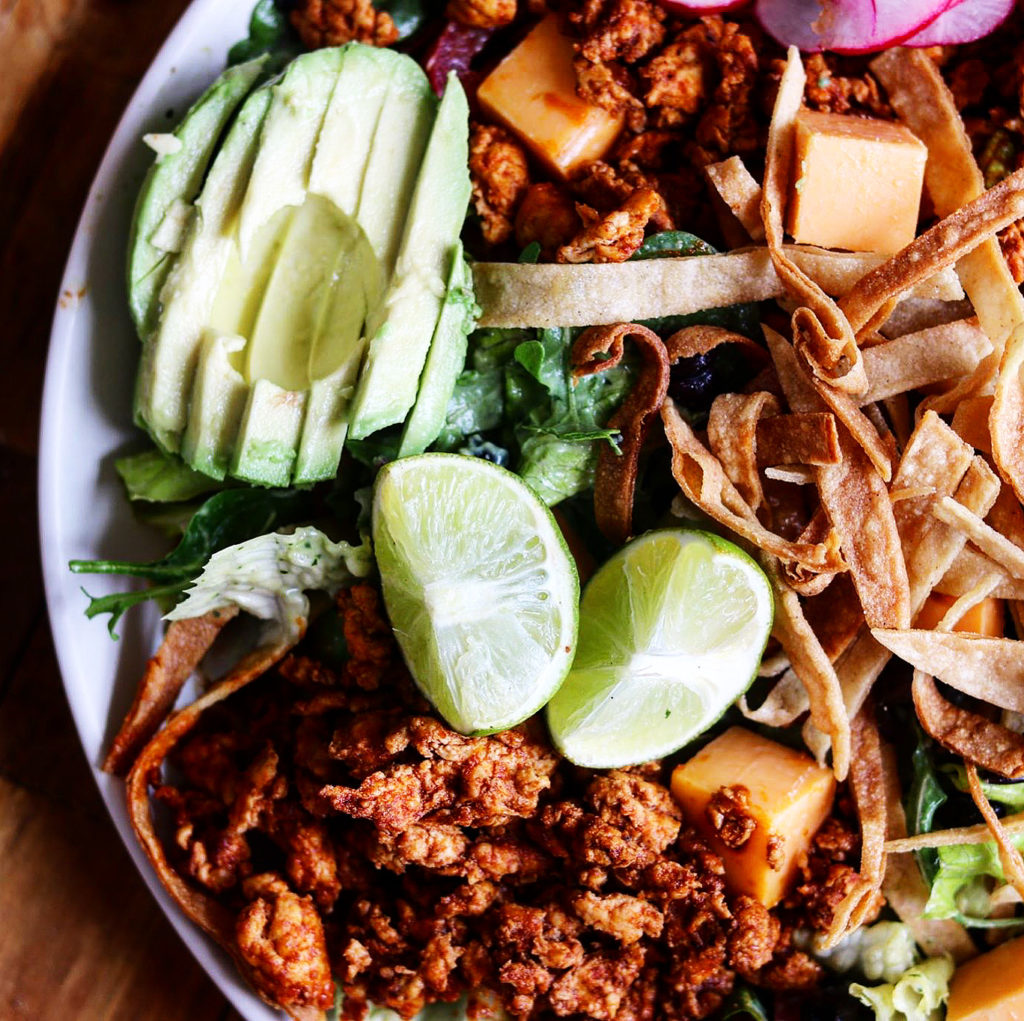
The Best! Beautiful Chicken Taco Salad
I used chipotle chili powder in this. The local HEB I go to has bins of spices you can just get small amounts and that is where I found mine. The smoked paprika is the same, I got it from the bulk bins and it is a sweet paprika.
Here you go with the recipe! Let me know what you think after you make it! Delish!
Chicken Taco Salad
Ingredients
- 2 tbsp extra virgin olive oil
- 1 lb ground chicken (you could use turkey)
- 2 tsp chipotle chile powder
- 1 tbsp smoked sweet paprika
- 1 tsp ground cumin
- 1 tsp garlic powder
- salt and pepper
- 1/3 cup cilantro, chopped
- 6 cups mixed leafy greens or a mix of power greens
- 2-4 Roma tomatoes, quartered or diced
- 2-4 Radishes, sliced
- 1 Bunch Green onions, small sliced.
- 1 cup cooked black beans
- 1 sliced avocado
- 1 cup cubed cheddar cheese
- 1-2 cups tortilla strips homemade or store bought crushed (i made the strips)
For the Avocado Ranch Dressing
- 1/2 cup buttermilk
- 1 cup fresh cilantro
- 1 jalapeno, halved and seeded
- juice from one lime
- 1/2 tsp garlic powder
- 1/2 tsp onion powder
- salt and pepper
Instructions
- To make the tortilla strips, slice a couple of corn tortillas into very thin strips. Heat about an inch of oil in a skillet until hot. Add the tortilla strips, stirring to separate and cook until browned. Remove from the skillet and drain on a paper towel and set aside.
- Heat the olive oil in a large skillet over medium high heat. Add the chicken and cook until browned, about 5 minutes. Add the chipotle chili powder, paprika, cumin, garlic powder, and a pinch each of salt and pepper. Add 1/2 cup of water and cook, stirring occasionally, until the water has evaporated, about 5 minutes. Remove from the heat and stir in the cilantro.
- Make the dressing by combining all ingredients in a blender and blend until smooth and creamy, adding additional buttermilk, 1 tablespoon at a time, as needed to thin the sauce.
- In a large salad bowl, combine the greens, black beans, avocado, mango, and cheese. Top the salad with the chicken taco meat and then drizzle with the dressing . Toss to combine and then top with tortilla strips. Enjoy!