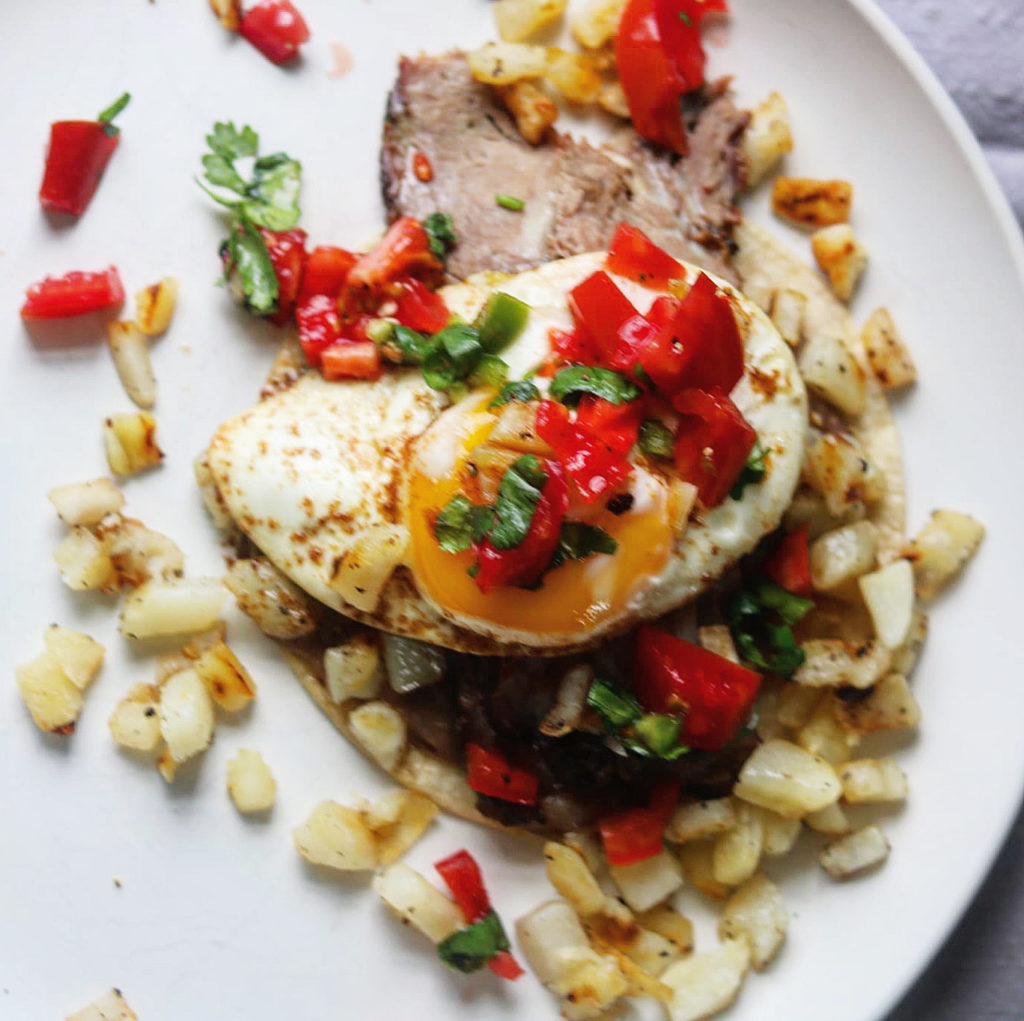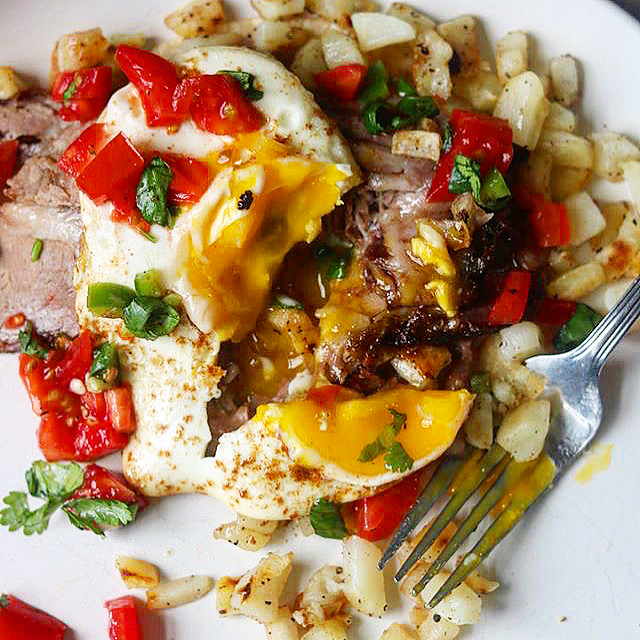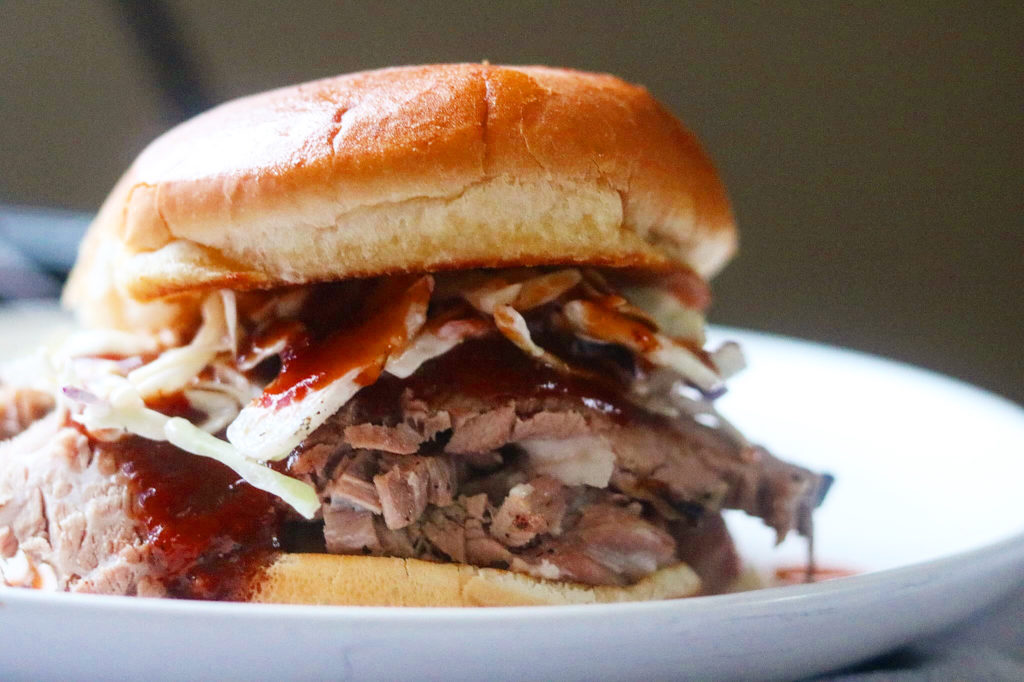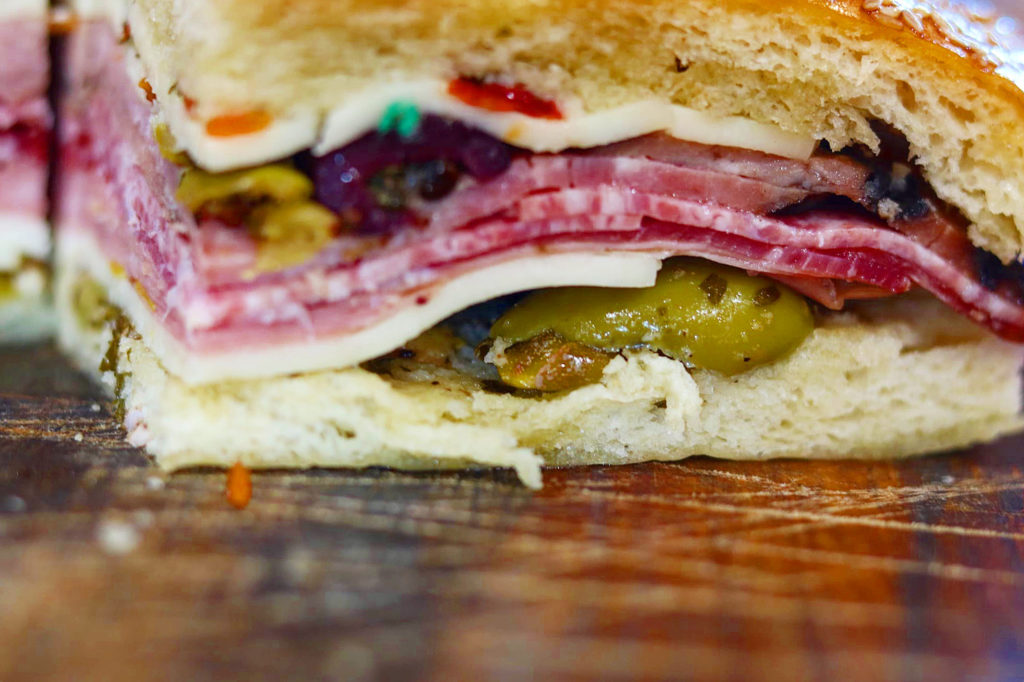
I always forget about Mississippi Pot Roast! I saw a relative posting it the other day and he gave me his recipe! Yum! Perfect as a pot roast but our favorite way to serve is on a toasted bun with melted mozzarella or provolone cheese. Delicious!

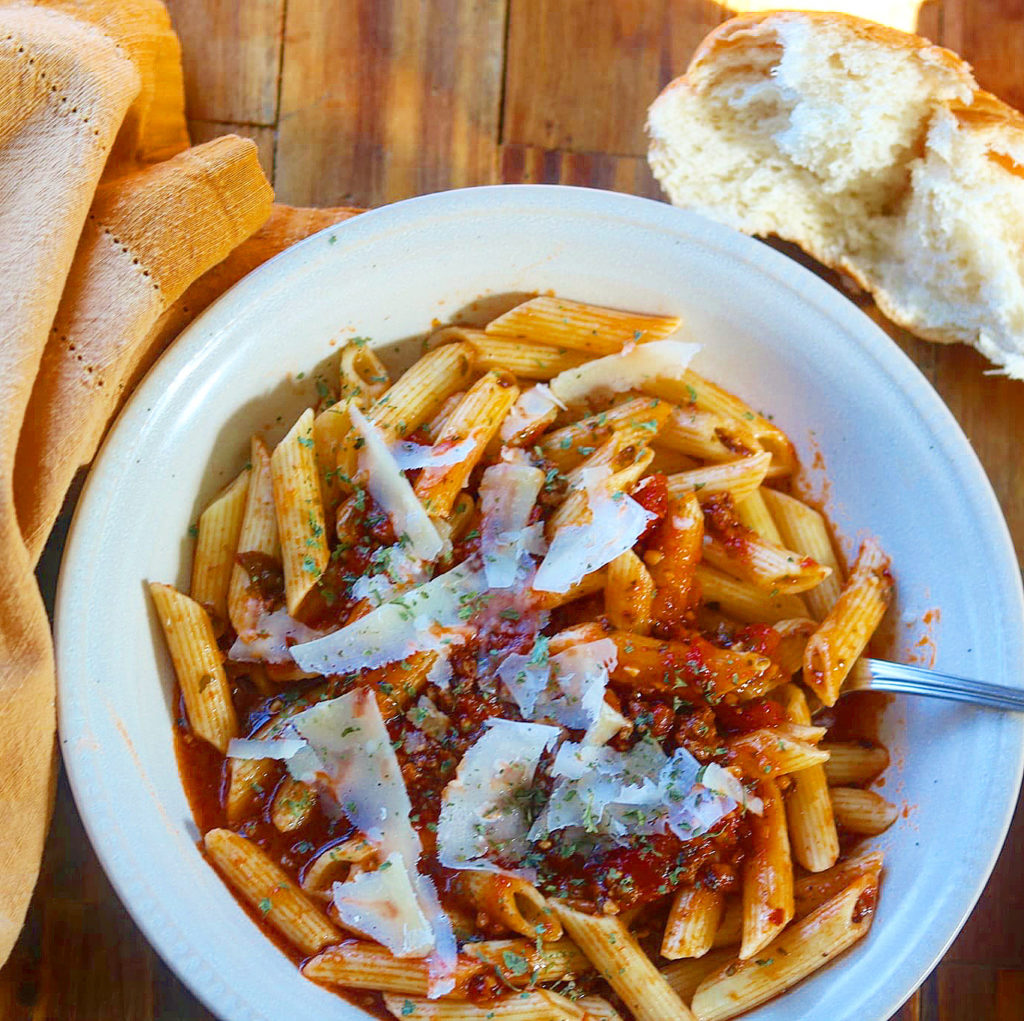
Super Easy Mississippi Pot Roast
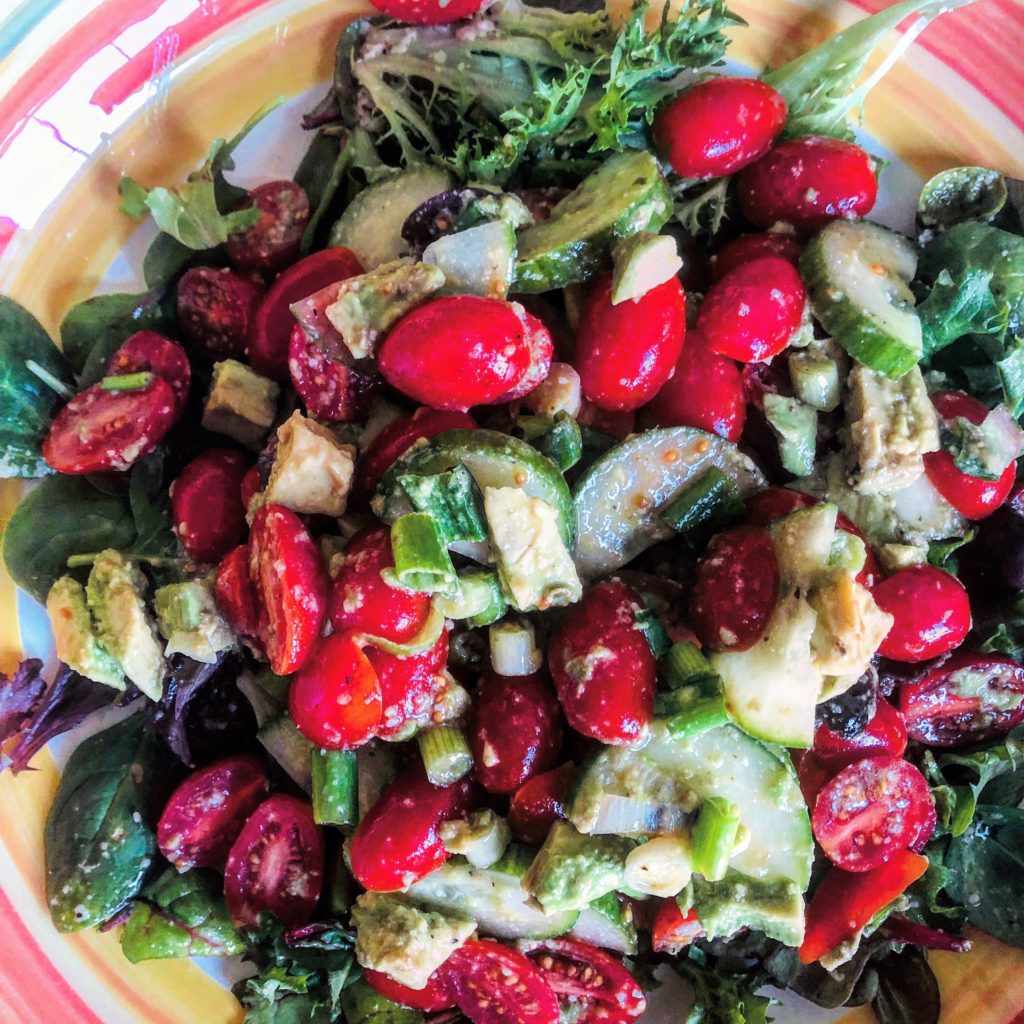
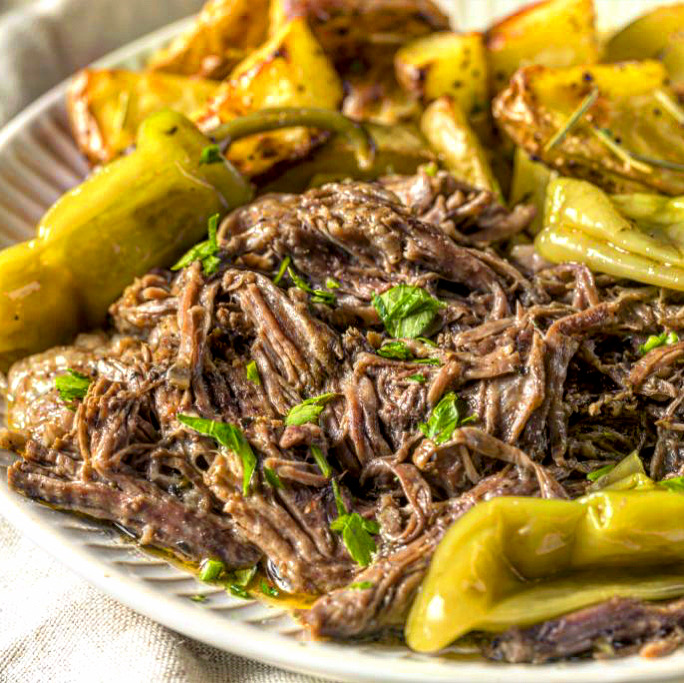
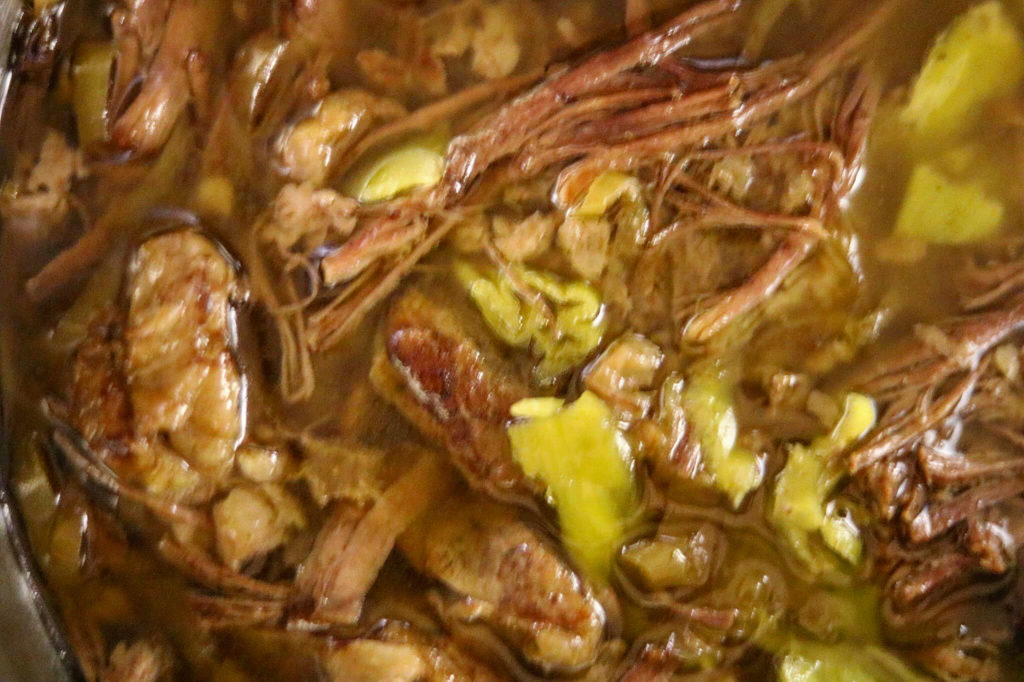
The recipe blends together five distinct and rather unexpected ingredients: one packet of ranch seasoning, one packet of au jus gravy mix, Several jarred pepperoncini (I used quiet a few) a full stick of butter, and a 3- to 5-pound chuck roast. If you aren’t familiar with the pepperoncini, here’s a link: https://www.walmart.com/tp/pepperoncini. Not only are these great for this recipe, I use them with a blend of olives, pickles, tomatoes and onions for an Italian salad mix.
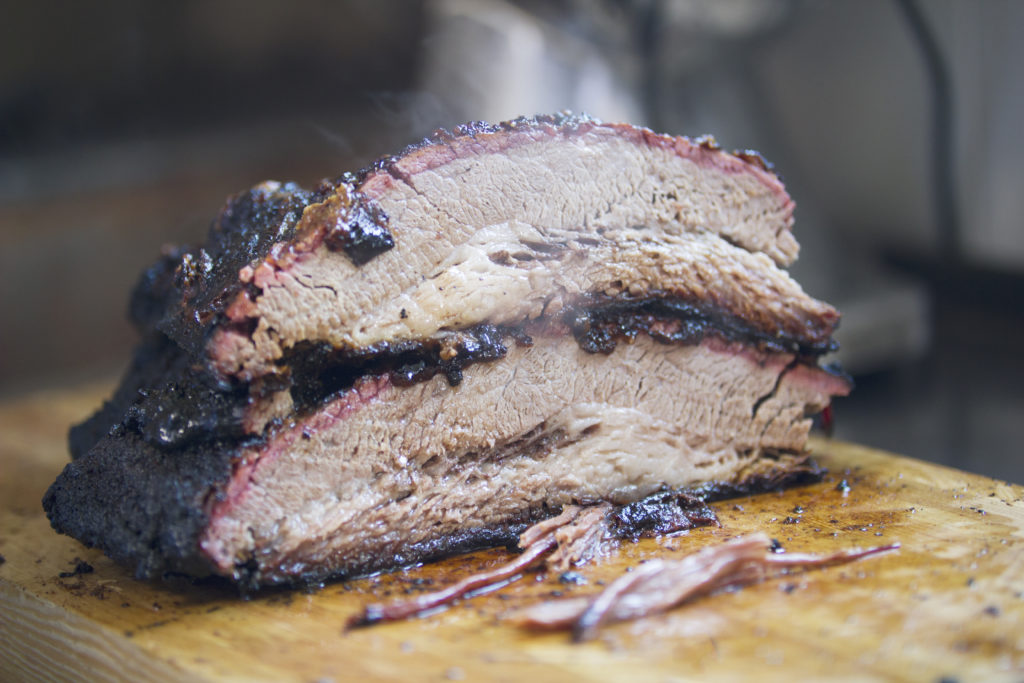
This recipe originally was created using the slow cooker but I used the Instant Pot. I wanted my roast really tender, so I set the time for an hour. I used a chuck roast but you can use any roast similar that’s perfect for a braise. If you don’t already have an Instant Pot, you will not regret the purchase! Here’s a link: https://amzn.to/2Z9dcbx
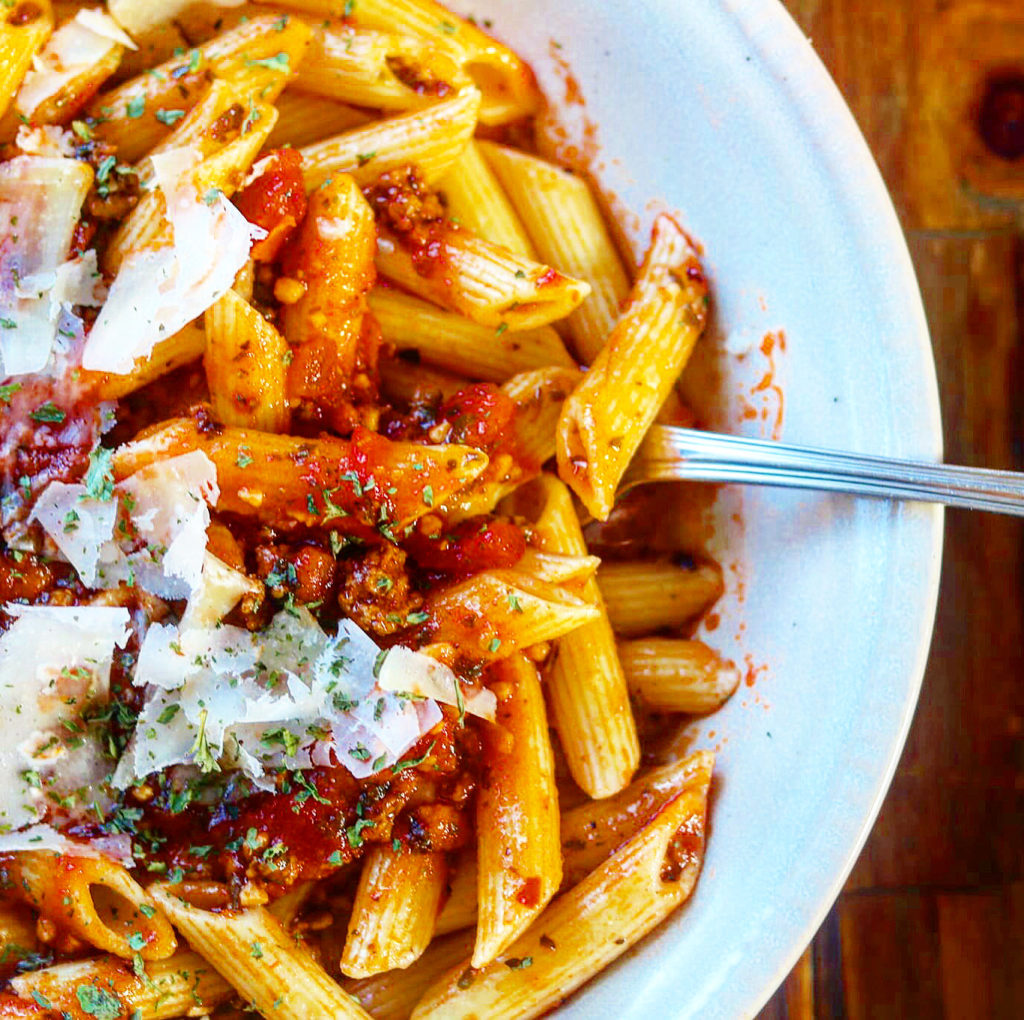
Mississippi Pot Roast
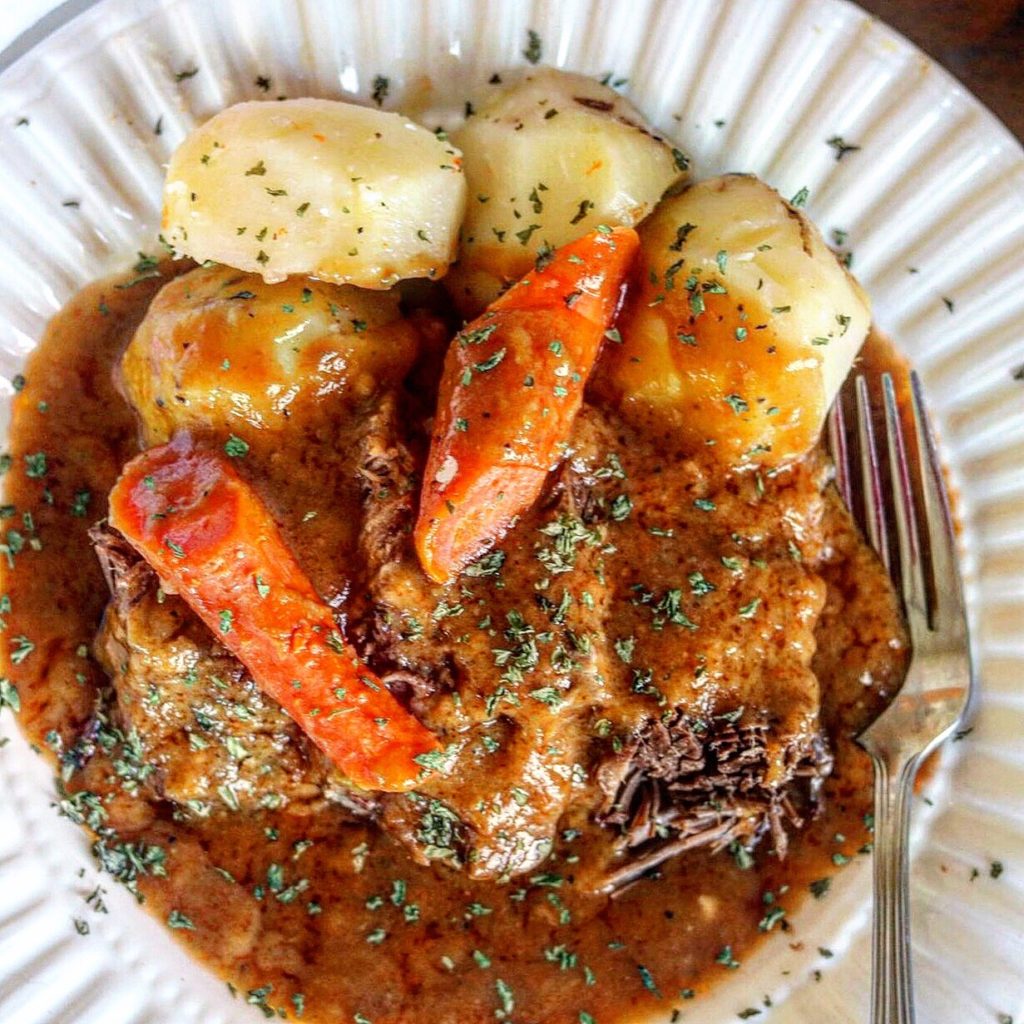
Want another roast recipe for your Instant Pot? Try my Sunday Pot Roast: https://the2spoons.com/?s=Pot+roast. It’s a must!
Let me know after you make this Mississippi Pot Roast what you think! My husband loved it! He asked for it a couple of times with the leftovers. When I make it as a sandwich, I strain some of the au jus and serve it for dipping. Yum!

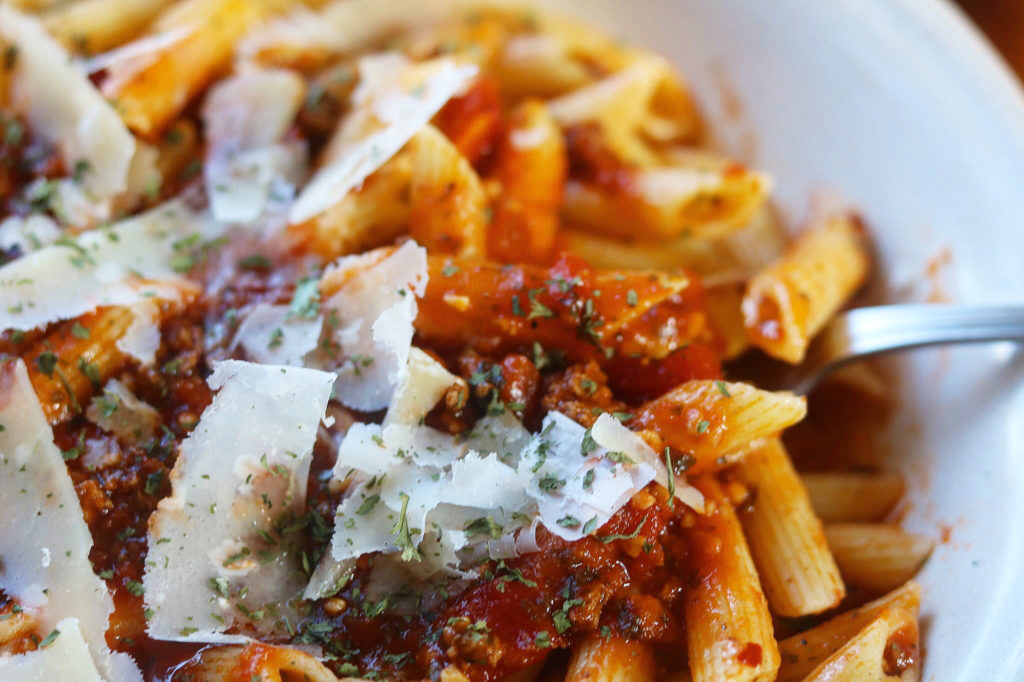
Mississippi Pot Roast
Ingredients
- 1 3-4 lb boneless beef roast, your choice of cut (I used chuck)
- 1 1 stick (8 tablespoons) butter
- 1 Pkg au jus gravy mix
- 1 Pkg
dry ranch dressing mix, such as Hidden Valley
Pepperoncini peppers, number to your liking, and a little juice- Salt and freshly ground pepper, if desired
Instructions
- Slow Cooker Method: Put the roast in a slow cooker. Add the butter, au jus gravy mix, ranch dressing mix and pepperoncini peppers and juice. Add salt and pepper if you like and cook on low until tender, about 8 hours.
- Instant Pot Method: Put the roast in an Instant pot: Add the butter, au jus gravy mix, ranch dressing mix and pepperoncini peppers and juice. Add salt and pepper . Set the pressure cook for 45 minutes to 1 hour.