
When you grow summer squash there is an abundance when you start harvesting and you’re trying to figure out what to do with all this squash! This is my quick go to!
Easy, yet delicious! Just a few ingredients and you have a side dish for any main course!
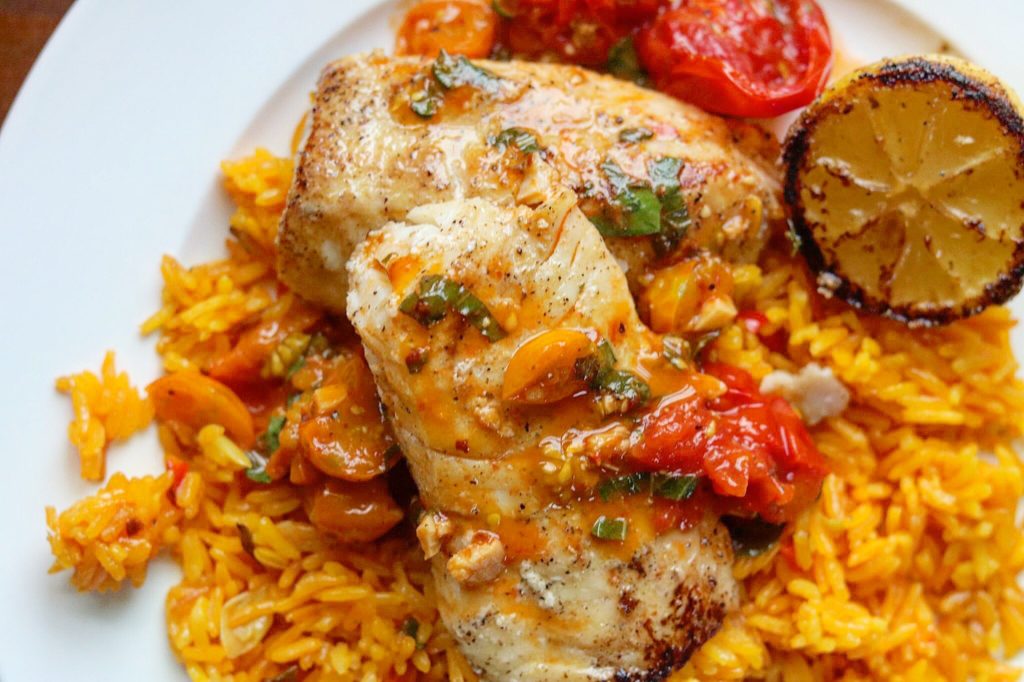
Fresh from the Garden, Delicious Summer Squash with Peppers and Onions
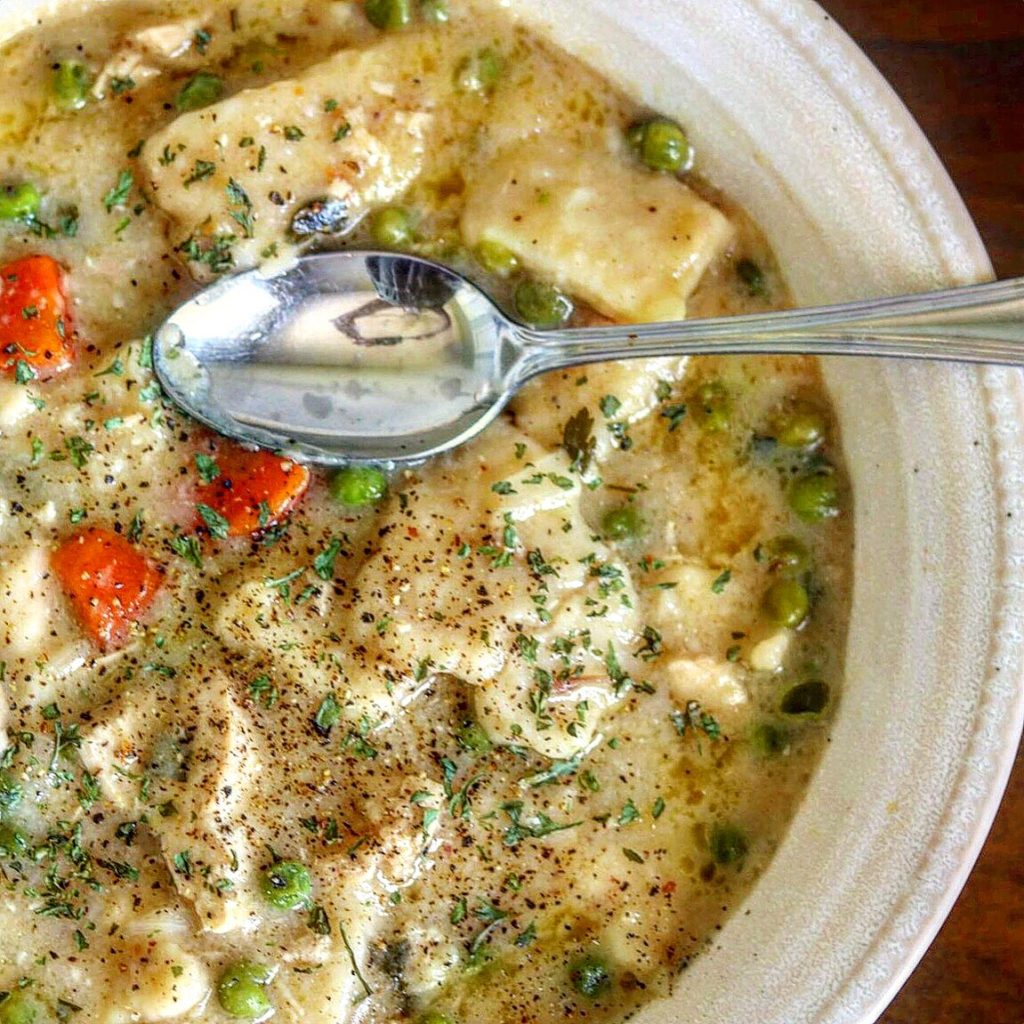
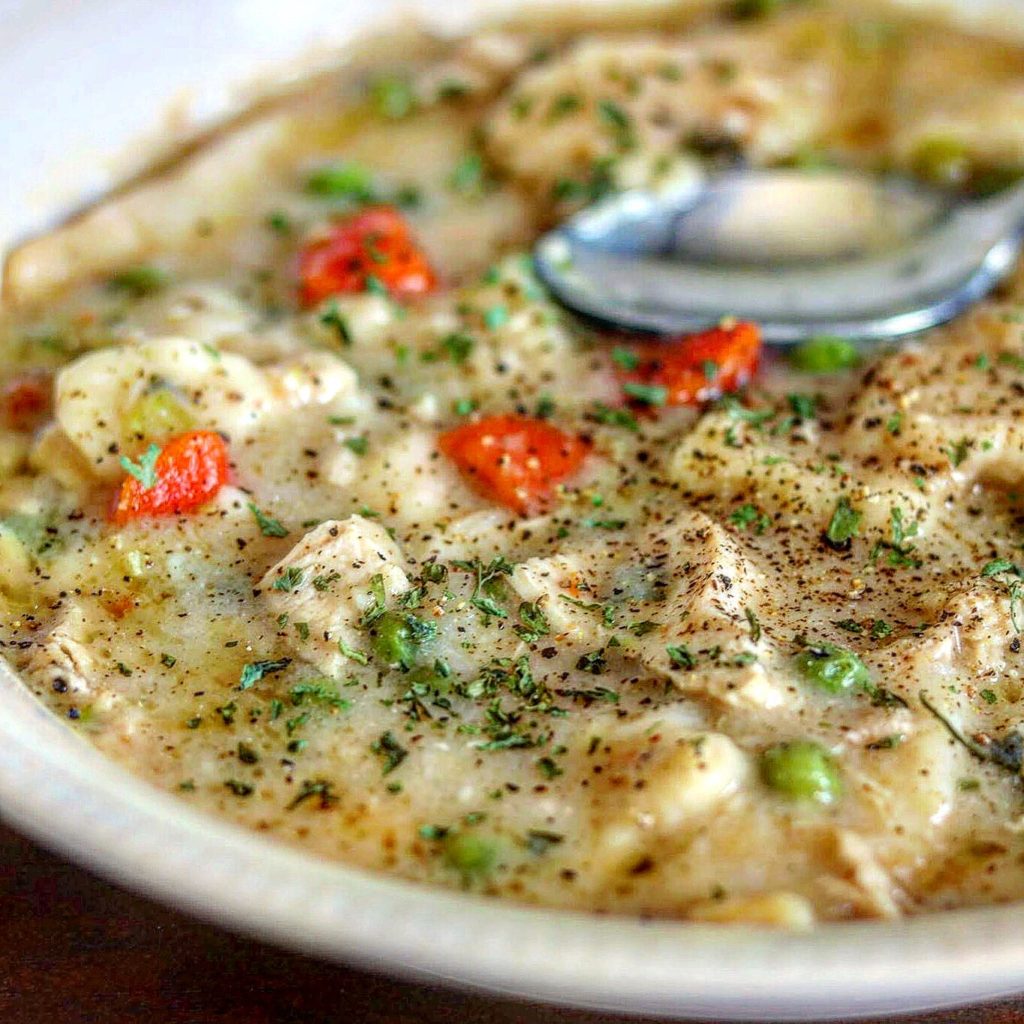
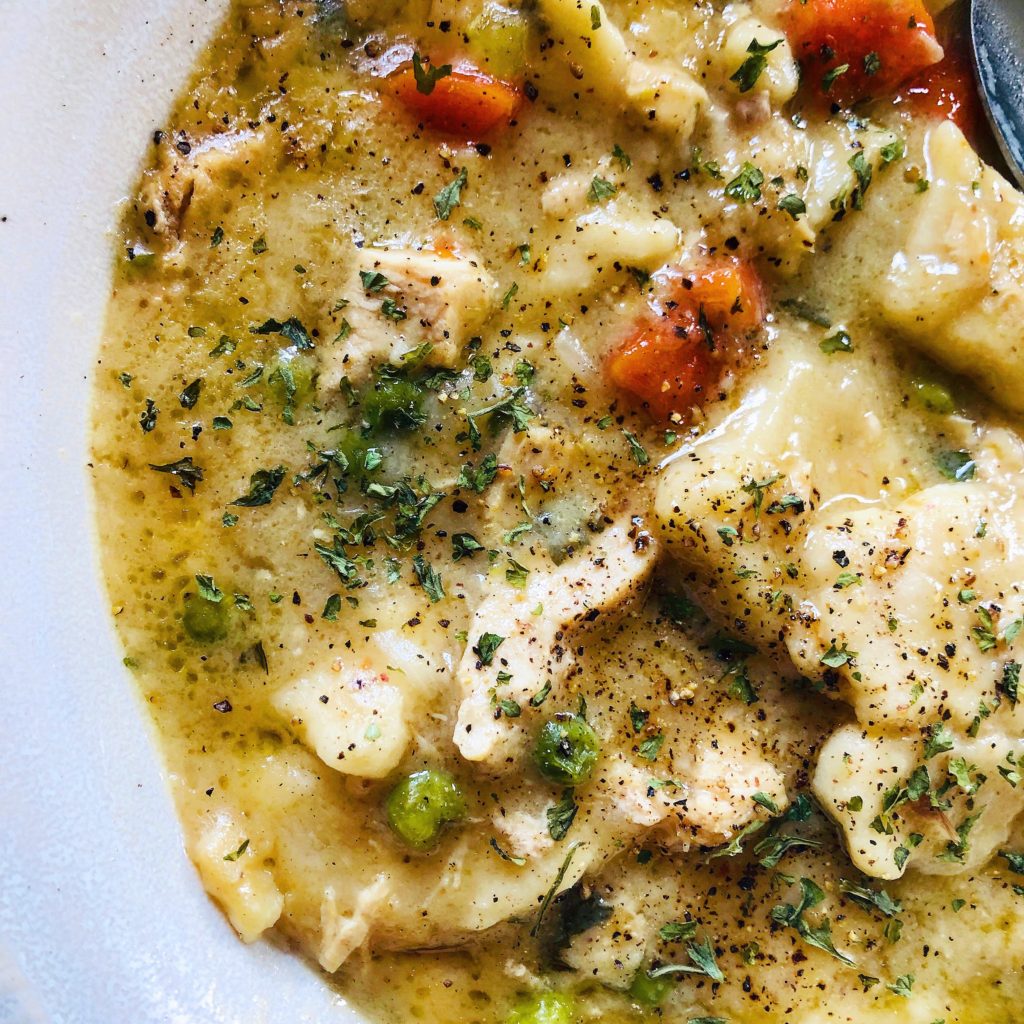
I actually made this with my Chicken and Dumplings the other day! It was the perfect side dish for the dumplings. Here’s my Chicken and Dumplings recipe which you have to try! https://the2spoons.com/chicken-and-dumplings-the-perfect-comfort-food/.
My Mom would boil squash, drain it, then mash it with a potato masher. Then she would add butter, salt
I didn’t grow squash this year. A friend of ours gave us this squash. There
Fresh from the Garden, Delicious Summer Squash with Peppers and Onions
Ok, back to cooking squash! And my recipe! I really shouldn’t call this a recipe because it’s so simple!
Summer Squash with Peppers and Onions
Ingredients
- 3-4 Yellow she merry squash or Zucchini, or Combination of the two, diced
- 1 Green bell pepper, diced
- 1 red onion, diced
- 2 tbsp extra virgin olive oil
- 2 tbsp butter
- sal and pepper to taste
Instructions
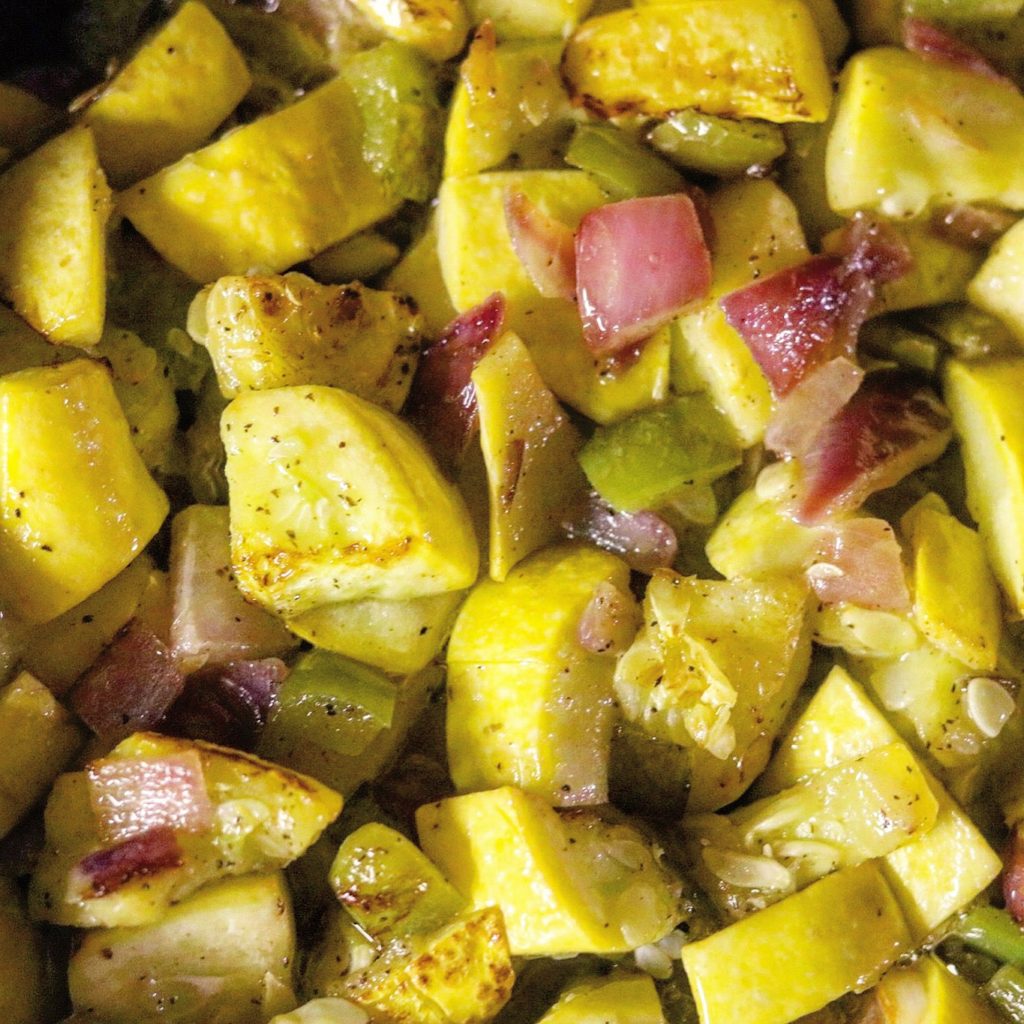
- Heat the oil and butter in a skillet to medium high. I like to use non stick skillet. add the onions and peppers and cook until they begin to soften. Add the squash, increase the heat if you need to so your ingredients will start to brown, turning as the bottom browns. Season with salt and pepper. Cook until good n brown and the squash is tender!